Posted Jun 02, 2019, Updated Aug 24, 2024 The first time I took a bite of this Oreo Dirt Cake at a friend’s graduation party I knew I had to have the recipe. His mom graciously shared her recipe with me and I have been making it ever since. Since then (many, many years ago), I have dialed it in and tweaked it to perfection, down to the exact type and brand of pudding to use to make the absolute best Oreo Dirt Cake you’ll ever taste. This dirt pudding is one of our favorite no-bake desserts! It’s a kid-friendly, make-ahead recipe that’s perfect to serve at any potluck or BBQ!
Dirt Cake Recipe: Ingredients & Substitutions
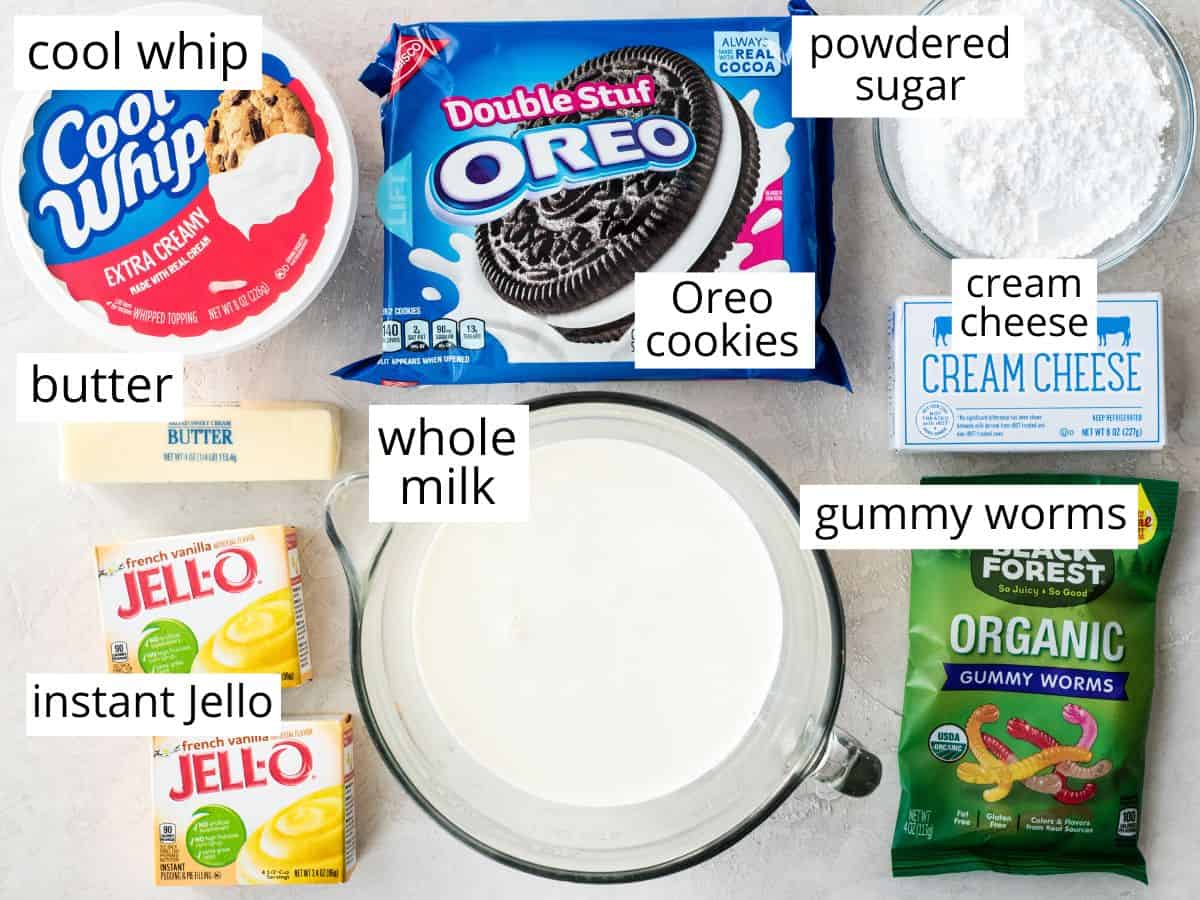
This dirt pudding is the absolute best when it’s made exactly as written. However, let’s discuss the ingredients & possible substituions.
Milk. I recommend using 2% milk or whole milk. French Vanilla Pudding. This is the secret ingredient that makes this recipe the best. I use Jello Instant French Vanilla Pudding & Pie Filling and it is the absolute best. I once bought an off brand french vanilla pudding and Ritch could actually taste the difference! Now you could substitute regular vanilla pudding or chocolate pudding (to look more like dirt), but I really think the secret to making the best dirt cake ever is using french vanilla pudding! Try this homemade vanilla pudding! Oreos. I only ever buy double stuffed Oreos, but any variety with any amount of “stuff” work well. This recipe calls for a 15 oz package, but you can add more if you wish! You can also use gluten-free sandwich cookies or another cookie if you prefer (such as JoJos). Butter. salted or unsalted butter works perfectly in this recipe. I use salted. Cool Whip. Any cool whip variety works great in this dirt cake recipe. I chose extra creamy because we are already indulging when we make this recipe, so I want it to be as rich and creamy as possible! Choose your favorite! Or you can make your own homemade whipped cream.
How to Make Dirt Cake
This dirt cake recipe is really easy to make! Let’s walk through it step-by-step, and don’t forget to watch the video!
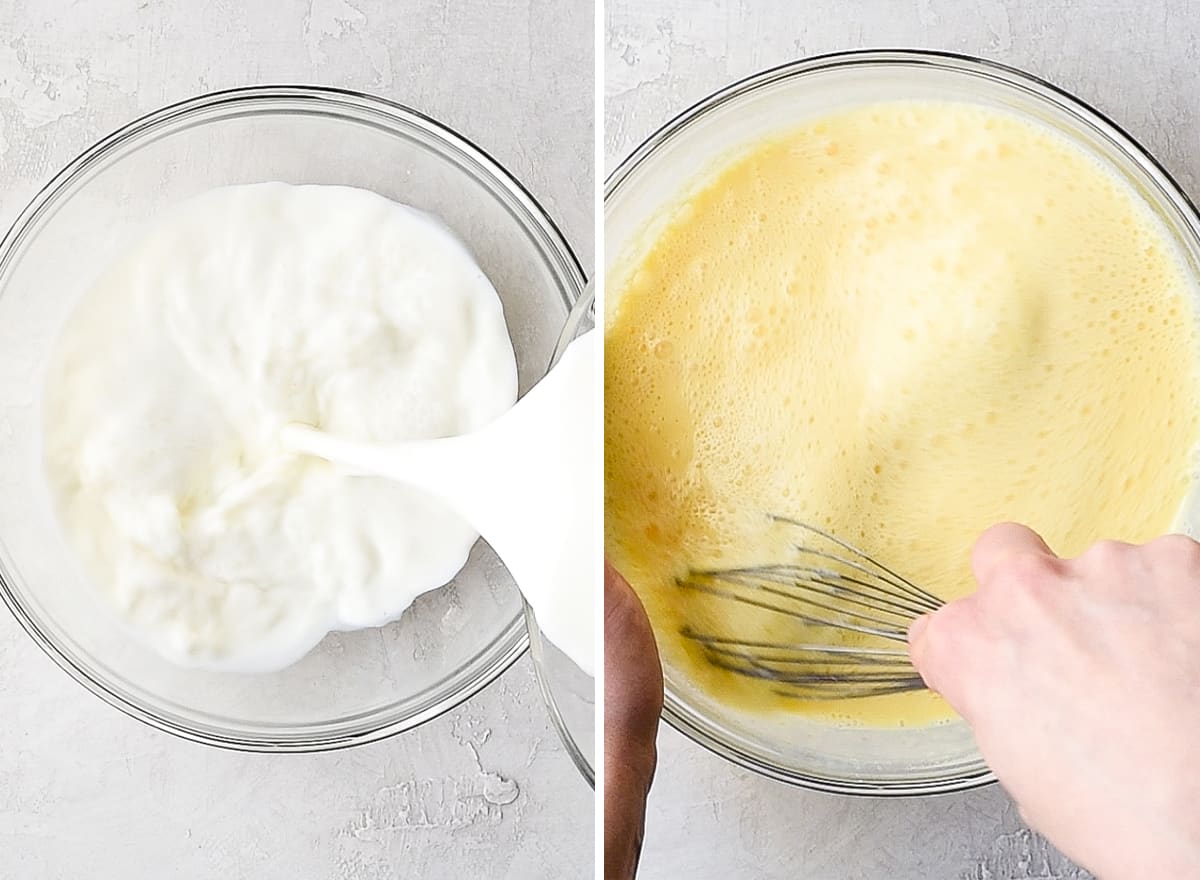
Step 1: Combine the Pudding & Milk
The French vanilla pudding needs to be mixed with the milk and then put in the fridge to set. Which is why I recommend doing this step first so that it can set while you’re mixing the rest of the pudding ingredients together and chopping the Oreos!
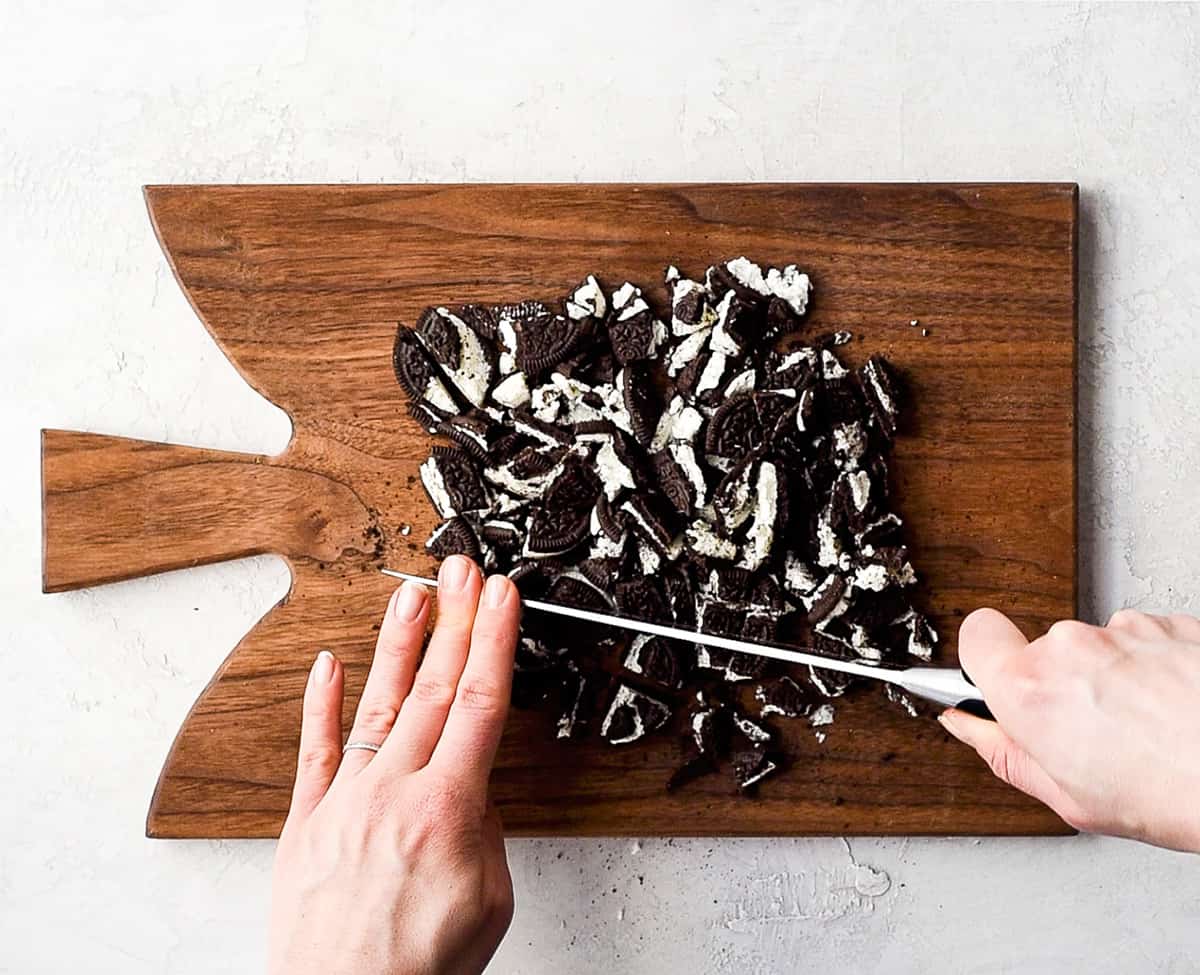
Step 2: Chop Some Oreos
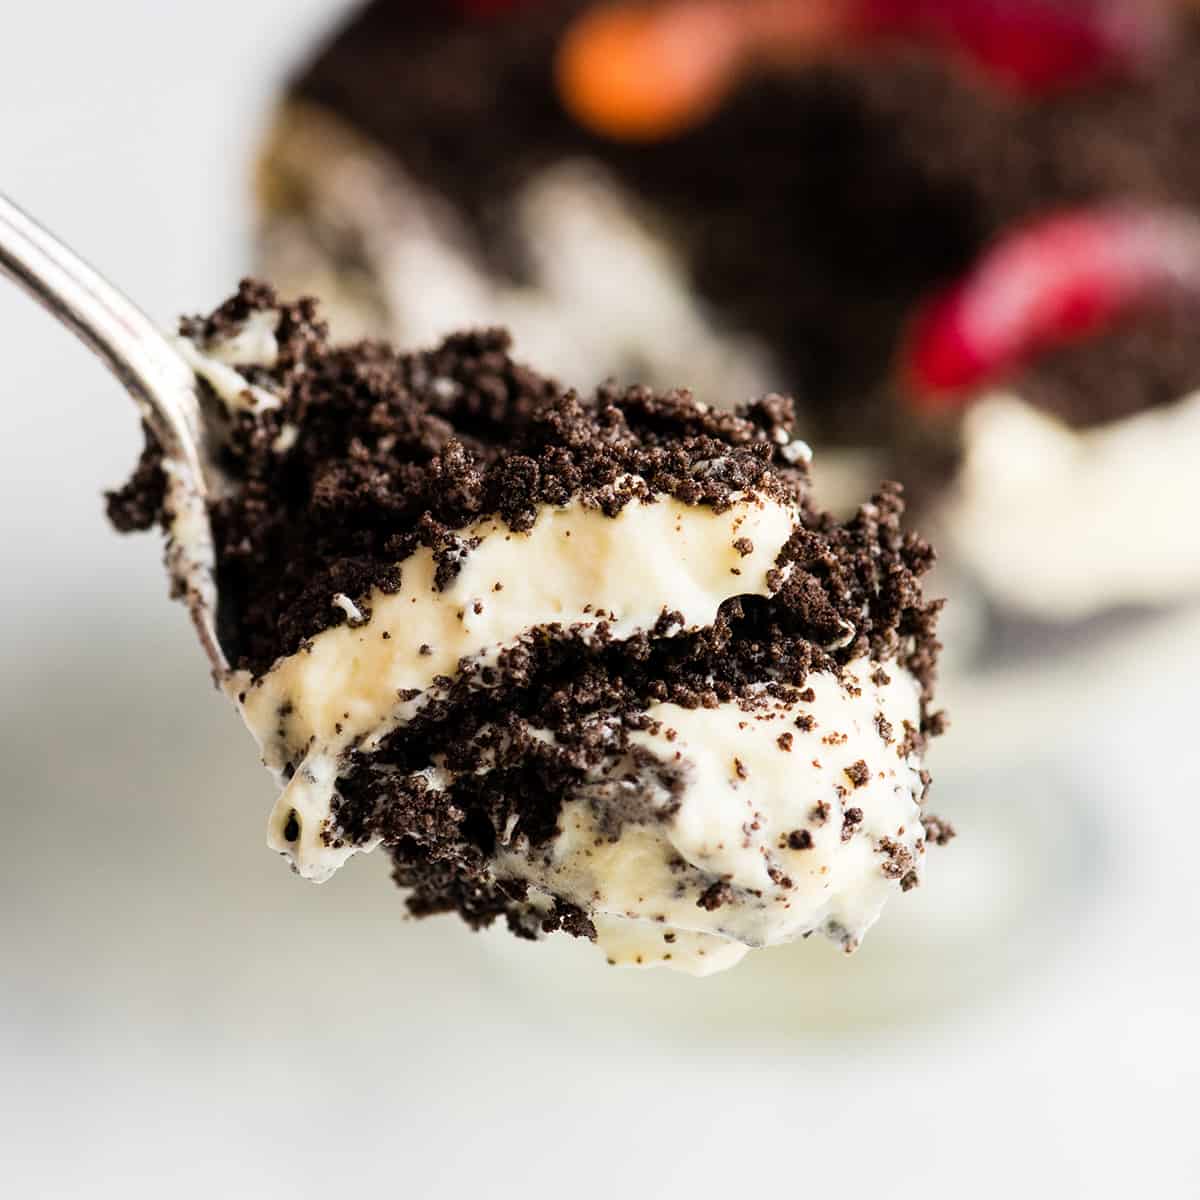
Remove eight Oreos (or more if you bought a family-sized bag) from the package and chop them into ¼” to ½” pieces. This simple step makes this dirt cake recipe extra special. My absolute favorite bites of this dirt pudding are the ones that contain big chunks of soft Oreos. They have the best texture after they’re pudding-infused from chilling overnight! Trust me, don’t skip this step!
Step 3: Crush the Rest of the Oreos
After you’ve chopped a few Oreos, crush the rest. It’s very easy to do this in a food processor fitted with an “S” blade. Just be aware that you may have to pause, release any Oreos that get stuck to the blades, and process some more! If you don’t have a food processor you can use a rolling pin. Just be sure to crush them into a fine powder so they look like dirt!!
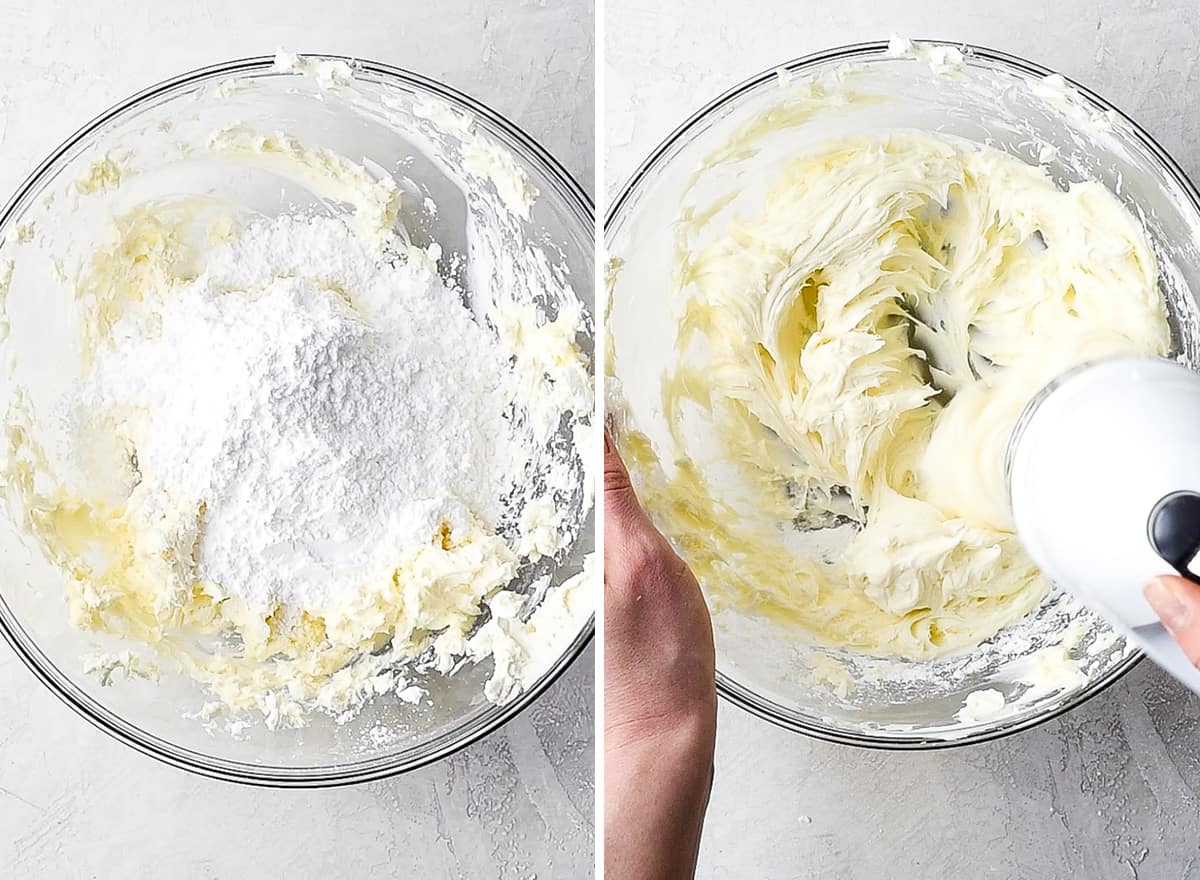
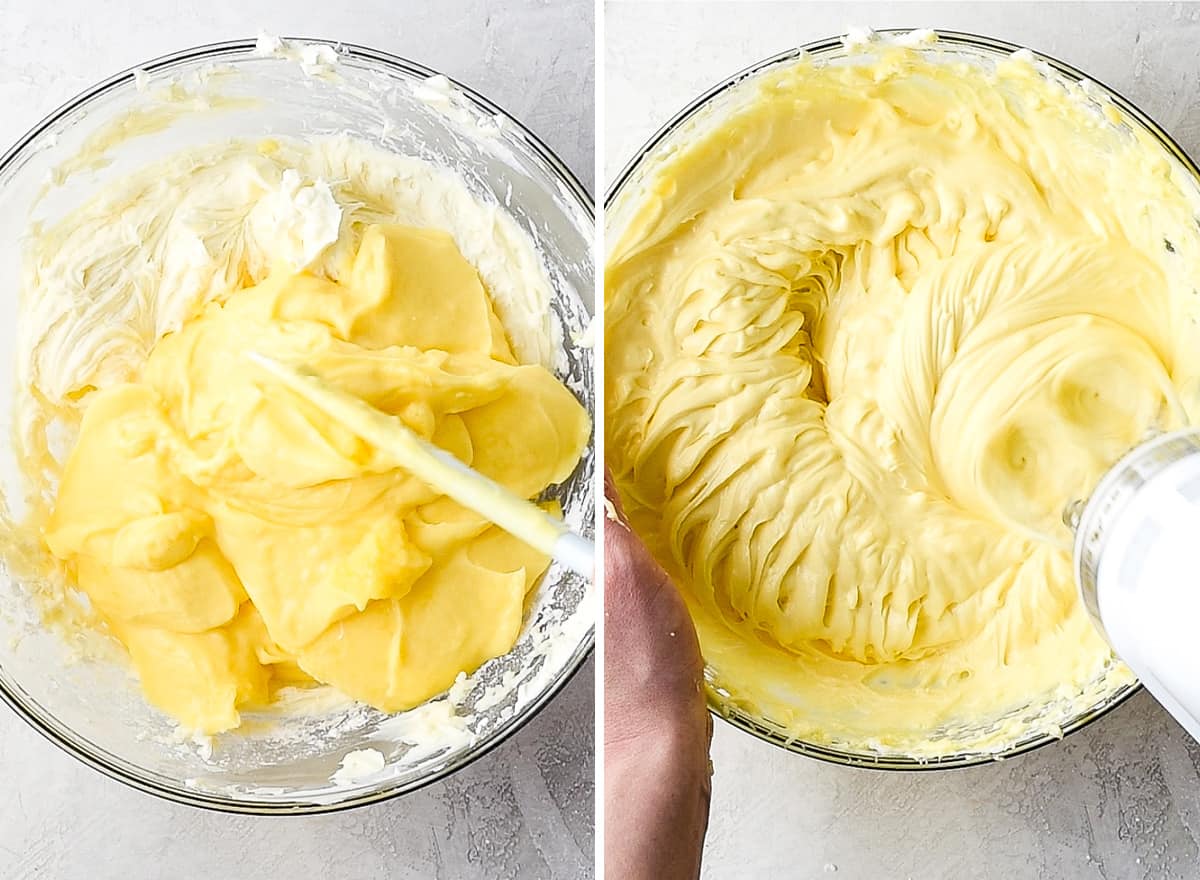
Step 4: Make the Pudding Layer
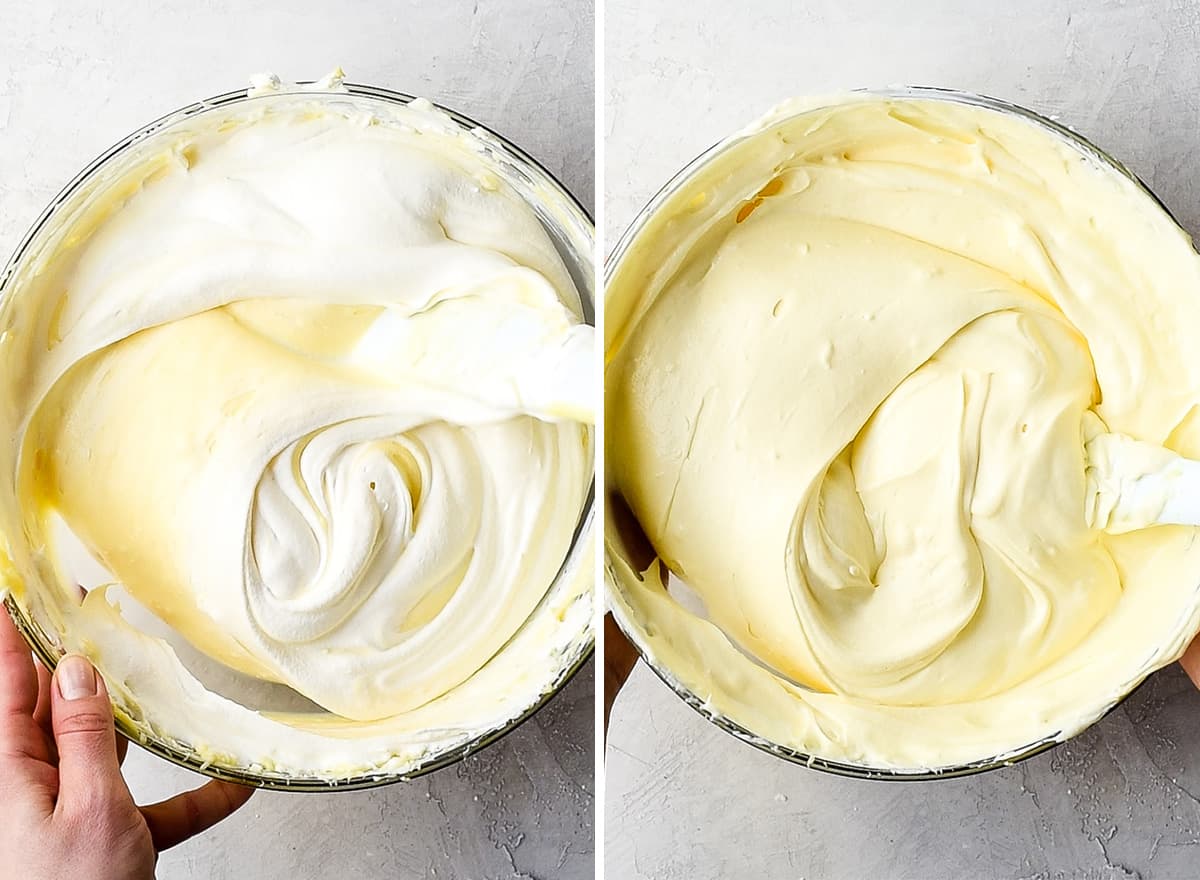
Begin the pudding layer by creaming together the butter and cream cheese. The key to this step is to make sure the butter and cream cheese are softened and at room temperature so they’re easy to combine! I recommend using a standing mixer, but I used a hand mixer (for shooting purposes) with great success! Next, beat in the powdered sugar until the mixture is smooth. Then, beat in the chilled and thickened pudding mixture until the mixture is smooth and there are no lumps. Finally, fold in the cool whip. This is the only ingredient in the pudding mixture that doesn’t get beaten. Simply fold it into the pudding mixture with a spatula until it’s fully incorporated and the pudding is homogenous (uniform throughout).
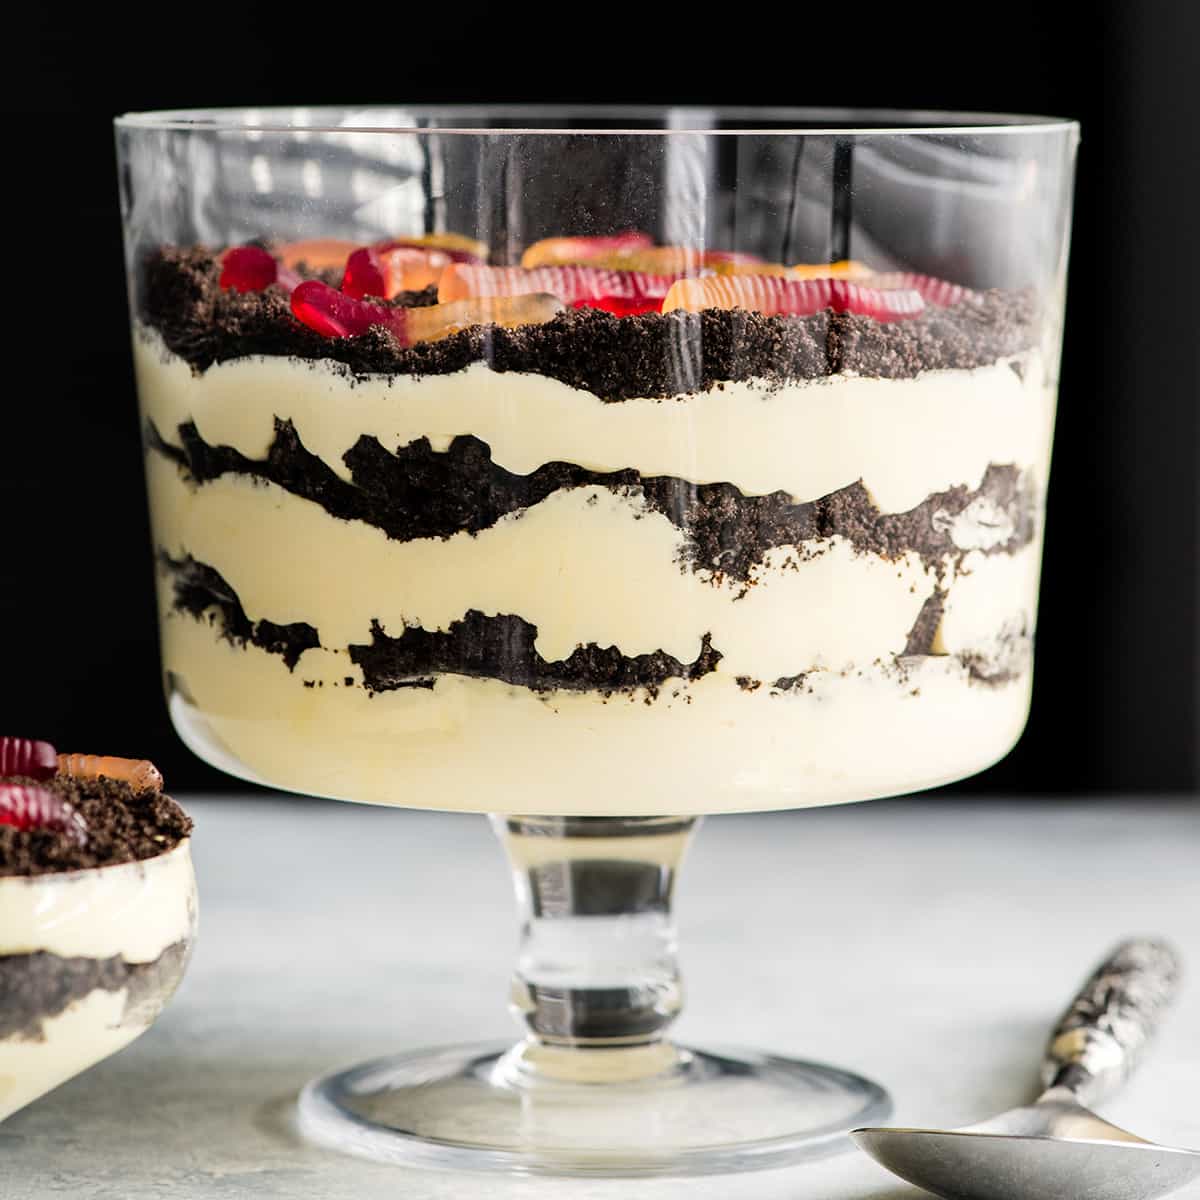
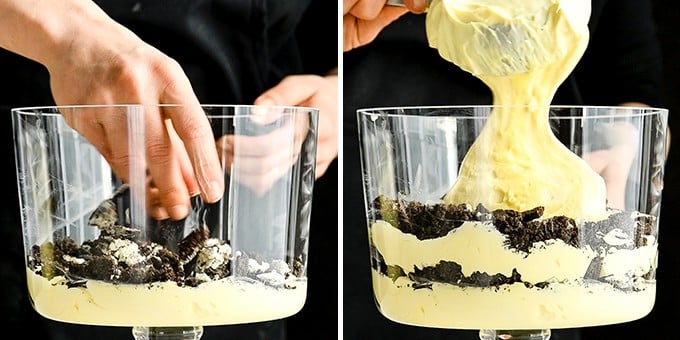
Step 5: Assemble the Dirt Cake
Now that you have made the pudding and prepared the “dirt” (Oreos) it’s time to layer them together to make this Oreo Dirt Cake! Each layer consists of the following:
2 cups of pudding mixture ½ cup crushed Oreos ¼ cup chopped Oreos
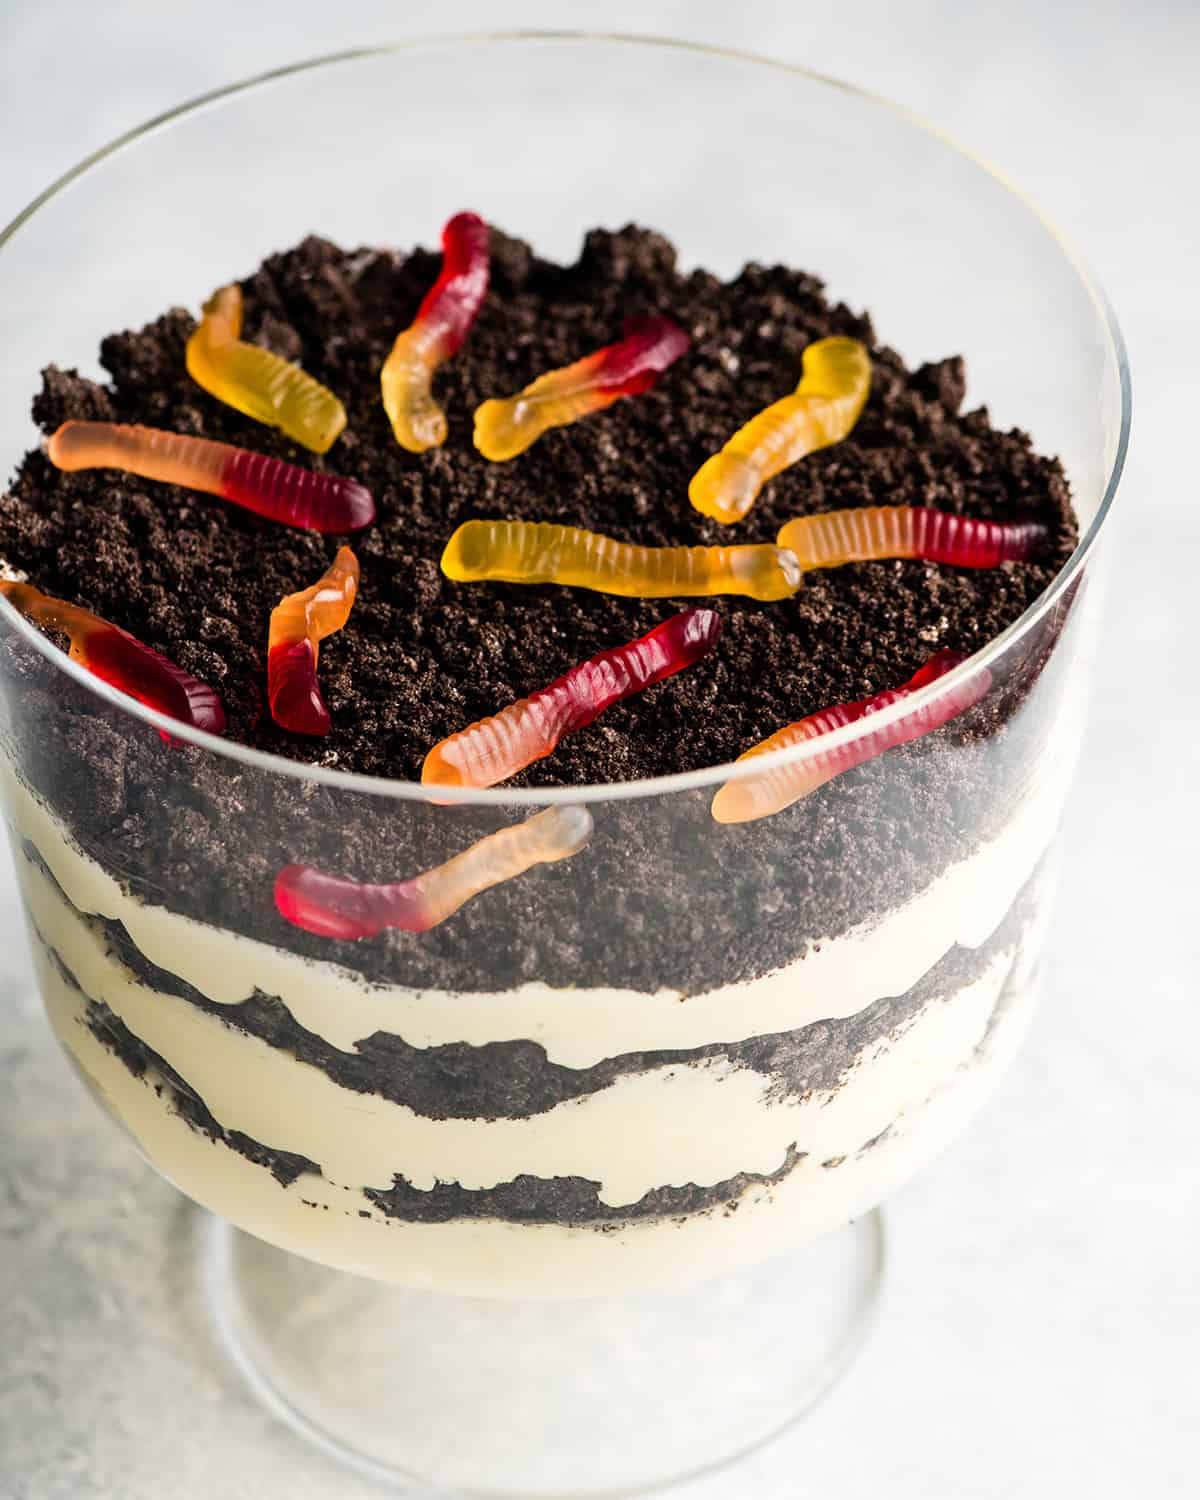
Then repeat until all the ingredients have been used. Just be sure to end with a layer of Oreos! These amounts of ingredients will differ if you use a different serving dish other than this glass trifle dish. I discuss more serving options below!
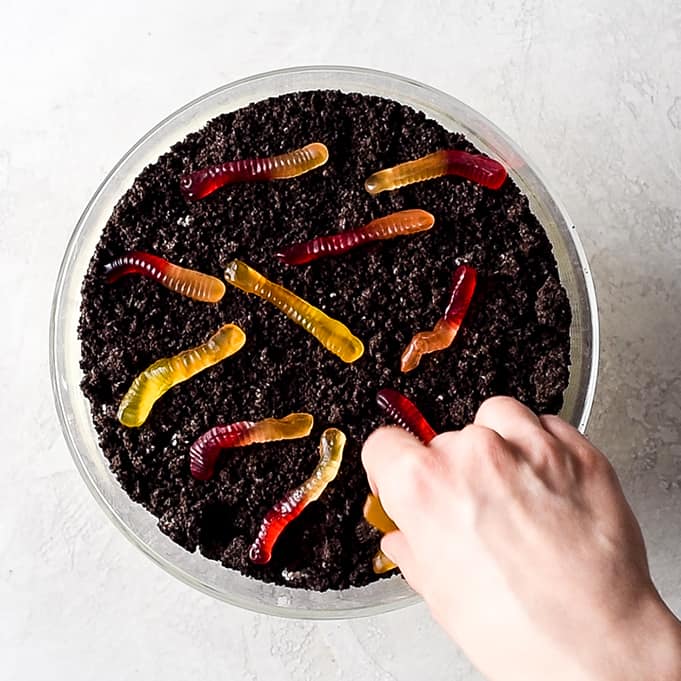
Step 6: Add Gummy Worms
For a fun addition, add some gummy worms to the top of the dirt cake once you have finished layering. You could add them as you go on top of each dirt layer if you really love them! I personally don’t prefer the fruity taste in my Oreo Dirt Cake, so I choose to just put them on top and serve extras on the side!
Step 7: Chill Overnight
Chilling this Oreo Dirt Cake recipe overnight is critical to achieve the best flavor and texture. The pudding and Oreos meld together and become an out-of-this-world delicious dessert! Simply cover the trifle dish with plastic wrap and place it in the refrigerator overnight. Sure you could only chill it for a couple hours if it’s absolutely necessary. But I recommend taking advantage of the fact that this no-bake dessert needs to be made the day before a big event, freeing you up to make other recipes (like this Pasta Salad or Asian Quinoa Salad), the day of!
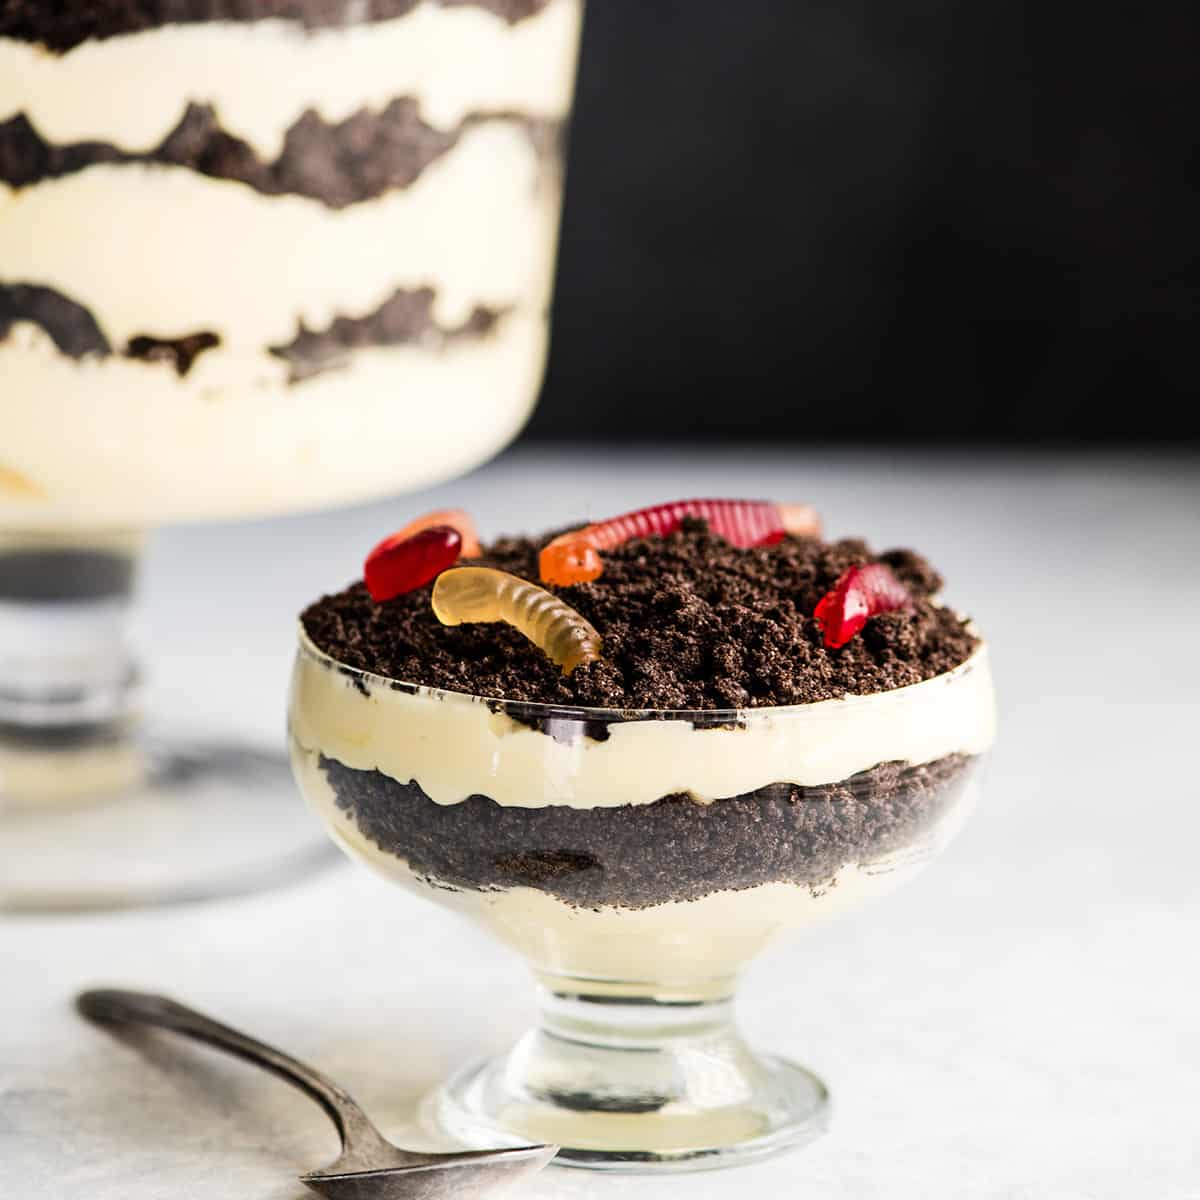
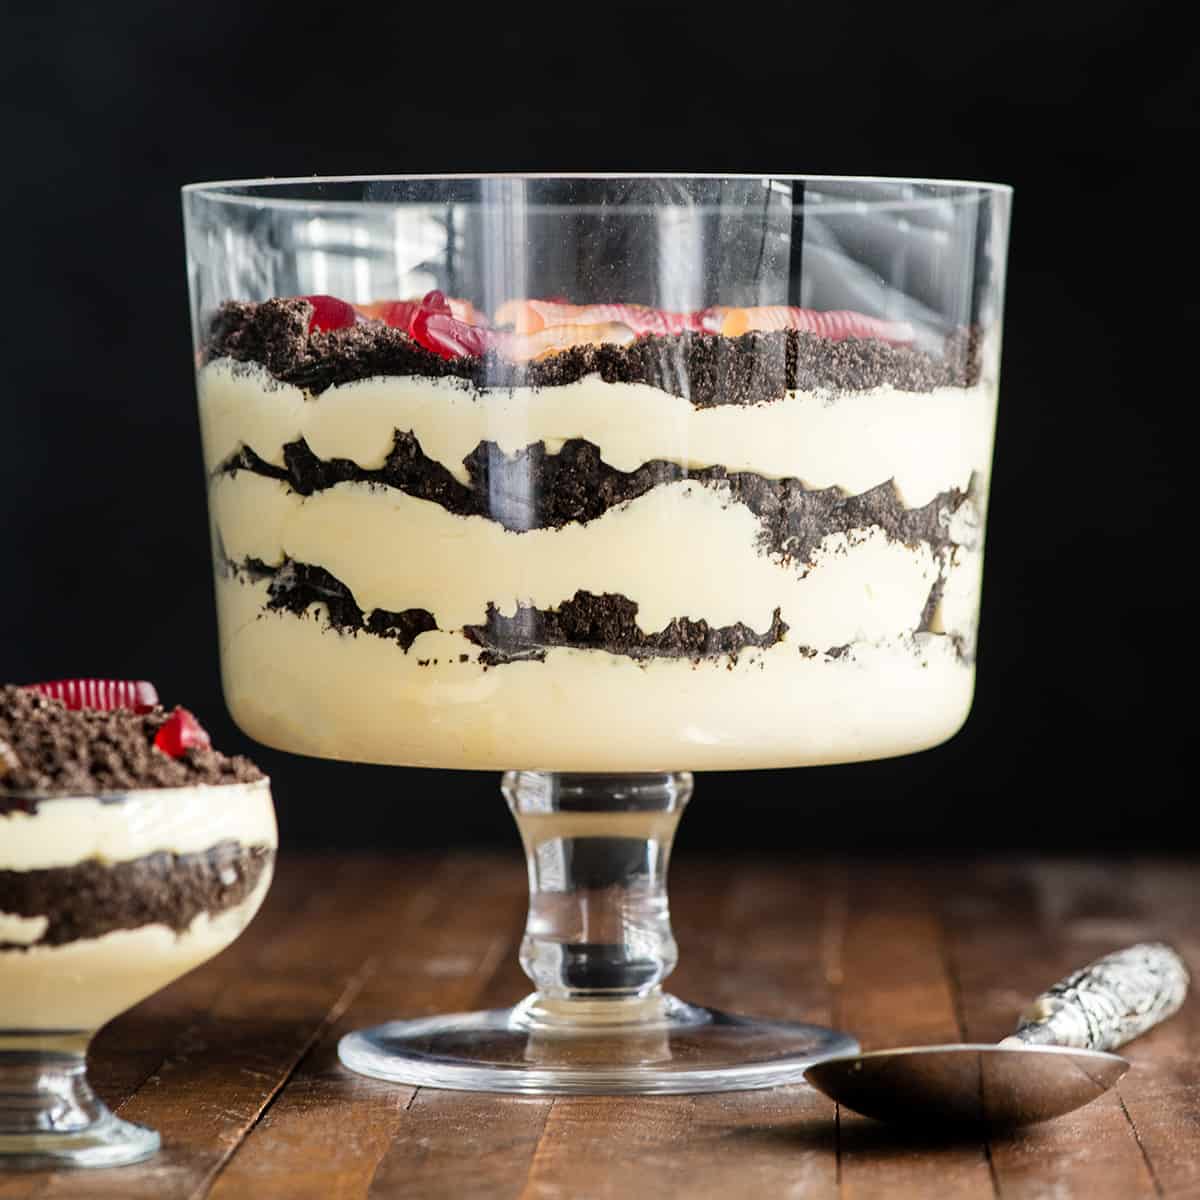
Step 8: Serve
After exercising amazing self-control and patience letting this Dirt Cake recipe chill overnight, it’s time to finally dig in. There are a few different “vessels’ you can use to make this Oreo Dirt Cake recipe.
Store/Freeze
Store leftovers in an airtight container in the refrigerator for 3-5 days, or you can wrap the top of the serving dish with plastic wrap to keep in the refrigerator too. Store it in the freezer in an airtight container for up to 1 month. Thaw slowly in the refrigerator (do not microwave). If you make and love our recipes, it would mean so much to me if you would leave a comment and rating! And don’t forget to follow along with us on Instagram, Pinterest, Facebook, and Youtube – be sure to tag @joyfoodsunshine and use the hashtag #joyfoodsunshine so we can see your creations!
![]()