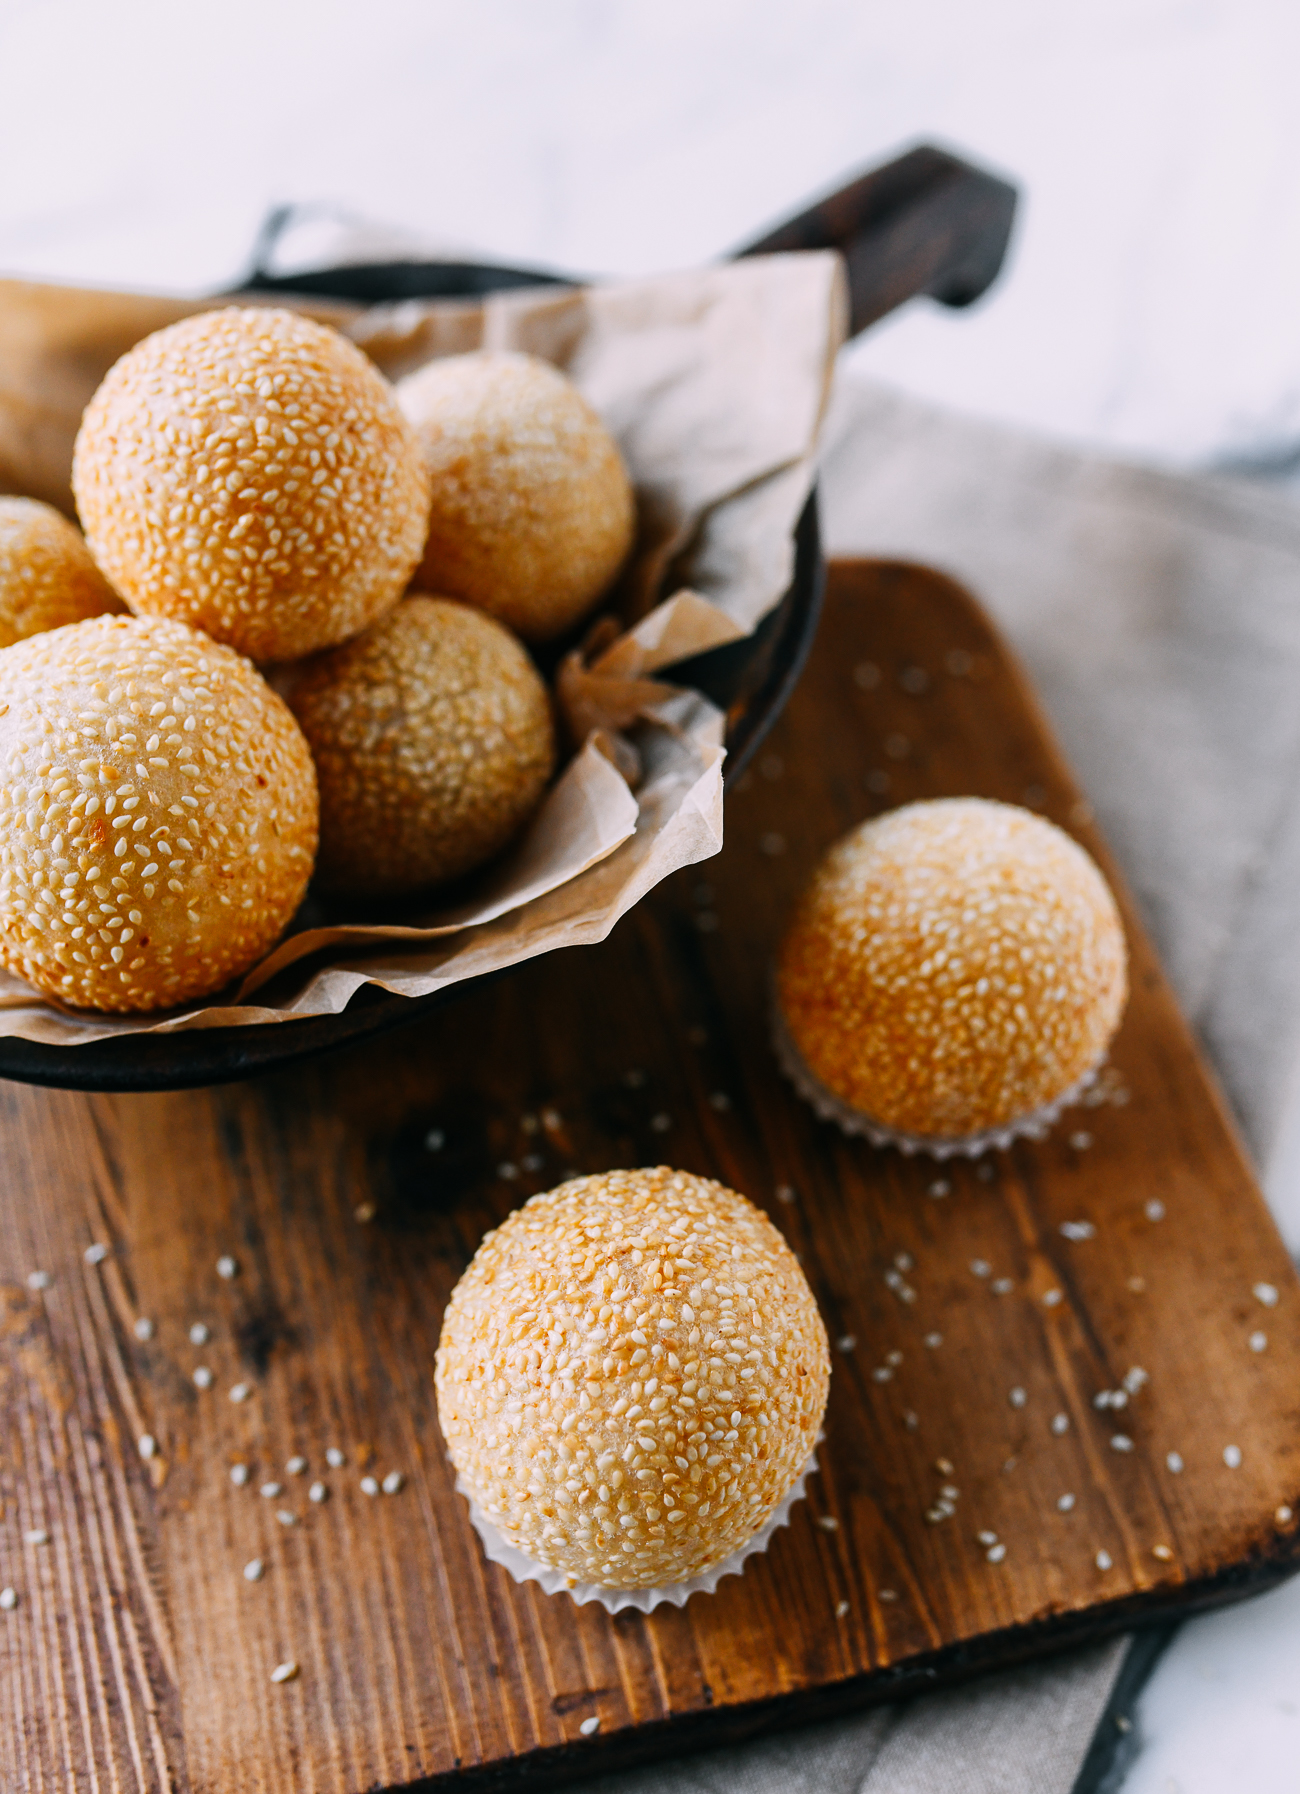
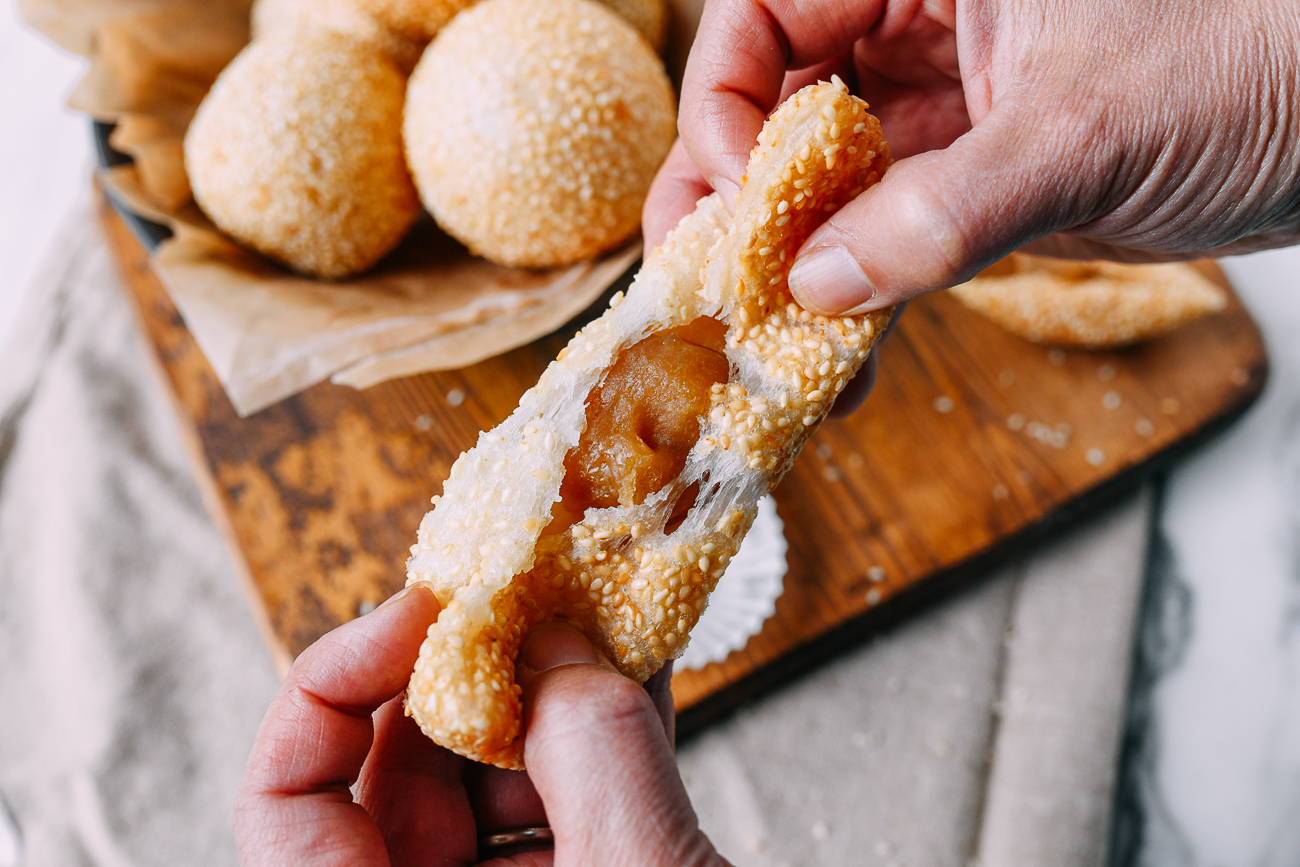
They are made with a sticky rice flour dough, filled with a sweet paste, rolled in sesame seeds, and fried until crispy on the outside, but still soft and chewy on the inside. They’re called zhīma qiú in Mandarin: 芝麻球. Judy’s family used to call them maqiú for short. My Cantonese family called them jin dui. No matter what they were called, everyone could agree that they’re an irresistible treat.
What Are Sesame Balls Filled With?
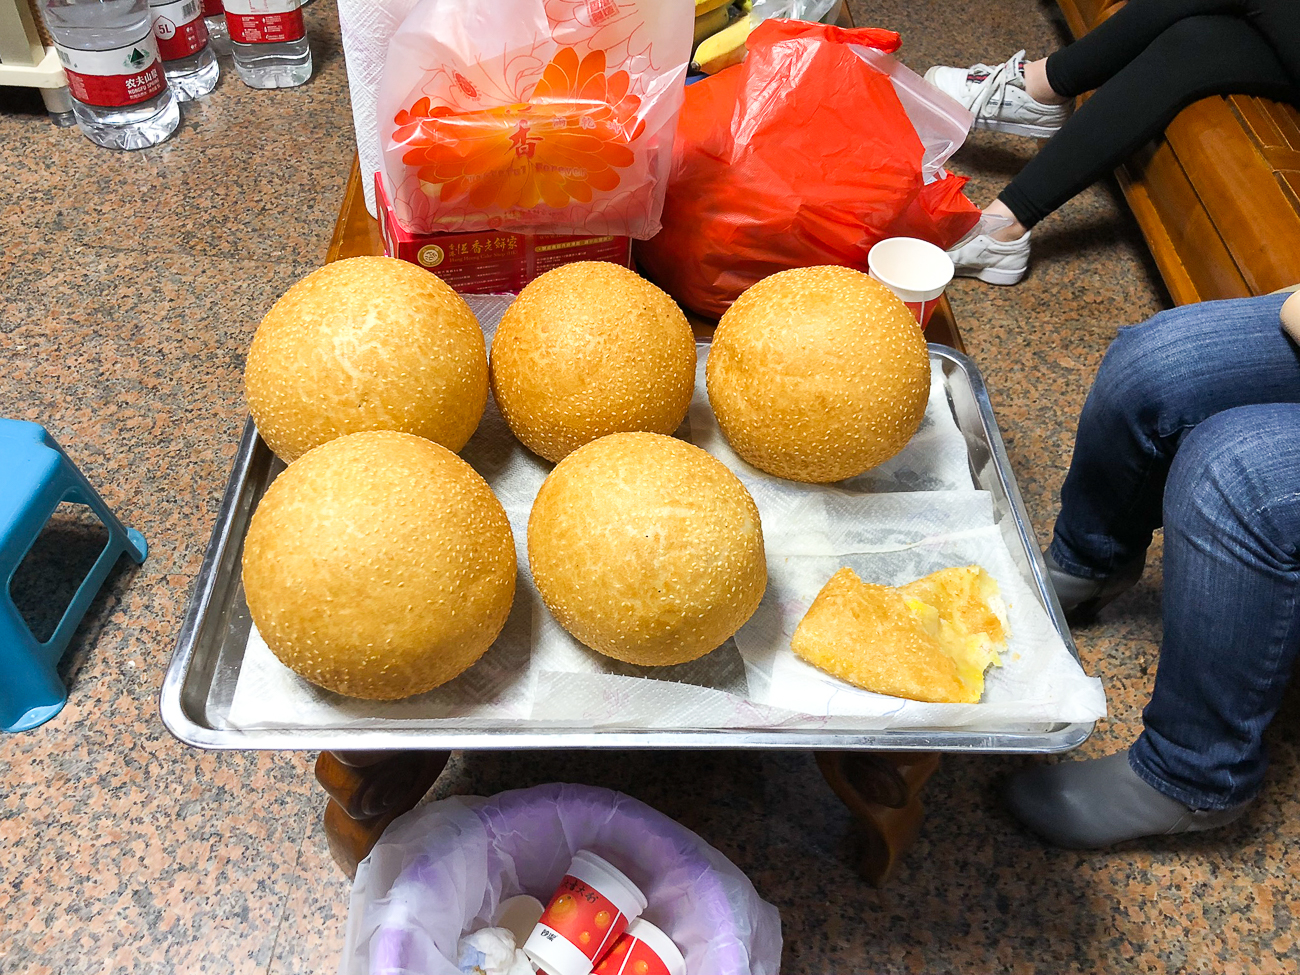
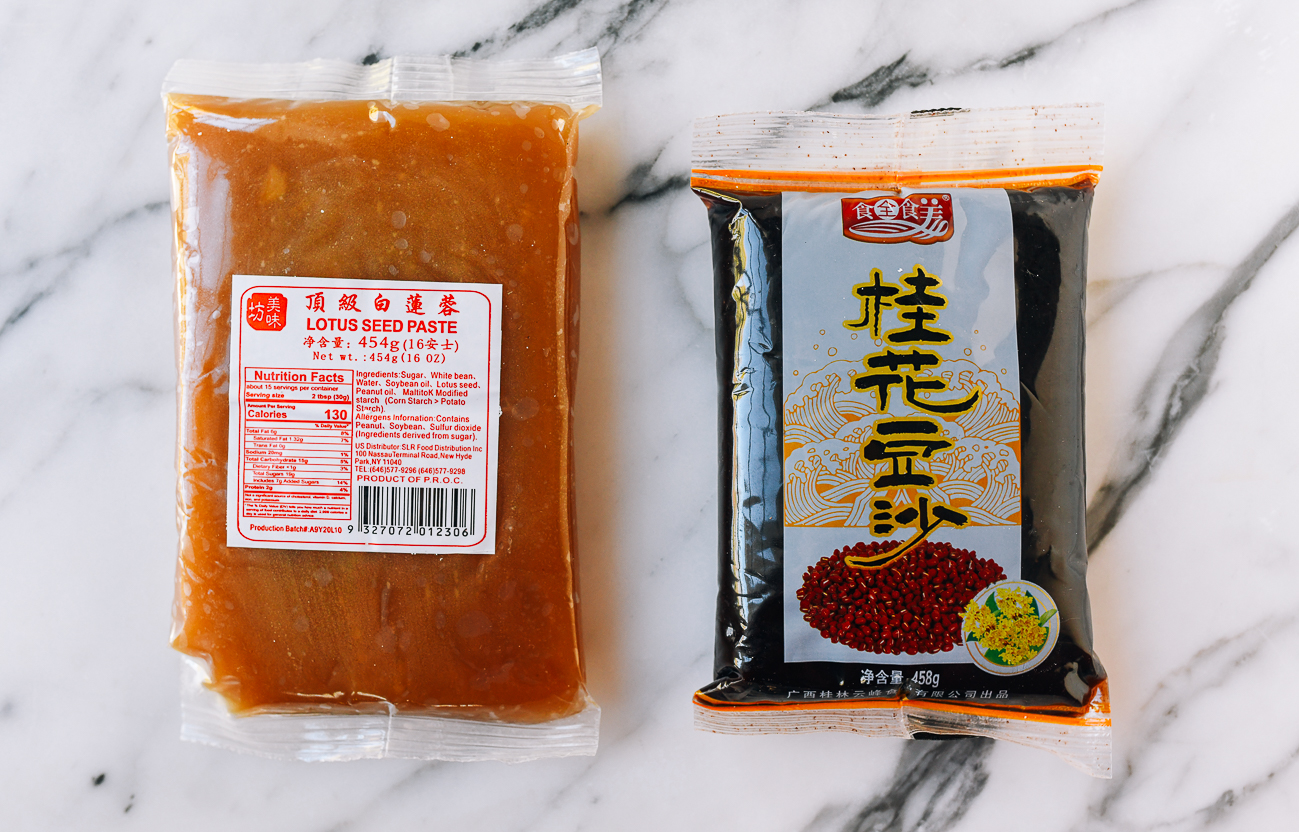
When I was growing up, the filling of choice was lotus seed paste, similar to what you find in some mooncakes, except with a softer consistency. Recently red bean sesame balls may have overtaken lotus paste in popularity, but I’ll always prefer the classic lotus paste, which is why this recipe uses it. You can buy it pre-made or make lotus paste yourself with our recipe. That said, you can easily buy red bean paste or make Judy’s all-purpose recipe for red bean paste. In China, we once enjoyed a giant sesame ball! It was hollow in the center and incredibly crispy. A real feat of cooking mastery. Just look at these giant sesame balls from my cousin’s wedding in China:
Developing Our Sesame Ball Recipe
I can’t tell you how excited I am about this recipe. After many experiments with the dough, sesame seed adhesion, and deep frying times, we finally got it right. This sesame ball recipe is just as good or better than any I’ve had. It’s especially satisfying if you don’t live near any dim sum restaurants or Chinese bakeries. I have to emphasize that while the ingredients list and directions sound simple, the execution requires some practice and attention to detail. You must follow the recipe to make these not only successfully, but safely at home. Initially, I experimented with both rice flour and glutinous rice flour. Some batches turned out as tough and hard as golf balls! You could tee them up, hit them with your nine iron, and they would probably sail 100 yards! Adding sugar, using boiling water (which makes the dough soft and allows it to stretch and expand during frying), and adopting other specific techniques solved those issues. Another problem I faced was—there’s no better way to say it—exploding balls caused by high heat and leavening agents like baking powder. Yes, the recipe development process was messy and sometimes even dangerous!
Tips for Successfully—and Safely—Frying Sesame Balls:
Frying is a serious business, and frying these sesame balls is all about technique. That’s why it’s important to follow my instructions carefully. Don’t repeat my mistakes!
Using too high a temperature may result in the ball expanding too fast and bursting/exploding.Too low a temperature and your sesame ball will soak up oil and taste greasy.
Here’s the overall process:
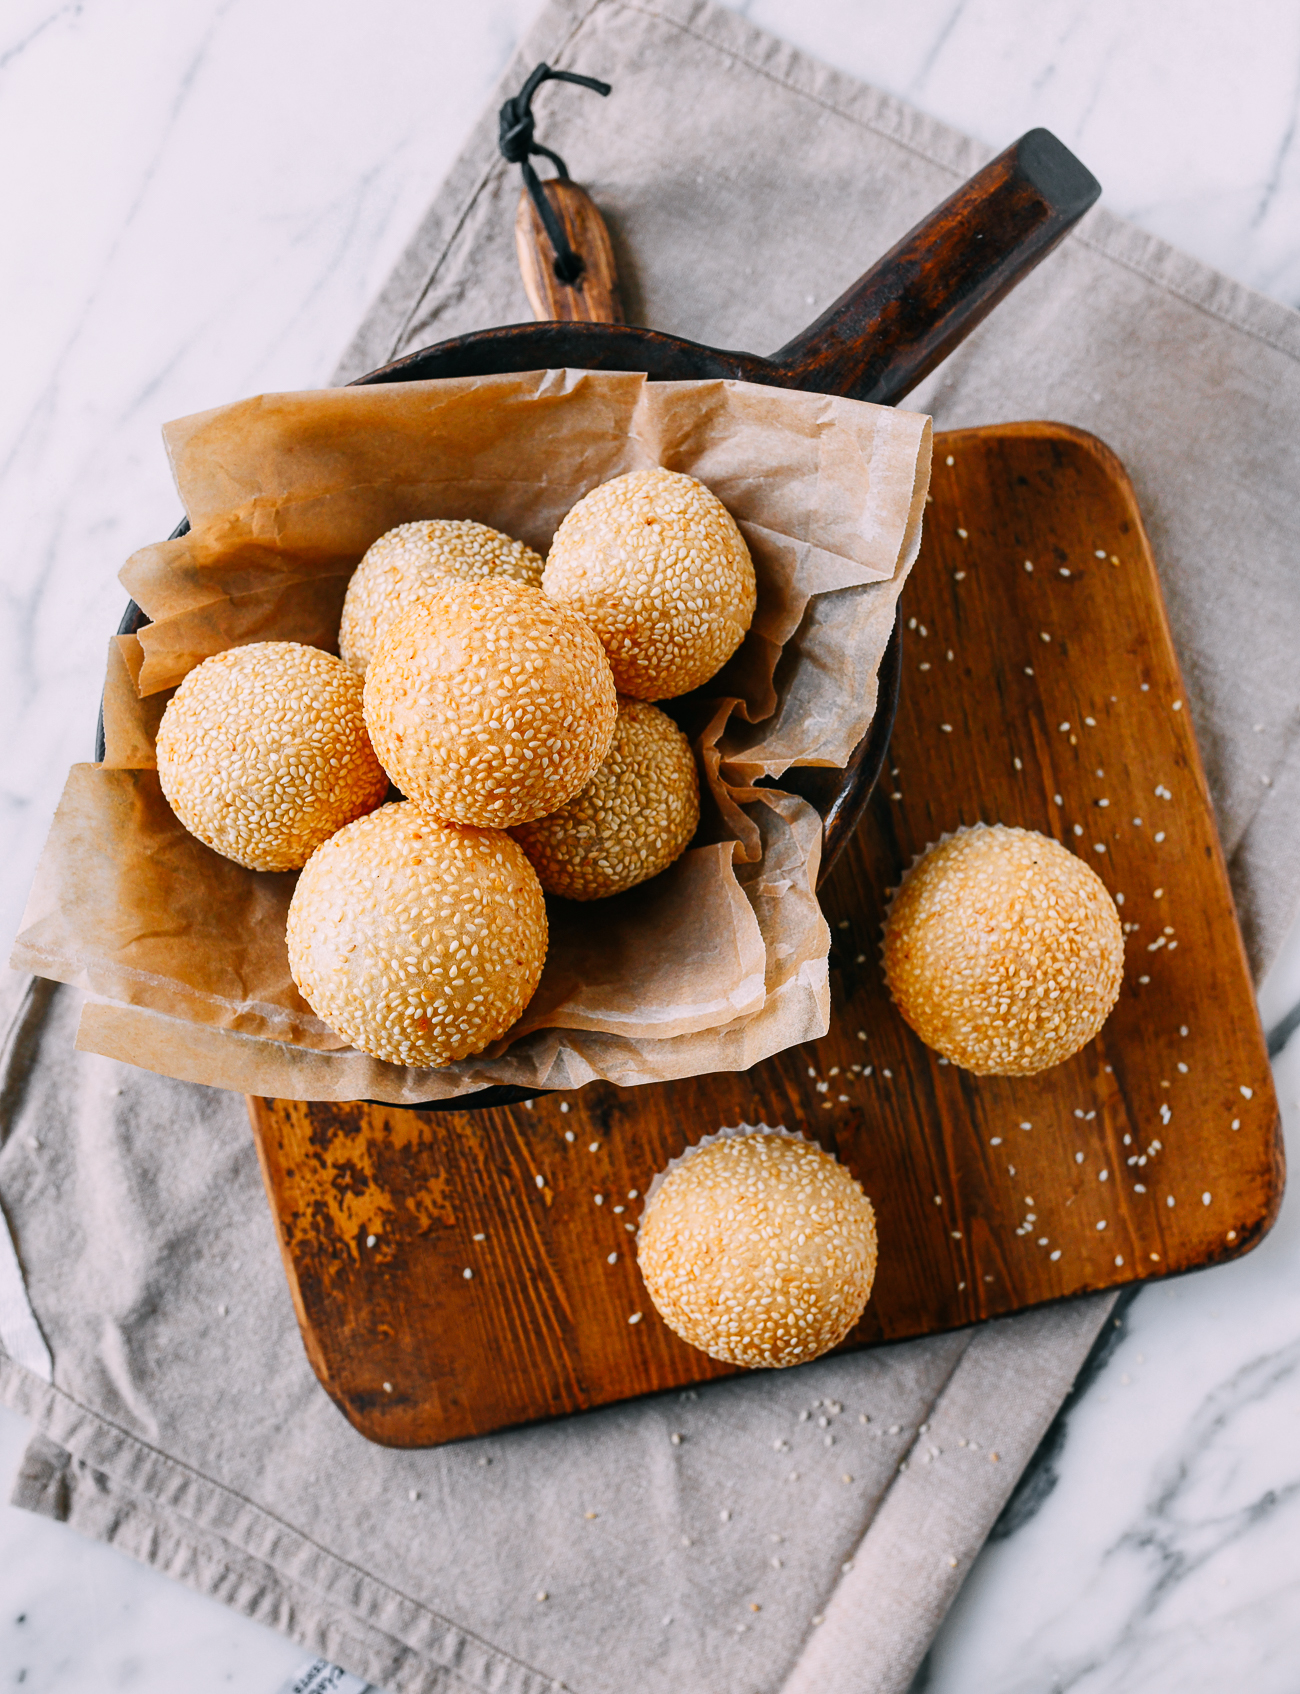
So with a repeated caution to follow the directions closely, here’s our proven sesame balls recipe!
Chinese Sesame Balls: Recipe Instructions
Choose your filling:
The most common fillings for Chinese sesame balls are lotus paste or red bean paste. You can buy ready-made filling pastes at the Asian or Chinese grocery store, or use our lotus paste or red bean paste recipes. We used lotus paste!
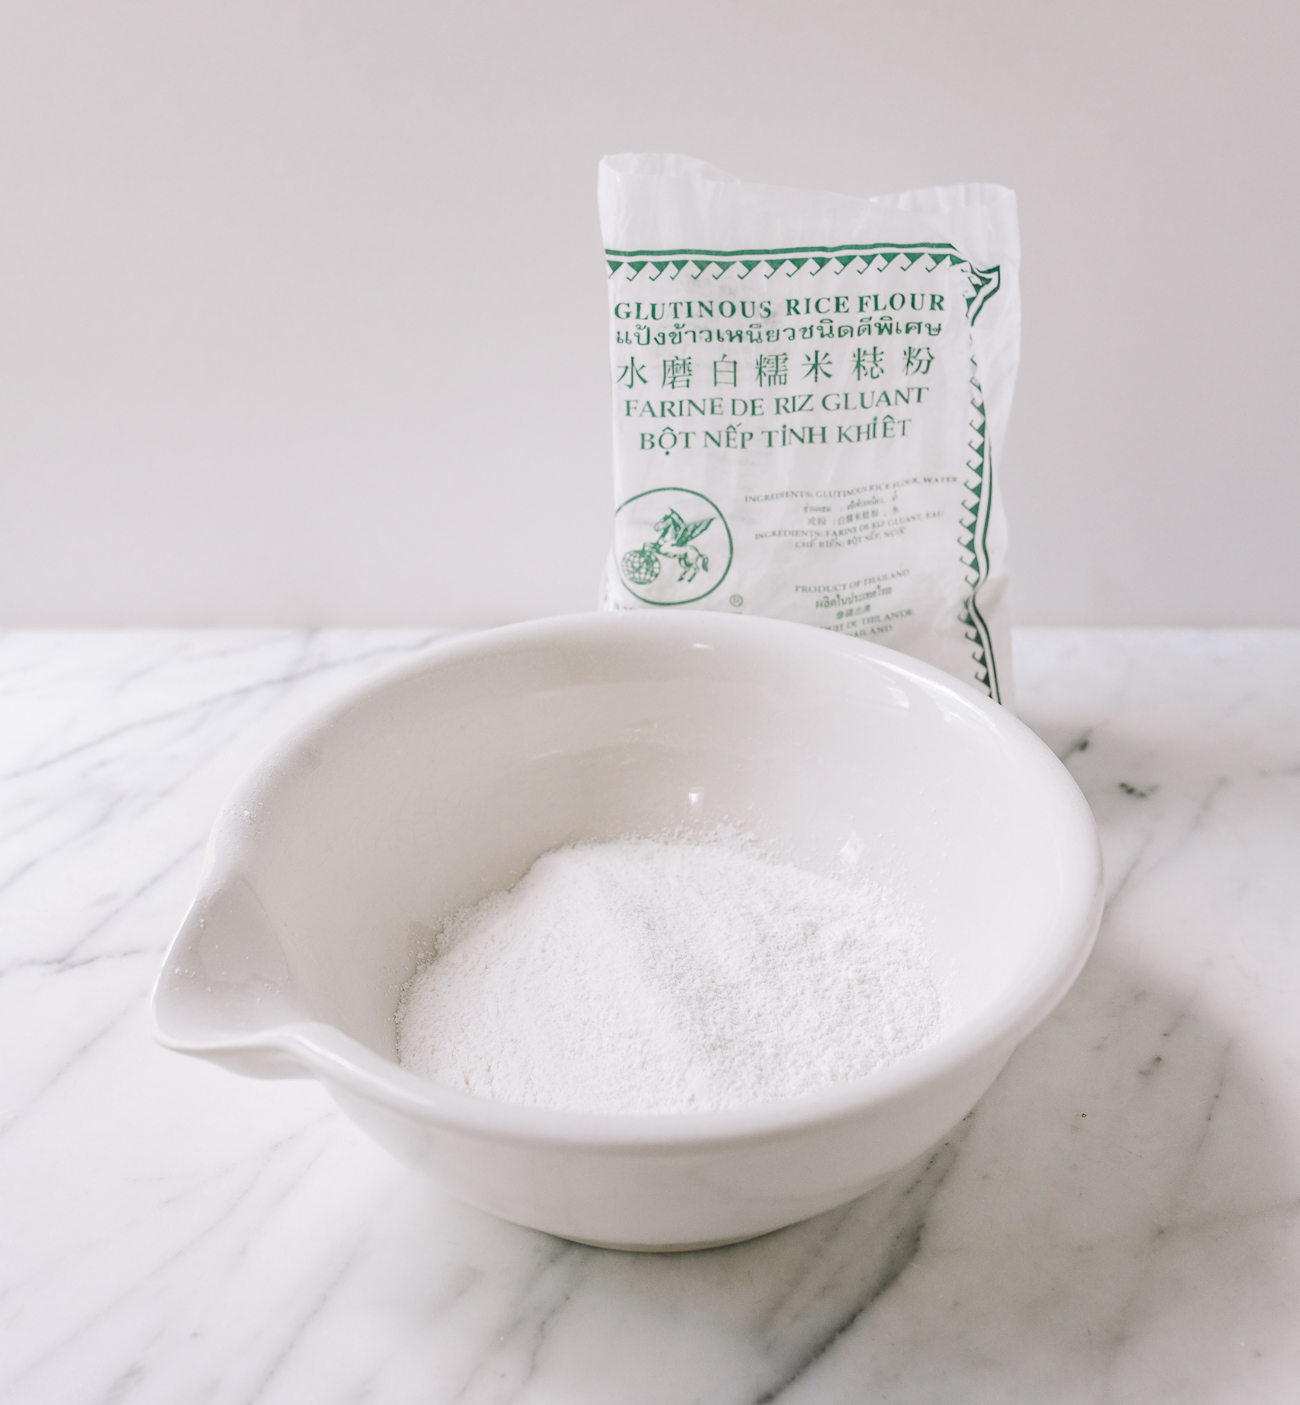
Make the sesame ball dough:
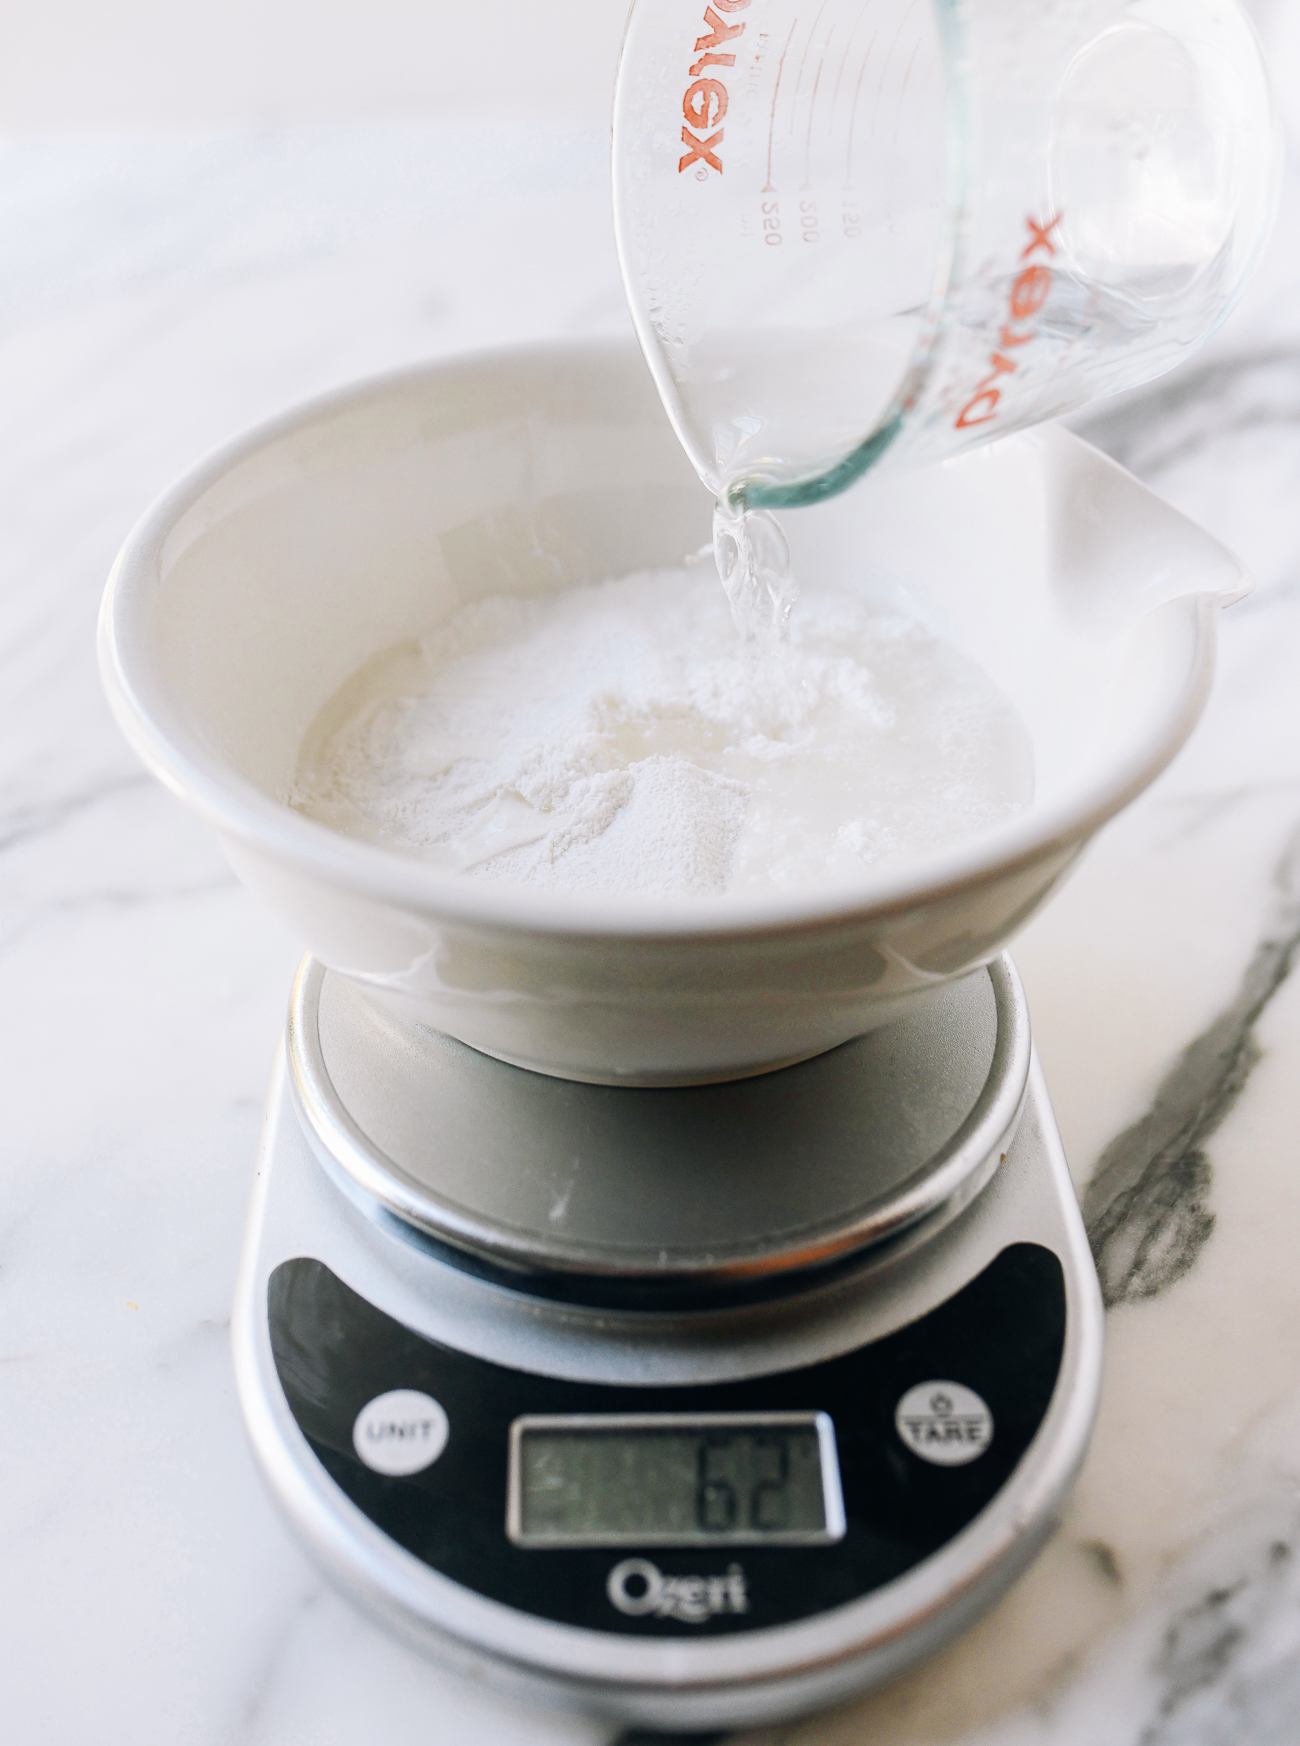
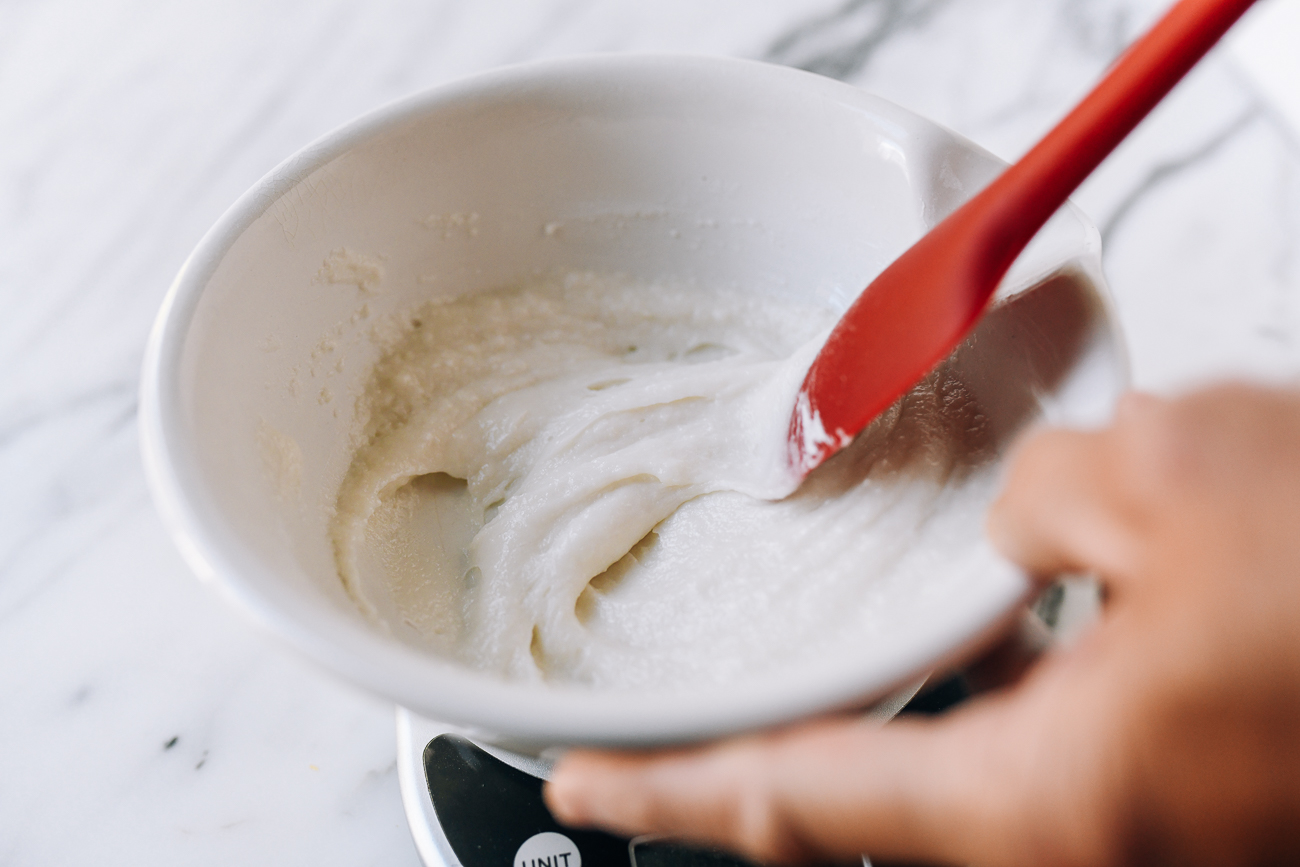
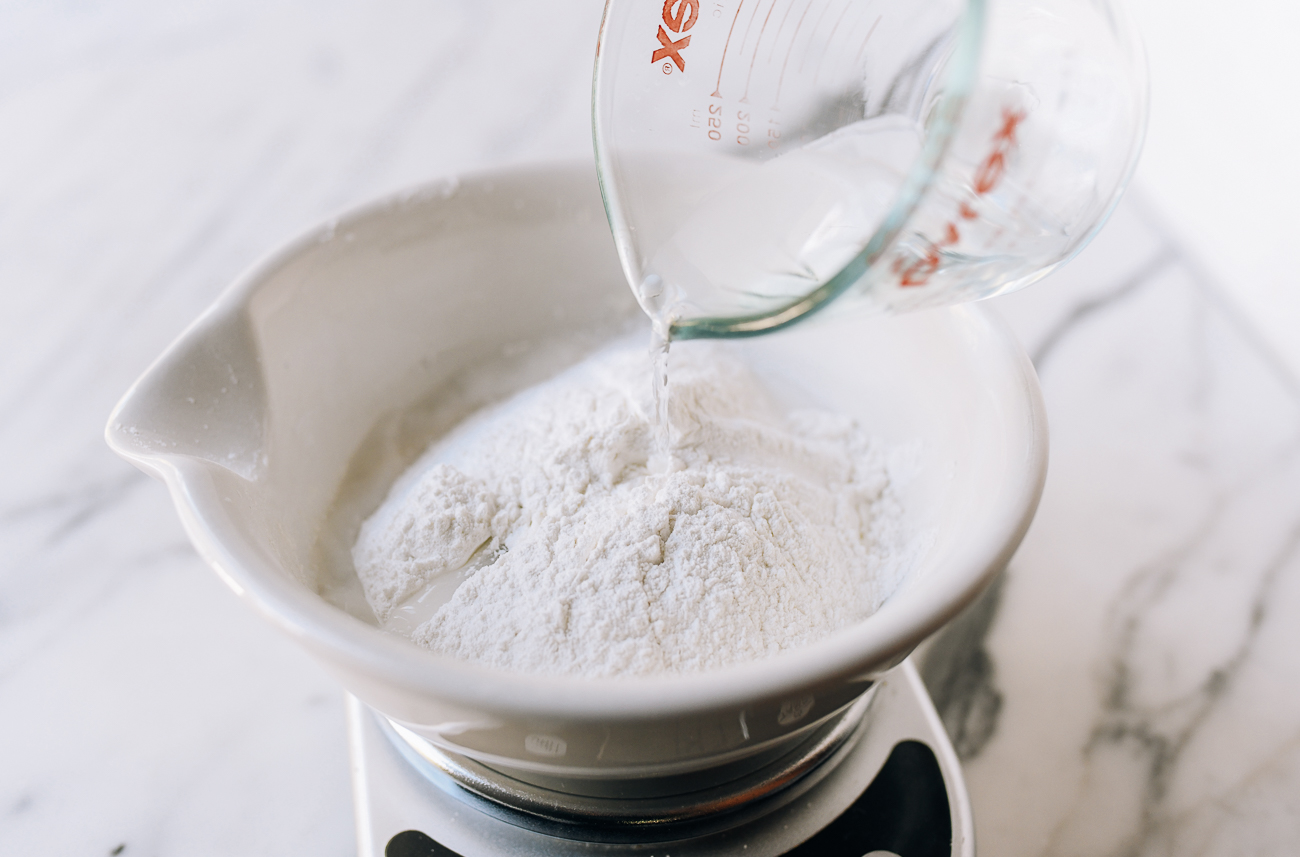
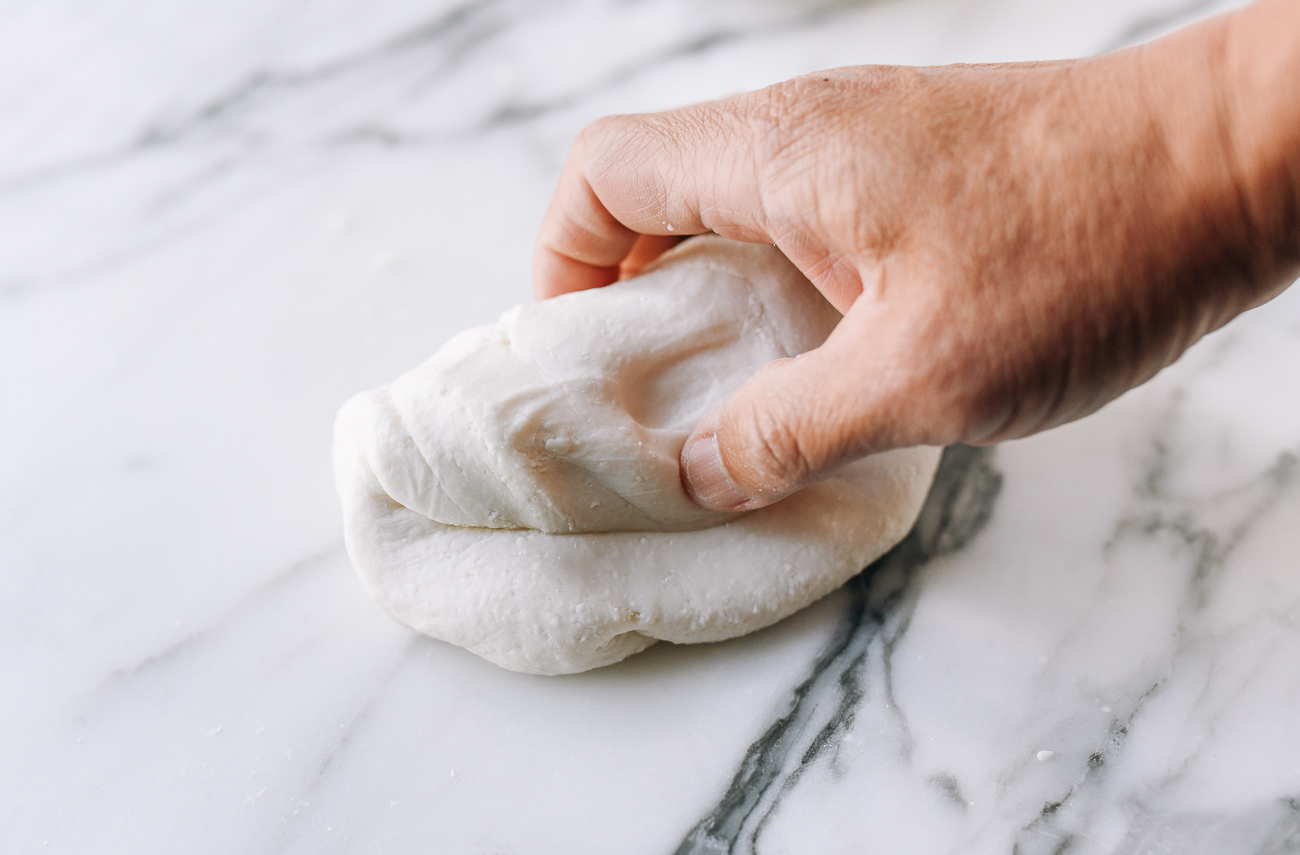
Place 1/2 cup (60g) glutinous rice flour and sugar in a bowl. Pour 1/4 cup (60g) of boiling water into the flour and sugar. Mix with a rubber spatula until smooth. Let sit for 5 minutes. Add ¼ cup + 1 tablespoon (70g) room temperature water and the rest of the glutinous flour (1 cup, 120g). Mix with a spatula until it forms a dough, and all the flour has been incorporated. Cover with an overturned plate or put it in a reusable silicone bag. Set aside to rest for 30 minutes.
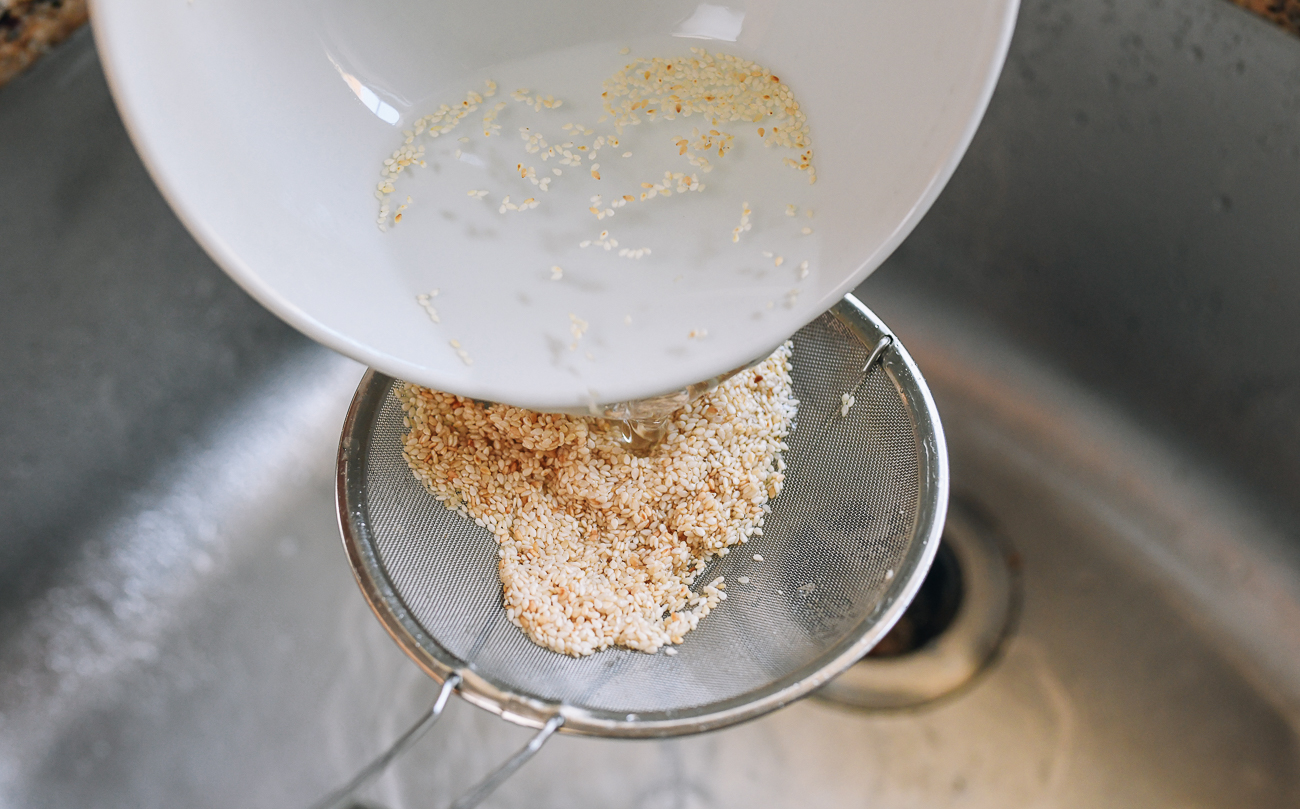
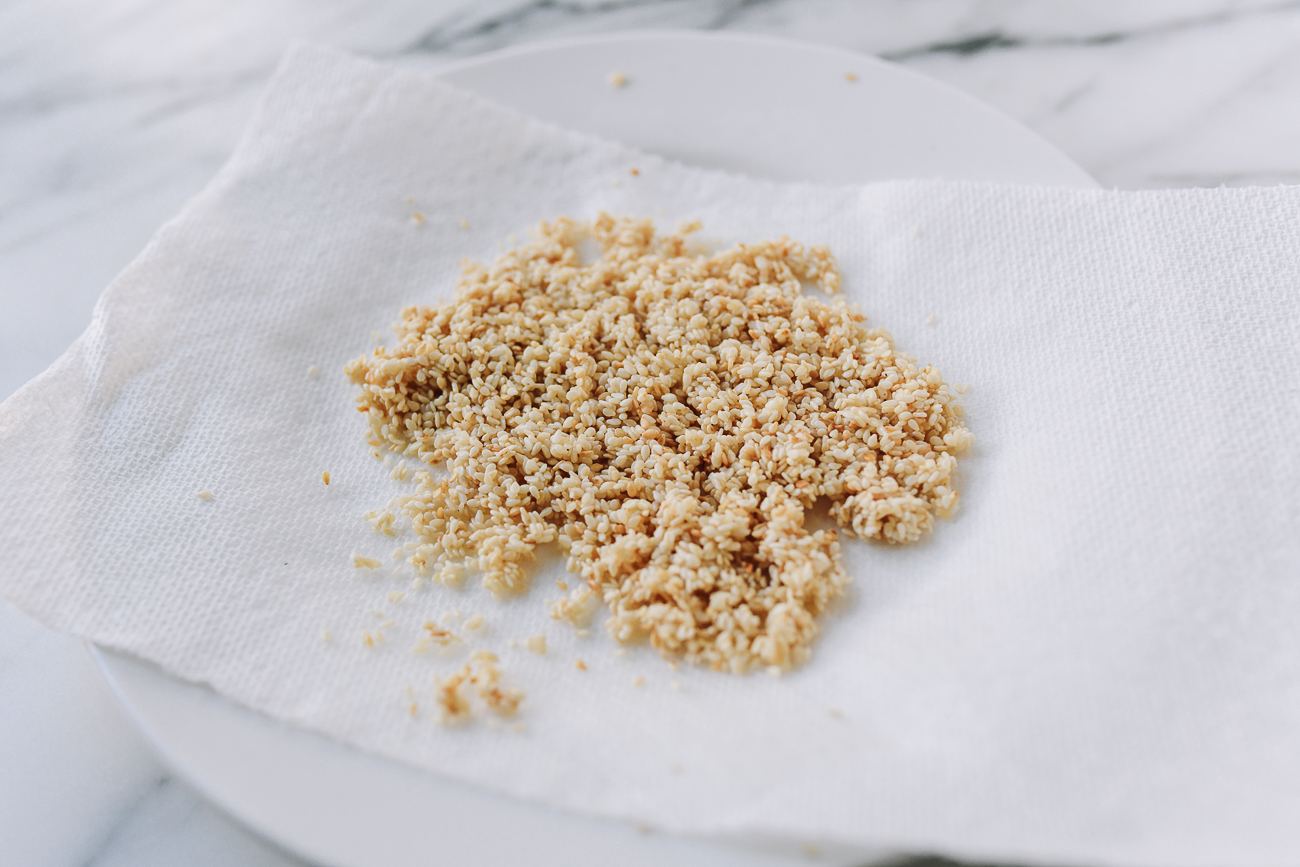
Prepare your sesame seeds:
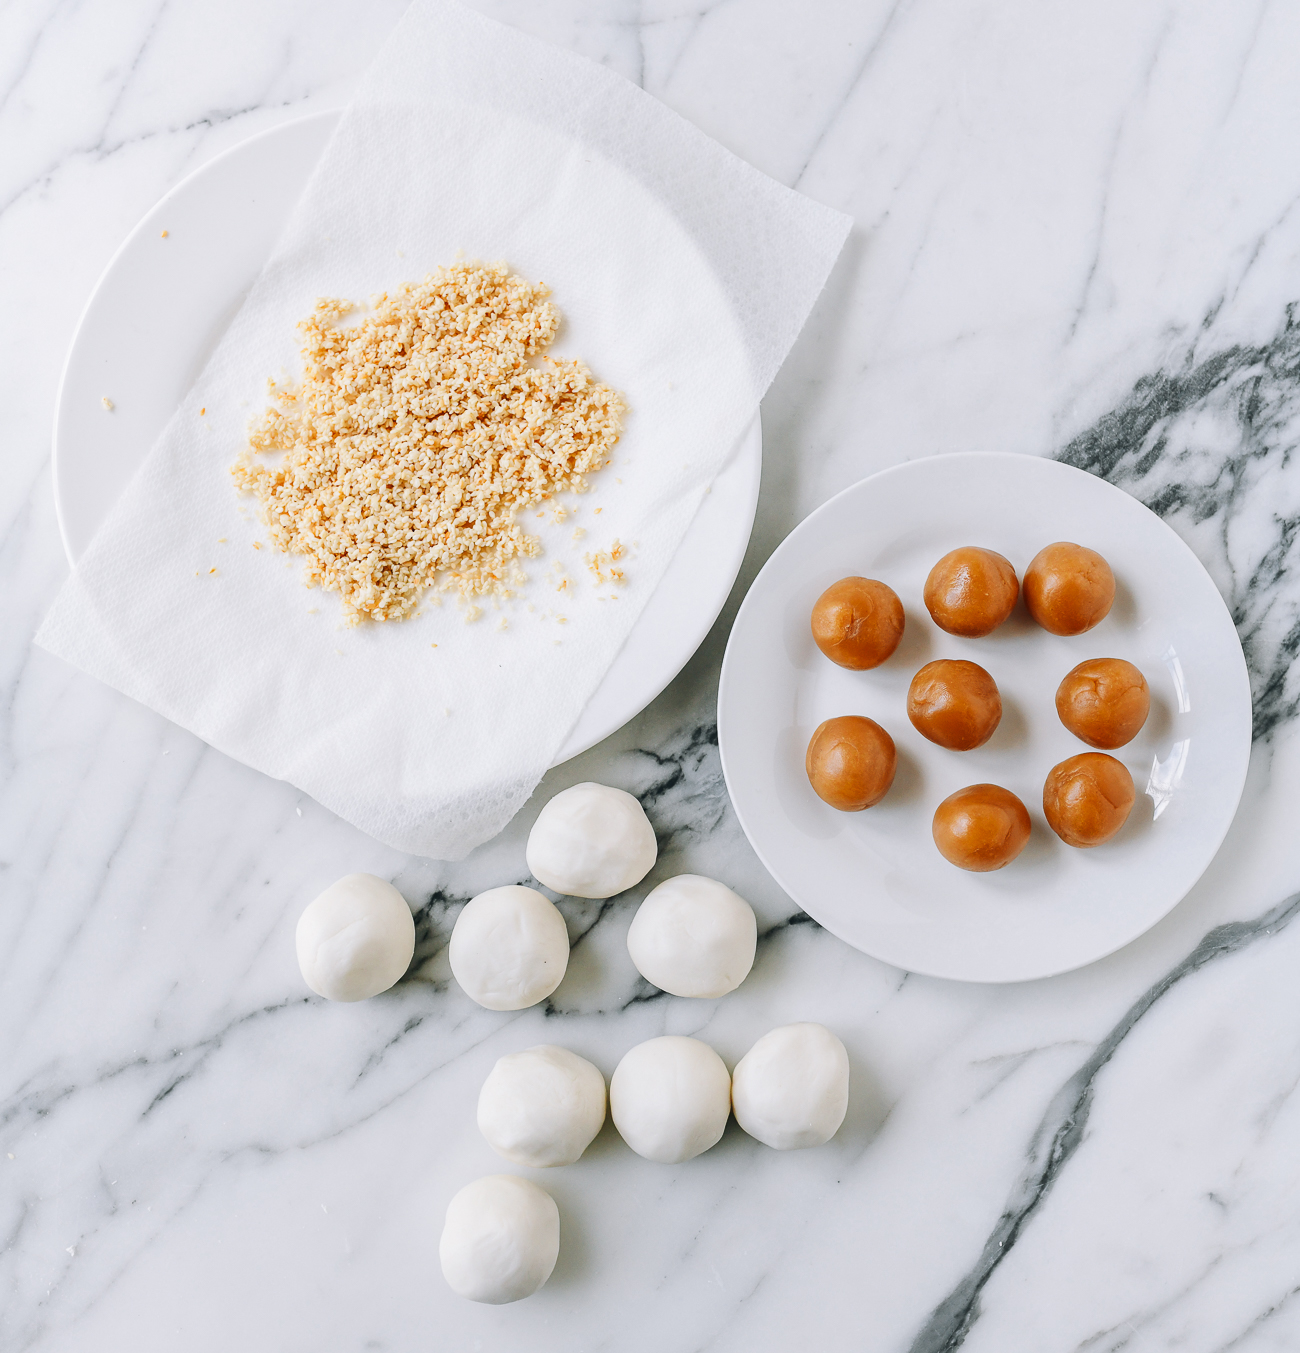
Hydrating the sesame seeds is by far the most effective way of ensuring they stick to the dough and do not fall off during frying. Pour the sesame seeds (raw or toasted are both okay) into a fine meshed strainer. Rinse under water until they are completely soaked. Let the excess water drain and place the sesame seeds on a plate. Spread them out evenly with enough space for rolling the sesame balls. You can use a paper towel if the sesame seeds are very wet. They should be moist, but not dripping wet.
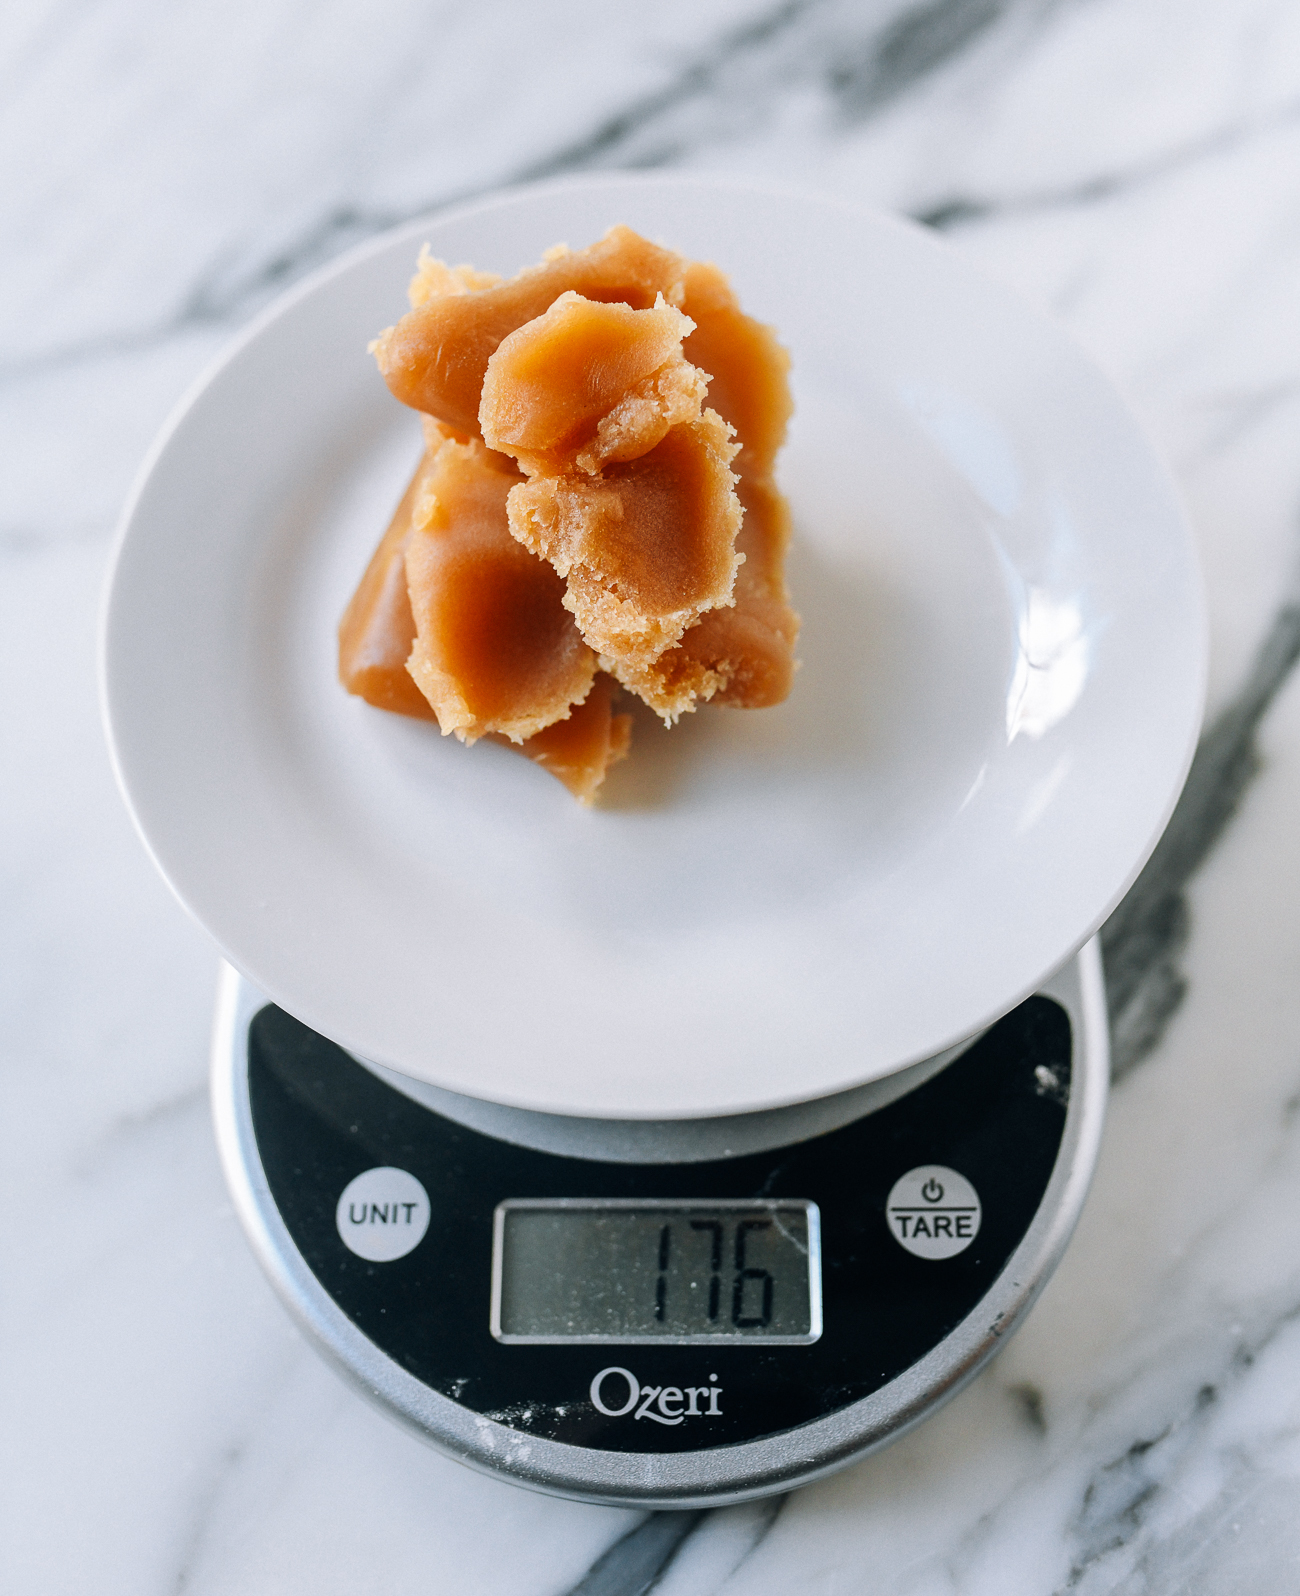
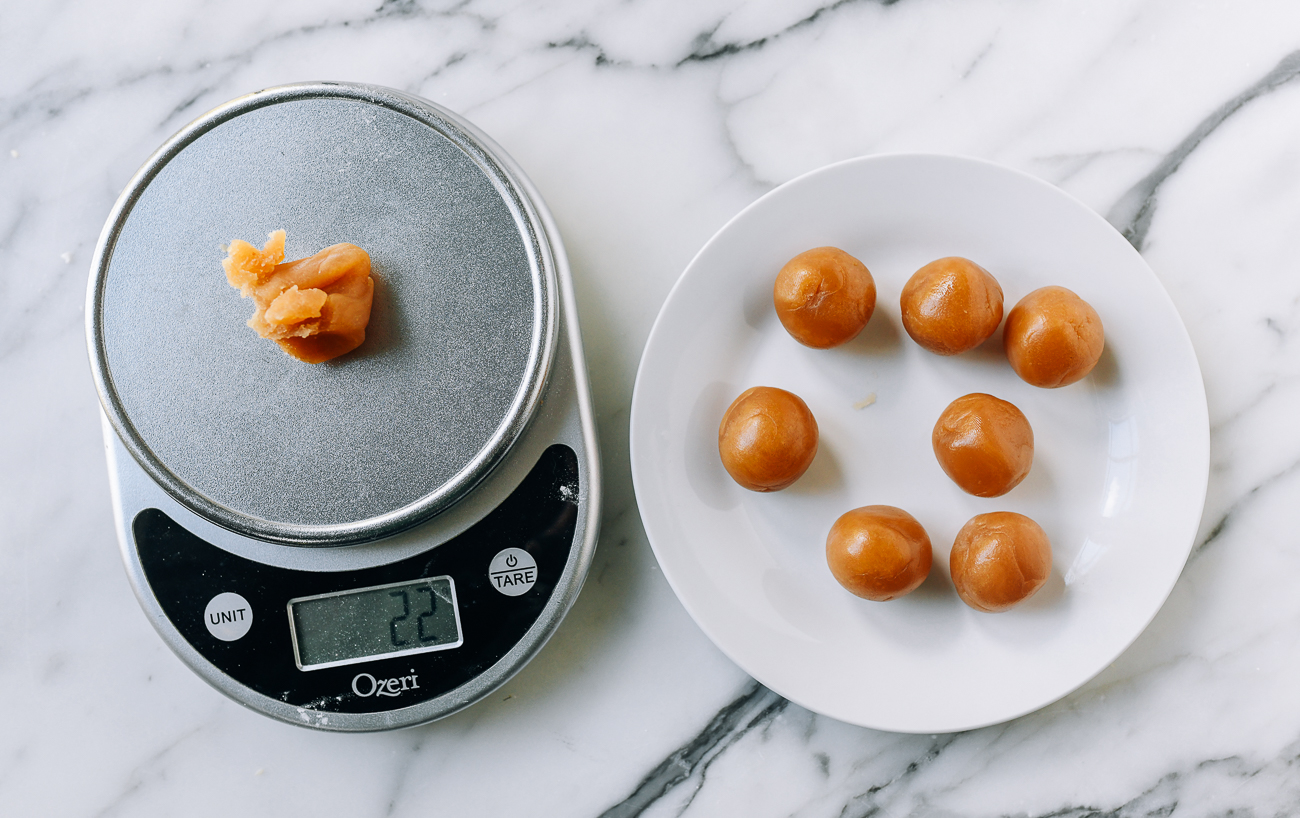
Weigh the filling and form into balls:
Your filling should be half the weight of your dough ball. Use your kitchen scale to measure out 8 pieces of lotus or red bean paste that weigh 24g each. Roll them into balls and set aside.
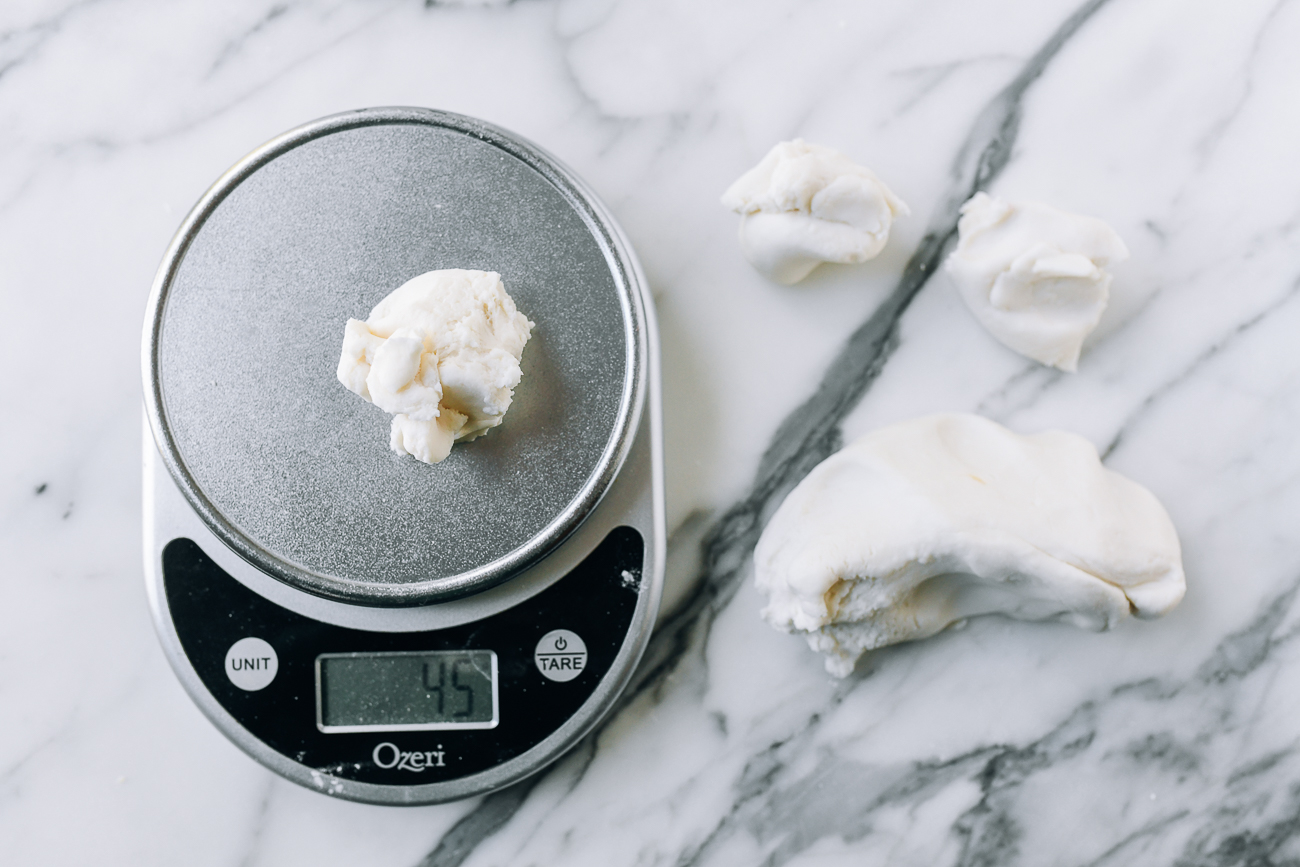
Weigh the dough and form into balls:
Weigh the dough ball on a digital kitchen scale – it should weigh about 370 to 380 grams. Whatever your weight is, divide it by 8 to get the weight for each dough ball (in our case, we got 47g). Using the kitchen scale, separate the dough into 8 equal pieces, and roll them into balls. Set them aside on a plate, and cover them so they don’t dry out.
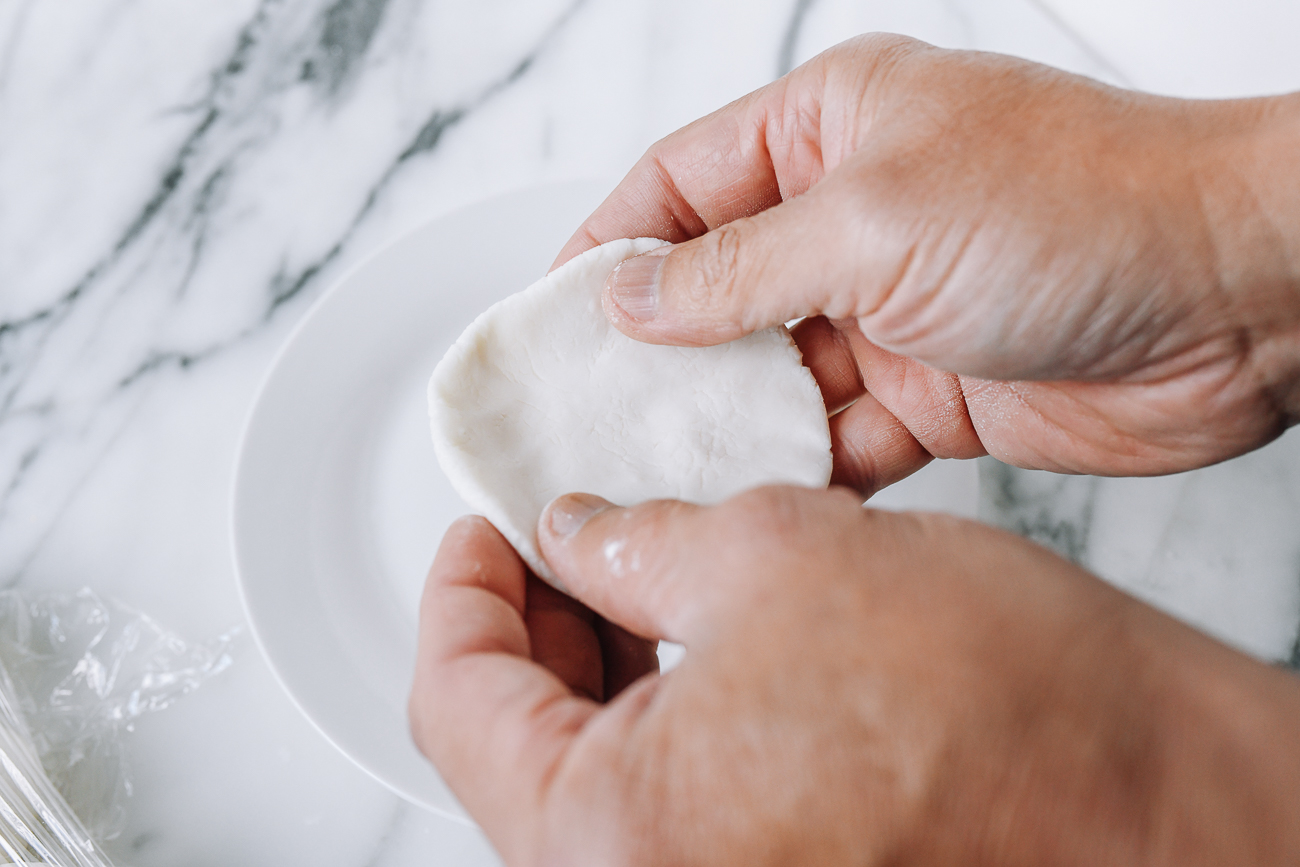
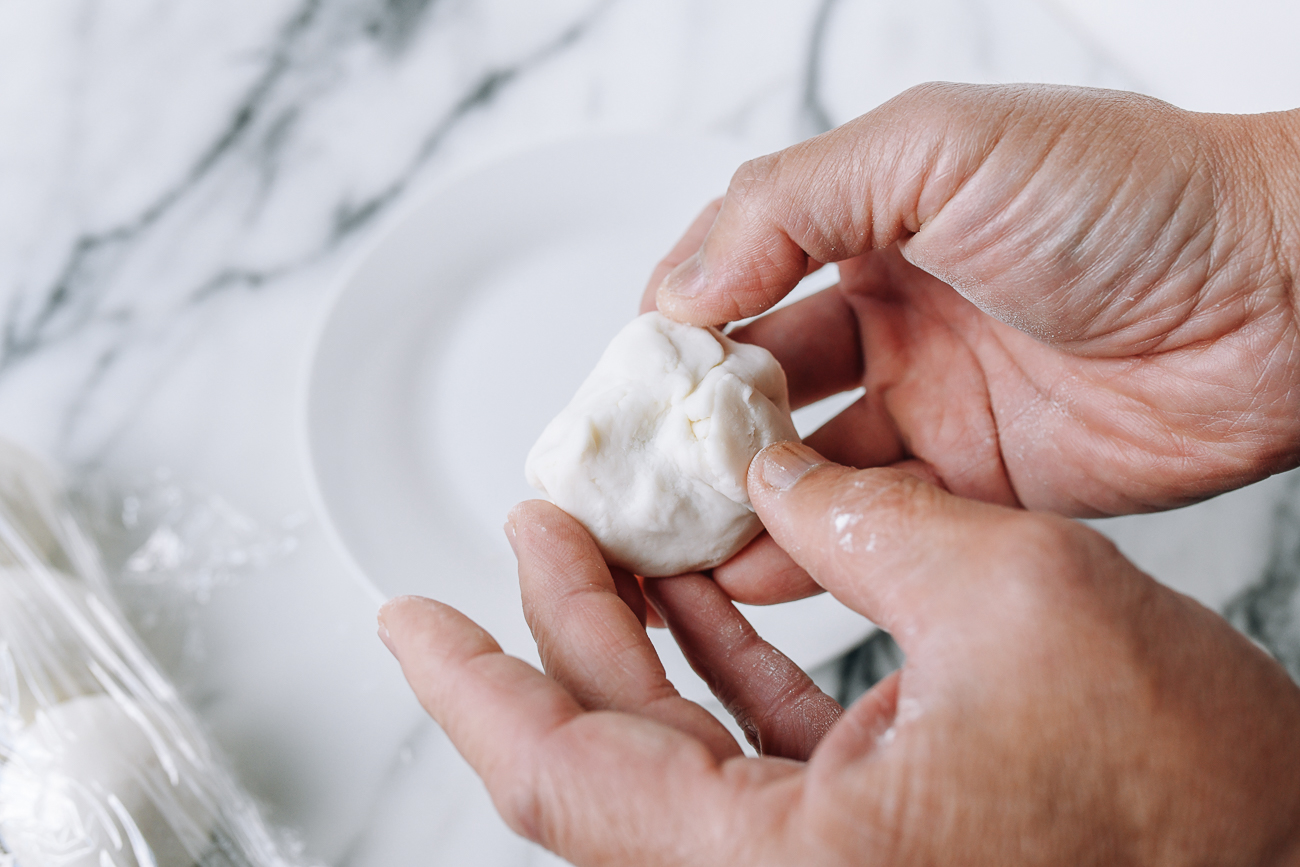
Assemble the sesame balls:
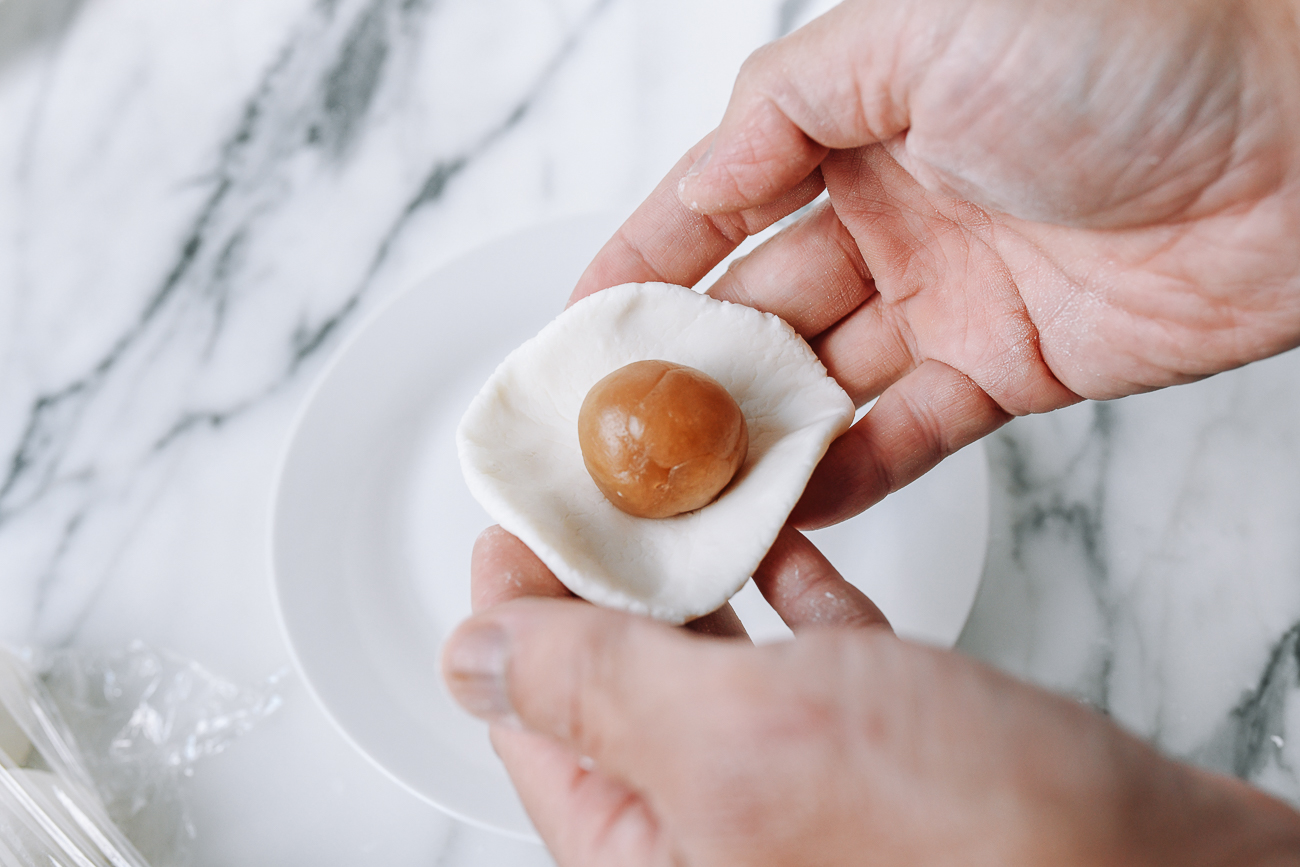
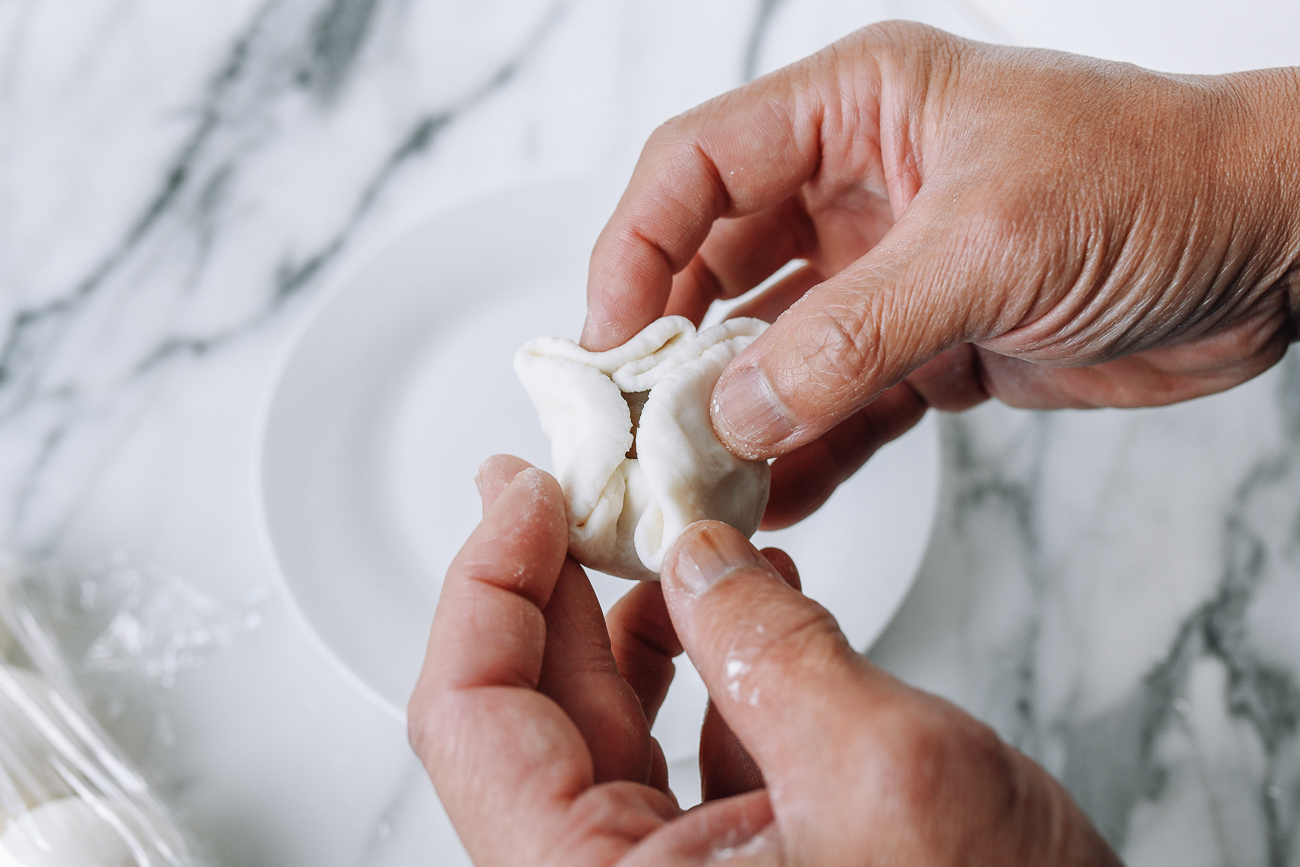
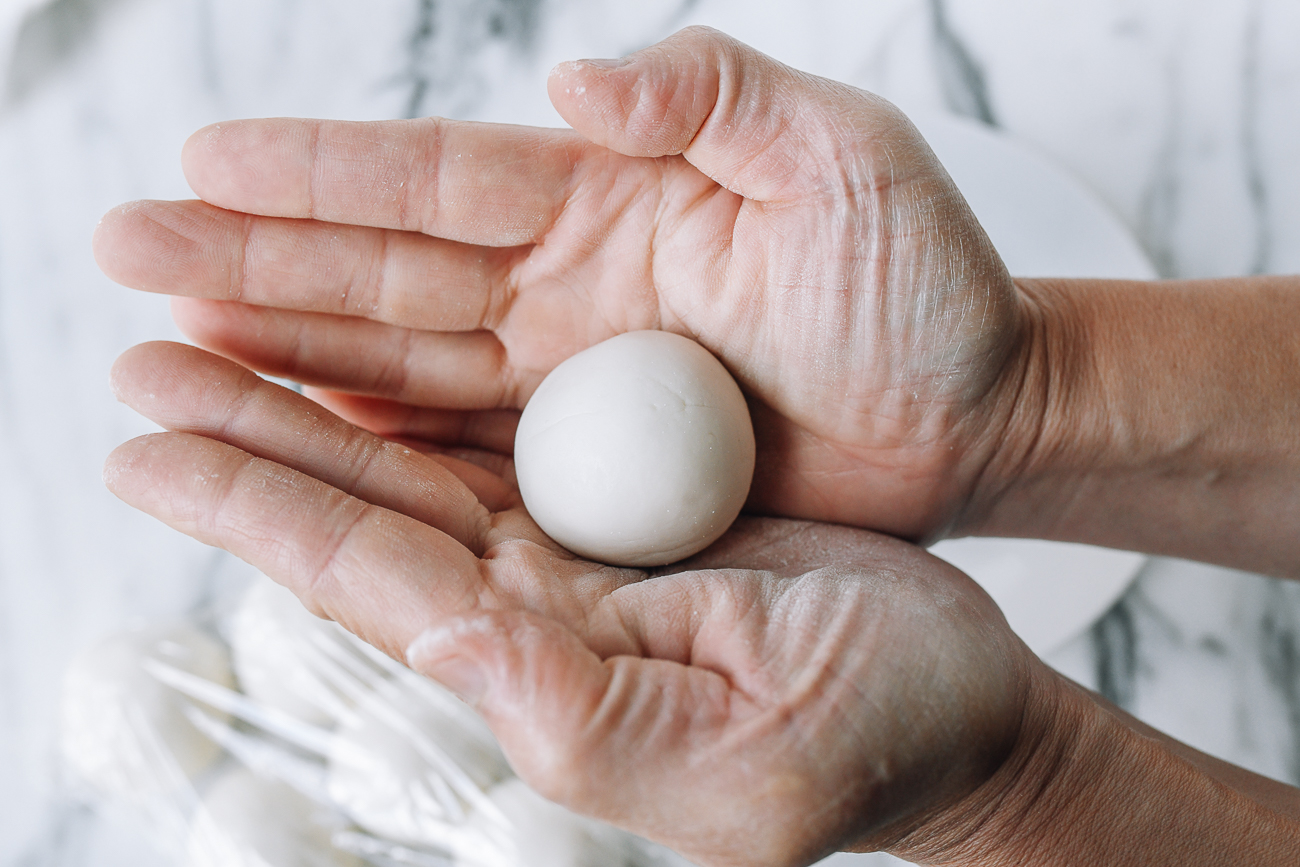
Flatten the dough ball until it is 3 inches in diameter – the middle should be slightly thicker. (It’s important that the middle of the disc is slightly thicker to ensure a uniform thickness once the sesame ball is sealed.) Place 1 ball of filling in the center of the dough. Wrap the dough around the ball. Pinch the dough together so it covers all the filling, making the thickness of the dough as even as possible. You can pinch excess dough from the point where the sesame ball is sealed to fill empty spots or reinforce areas that look thin. After the filling is completely covered, gently press it all together to form a ball, rolling it between the palms of your hands until the seams disappear, and you form a uniform round ball.
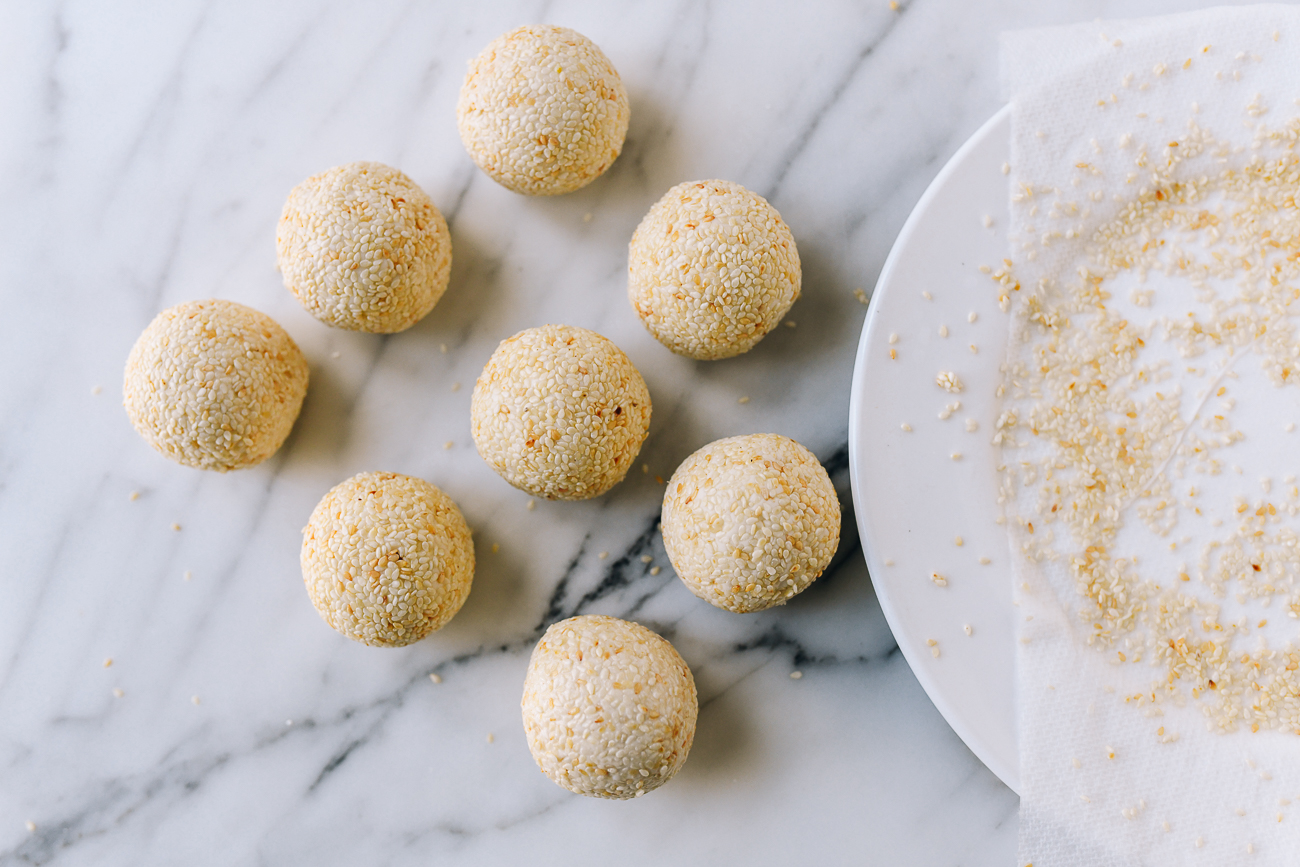
Coat with sesame seeds:
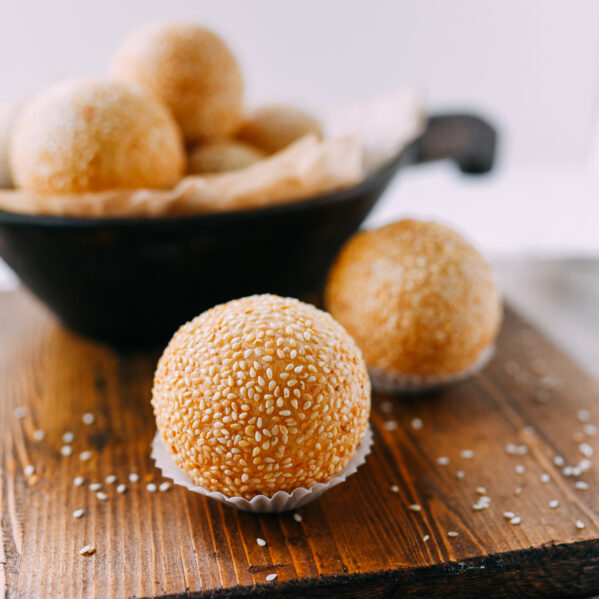
Roll the ball in the moistened sesame seeds until the entire ball is covered. Take the time to achieve 100% sesame seed coverage, with no bare spots. The ball will expand during frying, and any bare spots will also get larger. Roll the ball again in your hands to press the sesame seeds into the dough and place on parchment paper until they are ready to deep-fry.
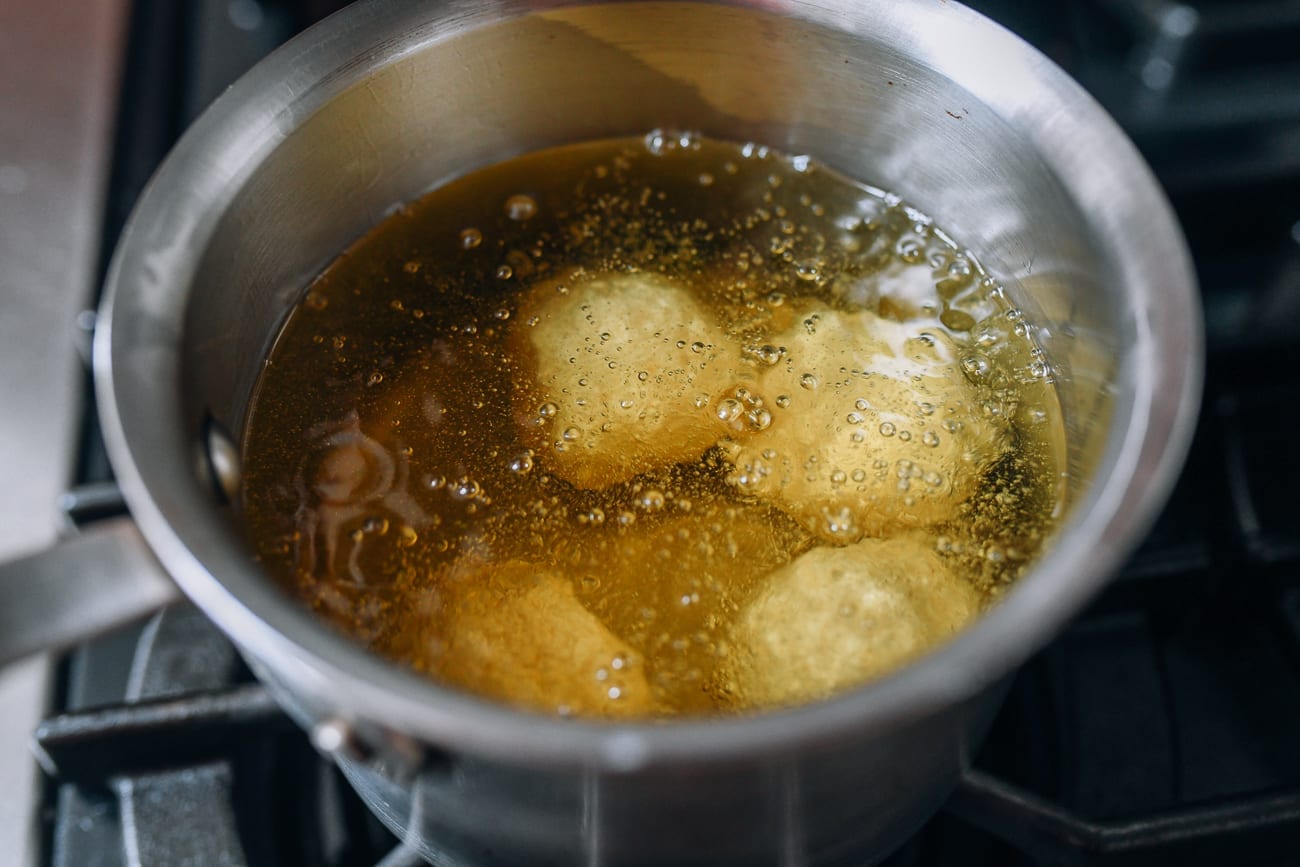
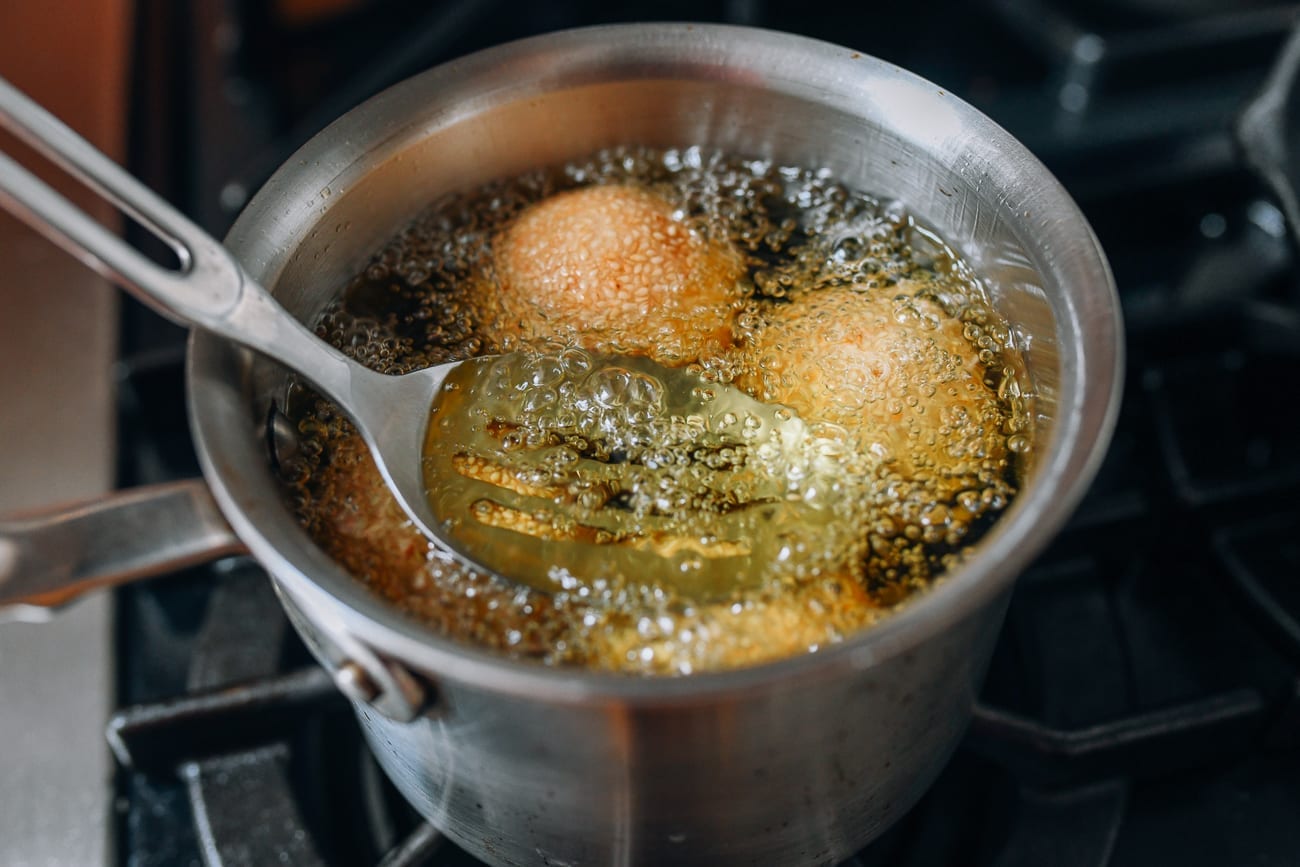
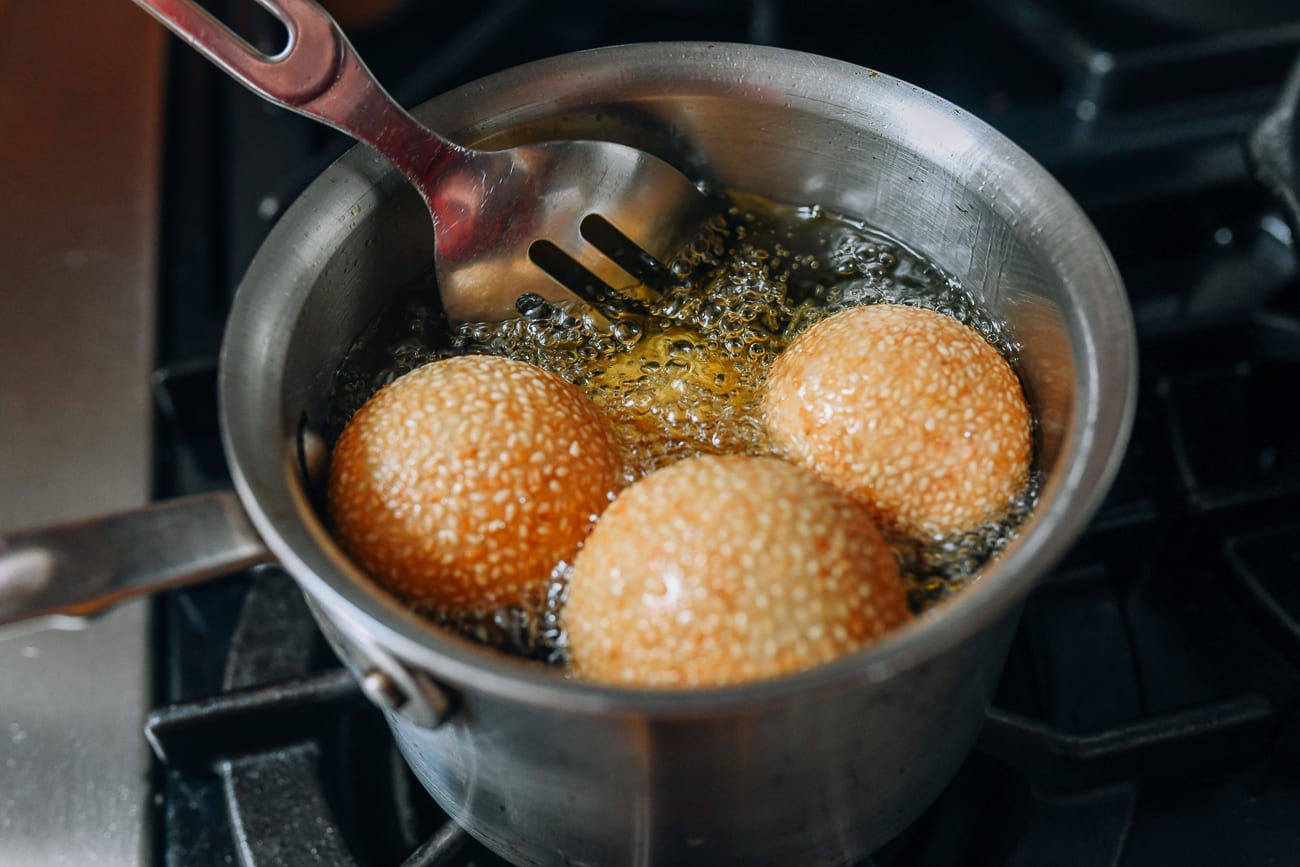
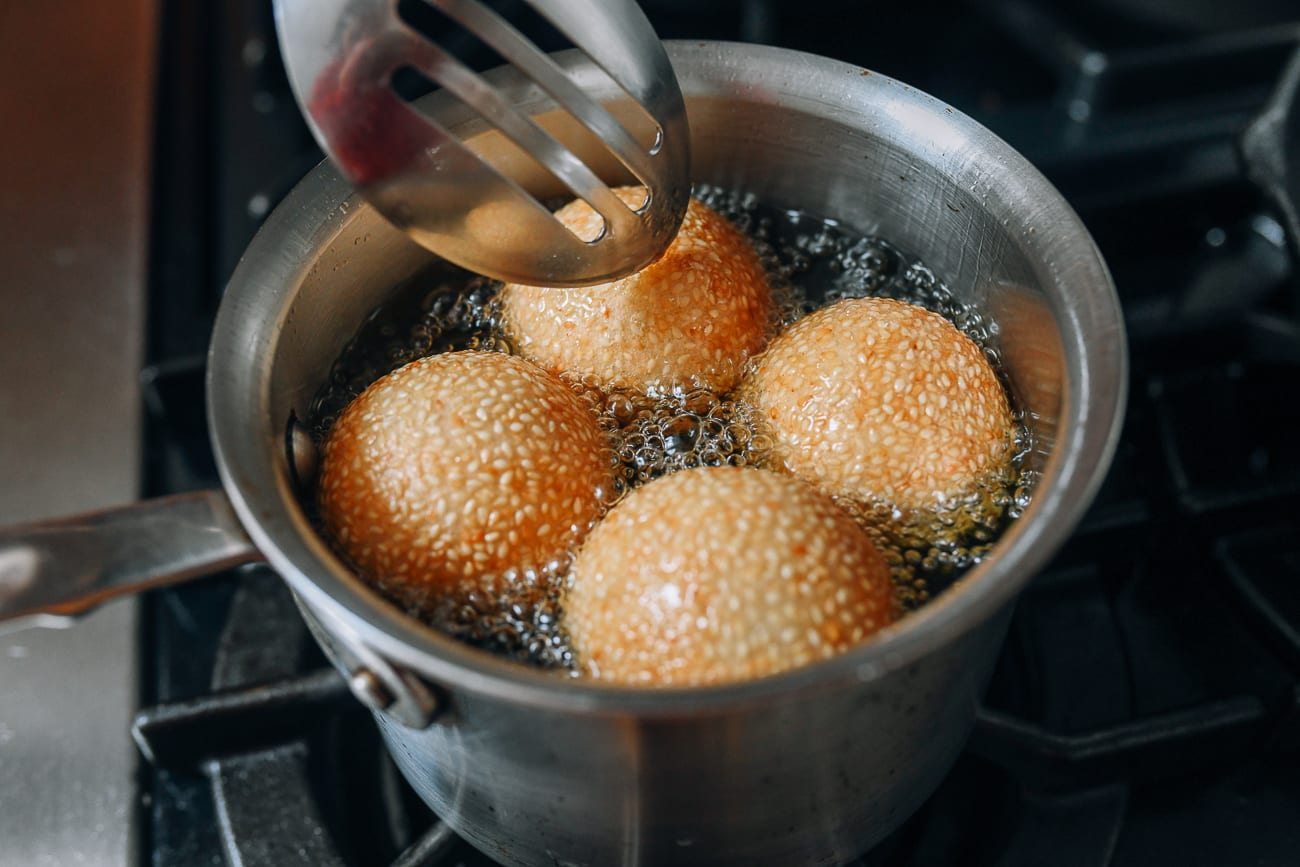
Deep-fry the sesame balls:
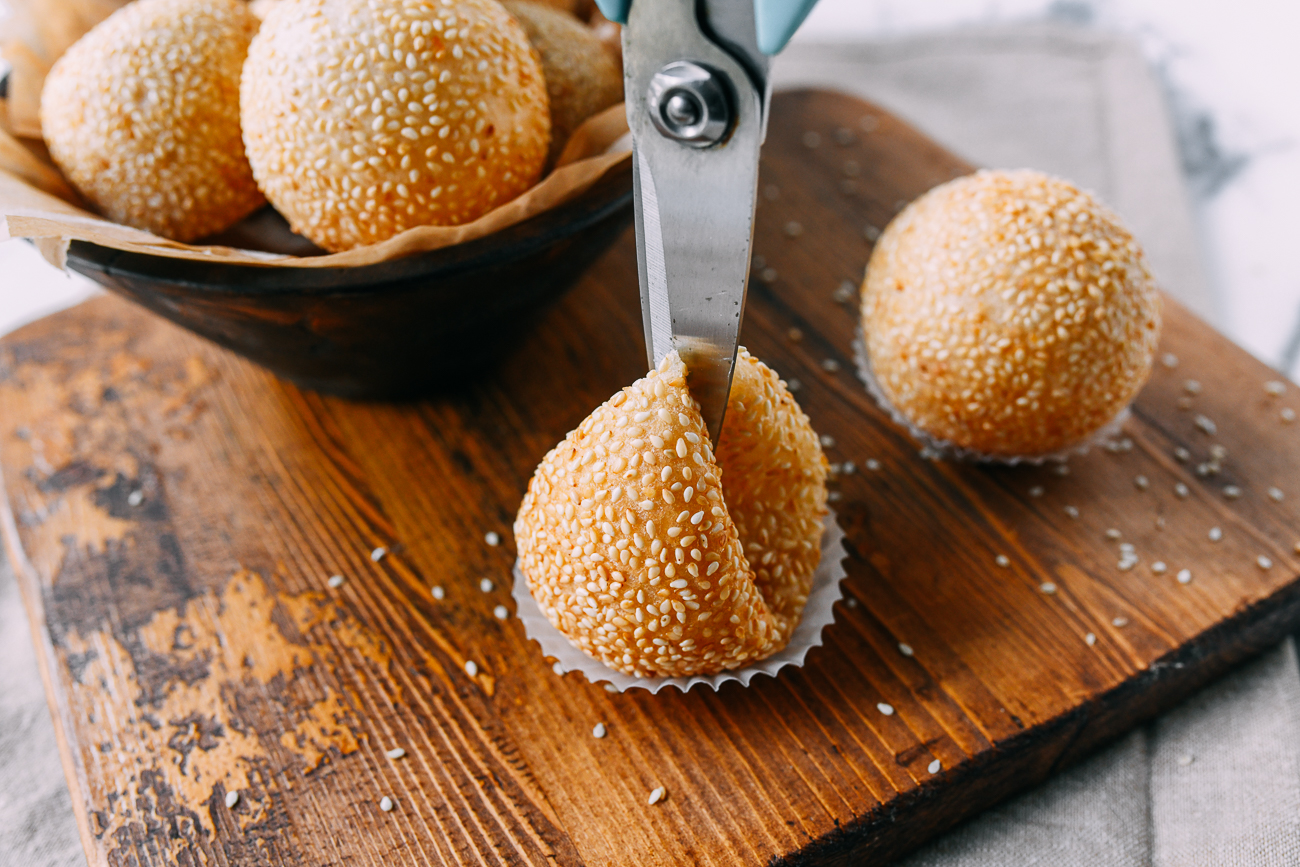
Heat 4 cups of peanut or canola oil in a medium deep pot to a stable 320°F/160°C. (Use a thermometer for accuracy, as achieving the right oil temperature is extremely important.) The oil should fill the pot about halfway. Add 4 sesame balls into the oil, and immediately use a slotted spoon to gently move them in a circular motion so they do not stick to the pot. This is a necessary step throughout the entire process to ensure even frying. Don’t leave them unattended. Adding the sesame balls will lower the oil temperature down below 300°F/150°C, but shouldn’t take it below 290°F/143°C. Adjust the heat slightly higher or lower to maintain the oil temperature at 300°F/150°C. After 10 minutes, your sesame balls will begin to float to the top of the oil. Now, your technique changes to keep them rolling in the oil so all sides get the same frying time. You can also occasionally press all four sesame balls down using a slotted spoon or small spider to keep them submerged in the oil. Do this for 2-3 minutes. At this stage, increase the heat to bring the oil temperature gradually up to 350°F. Fry them for another 5 minutes, for a total of 17-18 minutes, or until they turn a light golden brown. This last stage of frying at a higher temperature browns them. The sesame balls will expand and grow slightly at this higher oil temperature. The outer crust is now strong enough such that they should not burst, as long as you don’t have any weak or thin spots in the dough. Once done, transfer the finished sesame balls to a strainer, cooling rack or plate lined with paper towels for the oil to drain. Do the same with the second batch. To serve, make sure they cool for at least 10 minutes. You can use kitchen shears to cut them in half like at the dim sum places or just tear them open. Enjoy with tea, just like at the dim sum restaurant! A properly made sesame ball should retain its round shape and even stay slightly crunchy after cooling. In the following days, they can get a little soft. Refrigerate in an airtight container, and reheat in the toaster oven at 375°F for 7-8 minutes, or until the outside is crisp. Air fryers can also reheat them nicely. As with many fried treats, they’re best when they’re fresh. It’s best to eat these within 3 days.
Watch Video!