Posted Apr 03, 2023, Updated Feb 13, 2024 One summer I visited my sister and she made a vegetable galette for dinner. After taking one bite I knew I had to run home and make the perfect savory galette for my own family. I mean, what’s not to love? Your favorite veggies cooked with fragrant herbs, tossed with two types of cheese then baked in a buttery crust? :::: chef’s kiss :::: Use your favorite in-season veggies to make this recipe your own!
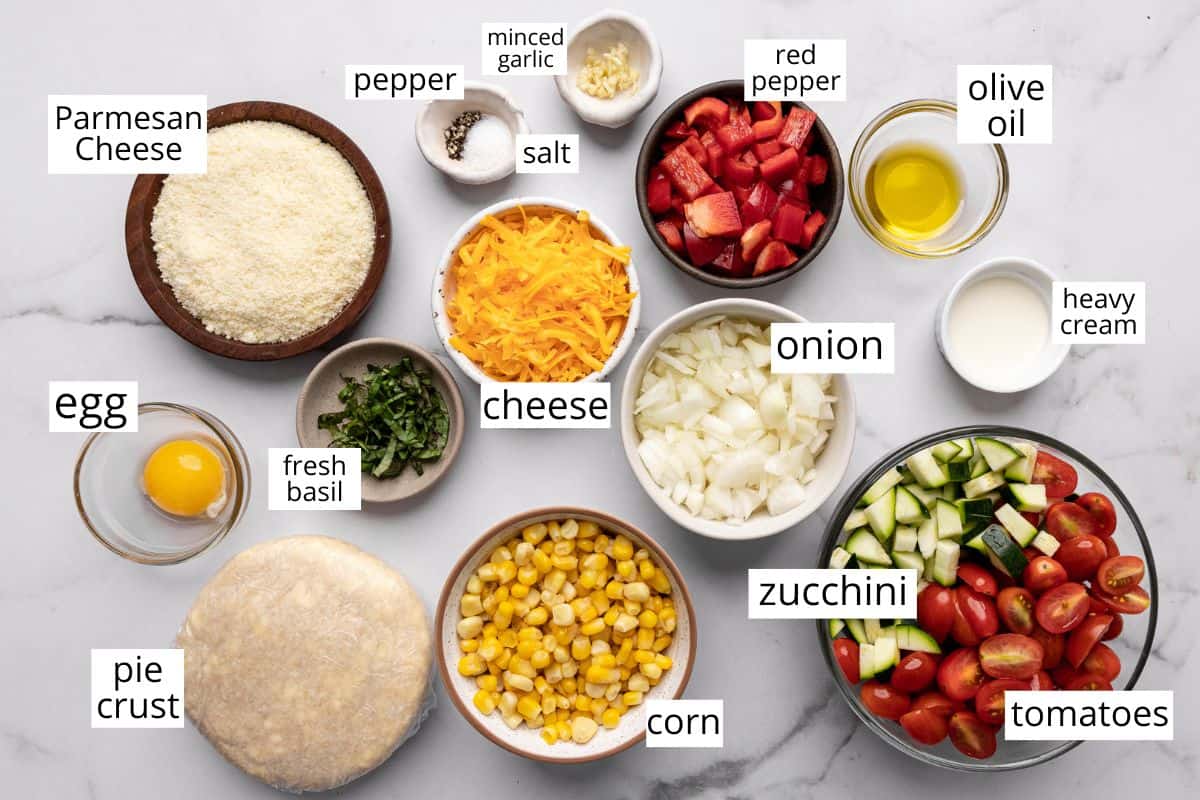
Savory Galette: Ingredients & Substitutions
Pie Crust: I suggest making half of this all butter pie crust recipe. (recipe included in the recipe card). Or use a single, store-bought pie crust in place of the homemade version in this savory galette recipe, but I homemade is always so much better. Olive oil. Avocado oil is a good substitute for olive oil. Yellow onion. white and red onions work well too., Vegetables. I especially like to make this savory galette with fresh summer veggies from the farmer’s market and our garden. You can substitute your favorite vegetables. Parmesan and cheddar cheese. I love this combination in this recipe. You can use all parmesan or all cheddar instead of both – just be sure to use a total of 1 cup of cheese.
How to Make a Savory Galette
We’ll walk through this vegetable galette recipe step-by-step, and don’t forget to watch the video!
Make the Galette Dough
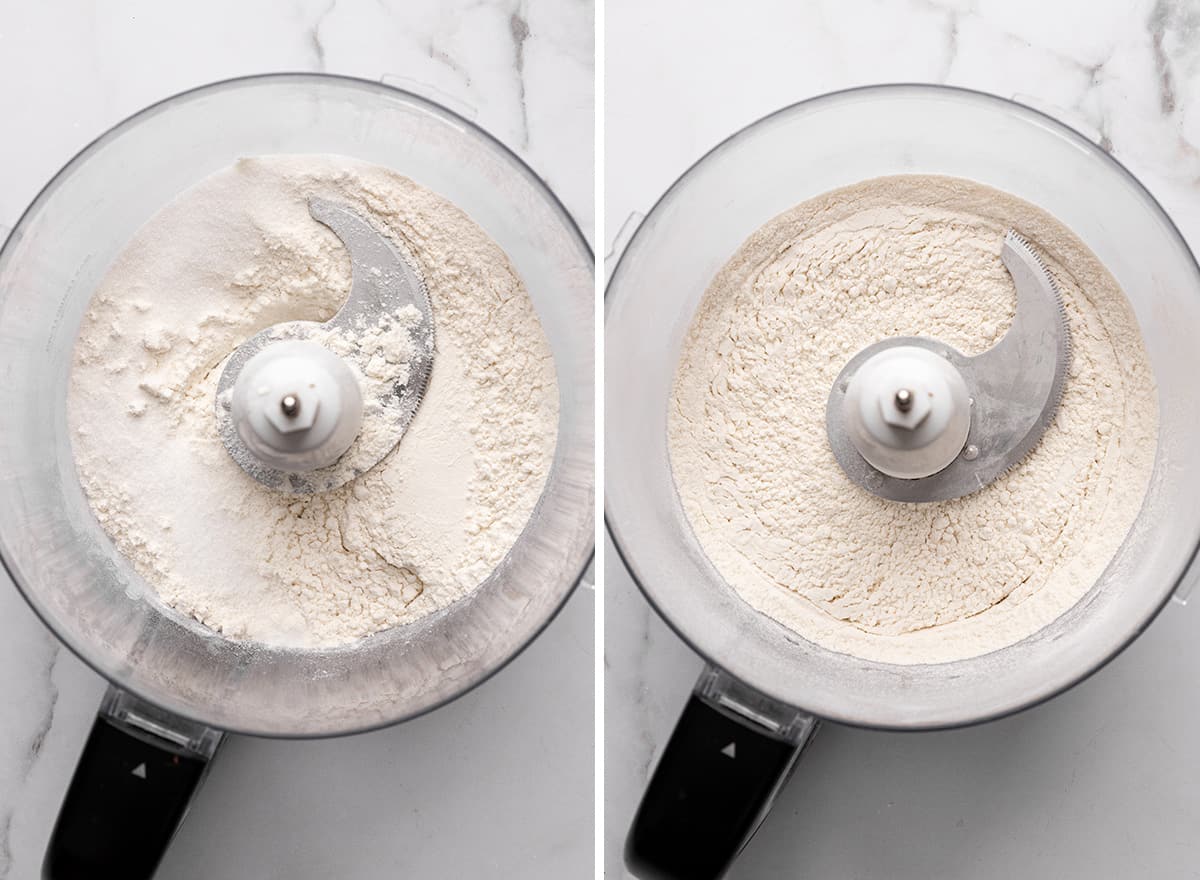
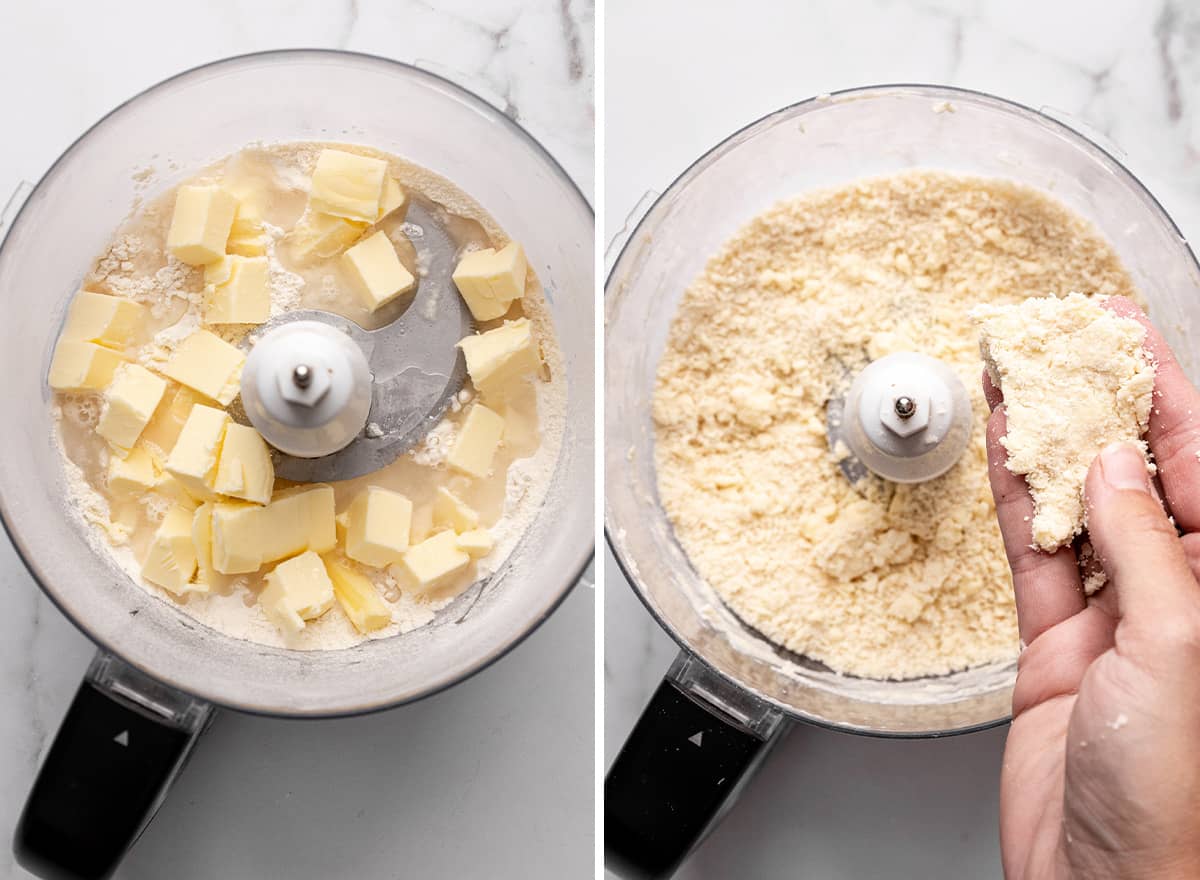
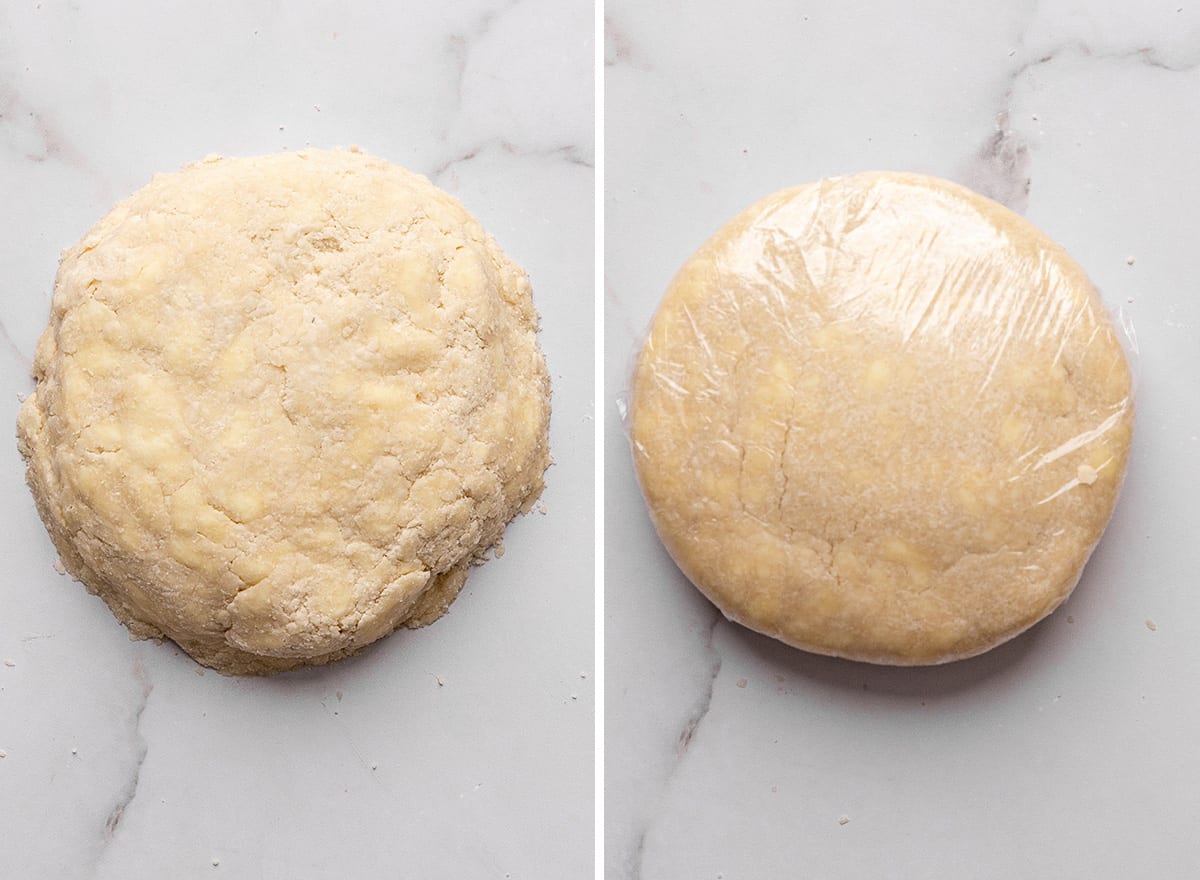
The first step in this savory galette recipe is to make the dough, because it needs to chill for at least 1 hour before being rolled out and used to make the galette. I always use a food processor to make pie and galette dough because it takes 3 minutes and it’s so easy. Check out this post for an in-depth look at making pie dough: Flaky Butter Pie Crust. Begin by placing the flour, salt, and sugar in a food processor fitted with an “S” blade and pulse to combine. Then, add the butter and cold water and process until the mixture resembles a coarse meal, begins to stick together, and holds together when pinched. Once the dough sticks together, remove it from the food processor (it will be crumbly) and form into a flat disc about 1” thick. Then, wrap the disc of dough in plastic wrap and chill it in the refrigerator for at least 1 hour, or overnight. If chilling overnight, wrap the dough in plastic wrap and then also in an airtight container or plastic bag for storage to prevent drying out.
Make the Savory Galette Filling
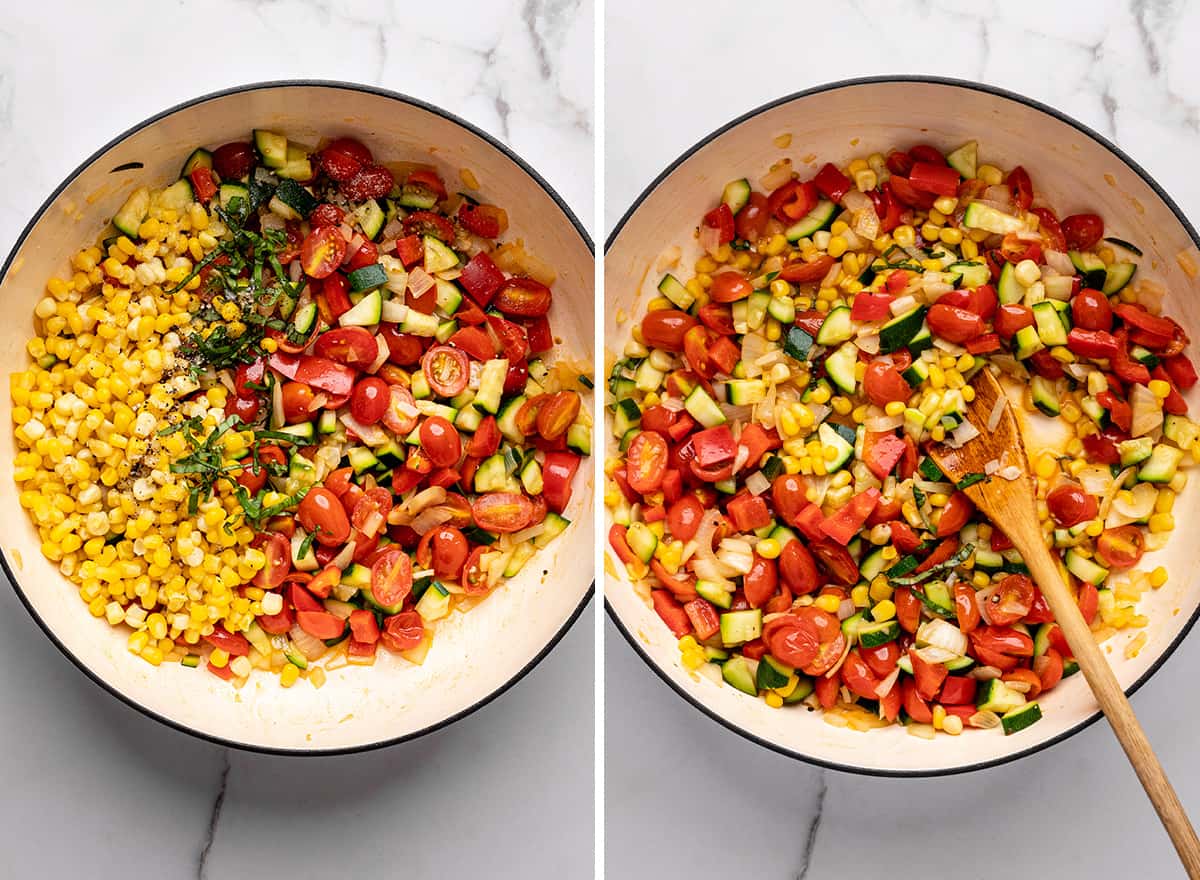
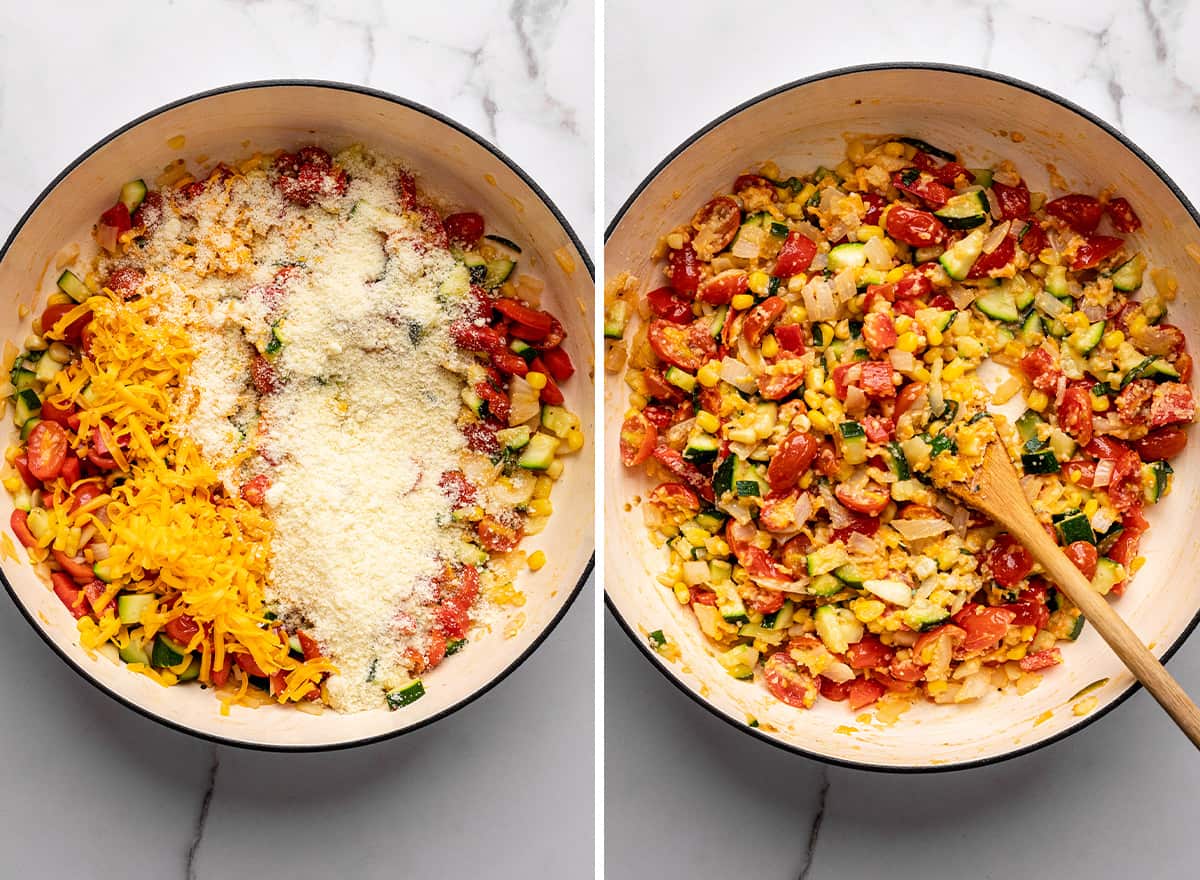
When the dough is towards the end of its chilling time, make the filling. Begin by cooking the onion, minced garlic, bell pepper, zucchini, and tomatoes in a large skillet until the onions and bell peppers are soft (about 10 minutes). Then, add the corn, salt, pepper, and basil and stir to combine. Remove from heat and stir in parmesan cheese and cheddar cheese.
Make the Egg Wash
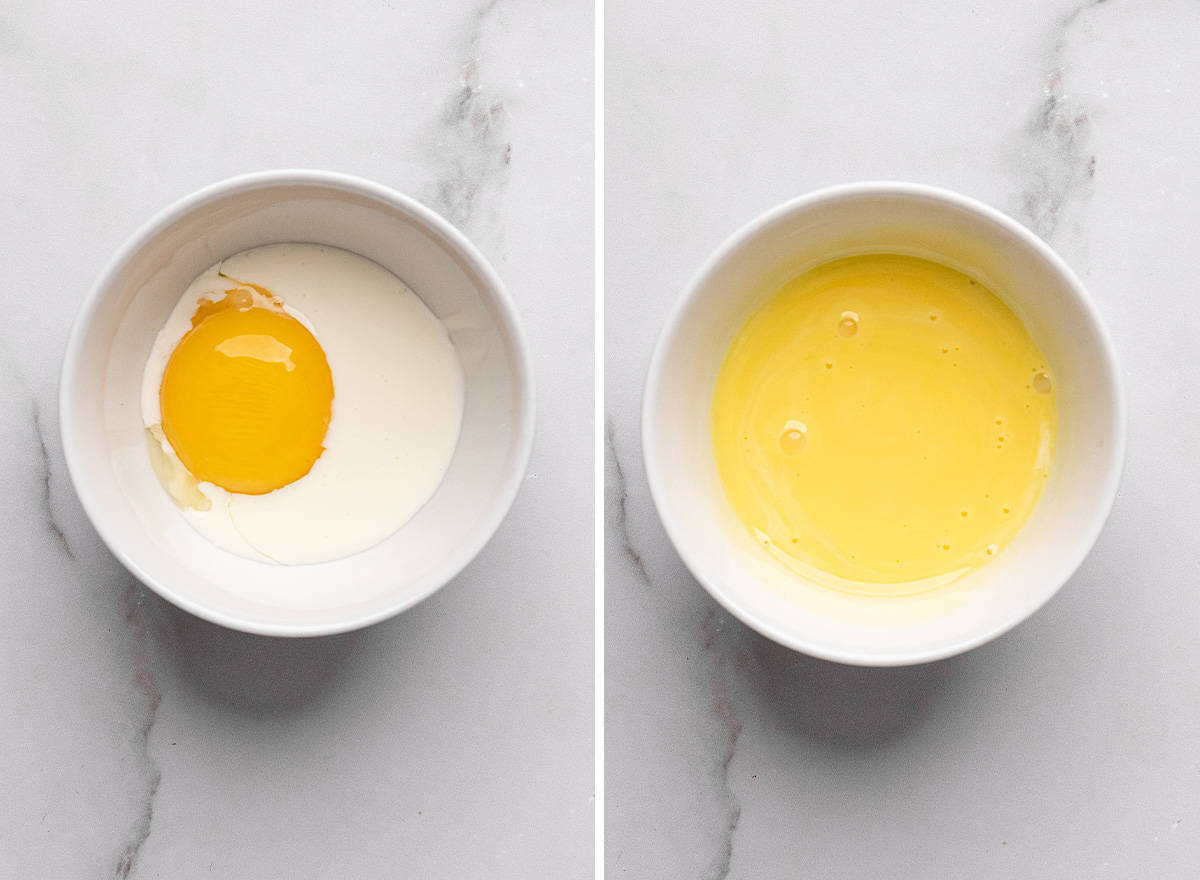
The egg was is optional, but recommend for a deep brown, shiny crust. To make it simply whisk the egg yolk and heavy cream together in a small bowl, then set it aside to use later.
Assemble
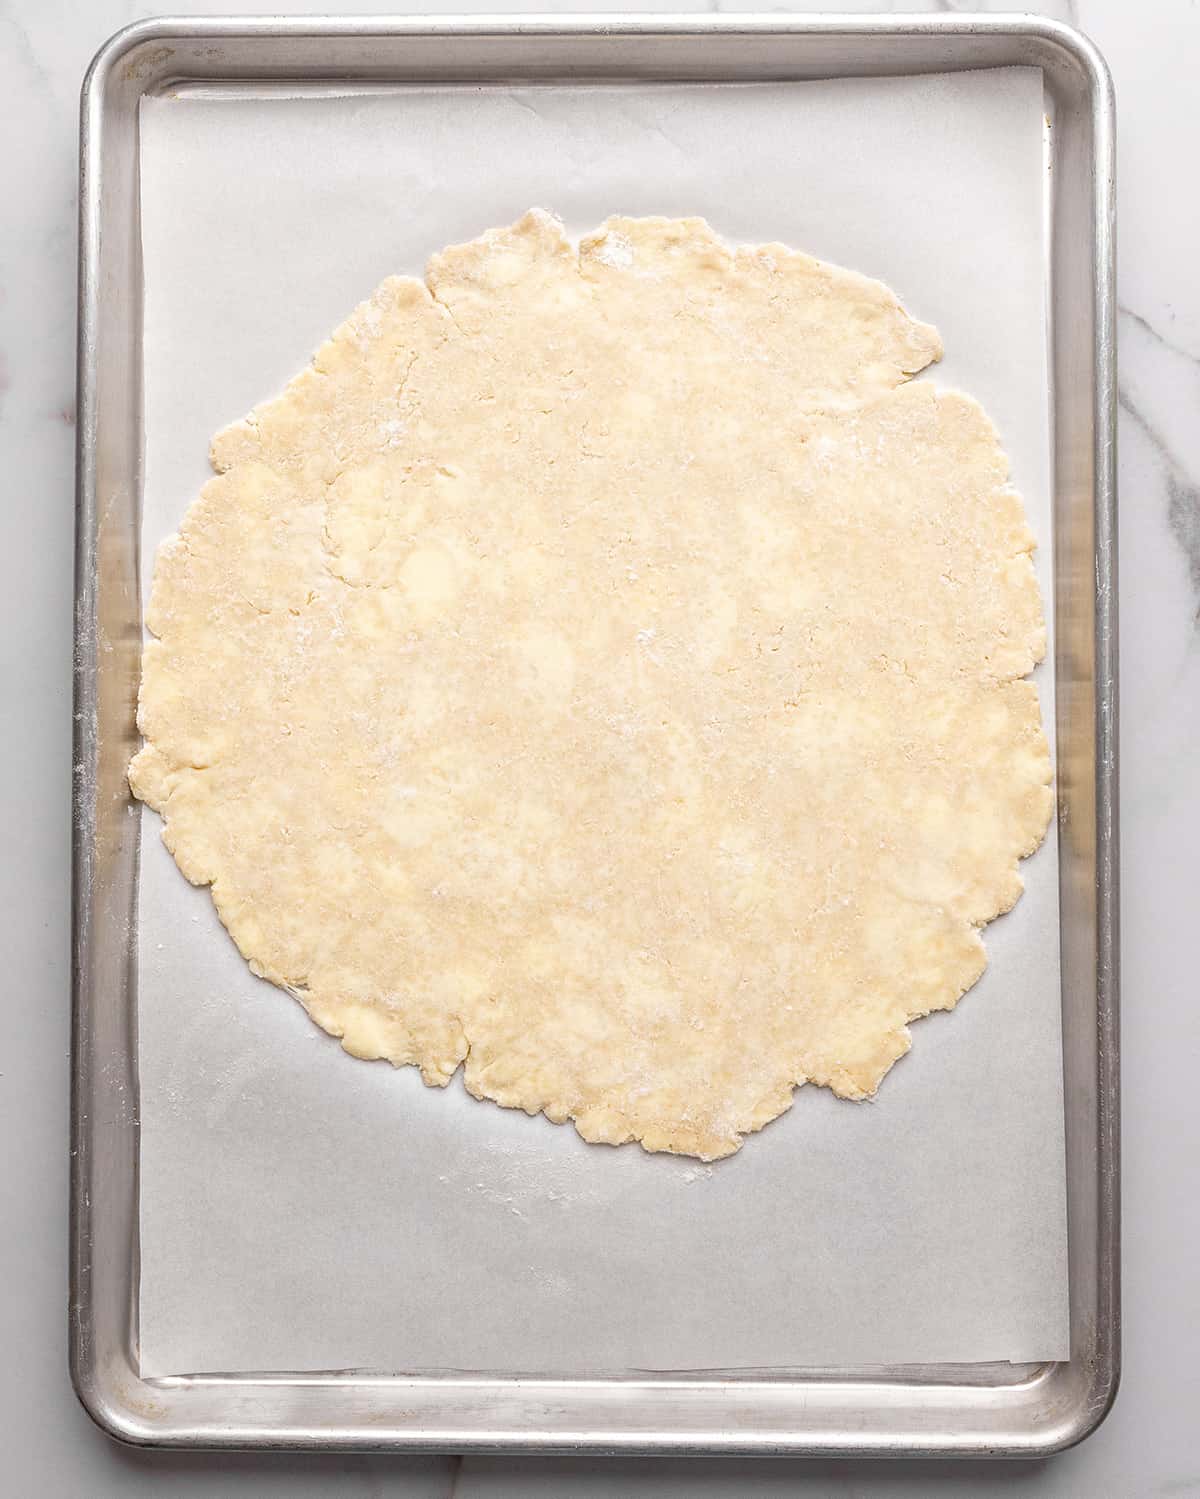
Once the dough is ready to go, preheat the oven and line a large baking sheet with parchment paper, then set it aside. Next, remove the dough from the refrigerator. On a well-floured surface, roll the galette dough into a 12” circle. Transfer the dough to the prepared baking sheet. Then, arrange the savory galette filling in the center of the dough leaving a 1 ½” border all the way around the edges. Carefully fold the edges over and pinch them together so there are no holes or cracks. Then, use a pastry brush to gently brush the egg wash all over the dough.
Bake
Next, bake the savory galette in the preheated oven for 28-32 minutes, or until the crust is golden-brown.
Serve
Let cool slightly then serve warm. I suggest serving it with a side salad (like this burrata salad or kale salad). You can serve it for lunch, as part of a yummy brunch (with more breakfast recipes), or even for dinner (my preference)!
Store
Store leftovers in an airtight container in the refrigerator for up to 5 days.
Freeze
A baked vegetable galette can be frozen for up to 2 months. I recommend wrapping either the entire galette or individual portions in plastic wrap and putting them in an airtight container or freezer-friendly storage bag to store in the freezer. If you make and love our recipes, it would mean so much to me if you would leave a comment and rating! And don’t forget to follow along with us on Instagram, Pinterest, Facebook, and Youtube – be sure to tag @joyfoodsunshine and use the hashtag #joyfoodsunshine so we can see your creations!
![]()