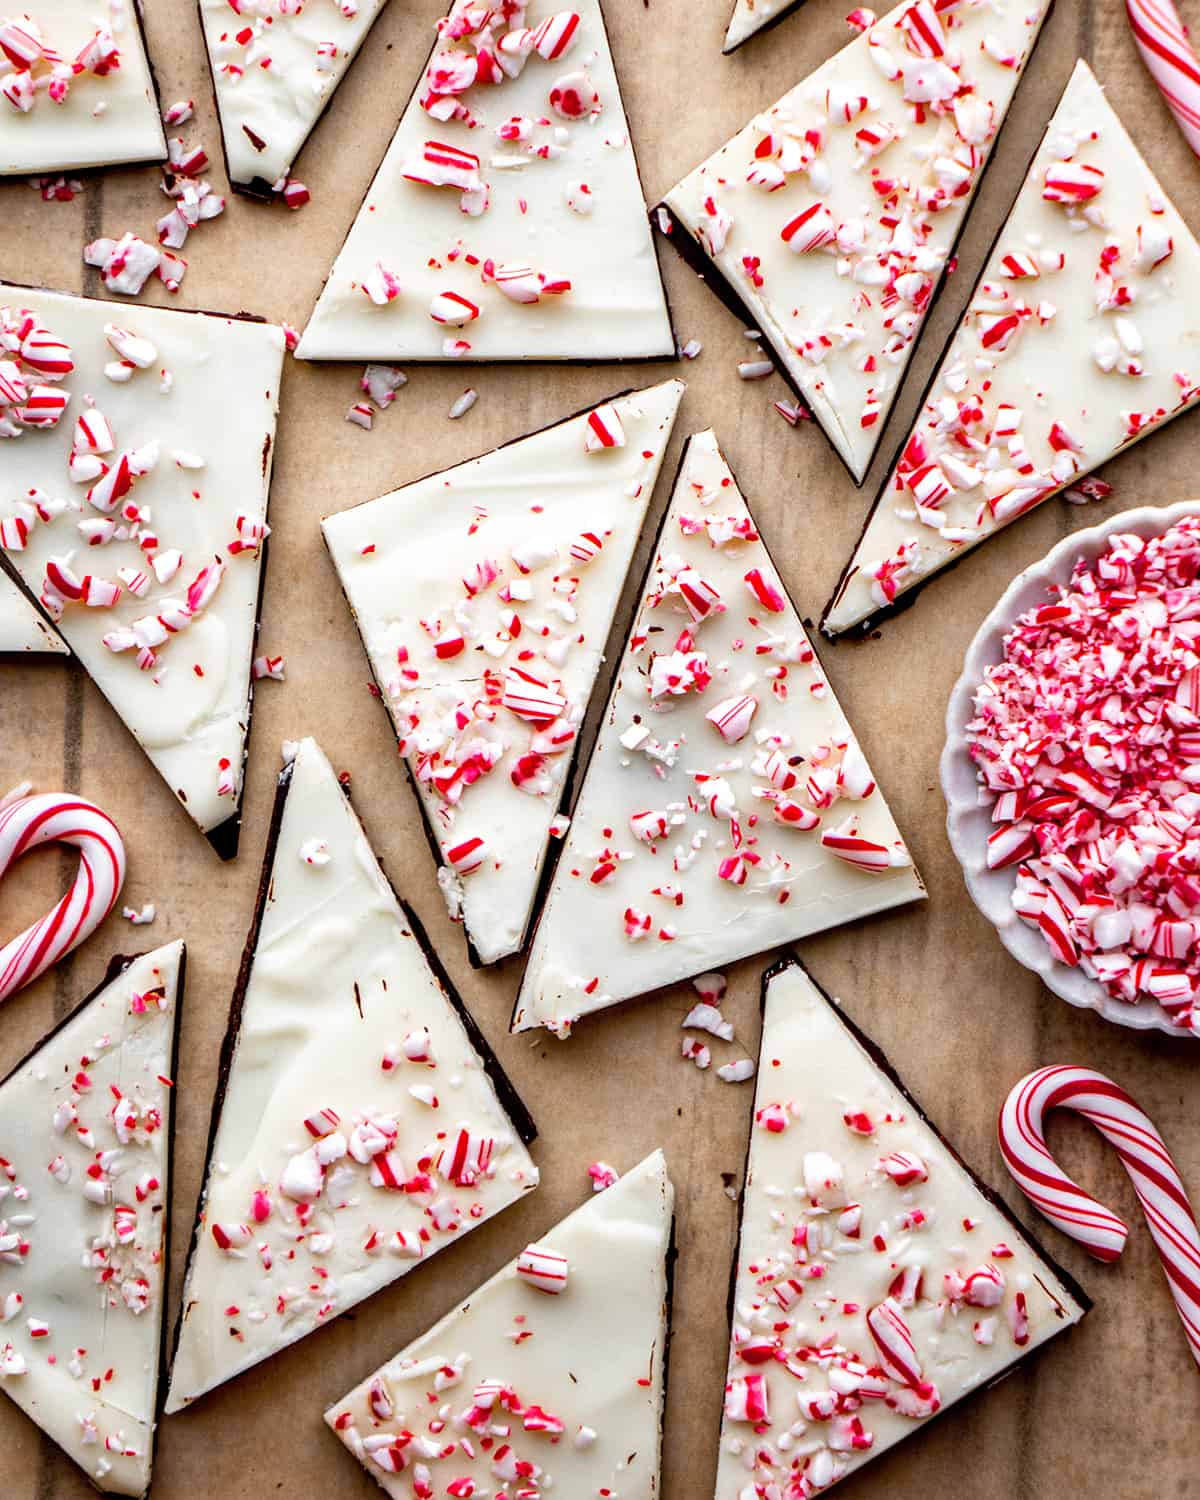
Posted Dec 05, 2021, Updated Feb 20, 2024 If you love the idea of giving peppermint bark to friends and neighbors as gifts, but want to make it at home – this peppermint bark recipe is for you! This homemade peppermint bark is even more delicious than store bought varieties (yes, it’s tastier than the famous Williams Sonoma peppermint bark)! It’s easy to make with only 6 ingredients and is a delicious treat to give as gifts for the holidays. This peppermint bark can even be frozen so you can make a few batches and freeze them to give as gifts throughout the holiday season.
Peppermint Bark: Ingredients & Substitutions
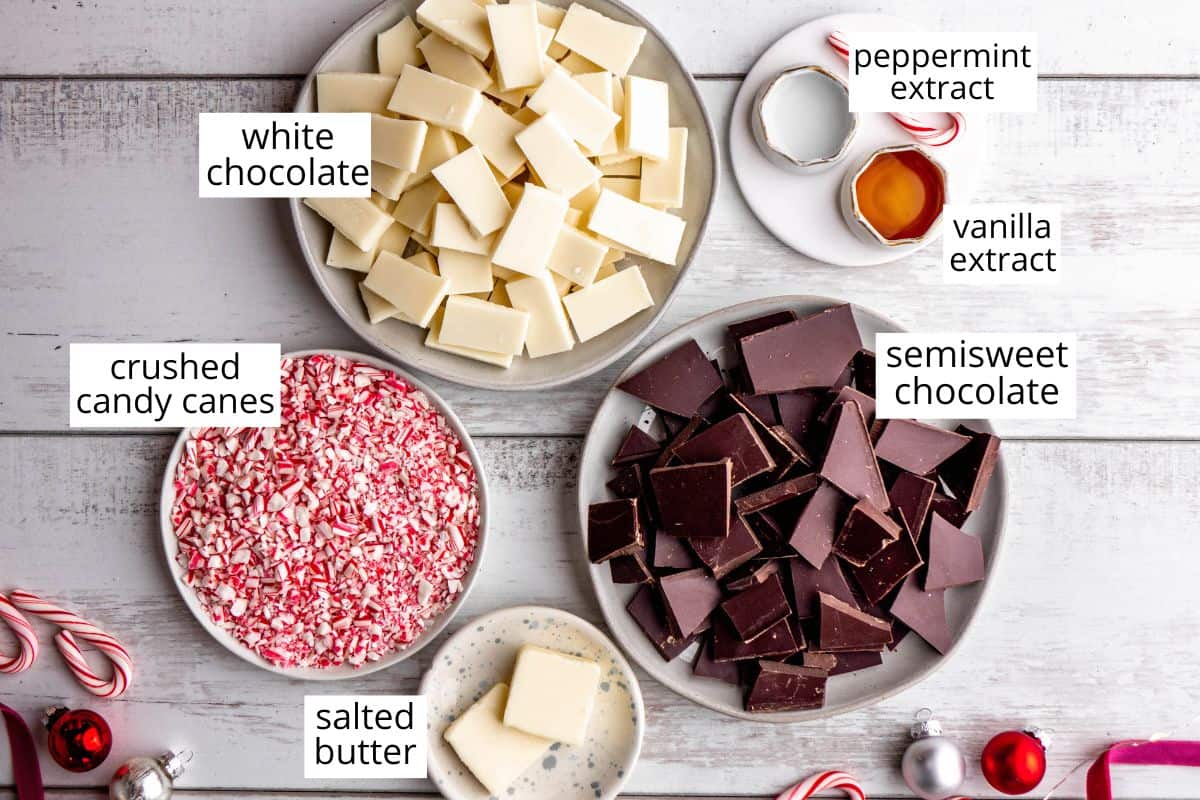
Semisweet chocolate. Use your favorite chocolate variety – semisweet, dark, milk, etc. I prefer to use bars of chocolate since they’re already in 4 oz portions – so you need two for this recipe. To use chocolate chips instead measure by weight (you 226 g (or 8 oz) of chocolate, which is just less than a 10 oz bag of chocolate chips). White chocolate. I use two of these simple truth organic white chocolate bars, or this green and black white chocolate bar (you need 3). Salted butter. you can substitute unsalted butter. Peppermint Extract. I’ve had readers use peppermint essential oil instead of extract with great results. Vanilla Extract. Use pure vanilla extract (not imitation). Candy Canes. I like to use these crushed candy cane pieces because it omits the step of crushing them, but my kids do like to help crush the candy canes too – so keep that in mind if you have little helpers.
How to Make Peppermint Bark
Here’s the flow of this recipe: make the dark chocolate layer, let it harden, then make the white chocolate layer and let the peppermint bark harden before breaking into pieces and enjoying. We’ll walk through all the steps, and don’t forget to watch the video. You can either line an 8×8” pan with wax paper (or foil), or put a silicone baking mat on a baking sheet. Do not grease either setup. I prefer using a silicone mat but both methods work well.
Make the Semisweet Chocolate Layer
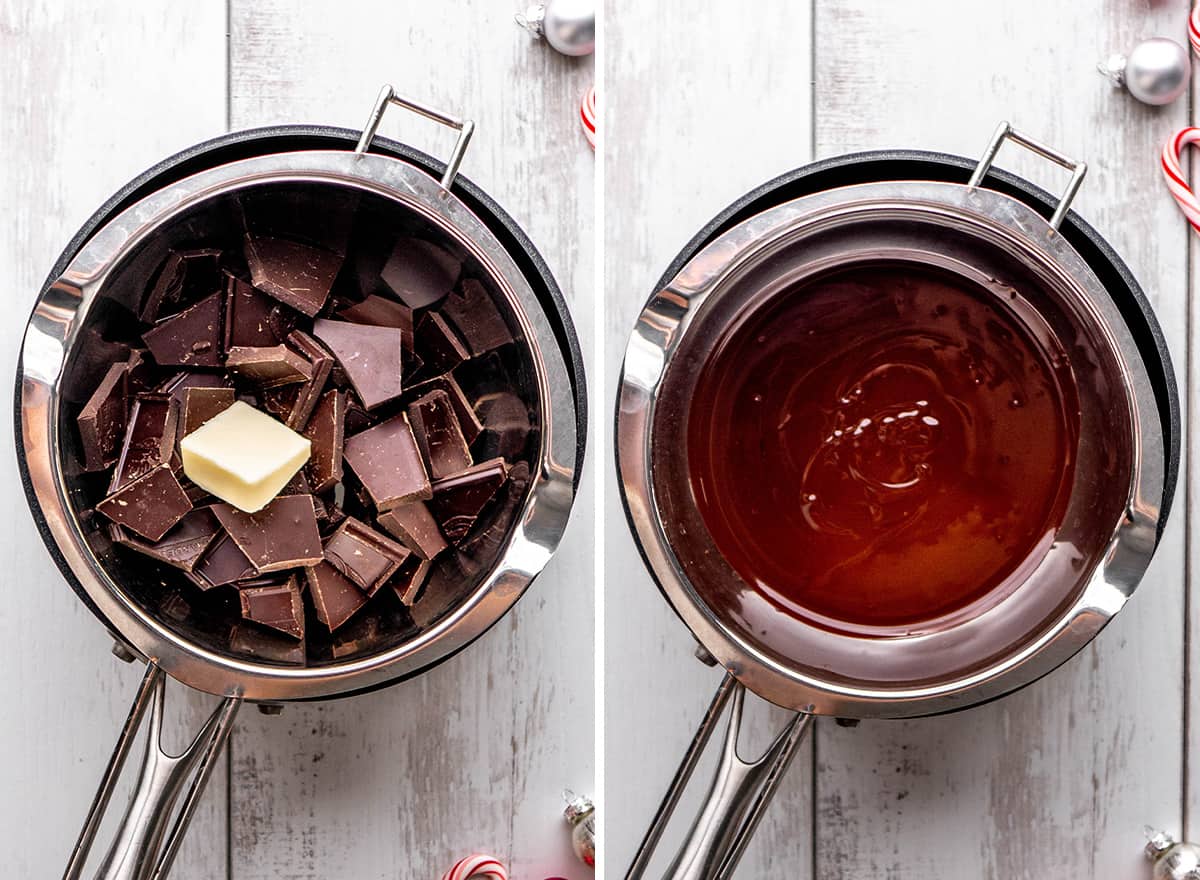
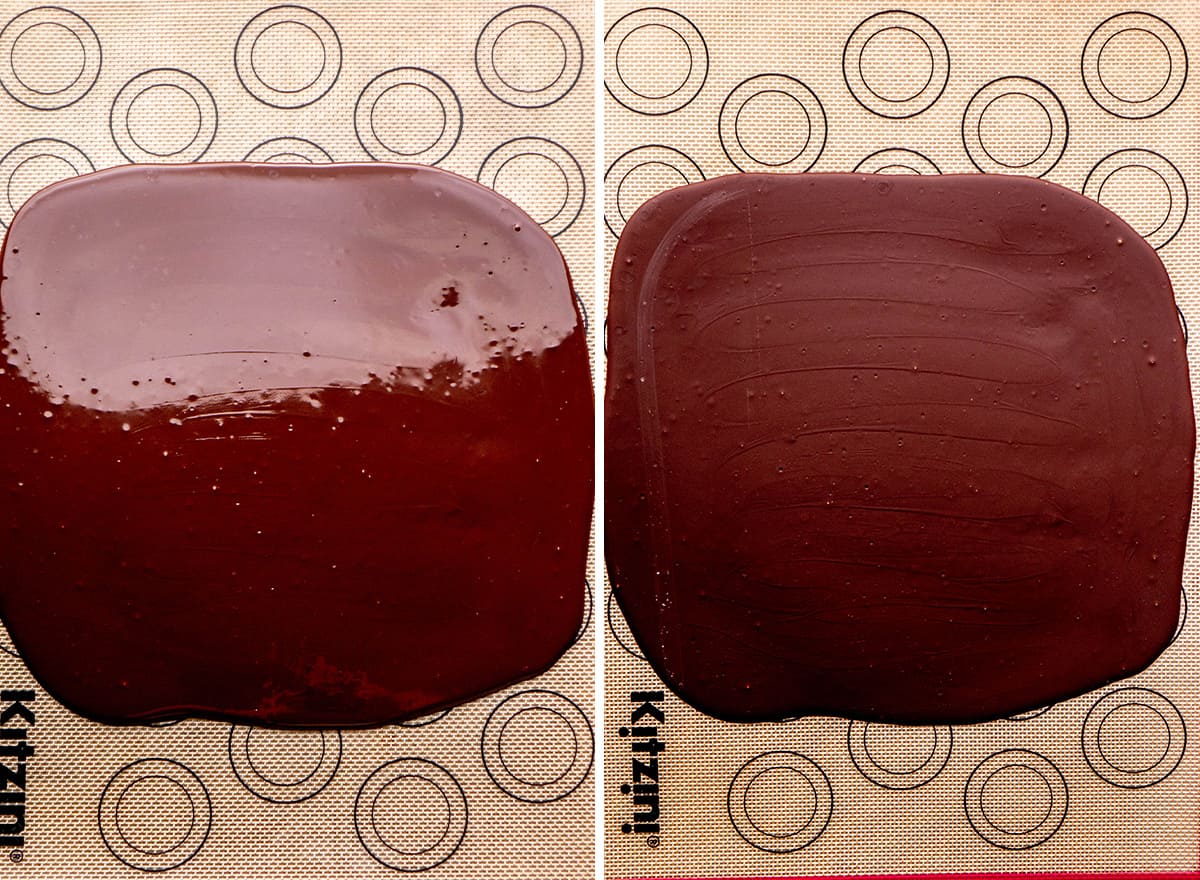
In a double boiler, melt semisweet chocolate and ½ Tablespoon butter until smooth. Remove from heat and add ¼ tsp peppermint extract and ⅛ tsp vanilla extract, stir to combine. The mixture will begin to thicken when the extracts are added, so work quickly. Spread mixture into the bottom of the prepared baking dish in an even layer or spread the mixture in an 8” square onto a silicone baking mat (do not cover the entire baking mat with chocolate – it should be about ½ inch thick). Place in the freezer to harden for at least 15 minutes. It’s important that this layer is hardened so it does not mix in with the top layer of white chocolate.
Make the White Chocolate Layer
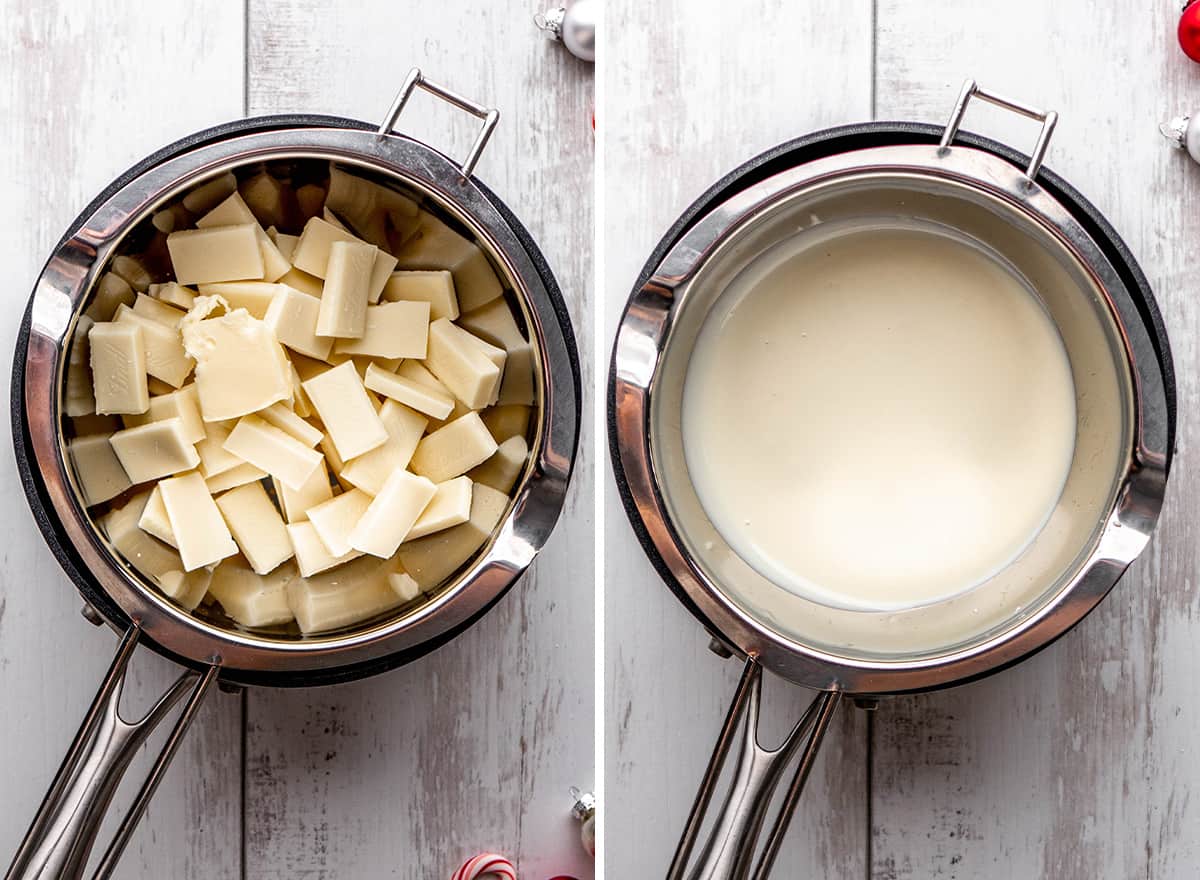
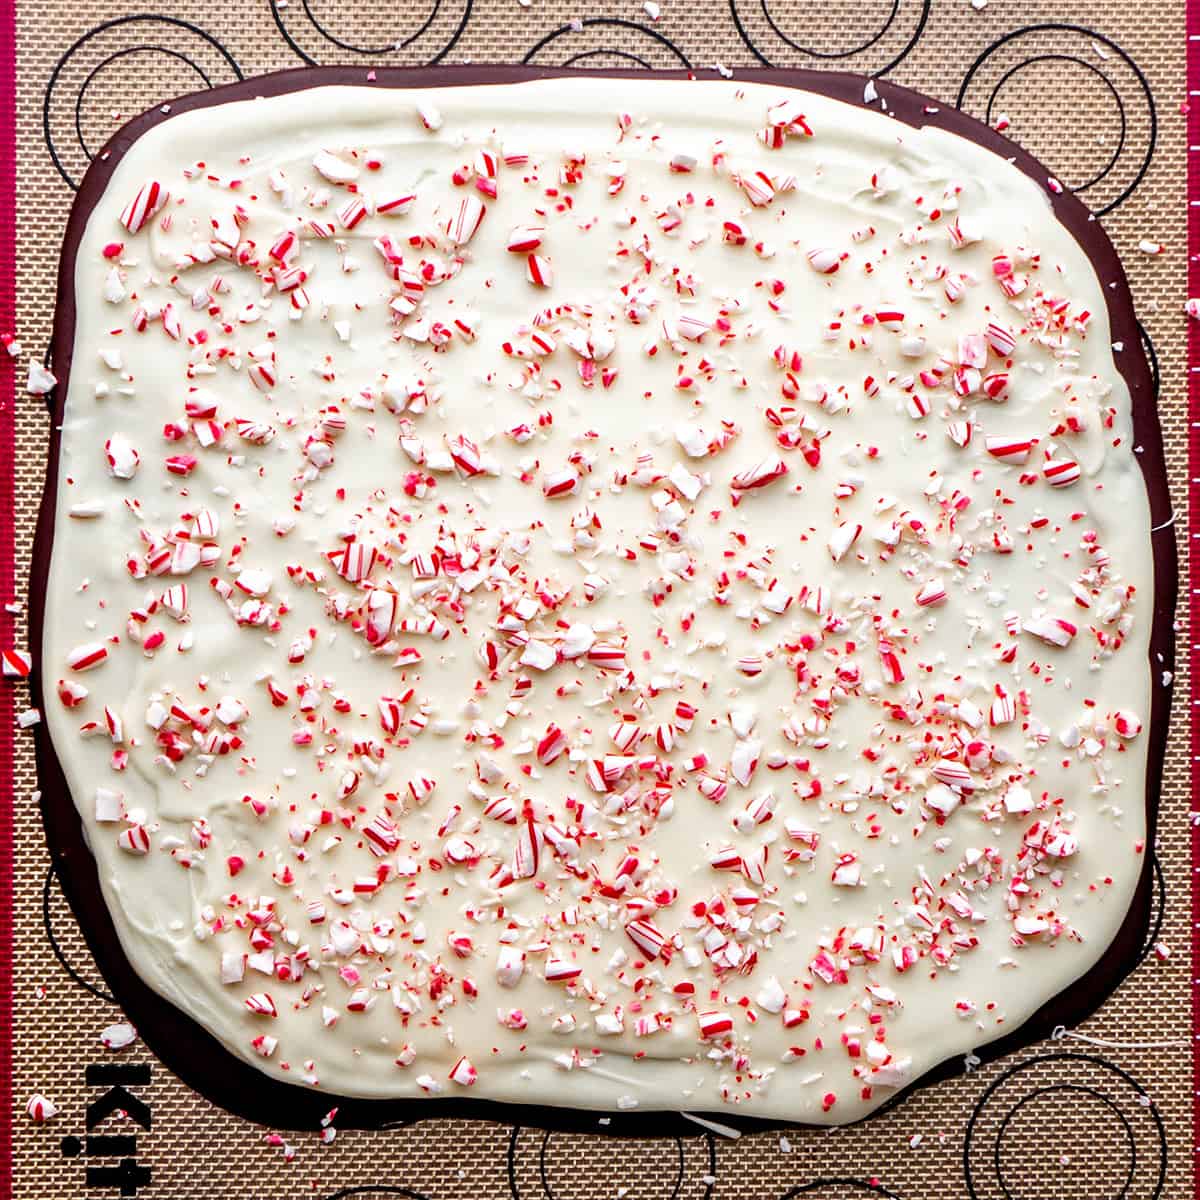
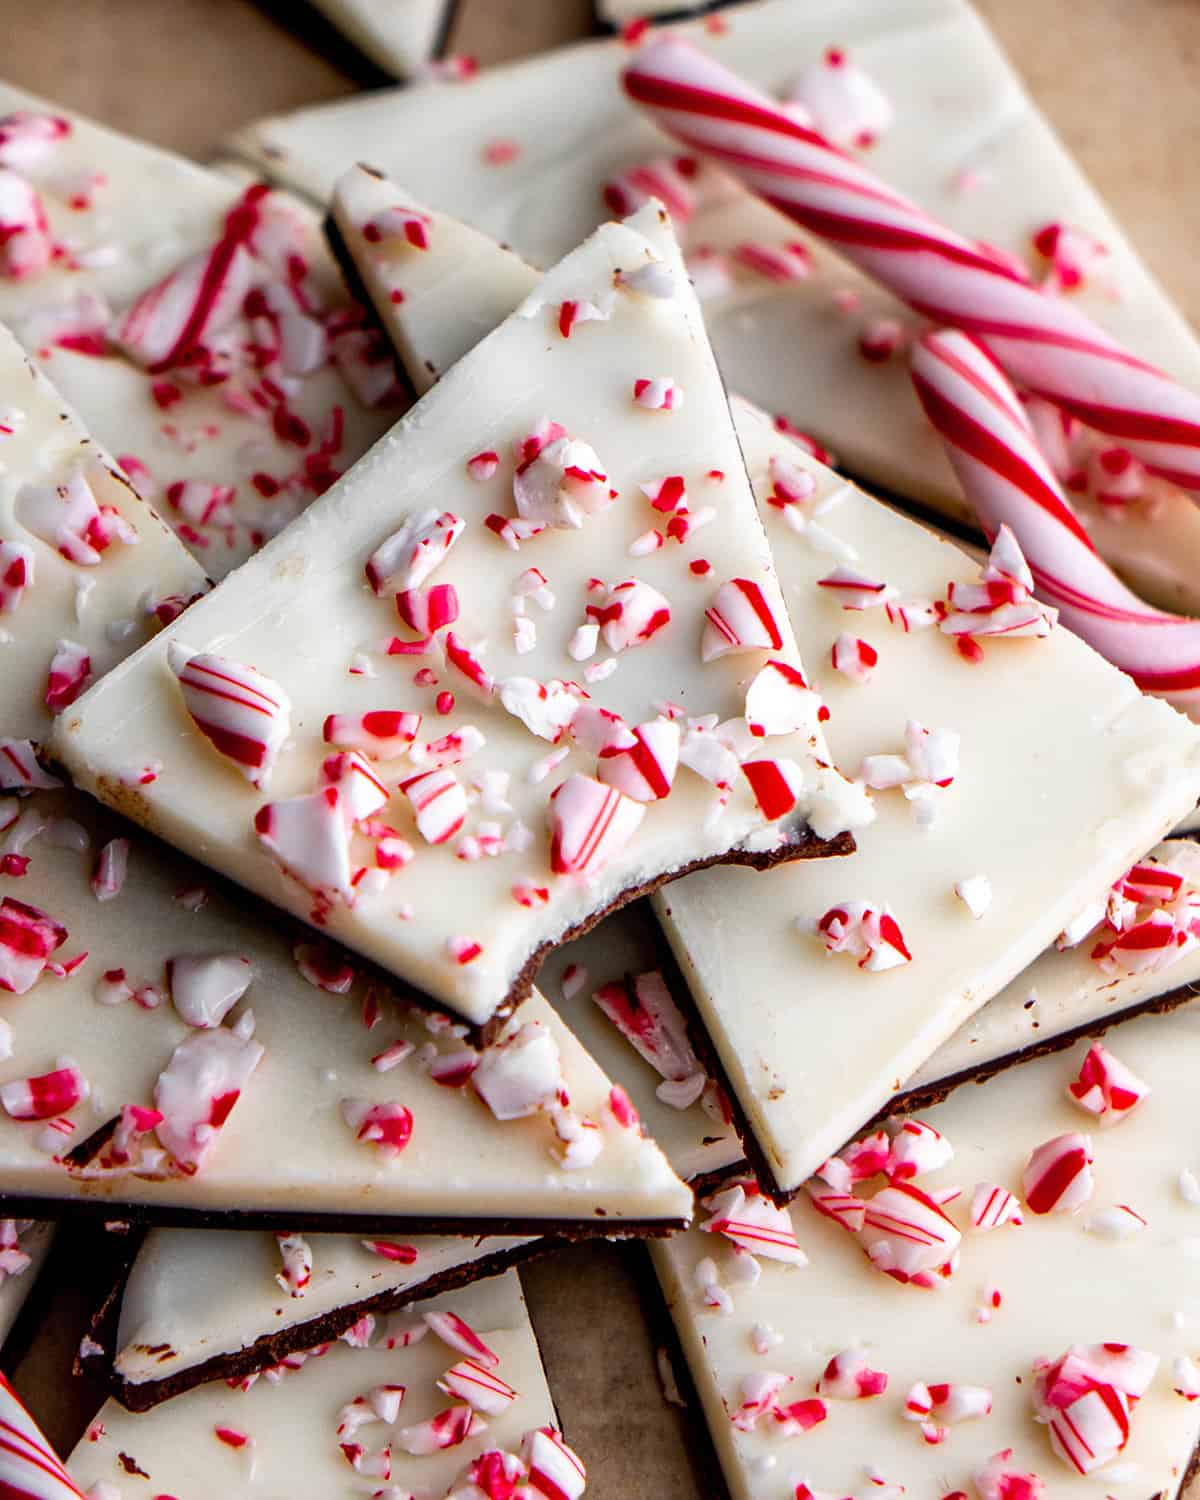
Once the dark chocolate is hardened, melt the white chocolate and ½ Tablespoon butter in a double boiler until smooth. Stir in ¼ tsp peppermint extract and ⅛ tsp vanilla extract. The mixture will begin to thicken when the extracts are added, so work quickly. Quickly spread the white chocolate over the hardened semisweet chocolate. Do this carefully, you want to try to spread it evenly on the first try, because the warm white chocolate will cause the semisweet chocolate underneath to melt and it will mix into the white chocolate if you’re not careful. Immediately sprinkle the top layer with crushed candy canes and gently press them into the top so they stick. Return to freezer until hardened.
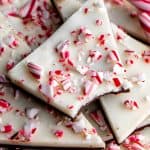
Break into Pieces
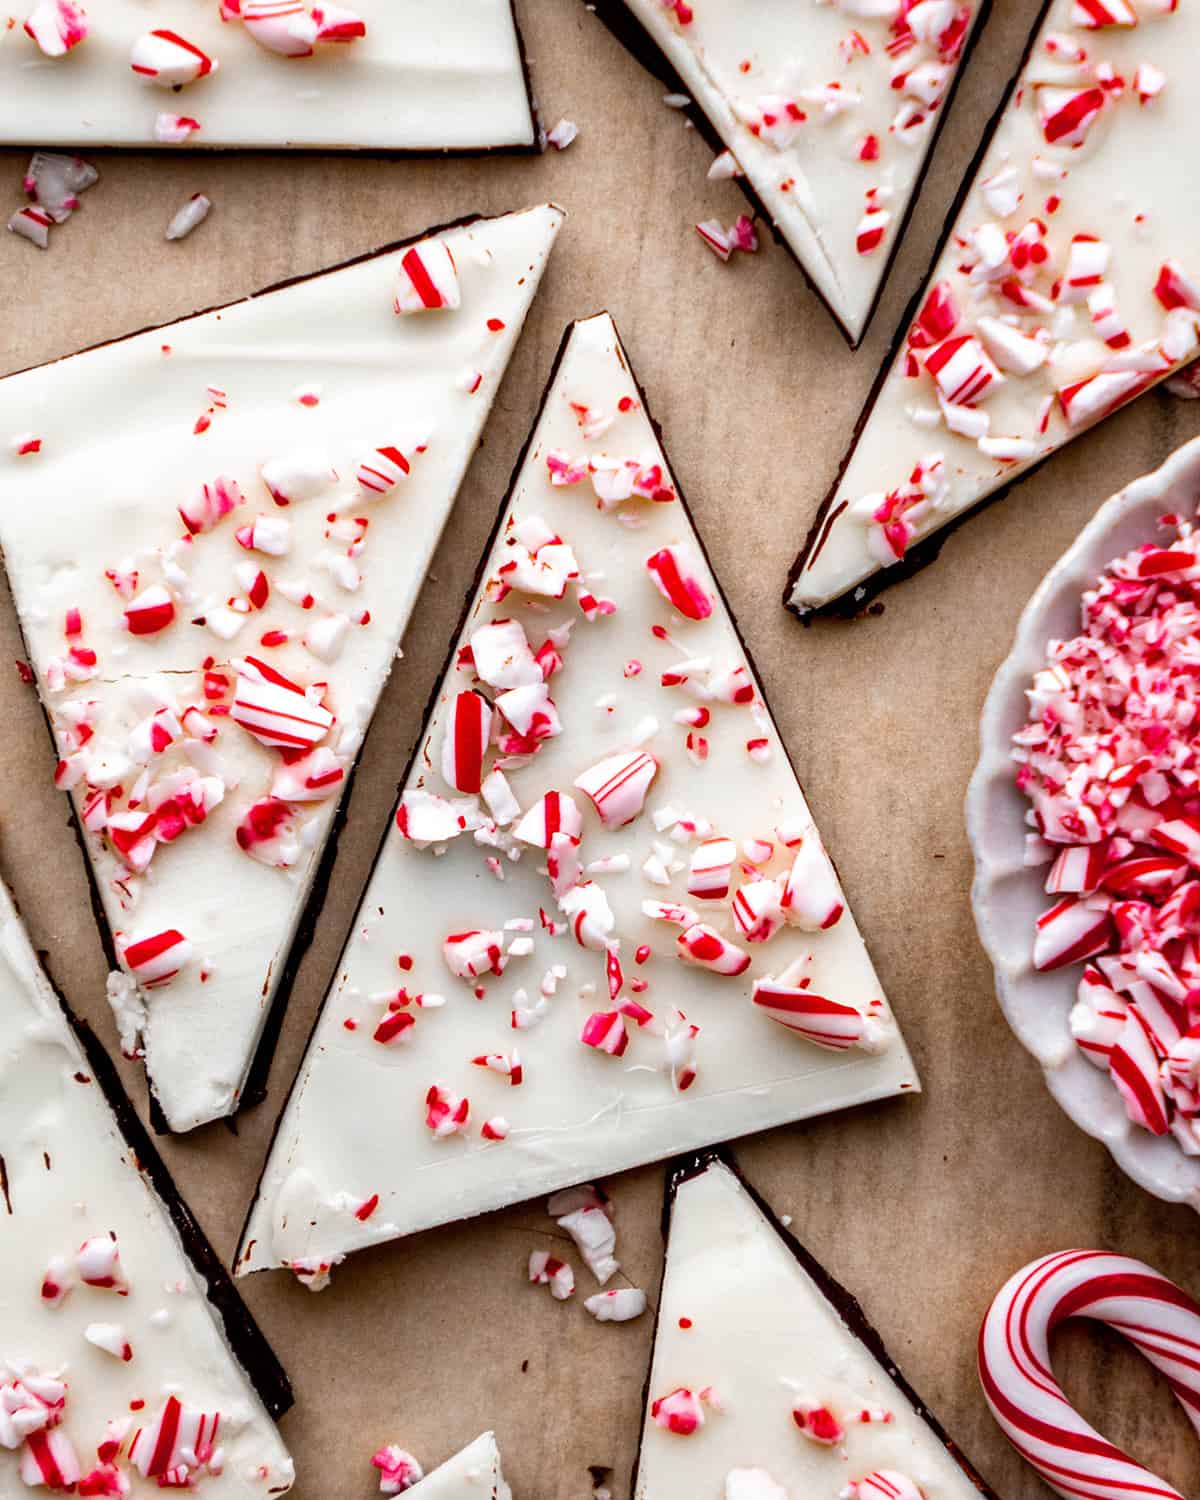
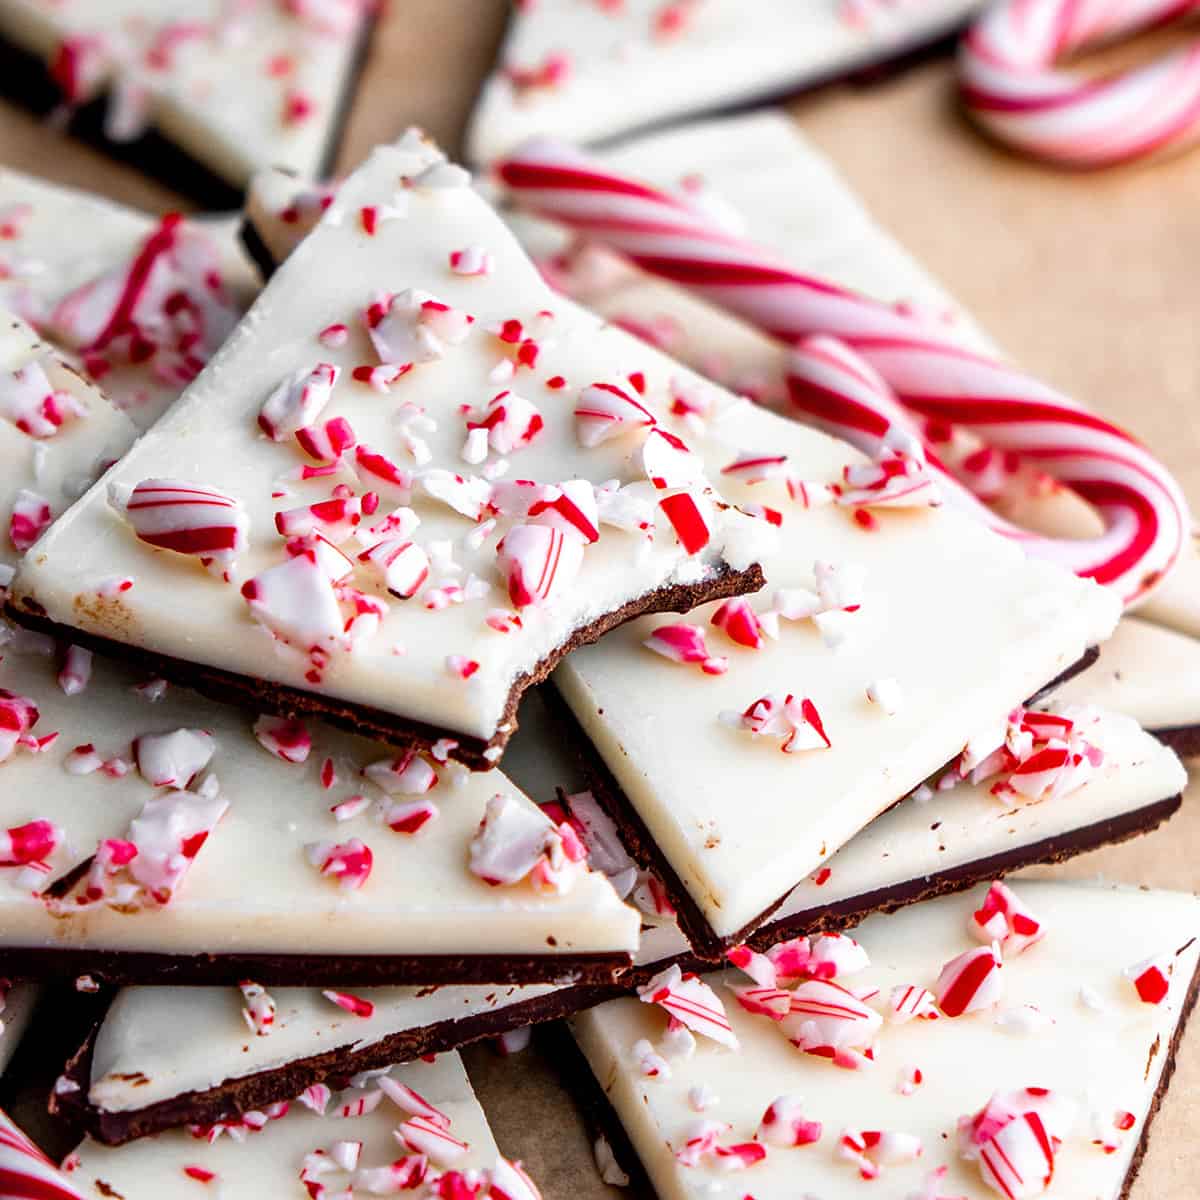
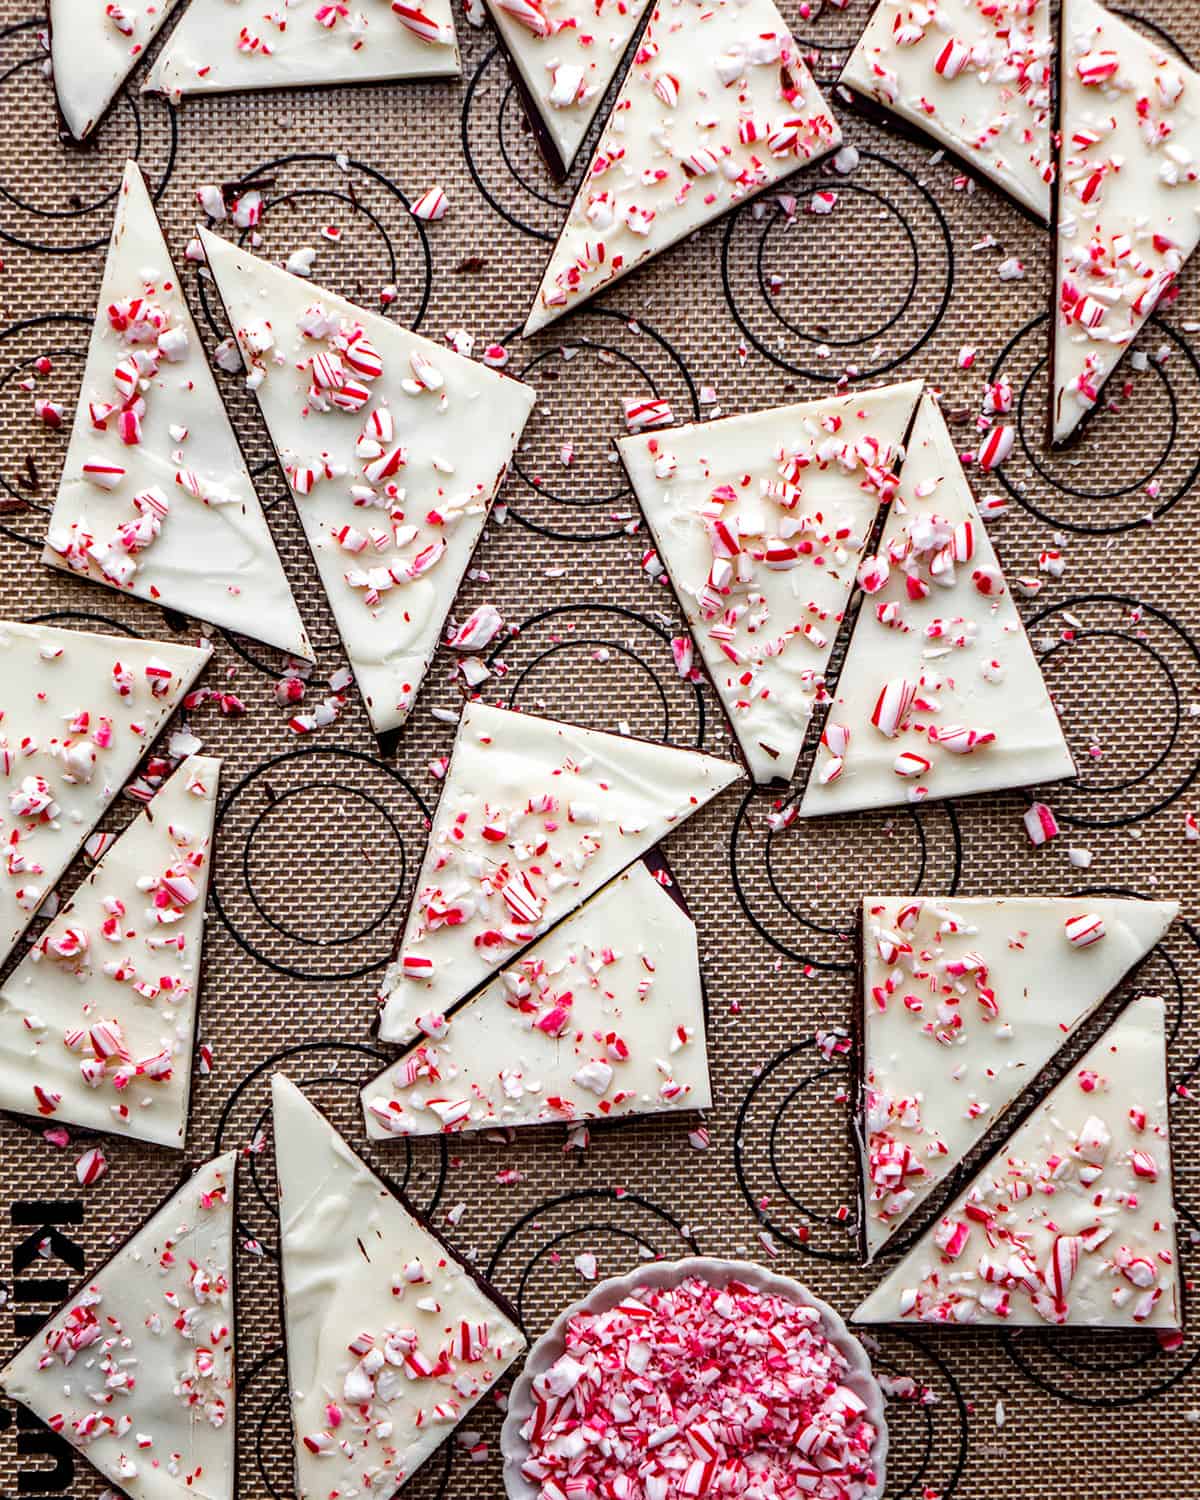
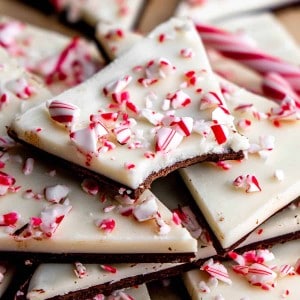
Once the peppermint park is completely hardened, break into pieces by hand or use a knife to cut more uniform pieces.
Store
Store in an airtight container in the refrigerator with wax paper between the layers for up to 2 week or in the freezer for up to 2 months.
Serve
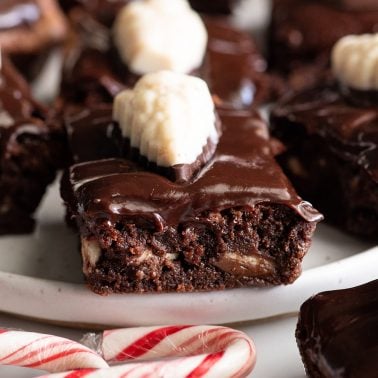
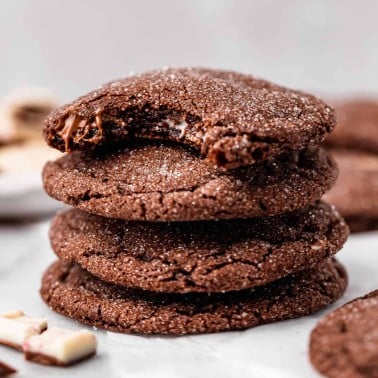
Serve cool or at room temperature. Do not let it get too warm or the chocolate will melt. You can also use it to make these peppermint brownies, peppermint cookies or stir it into this peppermint hot chocolate. If you make and love our recipes, it would mean so much to me if you would leave a comment and rating! And don’t forget to follow along with us on Instagram, Pinterest, Facebook, and Youtube – be sure to tag @joyfoodsunshine and use the hashtag #joyfoodsunshine so we can see your creations!
![]()