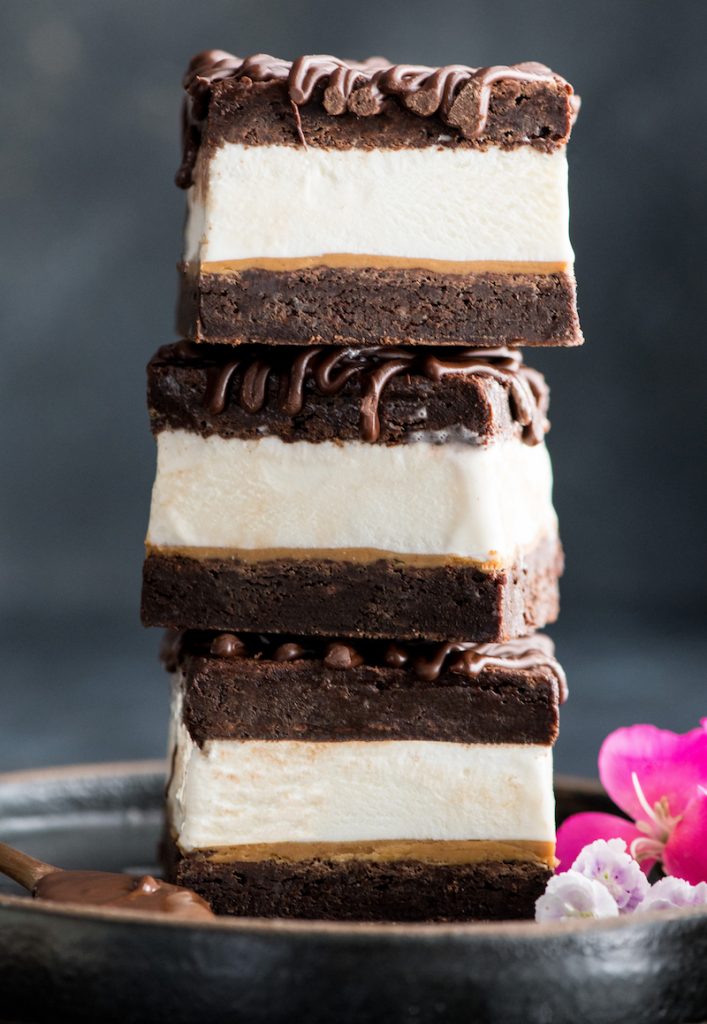
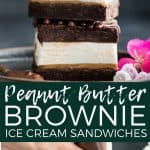
Posted Jun 25, 2018, Updated Sep 02, 2020 This post was sponsored by my friends at Crazy Richards Peanut Butter, as always, all opinions are my own! Happy summer everyone! I legitimately couldn’t think of a better way to kick off the warmest, sunniest season of the year than with this brownie ice cream sandwich recipe! It is insanely delicious and a total chocolate & peanut butter lover’s dream. I’m not sure why, but store-bought frozen treats never quite cut it for me in the taste department. They never have “enough” of what I want (mix-ins, flavor, chocolate, etc). That’s why I opt to make homemade ice cream sandwiches, ice cream, and popsicles as often as possible during the warm summer months! Another benefit of making frozen desserts at home is that one can create frozen treats taht comply with any and all dietary restrictions! These Peanut Butter Brownie Ice Cream Sandwiches are gluten-free and can easily be made dairy-free!
How do you Make Homemade Ice Cream Sandwiches
These brownie ice cream sandwiches might seem a little involved, but they are really very easy to make and put together! However, since some of the instructions are difficult to explain with words, I am going to walk you through the process step-by-step!
Step 1. Make the Peanut Butter Brownies
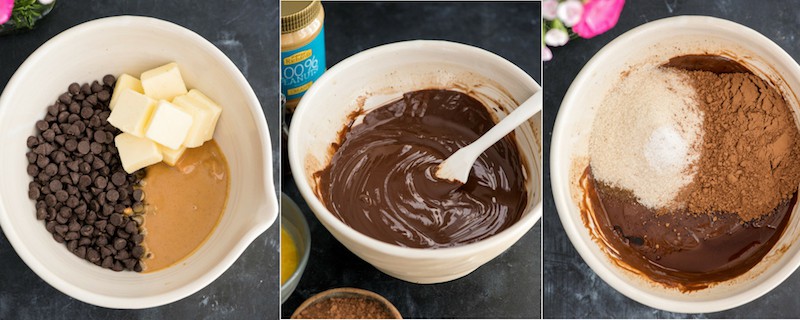
We begin with making the brownies, since they need to cool completely before proceeding with the recipe! I created a flourless peanut butter brownie that is rich, fudgy and irresistibly chocolatey. The brownie layer is made with only 8 ingredients and is very simple to mix together. The steps in the photos below show exactly what to do. First, melt the peanut butter, butter (or coconut oil), and chocolate chips together and stir until smooth. Add the eggs! Then add the dry ingredients and presto…the brownie batter is complete! Note: I typically add chocolate chips to all my brownie recipes (because more chocolate is always better than less chocolate). However, I chose not to in this recipe because I do not like frozen chocolate chips {gasp}! If you’d like to, feel free to add some mini chips to the batter before baking!
Step 2: Soften the ice cream
After the brownies are baked, measure out 3 cups of ice cream and let it sit at room temperature to soften. This will ensure that the ice cream spreads easily and evenly into the middle of this ice cream sandwich recipe!
Step 3: Line the Baking Pans and Bake
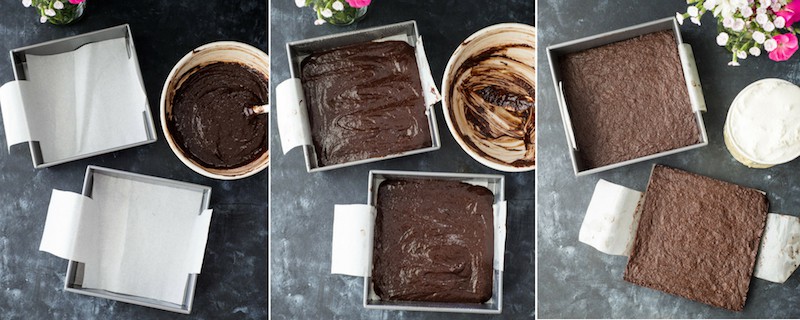
Ok folks, I have mastered the art of lining and greasing baking pans for easy treat removal. This is actually very important in this recipe, because you want to be able to remove one brownie layer, and then the entire finished product, from the baking pan without compromising the integrity of the brownie ice cream sandwiches! Check out my “how-to” below! Note: If you do not have two identical baking pans, bake one brownie layer at a time. You will have to wait for the first layer to cool before removing it and baking the second. And be sure to keep the second layer in the pan (and do not remove it), since it will be used as the bottom of these homemade ice cream sandwiches!
How to line a baking pan for easy removal
Step 4. Add the peanut butter layer
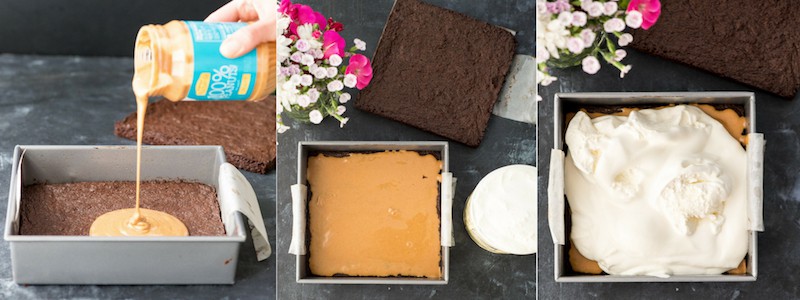
The next step is to pour a generous serving of Crazy Richards Creamy Peanut Butter onto the bottom layer of brownies. Use 1/4 to 1/2 cup of peanut butter and spread it evenly over the bottom brownie layer. Transfer the bottom layer covered in peanut butter to the freezer. Freeze for 15-30 minutes or until the peanut butter layer has hardened enough that it will remain in tact when the ice cream is spread on top.
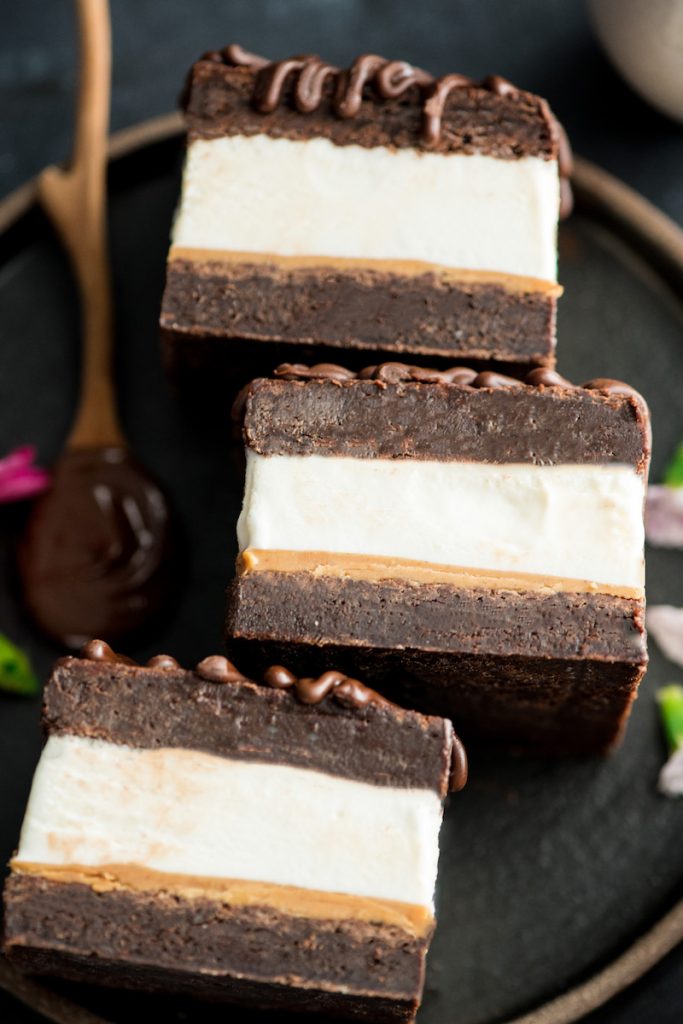
Step 5. Assemble & Freeze
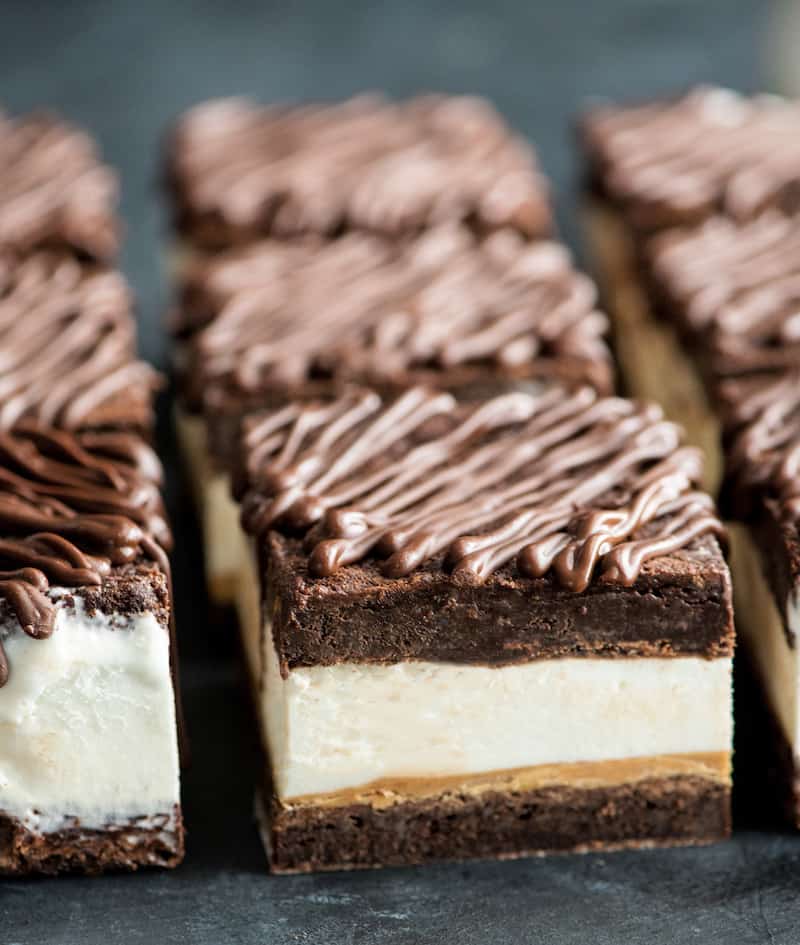
Once the peanut butter is sufficiently hardened, evenly spread the softened ice cream on top of it. Then remove the parchment paper from the bottom of the top brownie layer, and gently press it into the ice cream. Be sure to press the top brownie layer into the ice cream enough that there will not be any air pockets at the top of your brownie ice cream sandwiches. Freeze these homemade ice cream sandwiches for at least 5 hours, or overnight, before cutting and serving.
Step 6: Remove from the Pan & Cut
Thanks to the parchment paper liner with “handles” these brownie ice cream sandwiches should be super easy to lift out of the pan. If necessary, use a butter knife to loosen the edges a little before pulling the sandwiches out. Then transfer them to a cutting board to cut. These homemade ice cream sandwiches are quite thick and dense, so in order to ensure easy cutting I recommend using a large, sharp knife. If you’re having trouble, dip the knife into hot/boiling water between cuts.
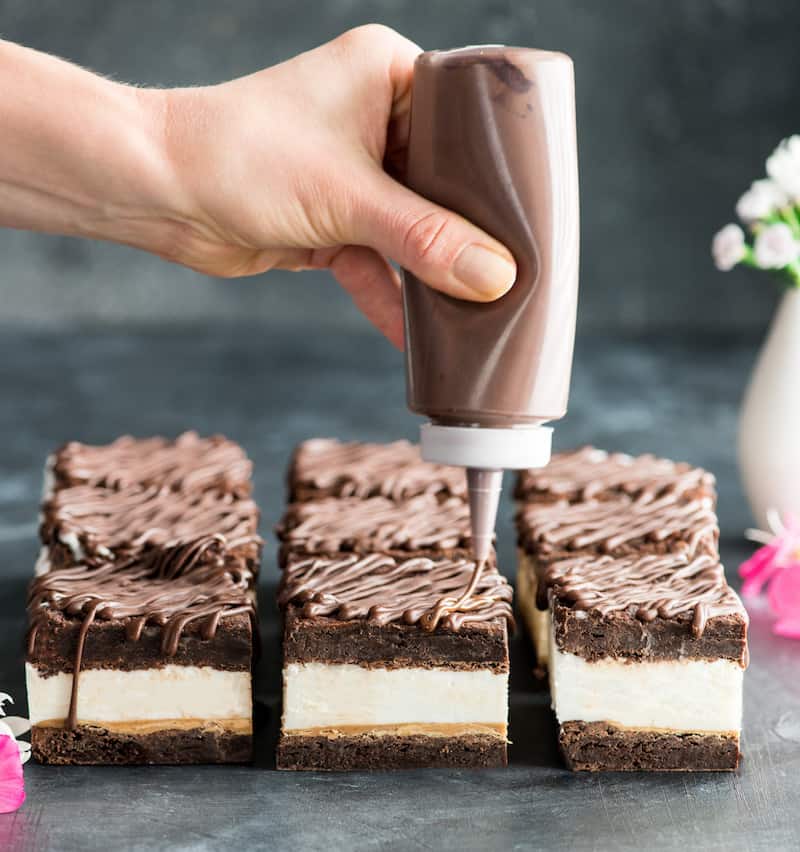
Step 7: Optional Drizzle
If you’d like to take make this homemade ice cream sandwich recipe look pretty, add a drizzle of a melted chocolate & peanut butter mixture, or dip one side of each sandwich into melted chocolate. I recommend doing this after cutting, because the look of the drizzle will not be compromised.
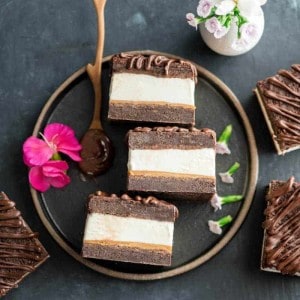
A note about serving size.
For the sake of these photos I cut these brownie ice cream sandwiches into nine pieces. But they are crazy rich and extremely filling, so to serve them I cut each of those nine pieces in half once more…resulting in 18 homemade ice cream sandwiches. They might look small, but even I have a hard time finishing one of them when cut into 18 pieces (and I am not a dessert lightweight by any means, lol). You can also cut them into 4 rows of 4, resulting in 16 pieces, if desired.
What Ice Cream Varieties to Use in this Homemade Ice Cream Sandwich Recipe?
Regular Ice Cream. I used Tillamook Vanilla Ice Cream in this recipe because it’s our family’s favorite store-bought vanilla ice cream. I would’ve preferred to fill them with chocolate ice cream, but not everyone in my circle is as much of a chocolate fanatic as I am, and the vanilla balances everything out extremely well. Feel free to choose your favorite variety of ice cream, homemade or store-bought! The sky’s the limit. Dairy-Free Store-bought Ice Cream. There are dozens of varieties of great dairy-free ice cream on the market today (so much different than years ago). Feel free to choose your favorite for the filling. Homemade Dairy-Free Ice Cream. I recommend making one of these ice cream varieties to use in the these Peanut Butter Brownie Ice Cream Sandwiches, all of them would be fantastic! Dairy-Free Chocolate Peanut Butter Ice Cream (for more chocolate peanut butter flavor) Paleo Vanilla Ice Cream Paleo Chocolate Ice Cream with Sea Salt
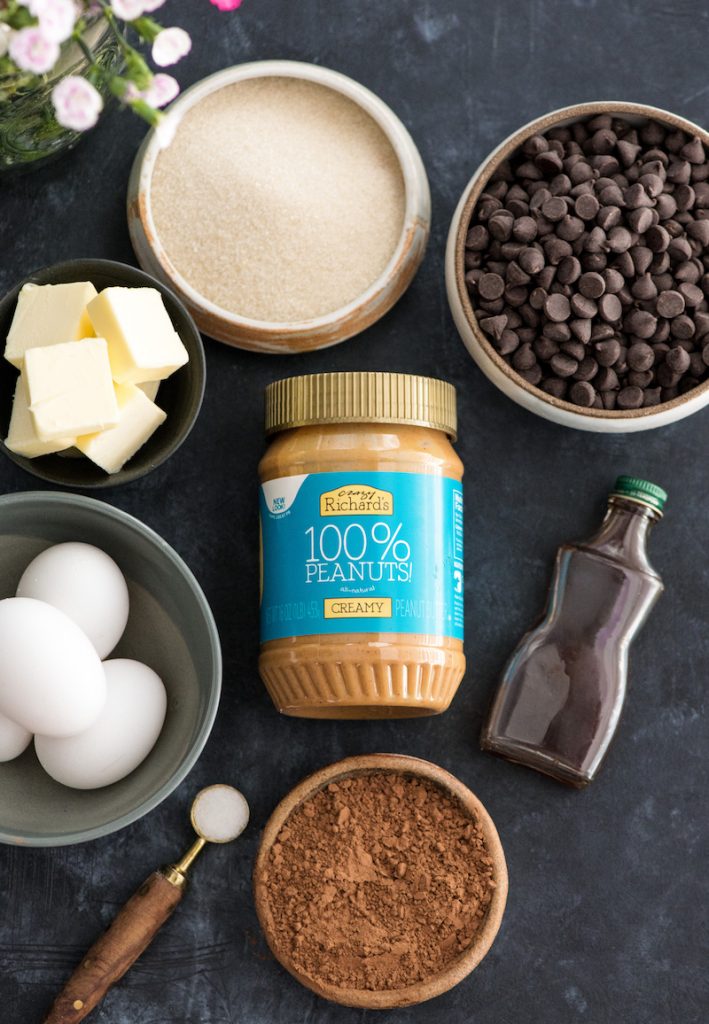
Here are a few notes on the ingredients used in this recipe, as well as some possible substitutions!
Coconut oil/Butter. I used butter in this batch of brownie ice cream sandwiches. I have also used coconut oil with great success! Ghee would be another great option as well! Creamy Peanut Butter. It’s no surprise that I used Crazy Richard’s peanut butter. I love it because it only has one ingredient, Peanuts! Semi-sweet chocolate chips. Choose your favorite variety of chocolate chips. For my personal tastes, the darker the better. But the rest of my family prefers a little less intense chocolate flavor! Choose a variety that complies with your dietary needs (e.g. dairy-free, soy-free, etc). Granulated sugar. I bake with organic cane sugar, however feel free to choose your favorite variety! Ice Cream. See above for recommendations on different ice cream varieties! If 3 cups seems like to much to you, and you’d like a thinner middle layer, feel free to decrease the amount to your liking!
This post contains affiliate links, which means that if you purchase a product through a link you clicked on here, I receive a portion of the sale. Thank you for supporting JoyFoodSunshine!
![]()