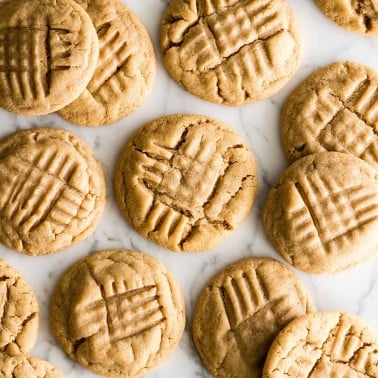
Posted Nov 24, 2019, Updated May 06, 2024 Everyone has their favorite Christmas cookie. You know, the variety you eat first from the cookie tray and hope no one else reaches for so there is more for you to enjoy. These Peanut Butter Blossoms are definitely mine. I have fond memories of “fighting” with my uncle over the peanut butter kiss cookies at Christmas time (pretty sure he always let me win). So naturally as a grown woman I decided to create my own recipe for the best peanut butter blossom cookies! In this Hershey kiss cookies recipe, a soft peanut butter cookie is coated in sugar and topped with a chocolate kiss! It’s a favorite Christmas cookie that will become a must-make for your holiday cookie trays for years to come!
Peanut Butter Blossom Cookies: Ingredients & Substitutions
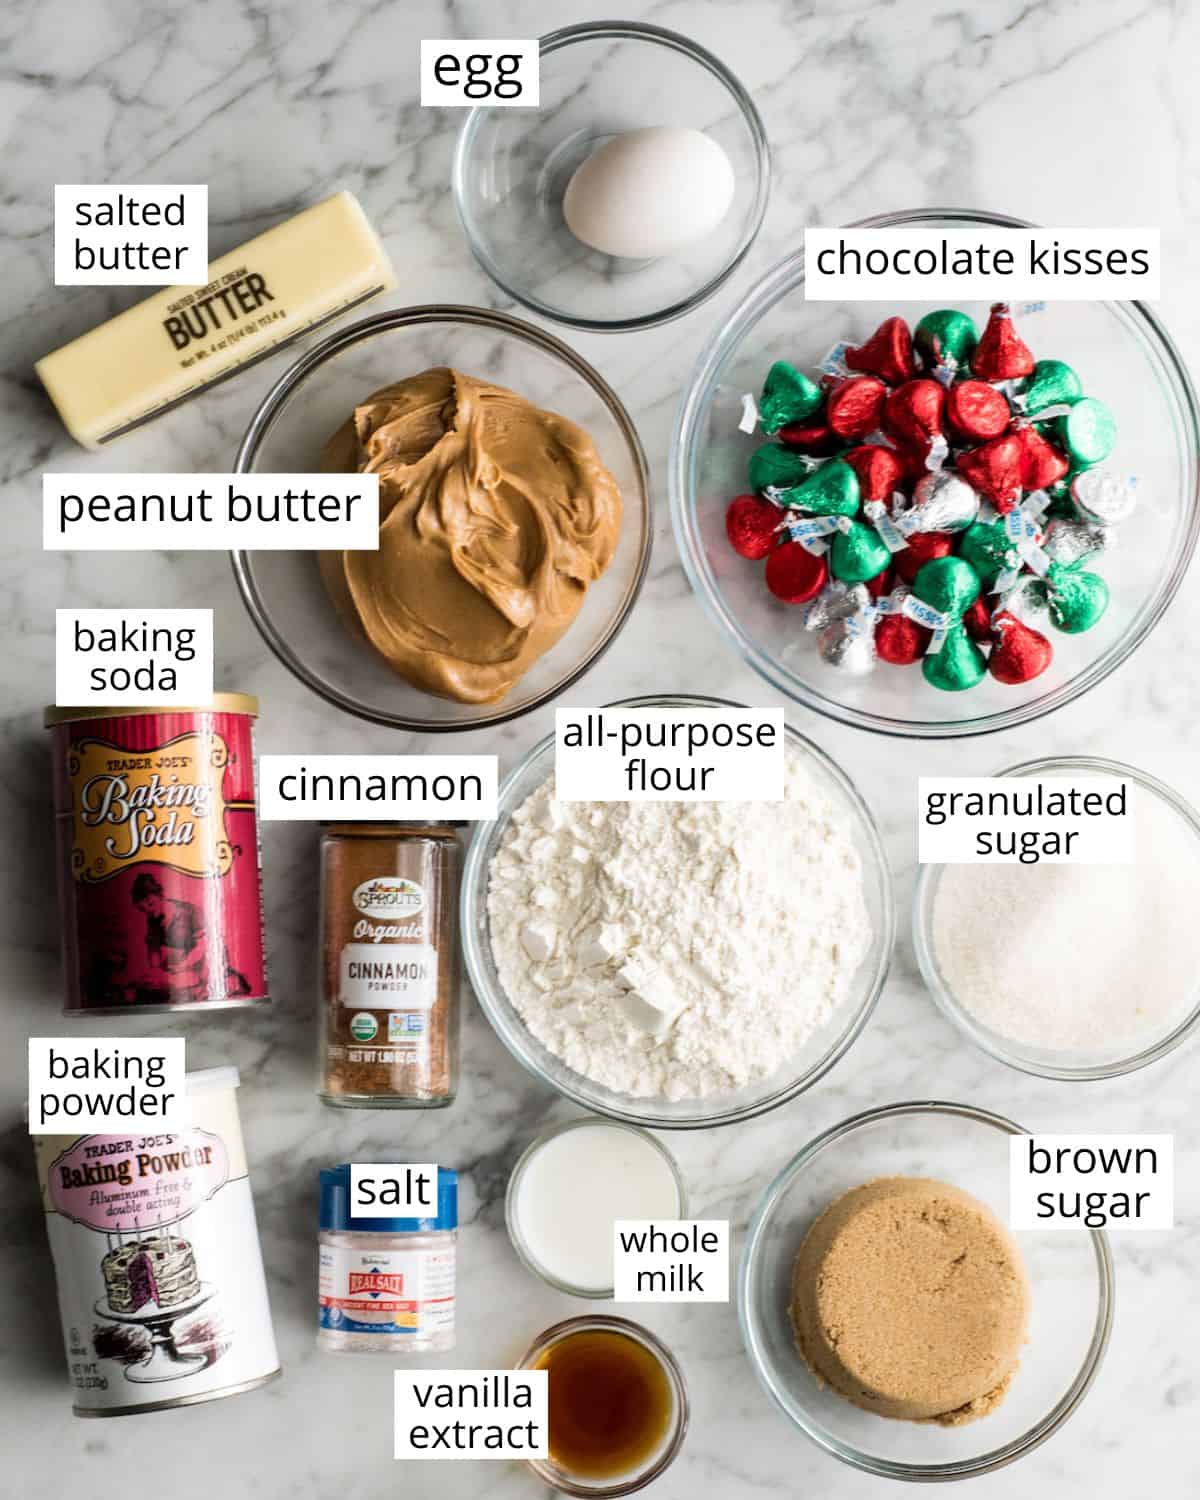
Let’s begin by discussing the ingredients in these peanut butter blossoms and possible substitutions!
How to Make Peanut Butter Blossom Cookies
Ok, now that we’ve discussed the ingredients in these peanut butter kiss cookies, let’s jump in and discuss how to make them! Don’t forget to watch the video for step-by-step instructions as well!
Unwrap & Freeze Kiss Candies
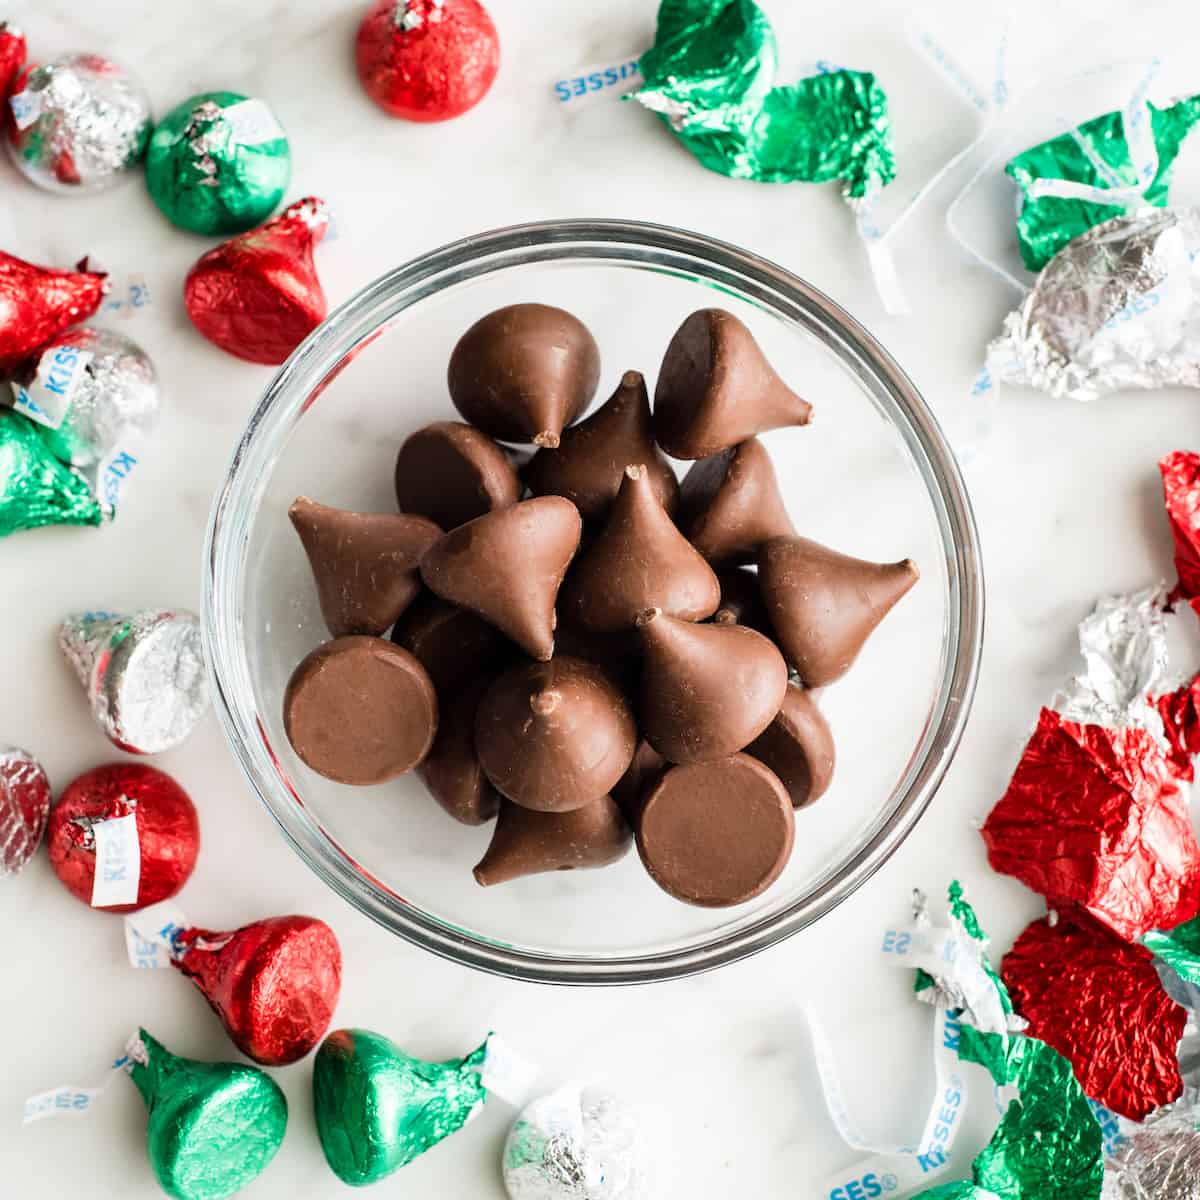
The first step in this peanut butter blossoms recipe is to unwrap and freeze the Hershey kiss candies. The kisses need to be frozen before they are pushed into the warm peanut butter cookies so they don’t melt and lose their shape. Layer the unwrapped kisses in a pan or in a bowl and toss them in the freezer while you make the rest of the recipe. If you check out these flourless peanut butter blossom cookies you can see how I also have used chocolate shapes in my blossom cookies for a cute holiday twist! They still need to be frozen before being added to the cookies too.
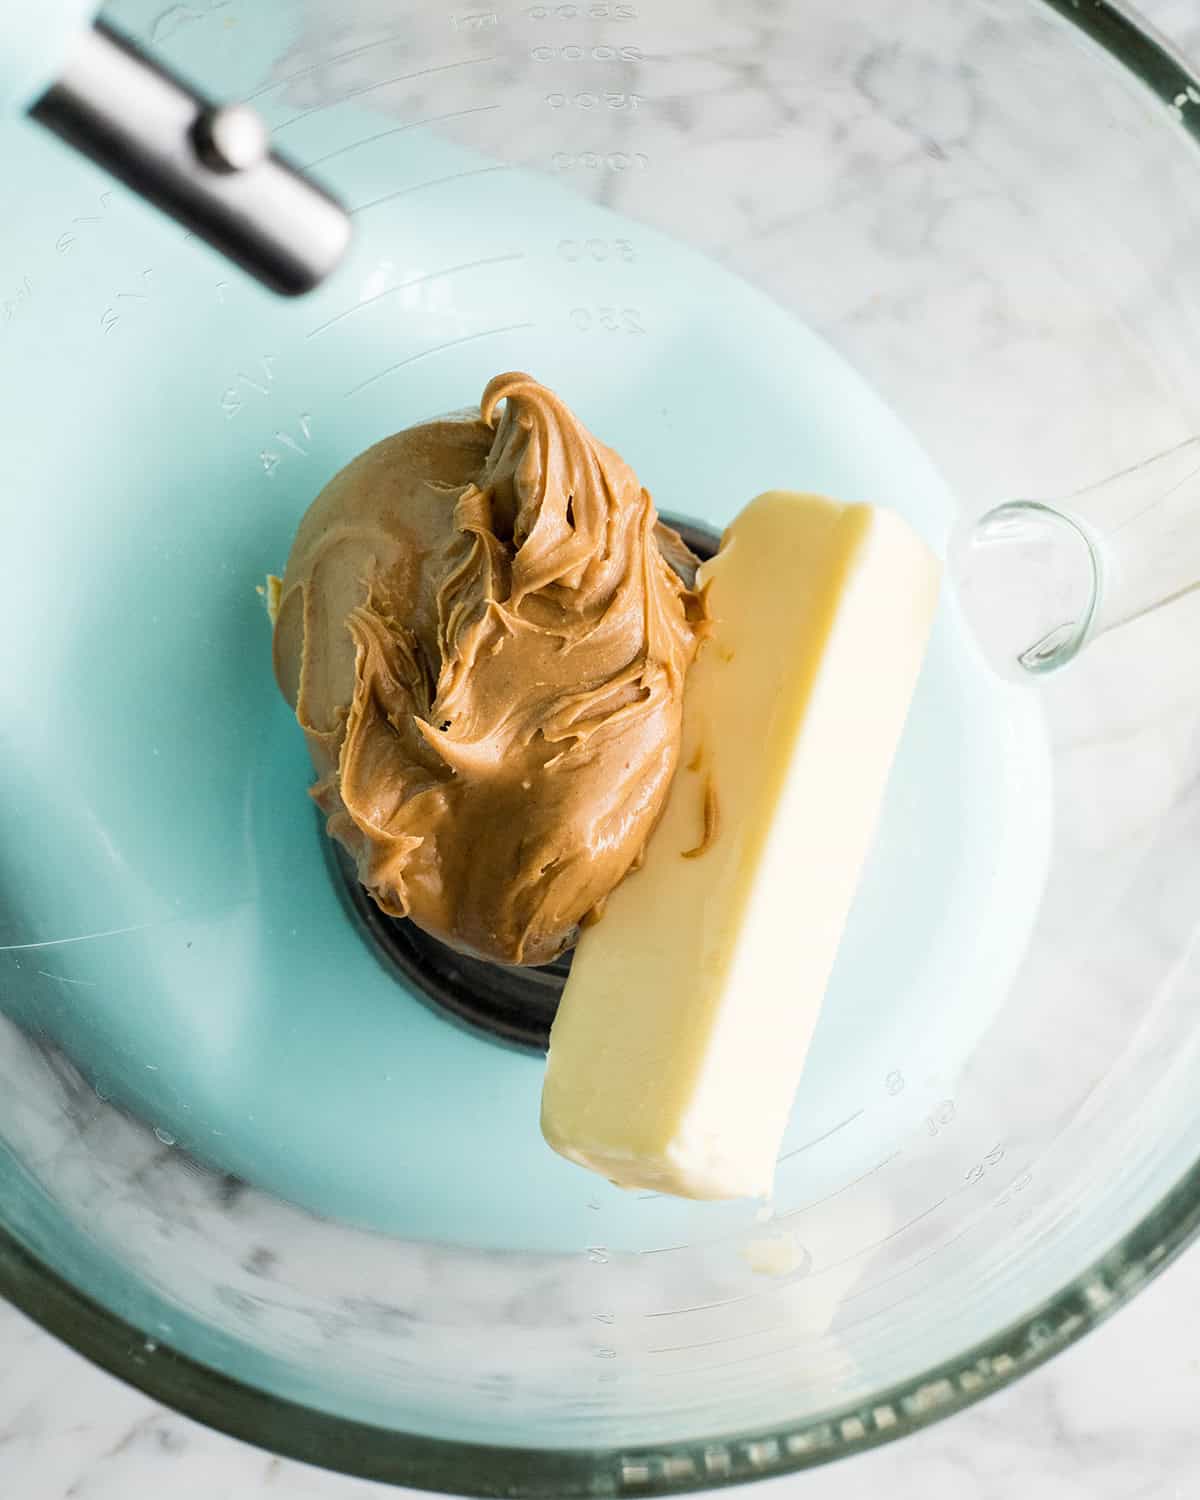
Make the Peanut Butter Cookie Dough
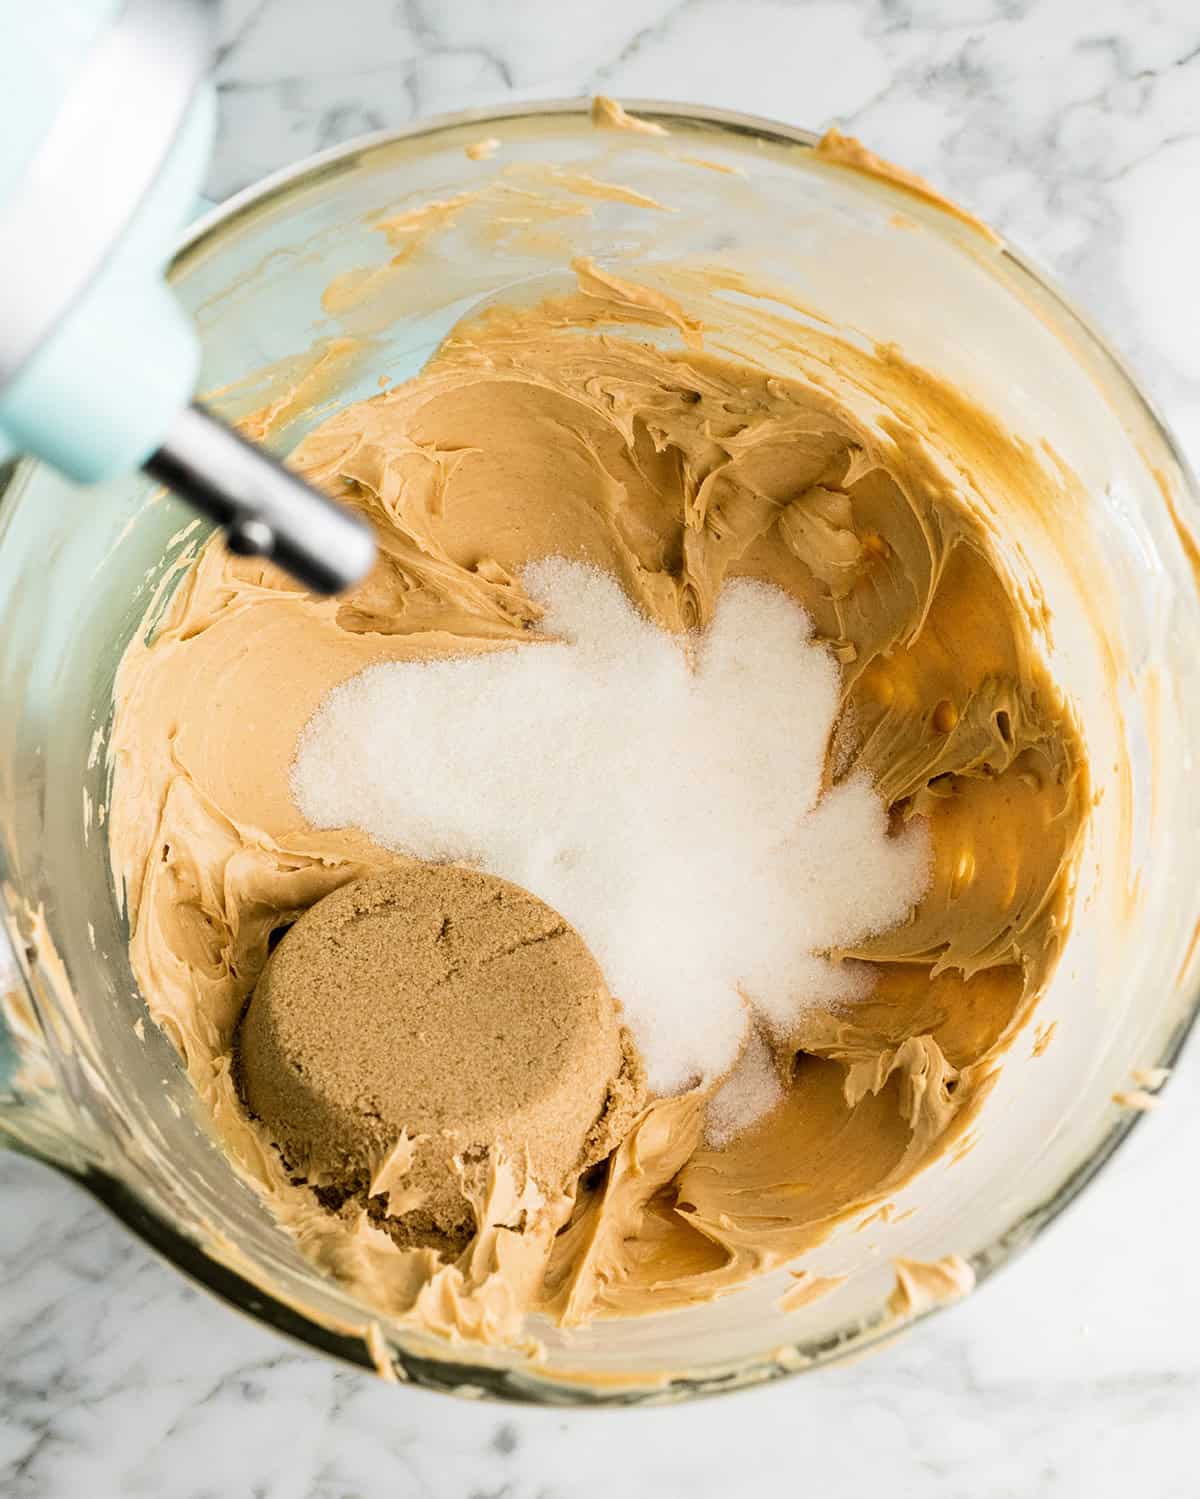
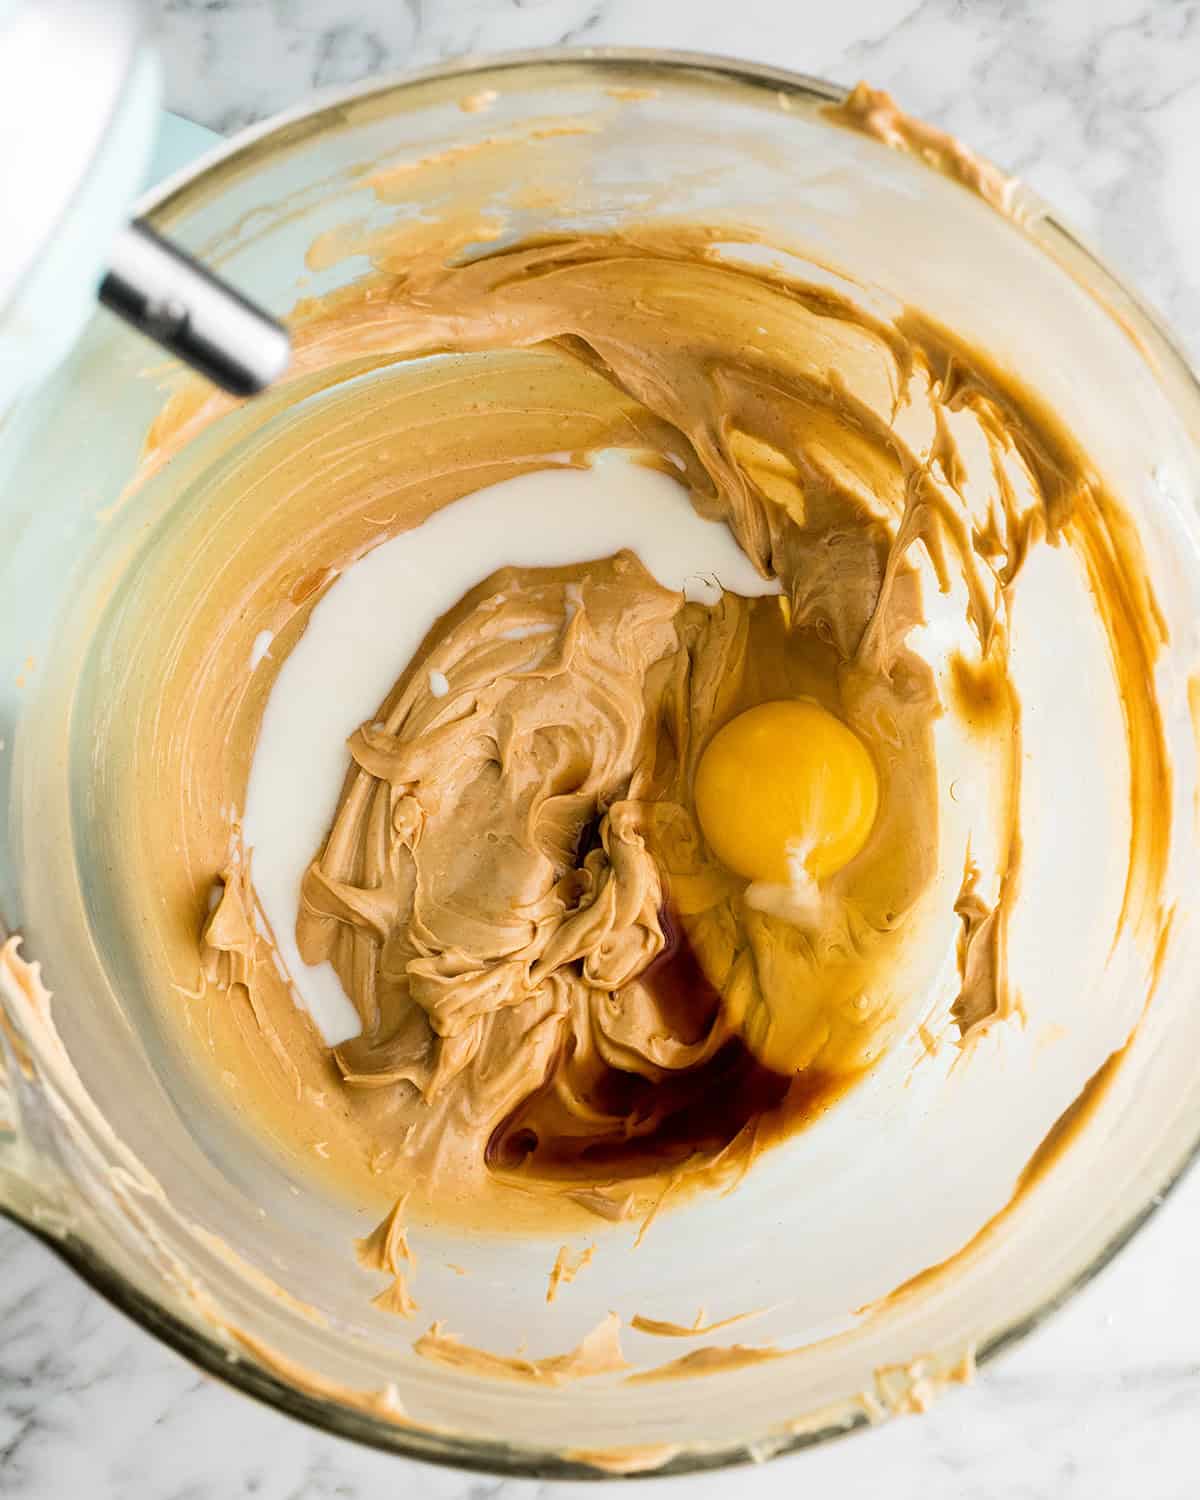
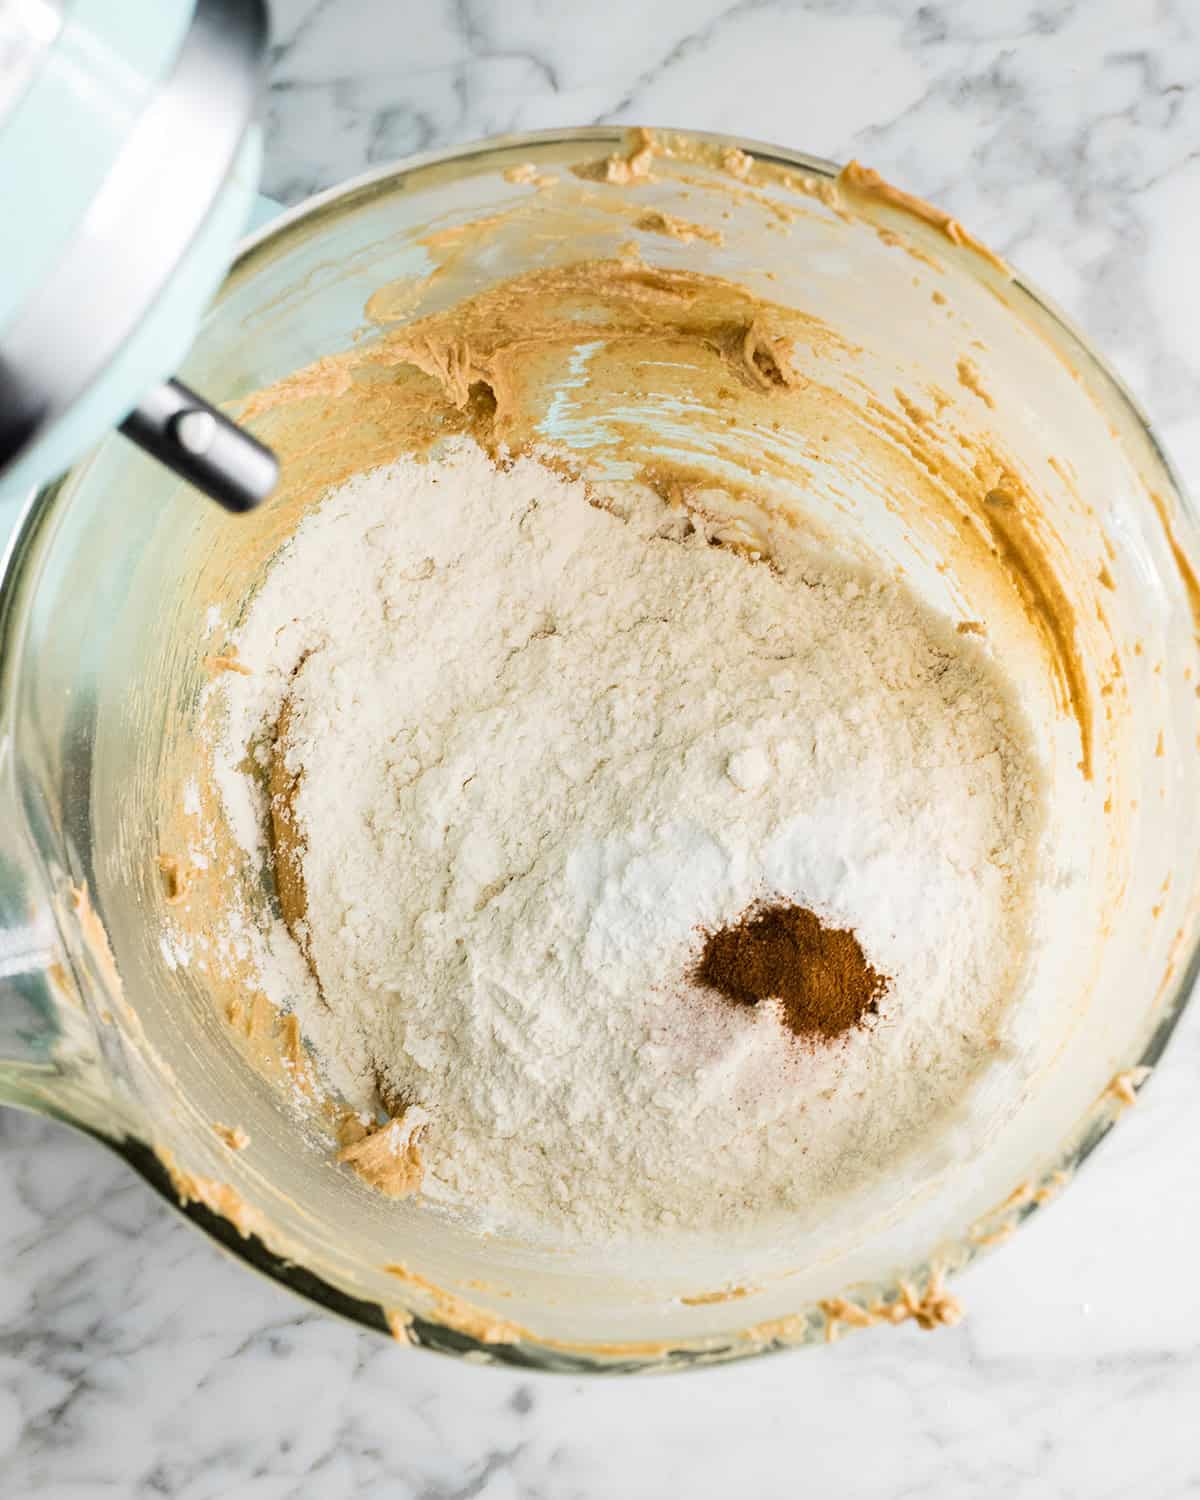
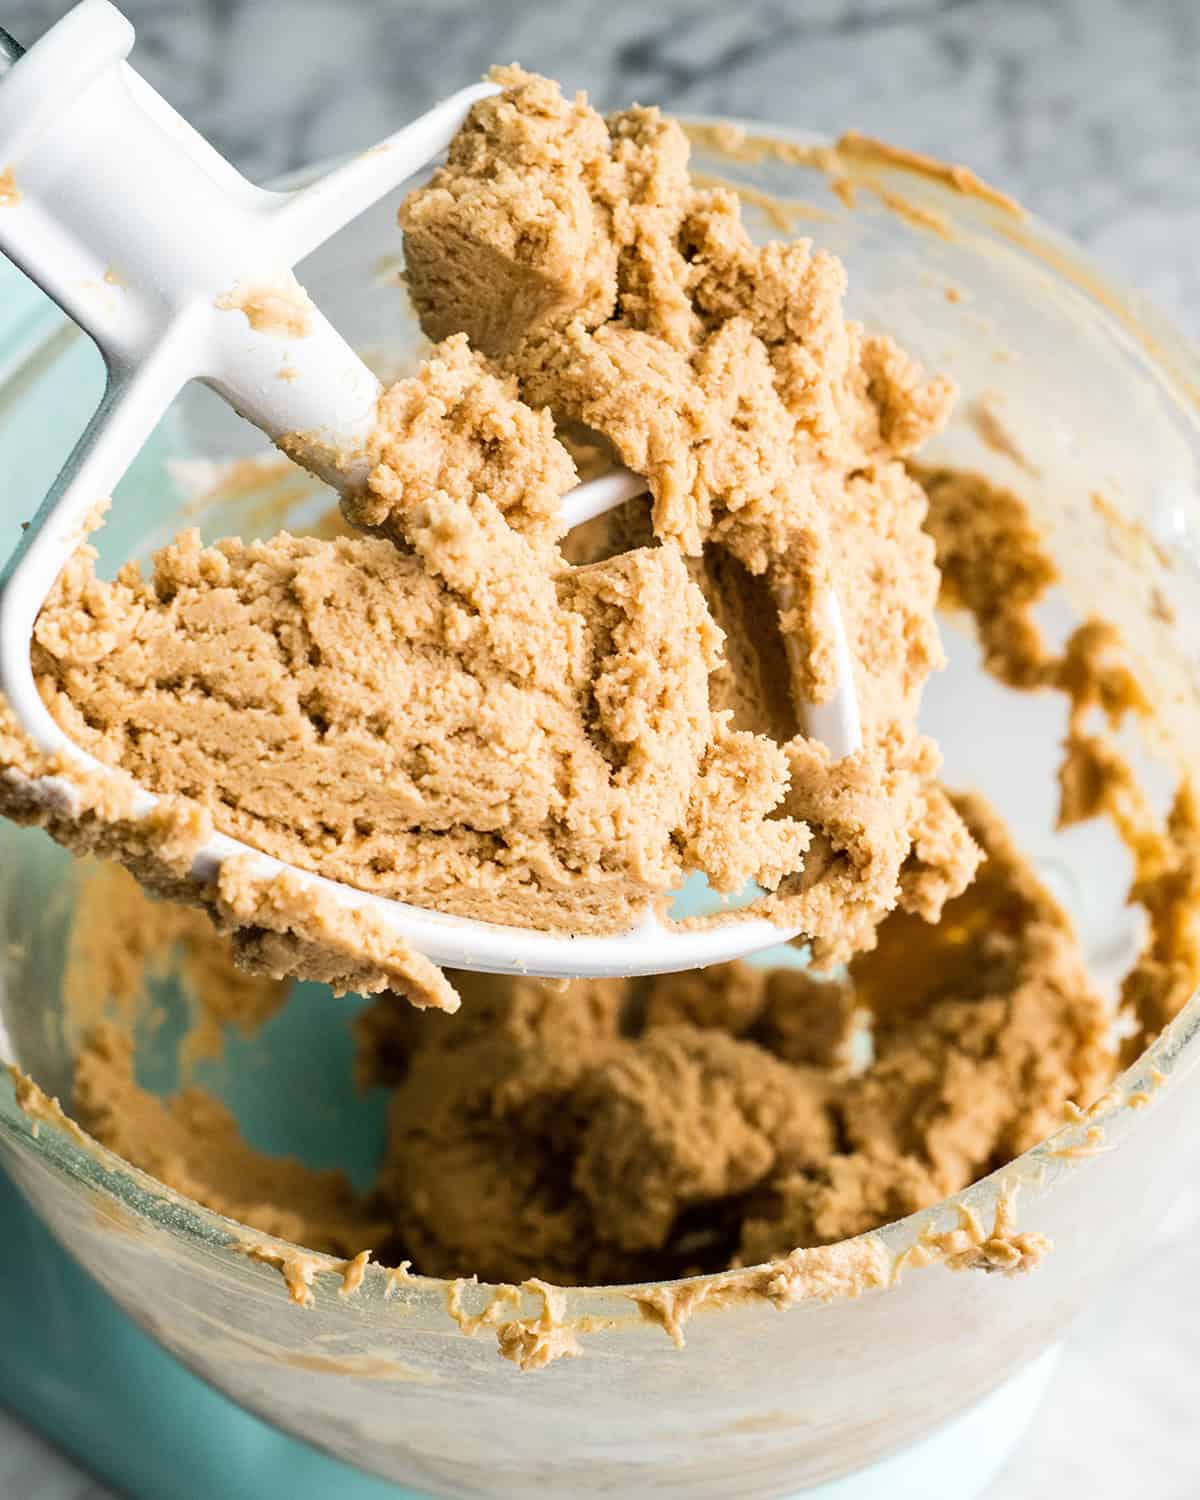
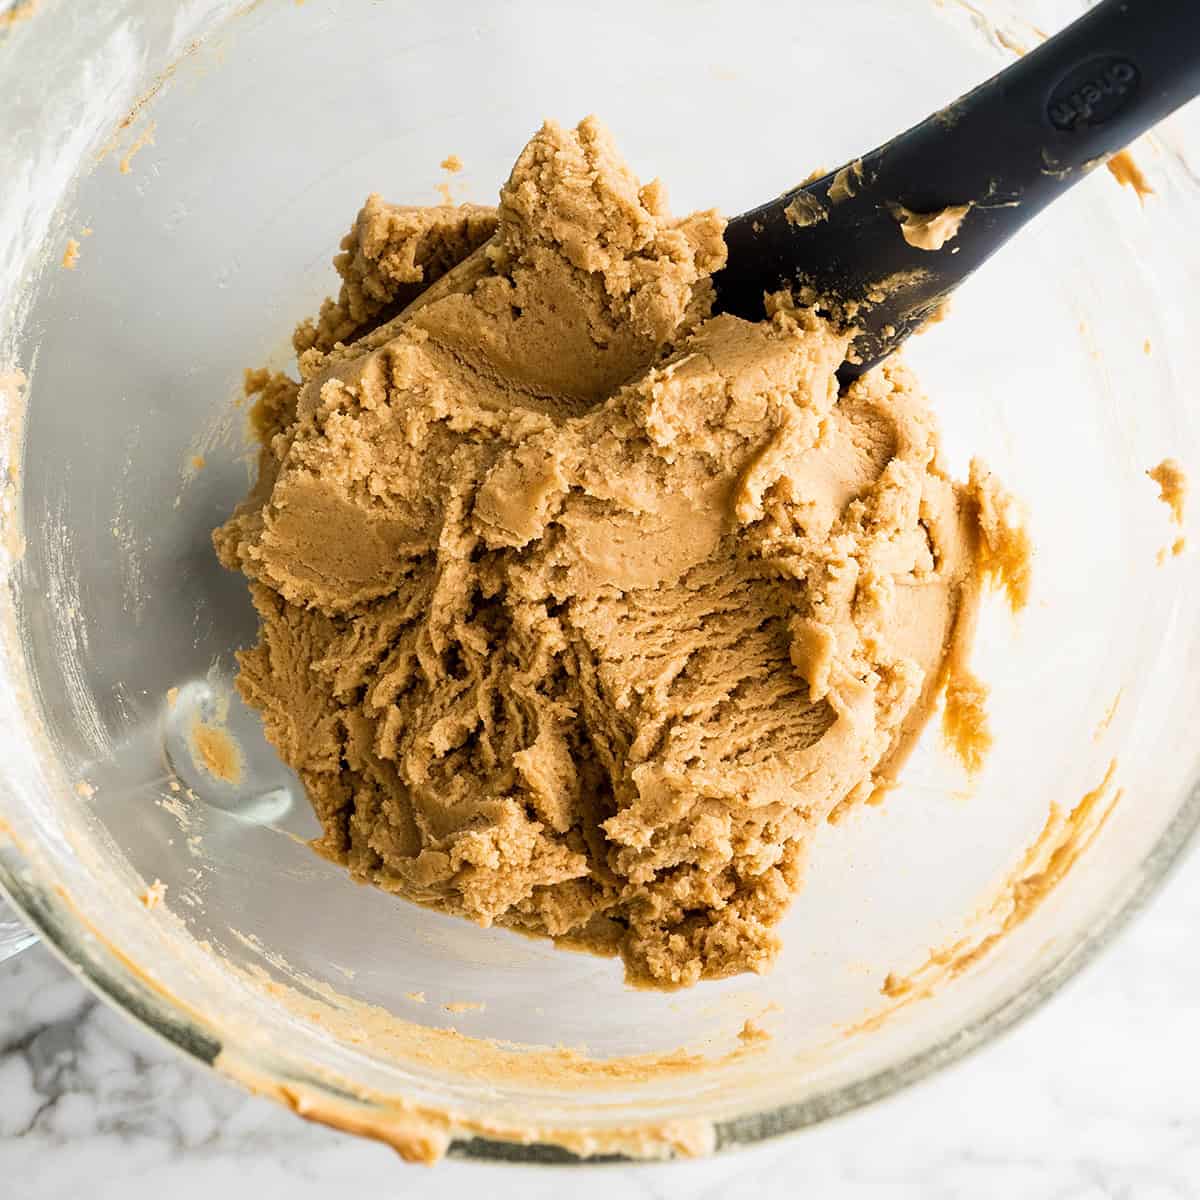
Once the kisses are in the freezer, it’s time to make the peanut butter cookie dough. It needs to chill for at least 60 minutes before baking, so keep that in mind! Start by beating the softened butter and peanut butter together until the mixture is smooth. Then, beat in the brown and granulated sugars until they dissolve and the mixture is light and fluffy, about 1 minute. You may need to scrape down the sides and beat a second time! Next add the milk, egg and vanilla and beat again until the mixture is light and fluffy – about 30 seconds. Next, addd the dry ingredients and beat until combined. The dry ingredients can either be combined in a small bowl before you begin the rest of the recipe – which I recommend to ensure even distribution, or added to the mixer on top of the beaten wet ingredients.
Chill
In order to achieve the best peanut butter flavor and texture, chilling the peanut butter blossom dough is necessary. Cover the mixing bowl with plastic wrap or transfer the dough to an airtight container and put it in the refrigerator for at least 60 minutes (or overnight).
Portion & Bake
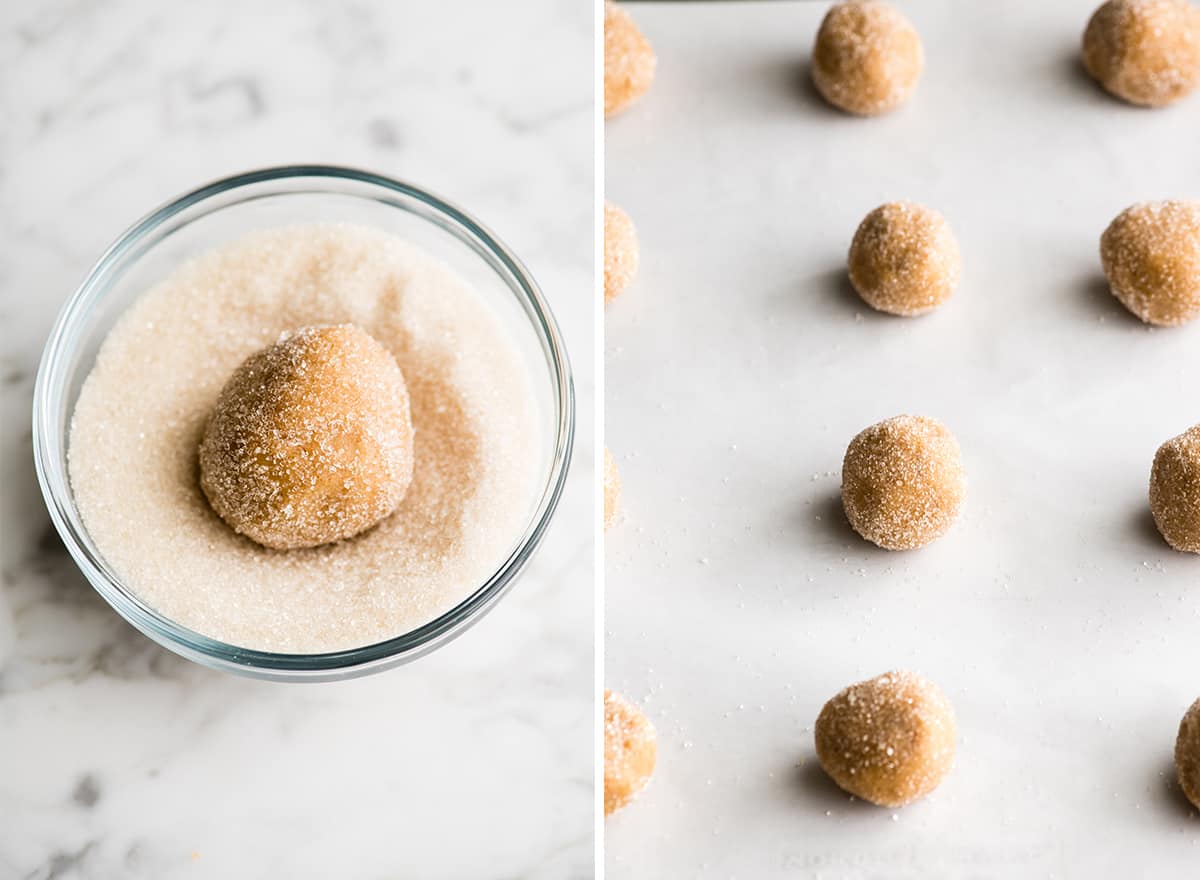
Use a 1 to 2 Tablespoon cookie scoop and measure out the dough. I recommend using a cookie scoop because it ensures all the peanut butter blossoms are the same size and bake evenly! Then roll each portion of dough into a smooth ball and place them evenly spaced on a large cookie sheet. Roll each peanut butter blossom cookie ball in granulated sugar until it’s evenly coated, then return to the baking sheet! Place the cookie sheet into the preheated oven and bake the peanut butter blossoms for 10 minutes.
Add Frozen Candies
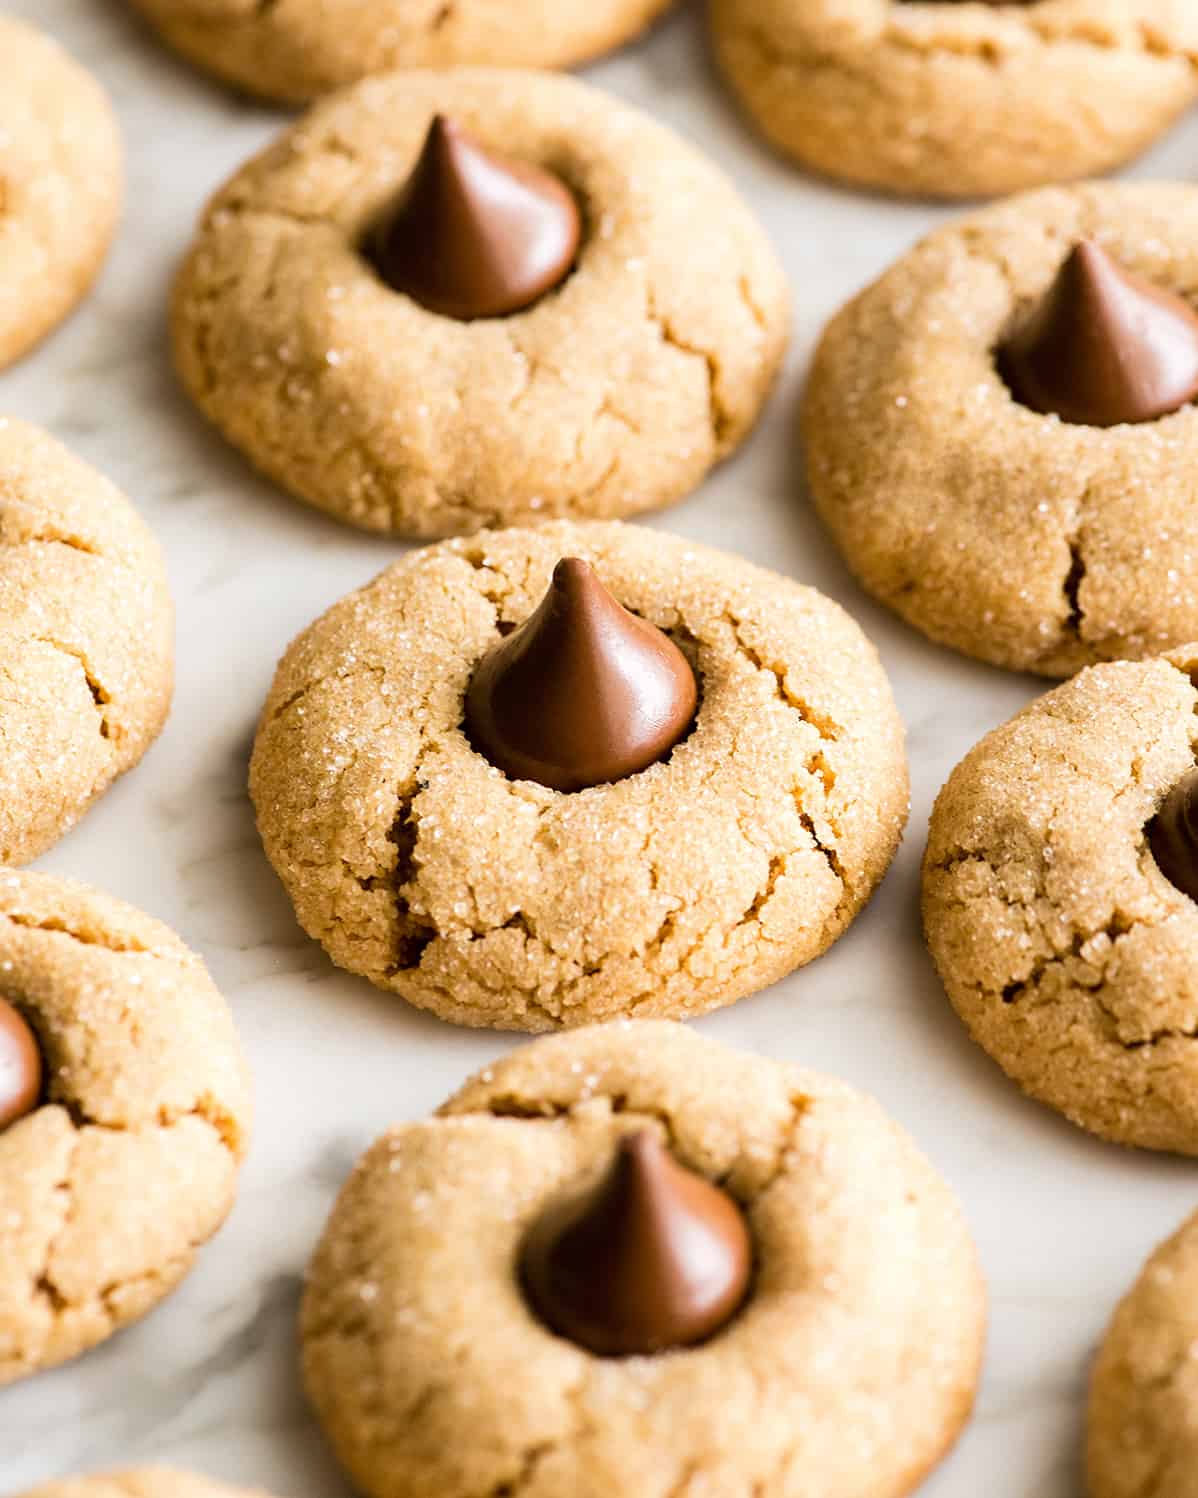
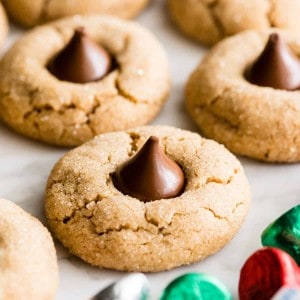
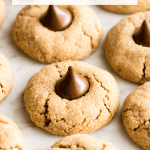
As soon as the peanut butter cookies are removed from the oven, press a frozen kiss gently into the top of each one.
Cool & Serve
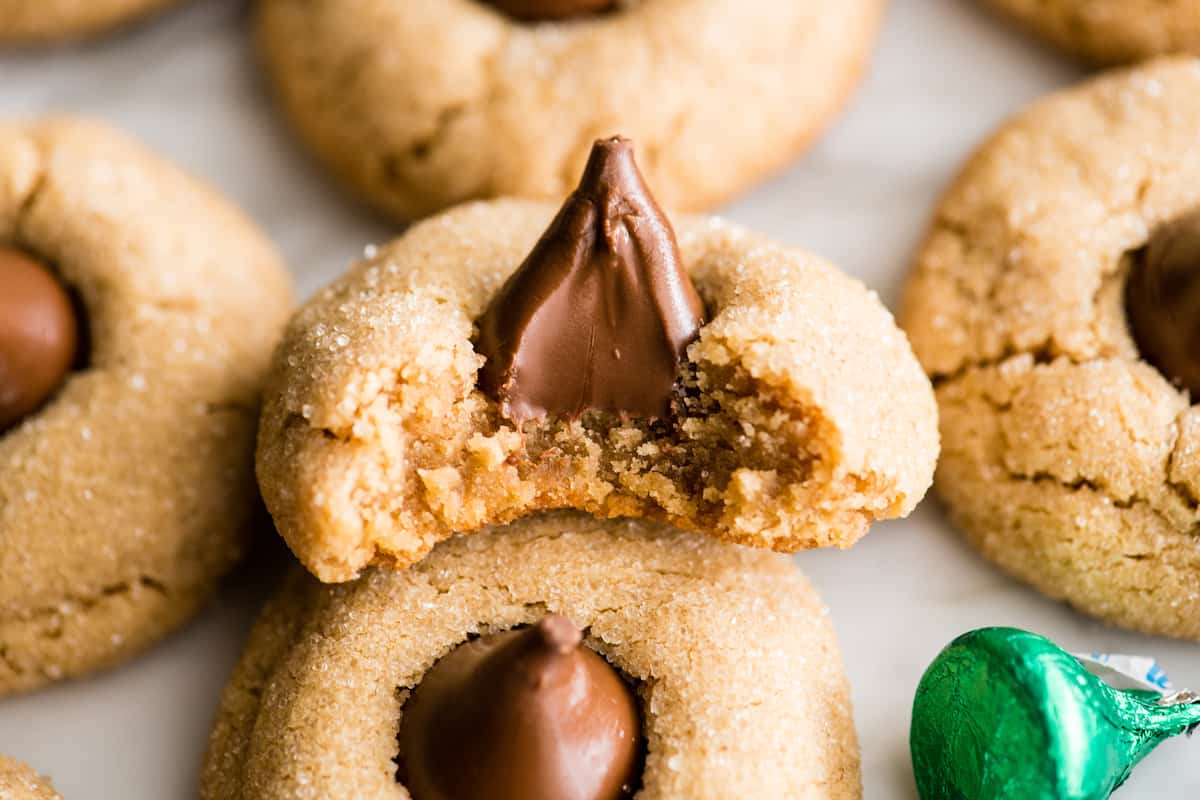
First, let these peanut butter blossoms cool on the baking sheet for 15-20 minutes. As you can see by their “glistening” appearance in the photo below, even though we press frozen kiss candies into the peanut butter blossom cookies, they still get warm and melty. Letting them cool on the baking sheet for at least 15 minutes gives time for the Hershey kisses to cool down and set up a little bit before being transferred! After 15-20 minutes transfer the Hershey kiss cookies to a wire rack to cool completely. They need to be completely cooled and the kisses hardened before they are added to a cookie tray or stacked and stored. However, I always sneak one fresh from the oven, because just can’t resist. If you make and love our recipes, it would mean so much to me if you would leave a comment and rating! And don’t forget to follow along with us on Instagram, Pinterest, Facebook, and Youtube – be sure to tag @joyfoodsunshine and use the hashtag #joyfoodsunshine so we can see your creations!
![]()