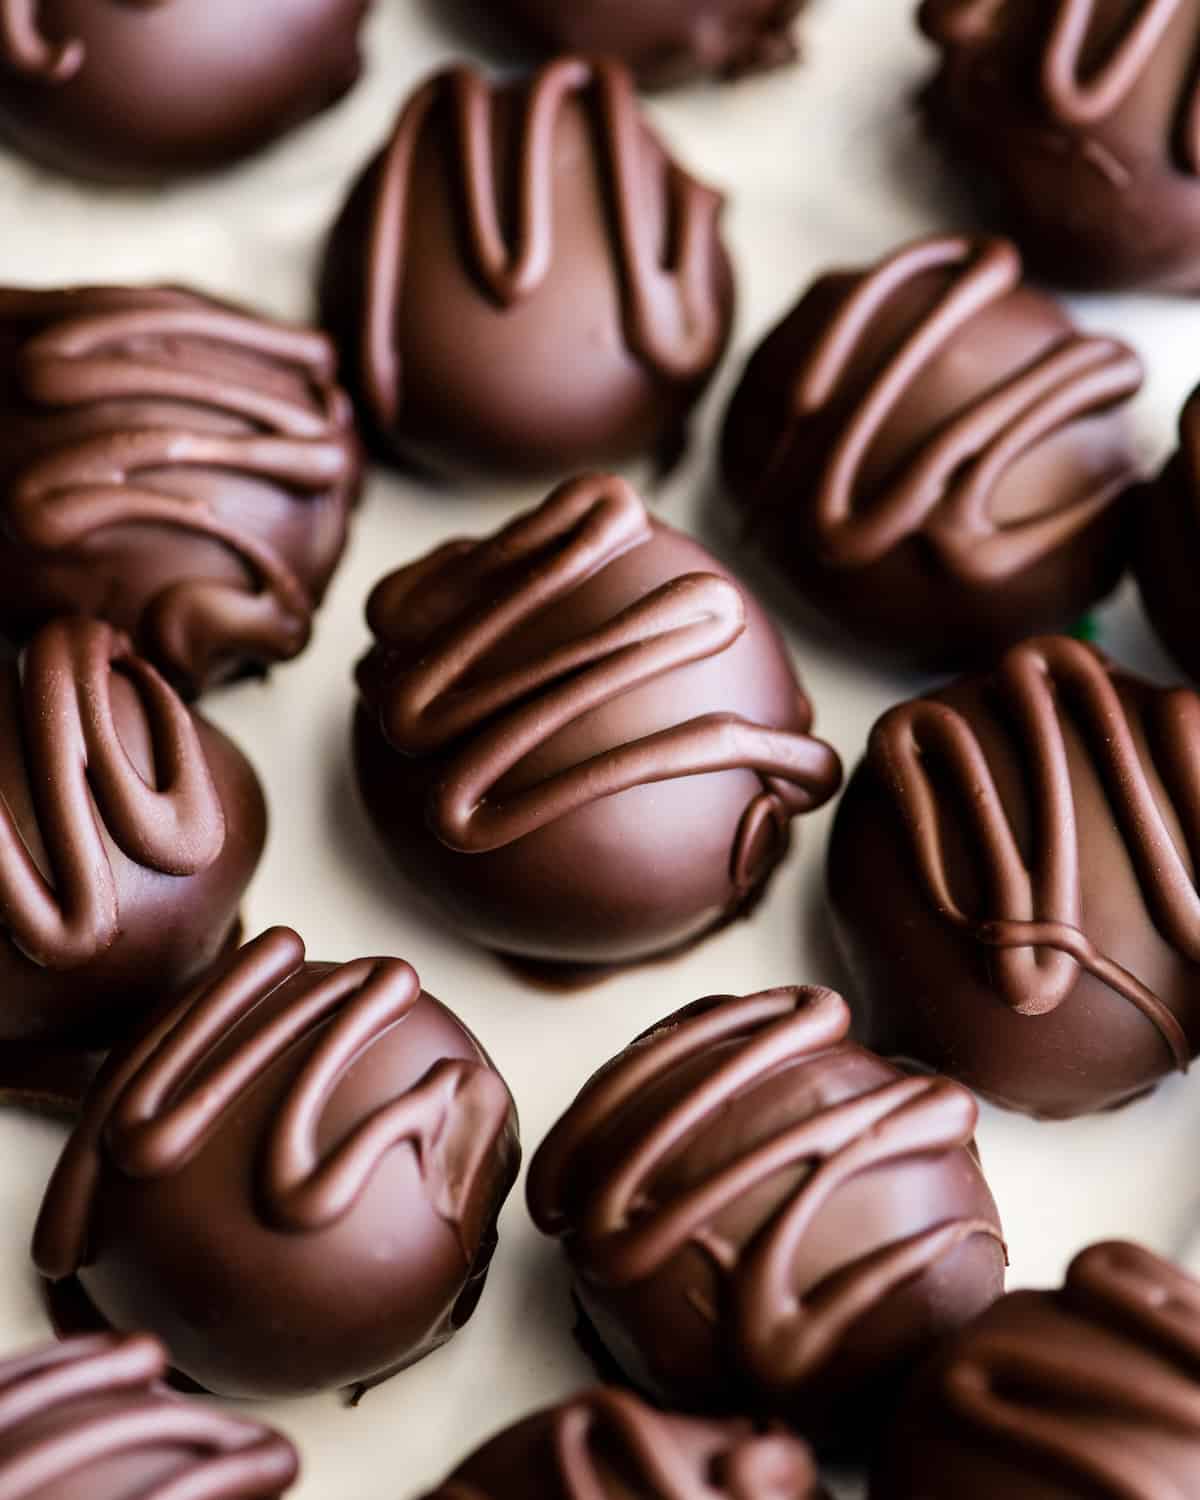
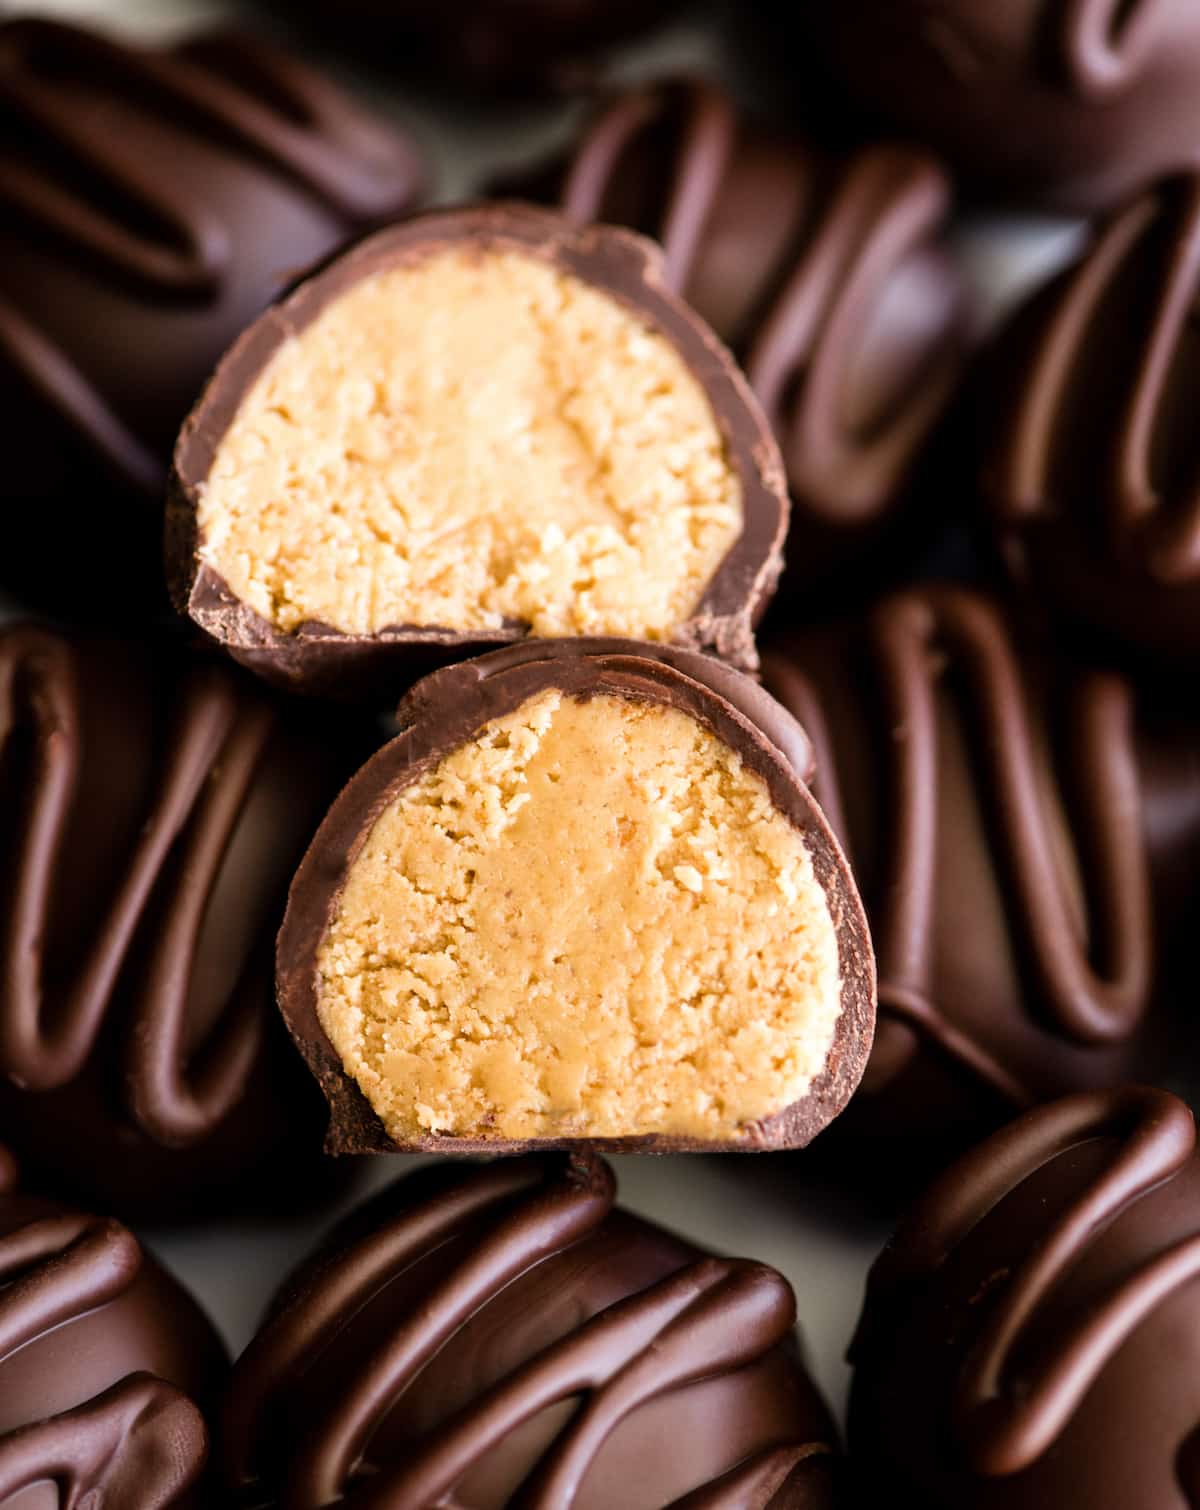
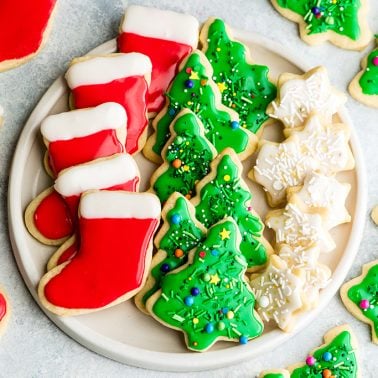
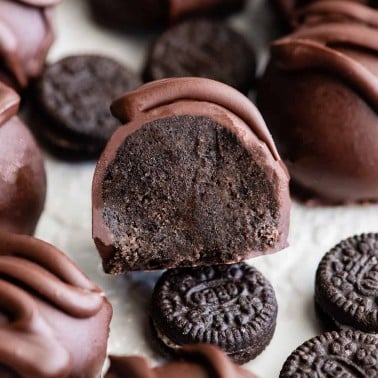
Posted Dec 08, 2019, Updated May 05, 2024 You’re probably already knee-deep into your holiday baking (we’ve already made cut-out sugar cookies, snickerdoodles, and oatmeal cookies), but you must add these no-bake peanut butter balls to your holiday treat list. This chocolate peanut butter balls recipe is easy to make with only 6 ingredients! They are always the first treat to disappear from my Christmas cookie tray, because no one can resist the chocolate peanut butter flavor combination! They are creamy with a little crunch (from the graham crackers) and have a big peanut butter flavor! You can decorate them with melted chocolate or holiday sprinkles for a festive flare!
Peanut Butter Balls Recipe: Ingredients
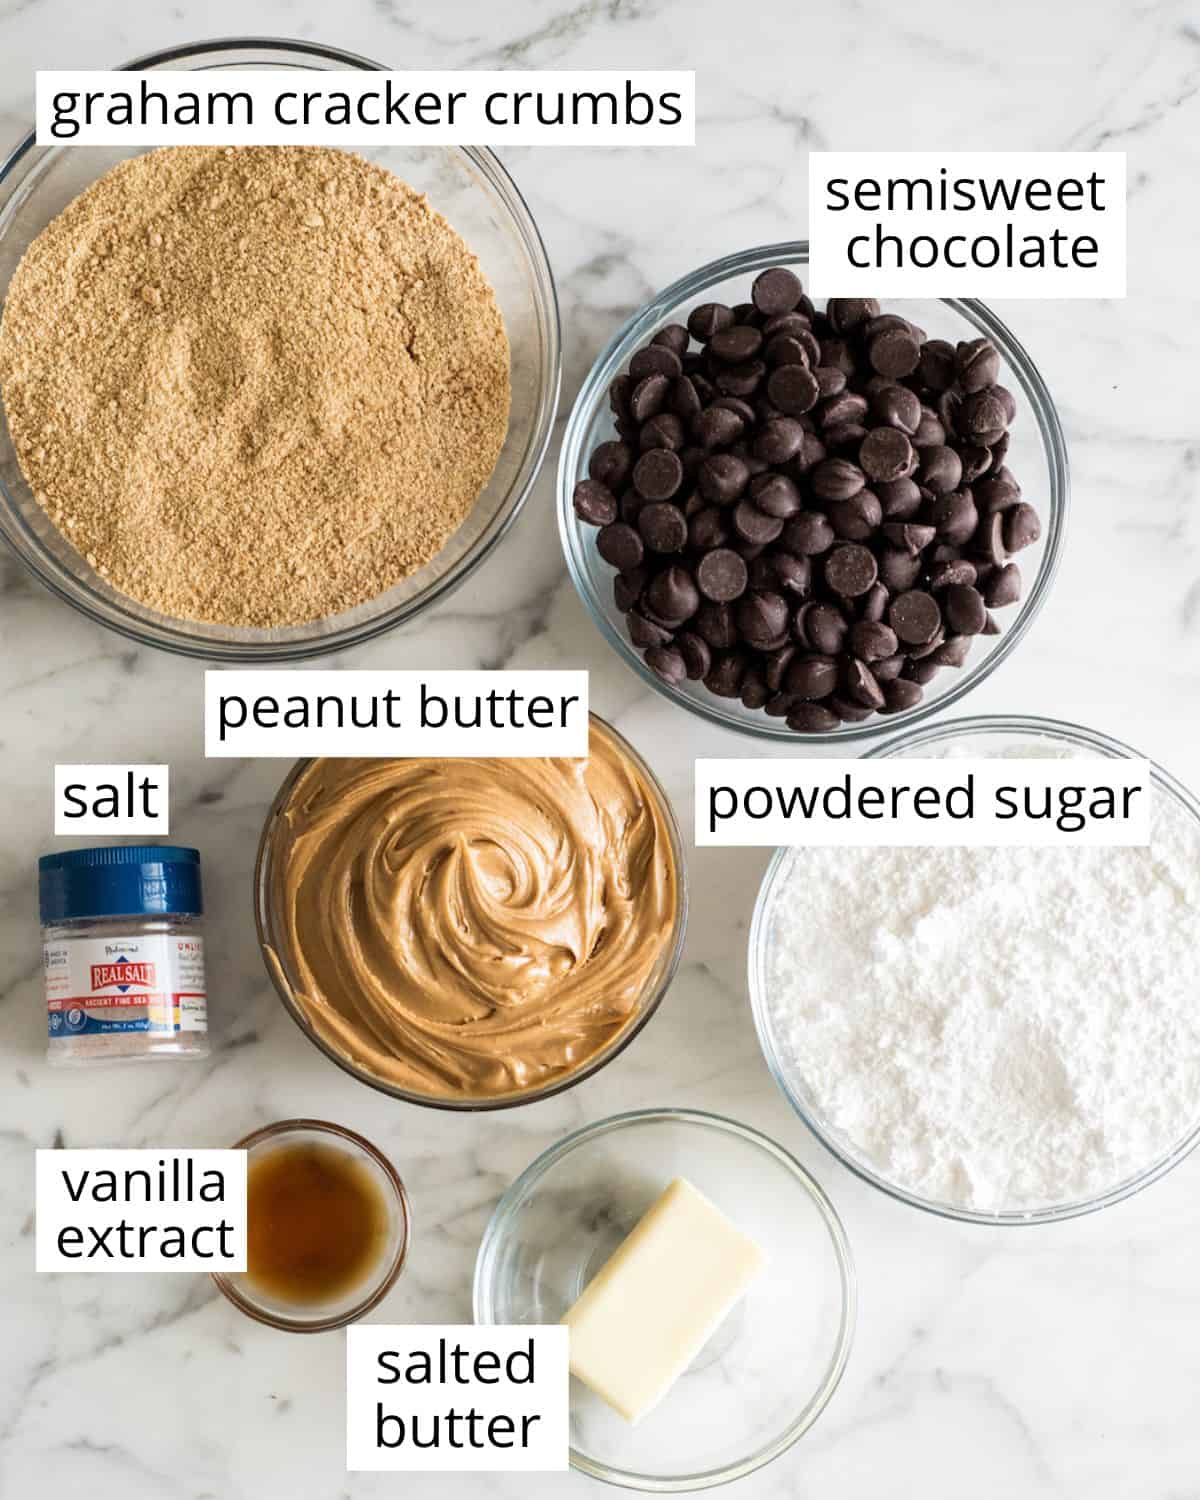
Let’s chat about the ingredients used in this recipe, and possible substitutions.
Salted butter: unsalted butter, vegan butter, or coconut oil are good substitutes. Peanut Butter: Use creamy peanut butter that is solid at room temperature. If you use peanut butter that is liquid at room temperature, you will need to serve these cold or add more powdered sugar or graham cracker crumbs to make the mixture firmer. Powdered sugar: if you try to avoid refined sugar, make this easy Paleo Powdered Sugar and use it as a substitution. Graham Cracker Crumbs: I process graham crackers in my Vitamix or food processor until a fine powder forms. If you have any dietary restrictions use a gluten-free/allergy friendly graham cracker variety! Chocolate Chips: Choose your favorite chocolate – we prefer semisweet, but milk, dark and even white chocolate all work well.
How to Make Peanut Butter Balls
This chocolate covered peanut butter balls recipe has three main steps that we’ll walk through together.
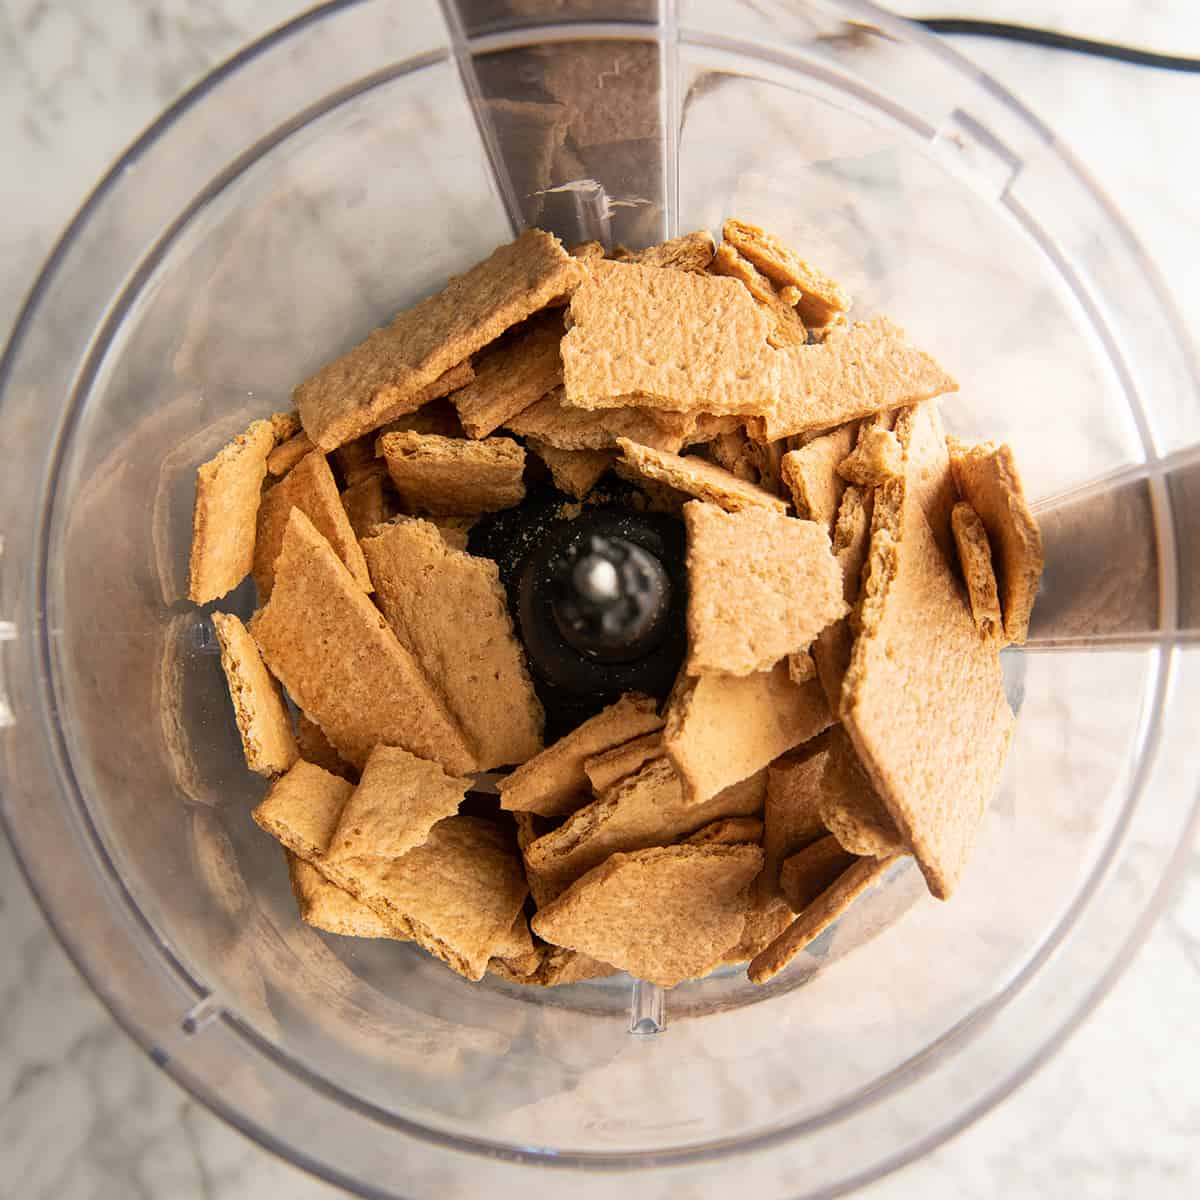
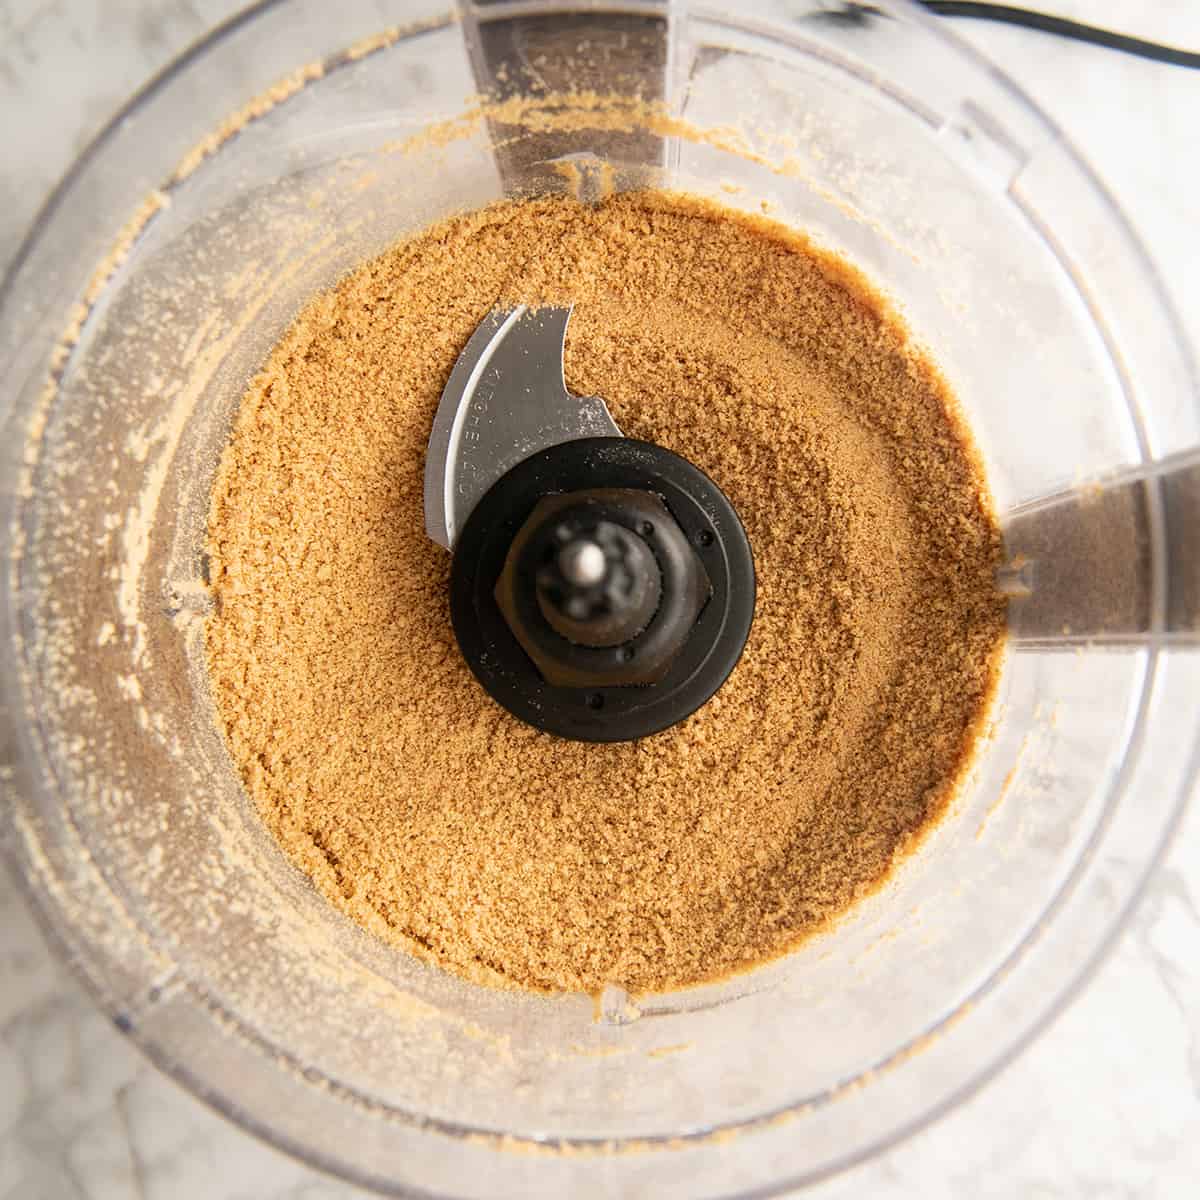
Make Homemade Graham Cracker Crumbs
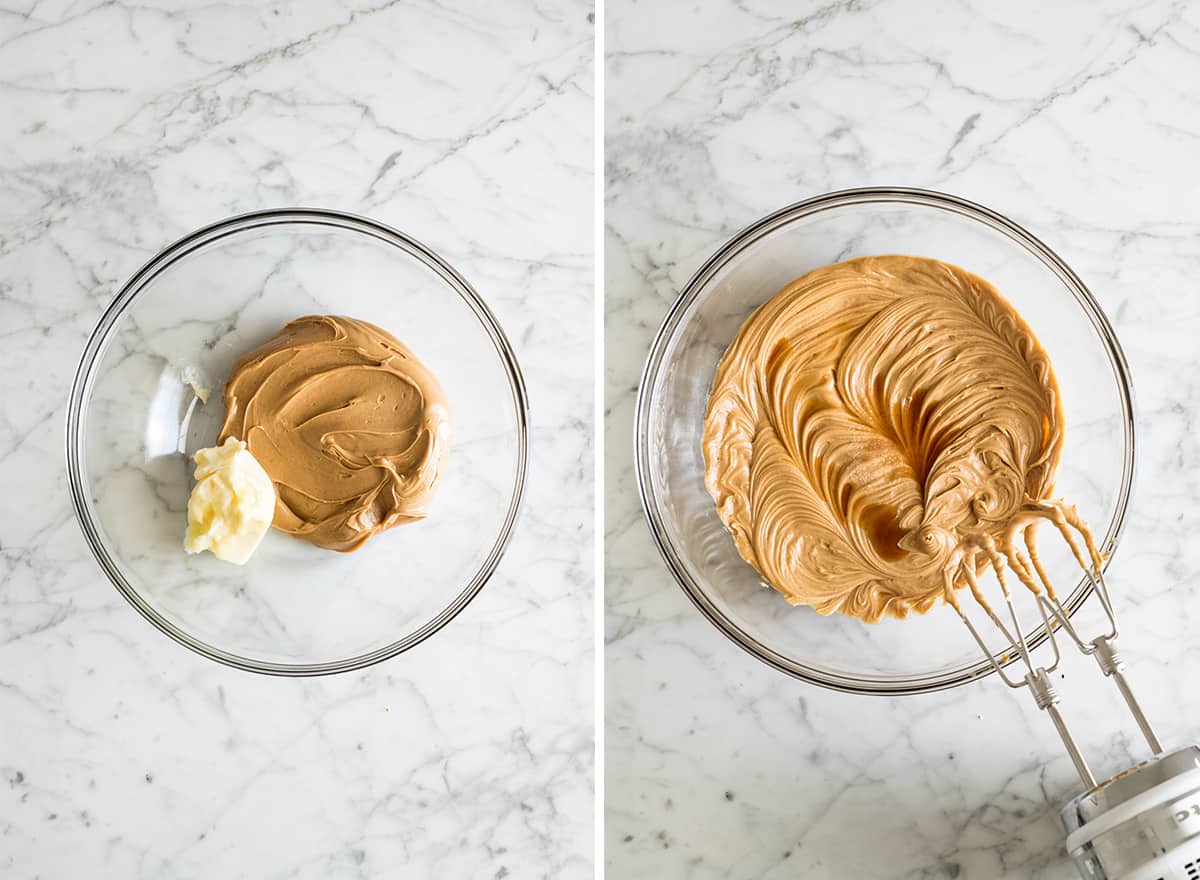
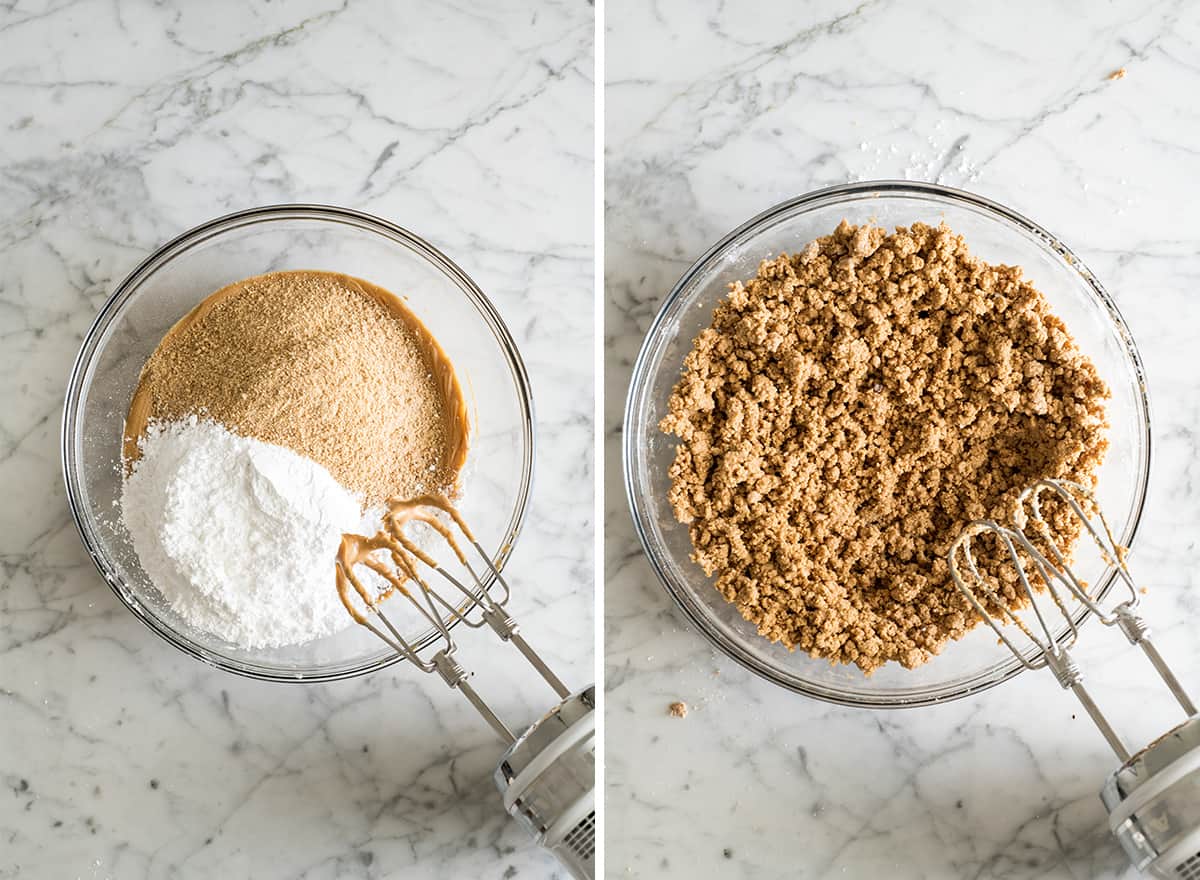
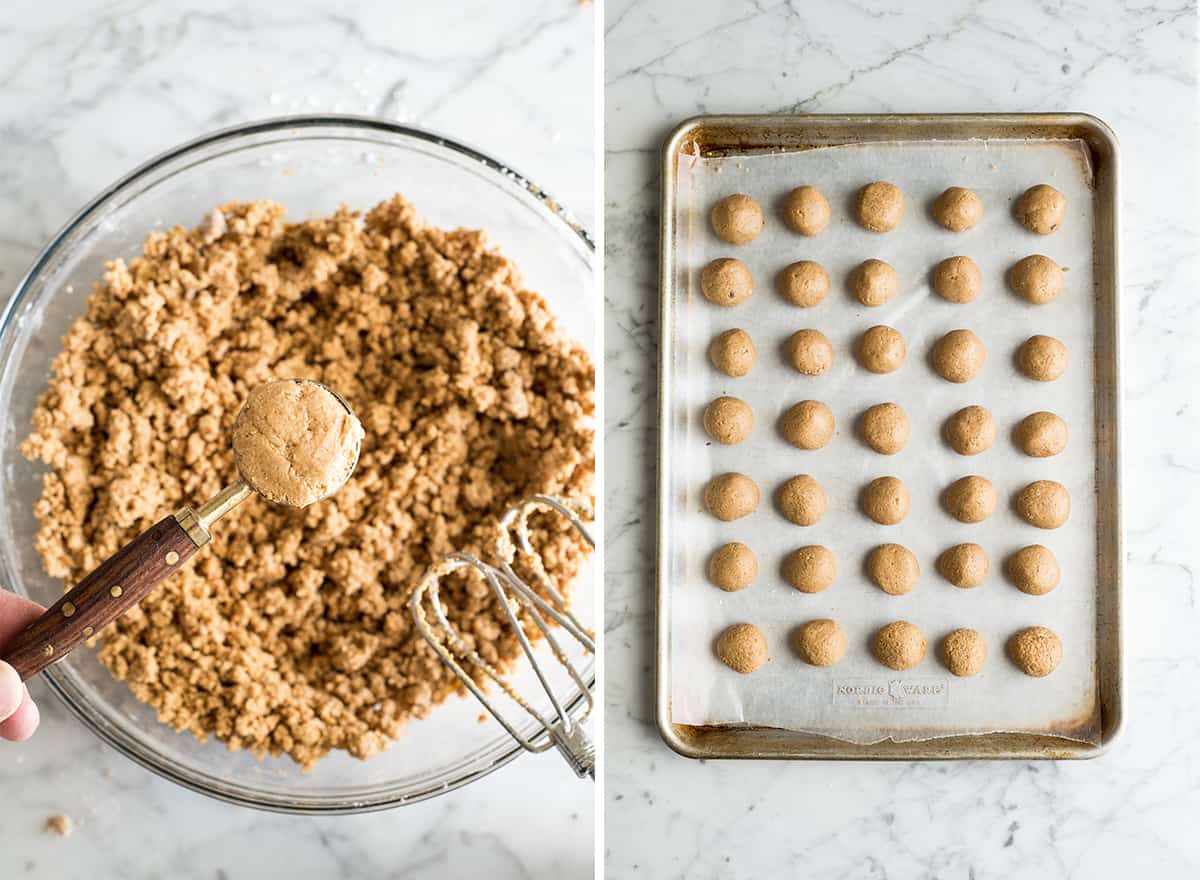
If you prefer to make your own graham cracker crumbs, here’s how to do it: Place 10-11 graham crackers into a food processor fitted with the “S” blade or blender. Process/blend until mixture turns into a fine powder, then, use in the recipe as directed. Once you have your graham cracker crumbs, make the peanut butter balls filling. Beat the butter, peanut butter and vanilla together until smooth. Then, add the dry ingredients and mix until the mixture resembles a coarse meal that comes together easily when pinched. The balls should be easy to roll. Use a 1 Tablespoon measuring spoon to measure out peanut butter ball mixture. Roll each 1 TBS portion into a smooth ball and place each ball on the lined baking sheet. (Note: if balls are not rolling smoothly add a touch more peanut butter to the mixture). Repeat until all the peanut butter ball mixture is used. Place peanut butter balls on a baking sheet lined with waxed paper and freeze until hardened (about 1 hour).
Make the Chocolate Coating
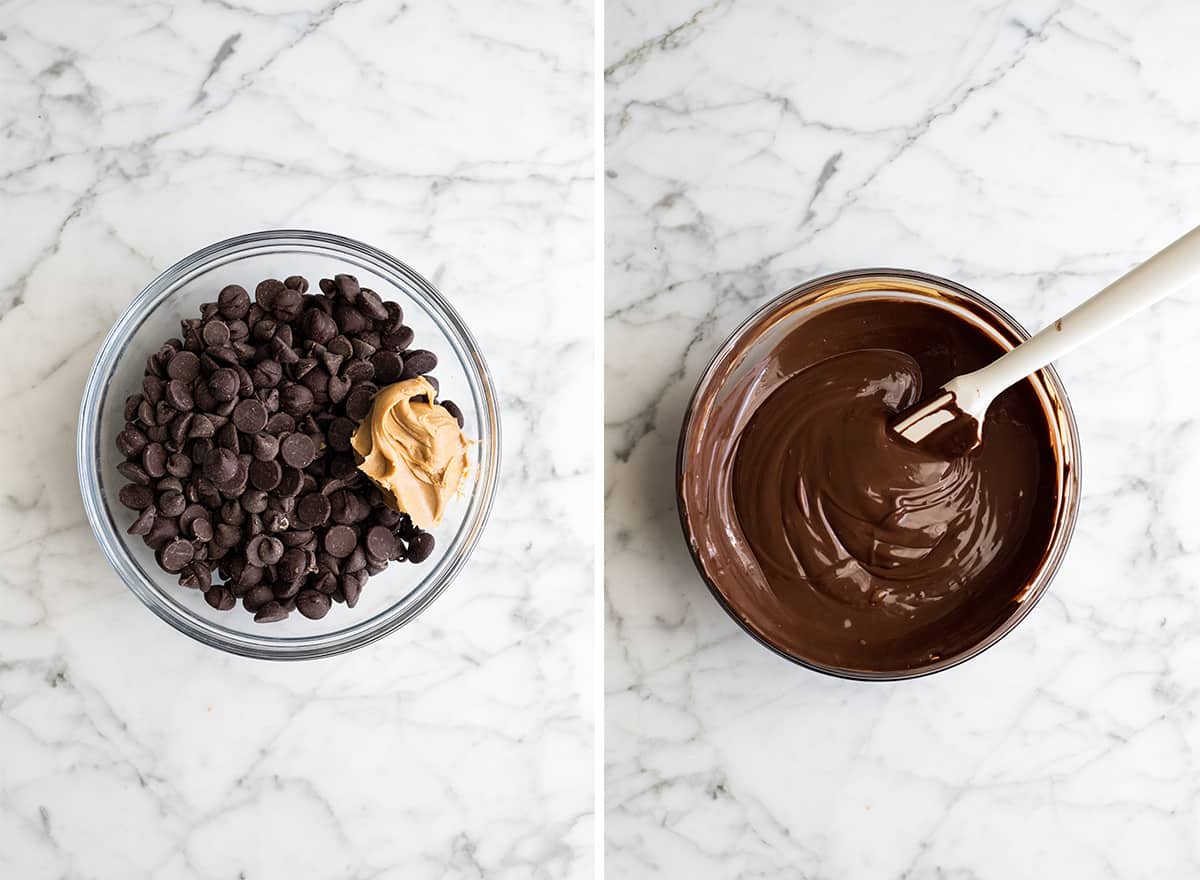
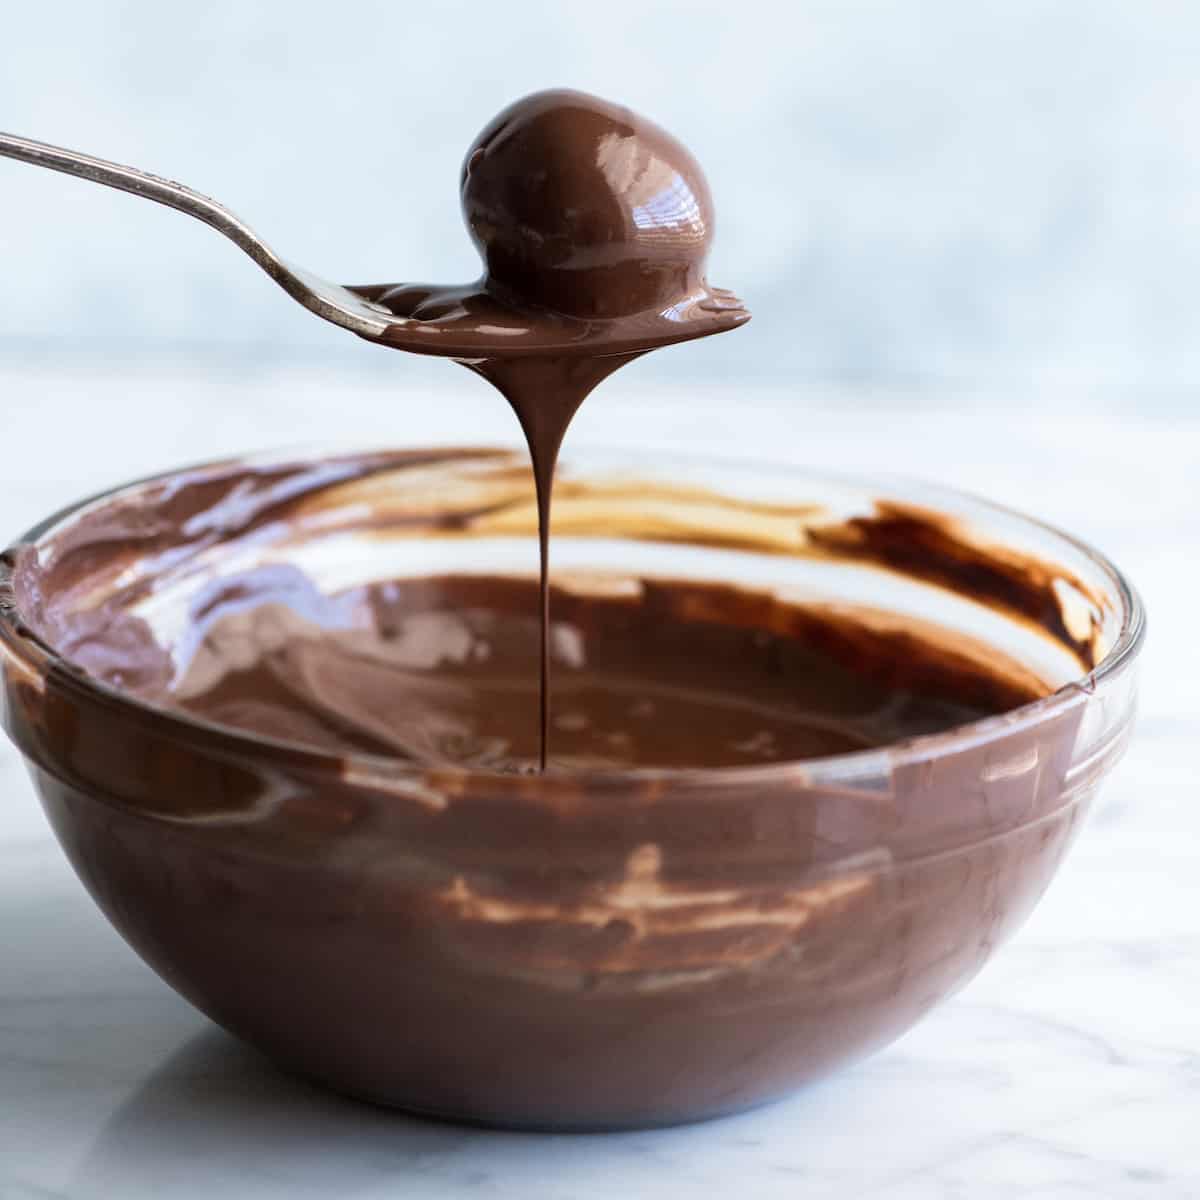
Towards the end of the freezing time, make the chocolate peanut butter coating. Melt the chocolate and peanut butter together in the microwave or on a double boiler on the stovetop until glossy and smooth. Transfer melted chocolate to a small bowl (you want the chocolate to be deep, not a shallow layer in a large bowl).
Coat Peanut Butter Balls in Chocolate
Remove the peanut butter balls from the freezer and dip each one individually into the chocolate mixture. Shake off excess chocolate and place on the wax paper on the baking sheet. Repeat until all the balls are coated with chocolate.
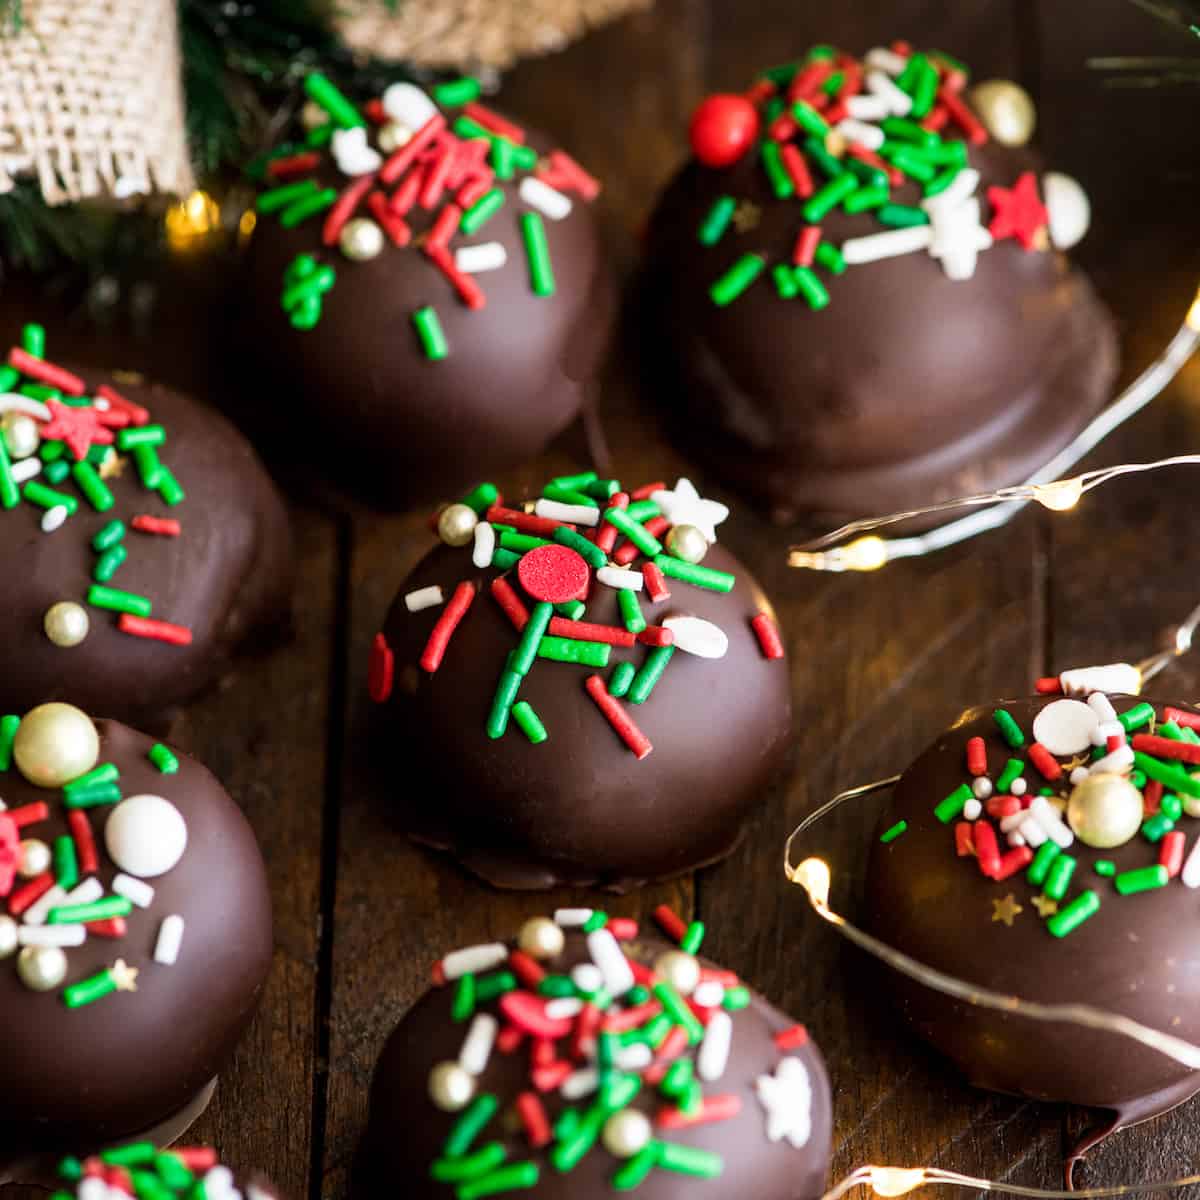
Add Toppings
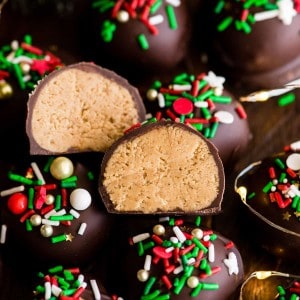
If desired, immediately sprinkle with sprinkles, fine sea salt, crushed peanuts, etc. (before the chocolate hardens).
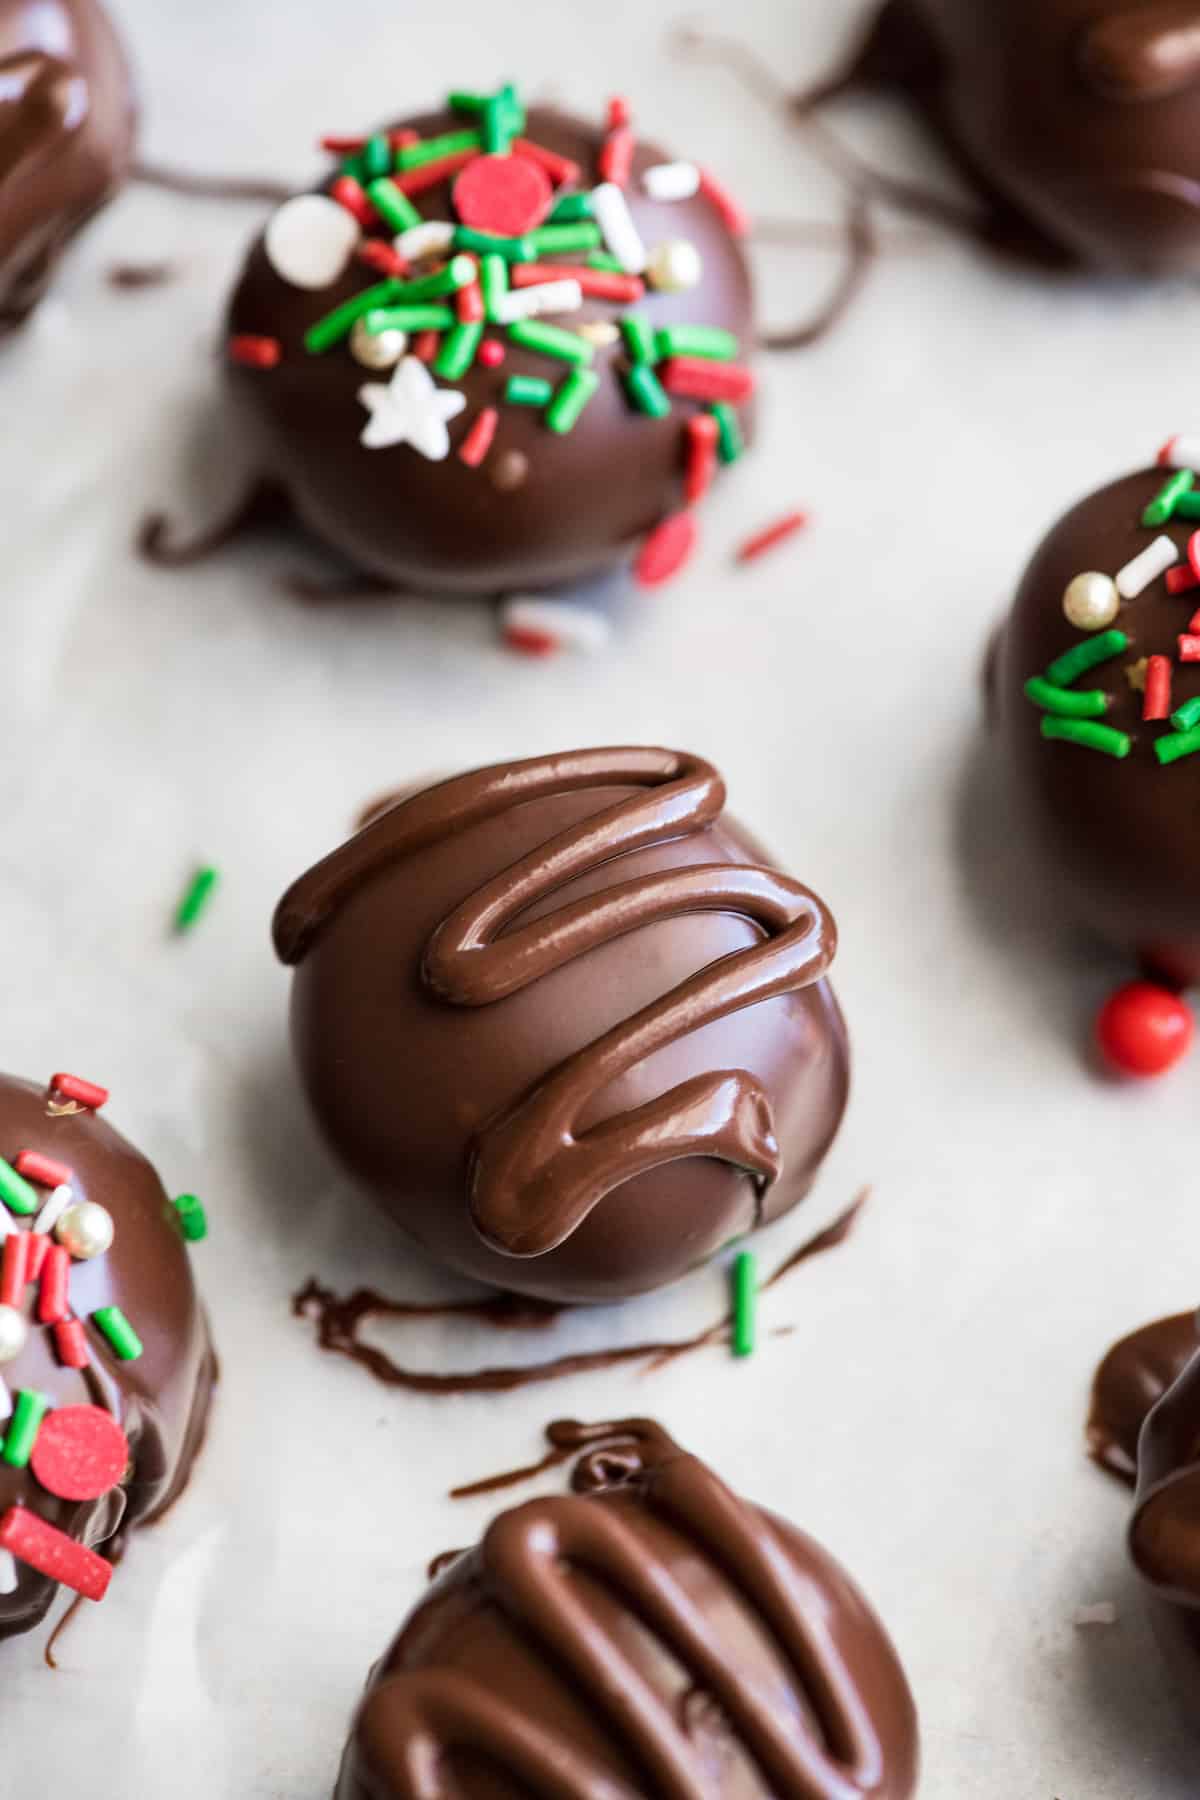
Drizzle with Chocolate
Set
Since the peanut butter balls are frozen the chocolate will set up quickly. Let them set on the baking sheet until it has hardened. You can place them in the refrigerator or freezer to speed the process along.
Serve
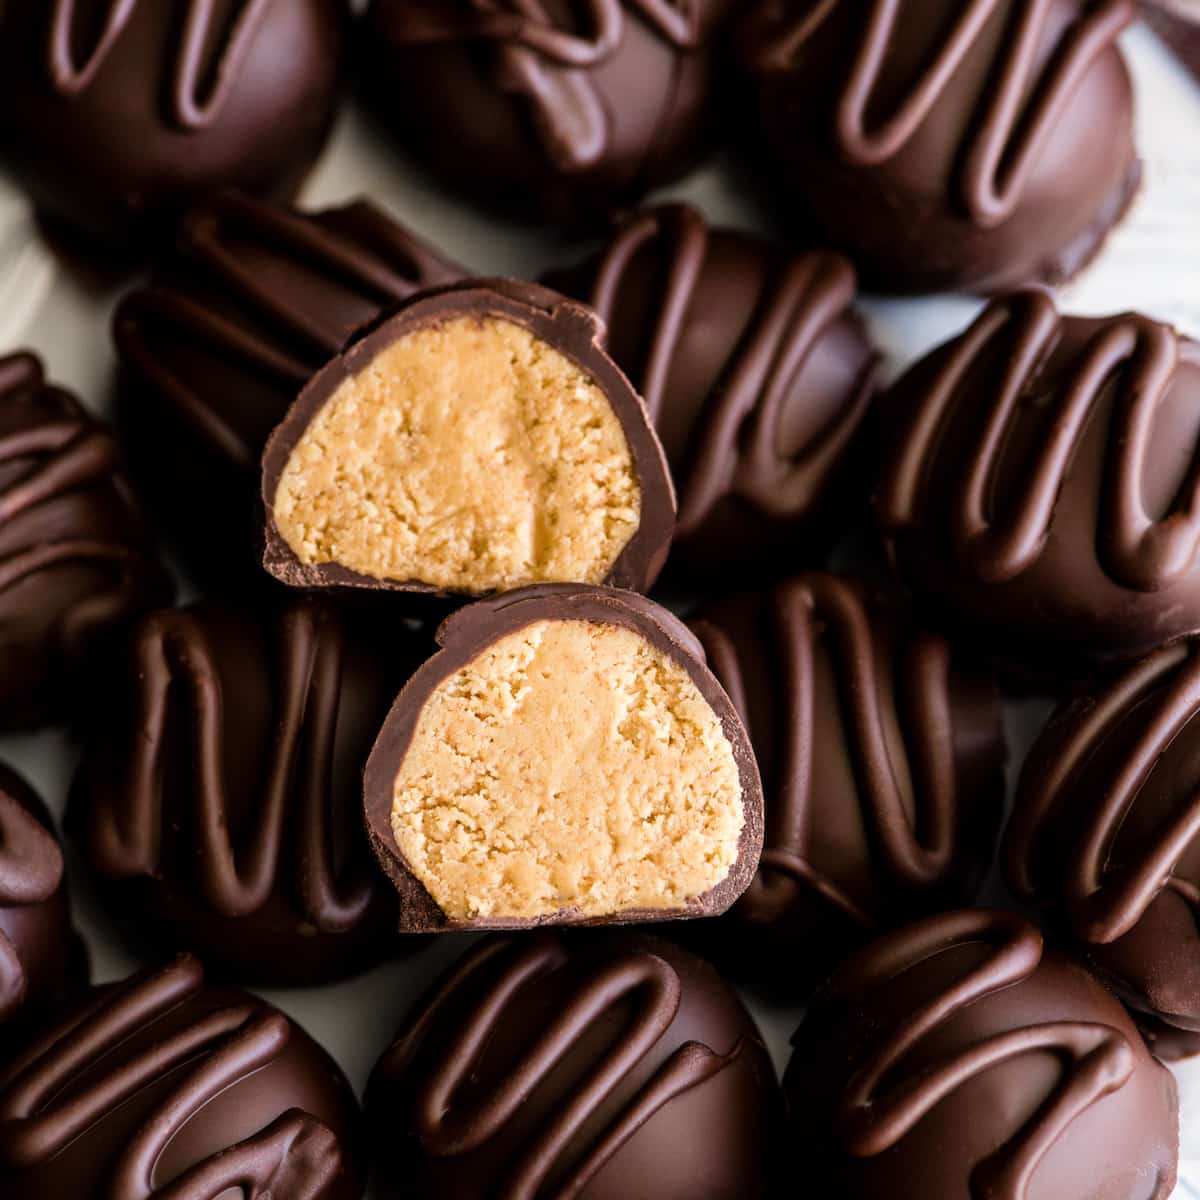
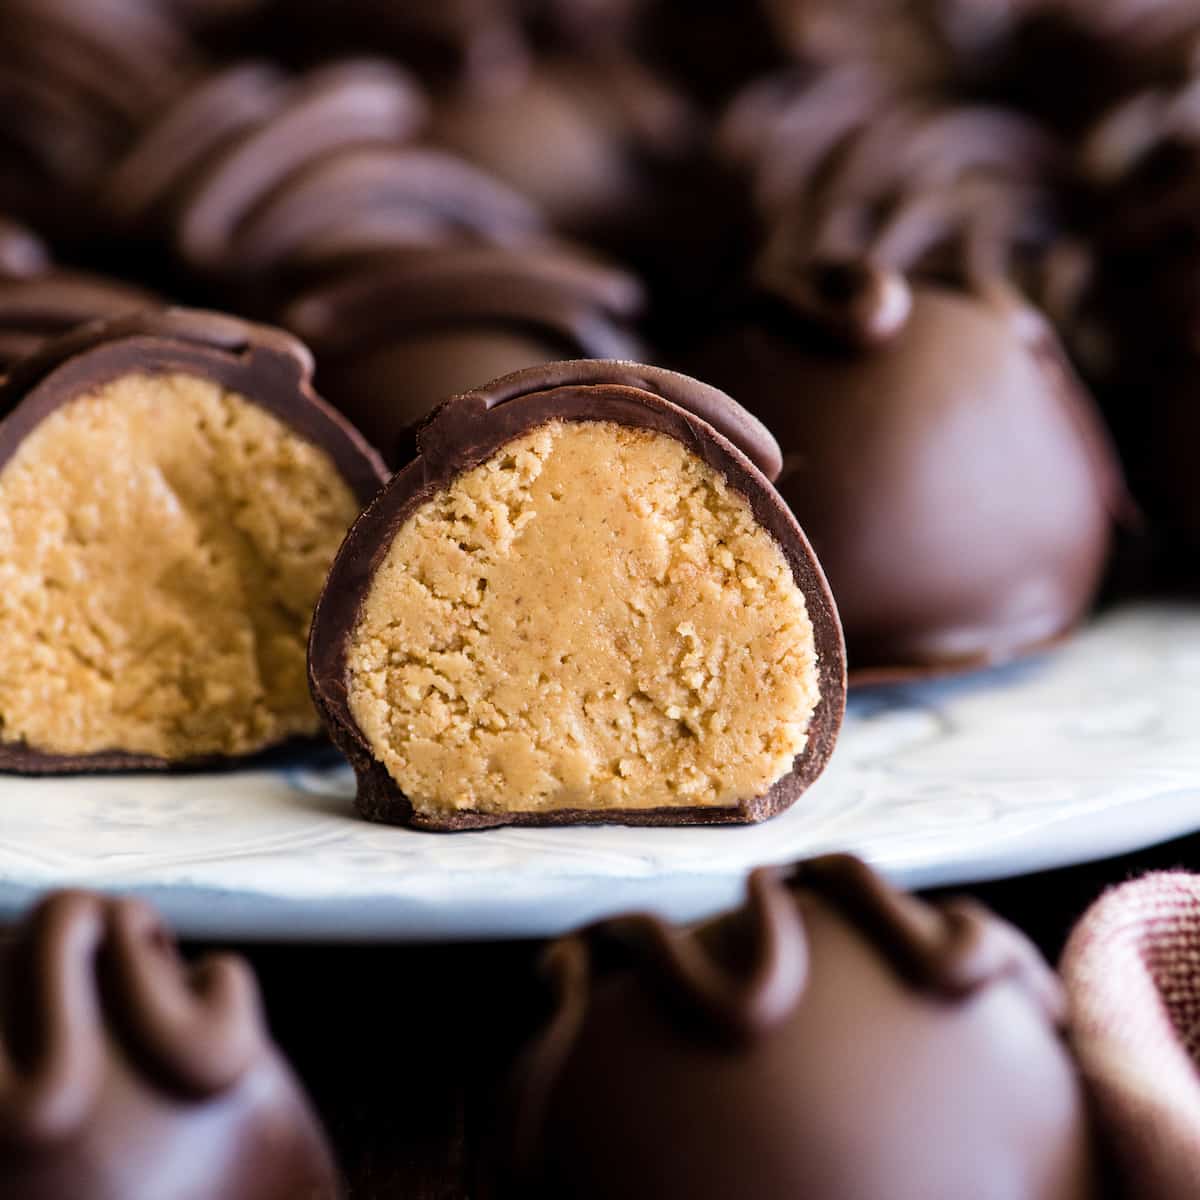
These peanut butter balls are best when served at room temperature because the chocolate is soft enough to bite through without cracking!
Store/freeze
Store in an airtight container at room temperature for up to 3 days, in the refrigerator for up to 1 week or in the freezer for up to two months. Thaw slowly at room temperature or in the refrigerator – do not warm in the microwave. If you make and love our recipes, it would mean so much to me if you would leave a comment and rating! And don’t forget to follow along with us on Instagram, Pinterest, Facebook, and Youtube – be sure to tag @joyfoodsunshine and use the hashtag #joyfoodsunshine so we can see your creations!
![]()