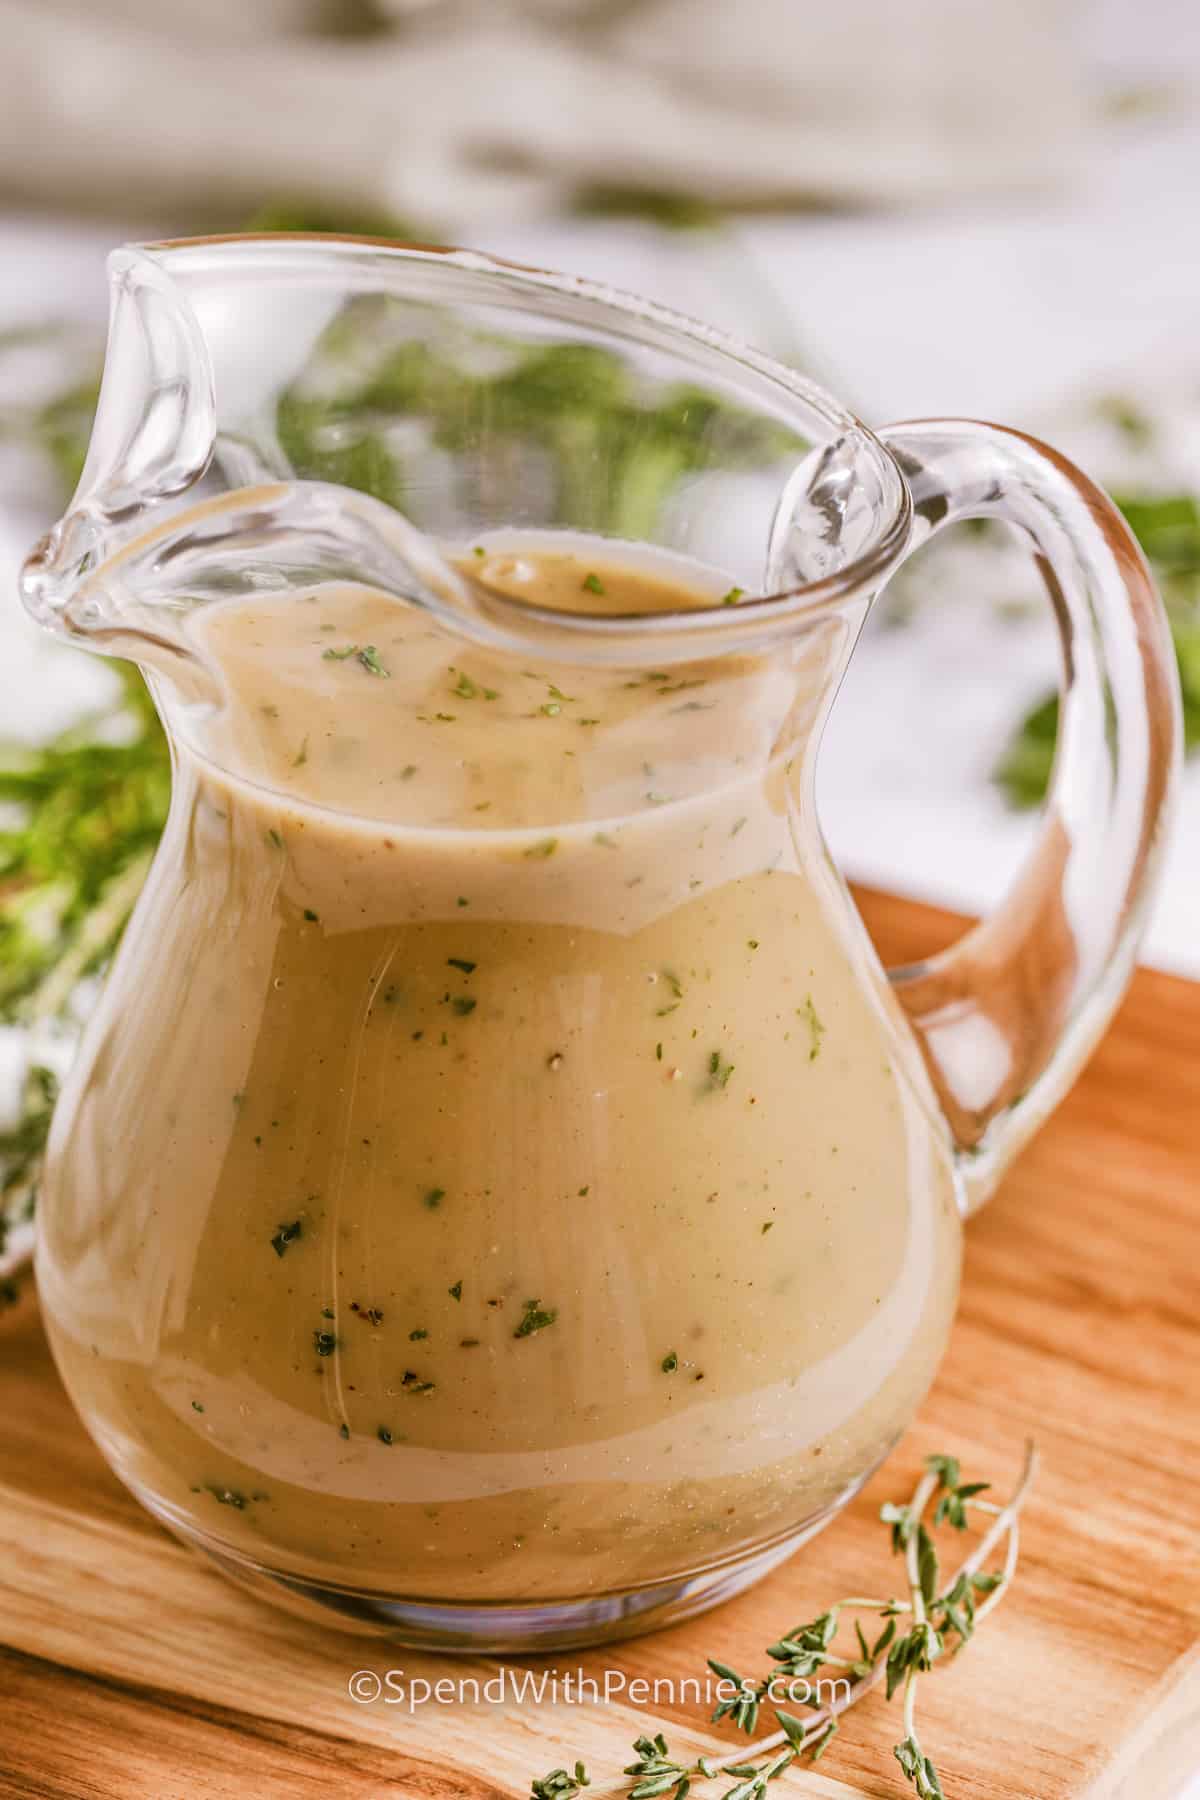
This recipe is made with drippings, broth, and a sprinkle of savory seasonings to create a rich flavorful gravy from turkey, beef, or pork drippings.
What You’ll Need For Homemade Gravy
Drippings: The drippings are separated into fat and broth. If you pour the drippings into a clear jar or gravy separator, you will see two layers. The top layer is fat, which is used for the roux, and the bottom layer is juices, which are added to the broth. If you don’t have enough fat, you can add butter in place, and if you don’t have enough drippings, add broth in place. Flour: All-purpose flour is combined with the fat from the drippings to make a roux and thicken the gravy. Broth: The juices from the roasting pan are the liquid that makes the gravy. If you don’t have enough, you can add broth—boxed or canned broth works just fine in this recipe. Seasonings: Poultry seasoning is my secret to a flavorful and savory gravy. You can also add fresh herbs like parsley, sage, and thyme. If adding fresh herbs, check your grocery store for a “poultry pack” with many herbs packaged together.
Variations
My mom always adds a can of sliced mushrooms to gravy, you can also add sauteed mushrooms or caramelized onions to homemade gravy. A dash of Kitchen Bouquet or browning sauce will create a deeper, darker brown color and add a little flavor if you’d like. A pat of garlic herb compound butter can be swirled in at step 6 if desired.
How to Make Gravy
Here is an overview of how I make smooth delicious gravy, you can find the full recipe below. If you don’t have drippings, it’s important to cook the flour until it is lightly browned for a deeper flavor. I like to add a pinch of dried rosemary and about ½ teaspoon of onion powder along with the poultry seasoning.
Storing Homemade Gravy
Make ahead: Homemade gravy can be made up to 2 days in advance and kept in the refrigerator. Reheat it on medium-low heat while whisking until it’s smooth and heated. Fridge: Keep leftover gravy in a covered container in the refrigerator for up to 4 days. Whisk while reheating on the stovetop. Freezer: Freeze in zippered bags for up to 4 weeks. Thaw overnight or in a saucepan on medium-low heat.
Did you make this easy homemade gravy? Be sure to leave a rating and a comment below! Slurry: A gluten-free gravy can be made by replacing a roux with a slurry, which I make with equal parts cold water and cornstarch. Once the slurry is smooth, it’s poured into a hot liquid to thicken it. © SpendWithPennies.com. Content and photographs are copyright protected. Sharing of this recipe is both encouraged and appreciated. Copying and/or pasting full recipes to any social media is strictly prohibited. Please view my photo use policy here.