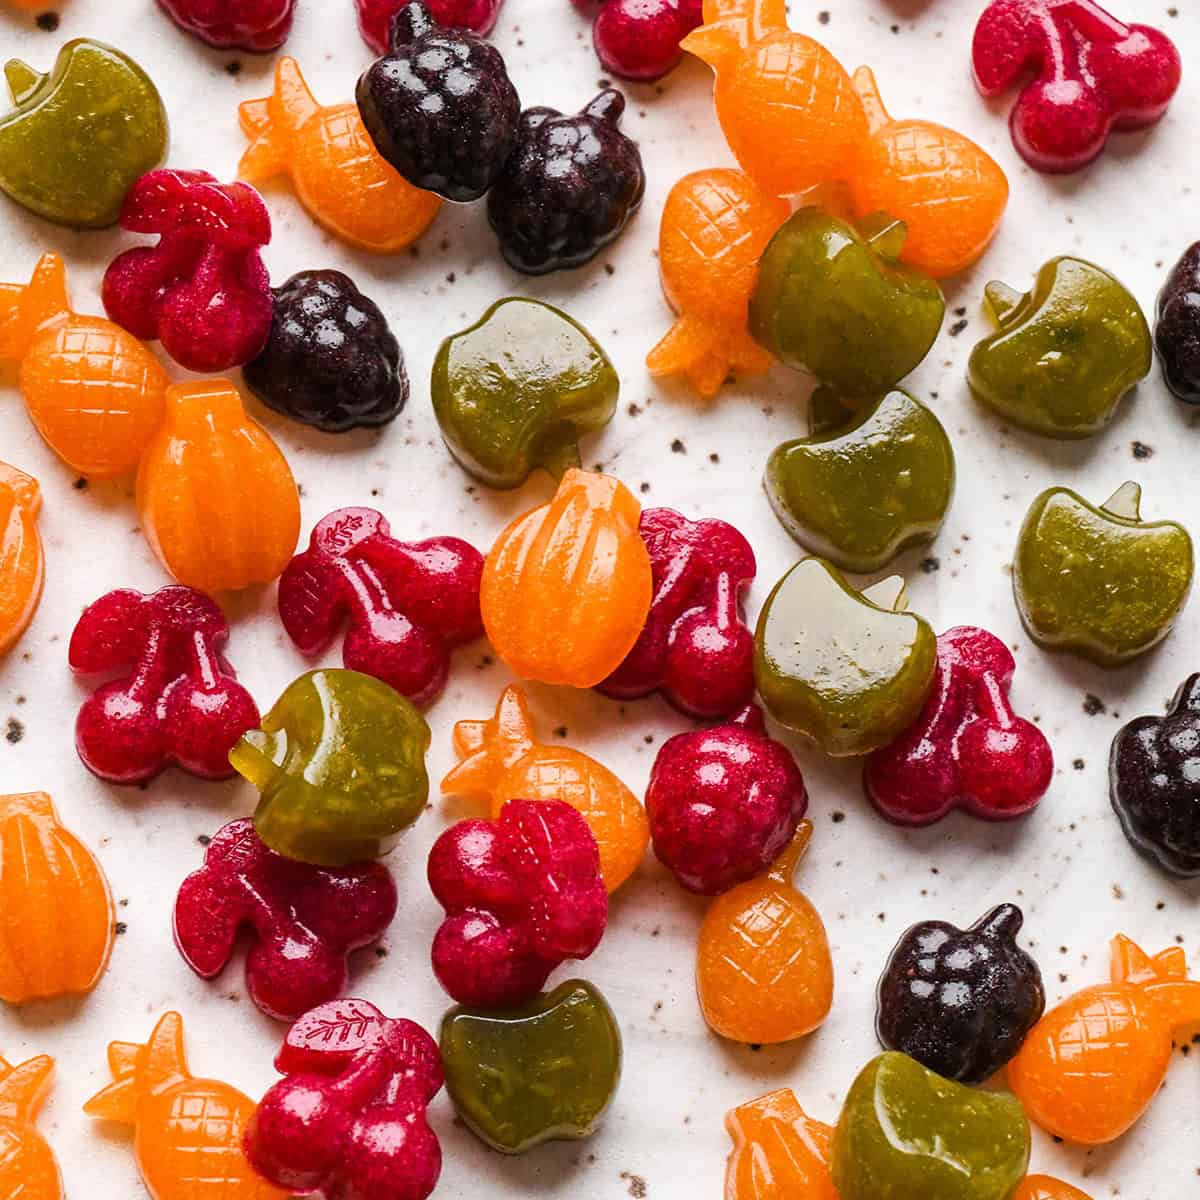
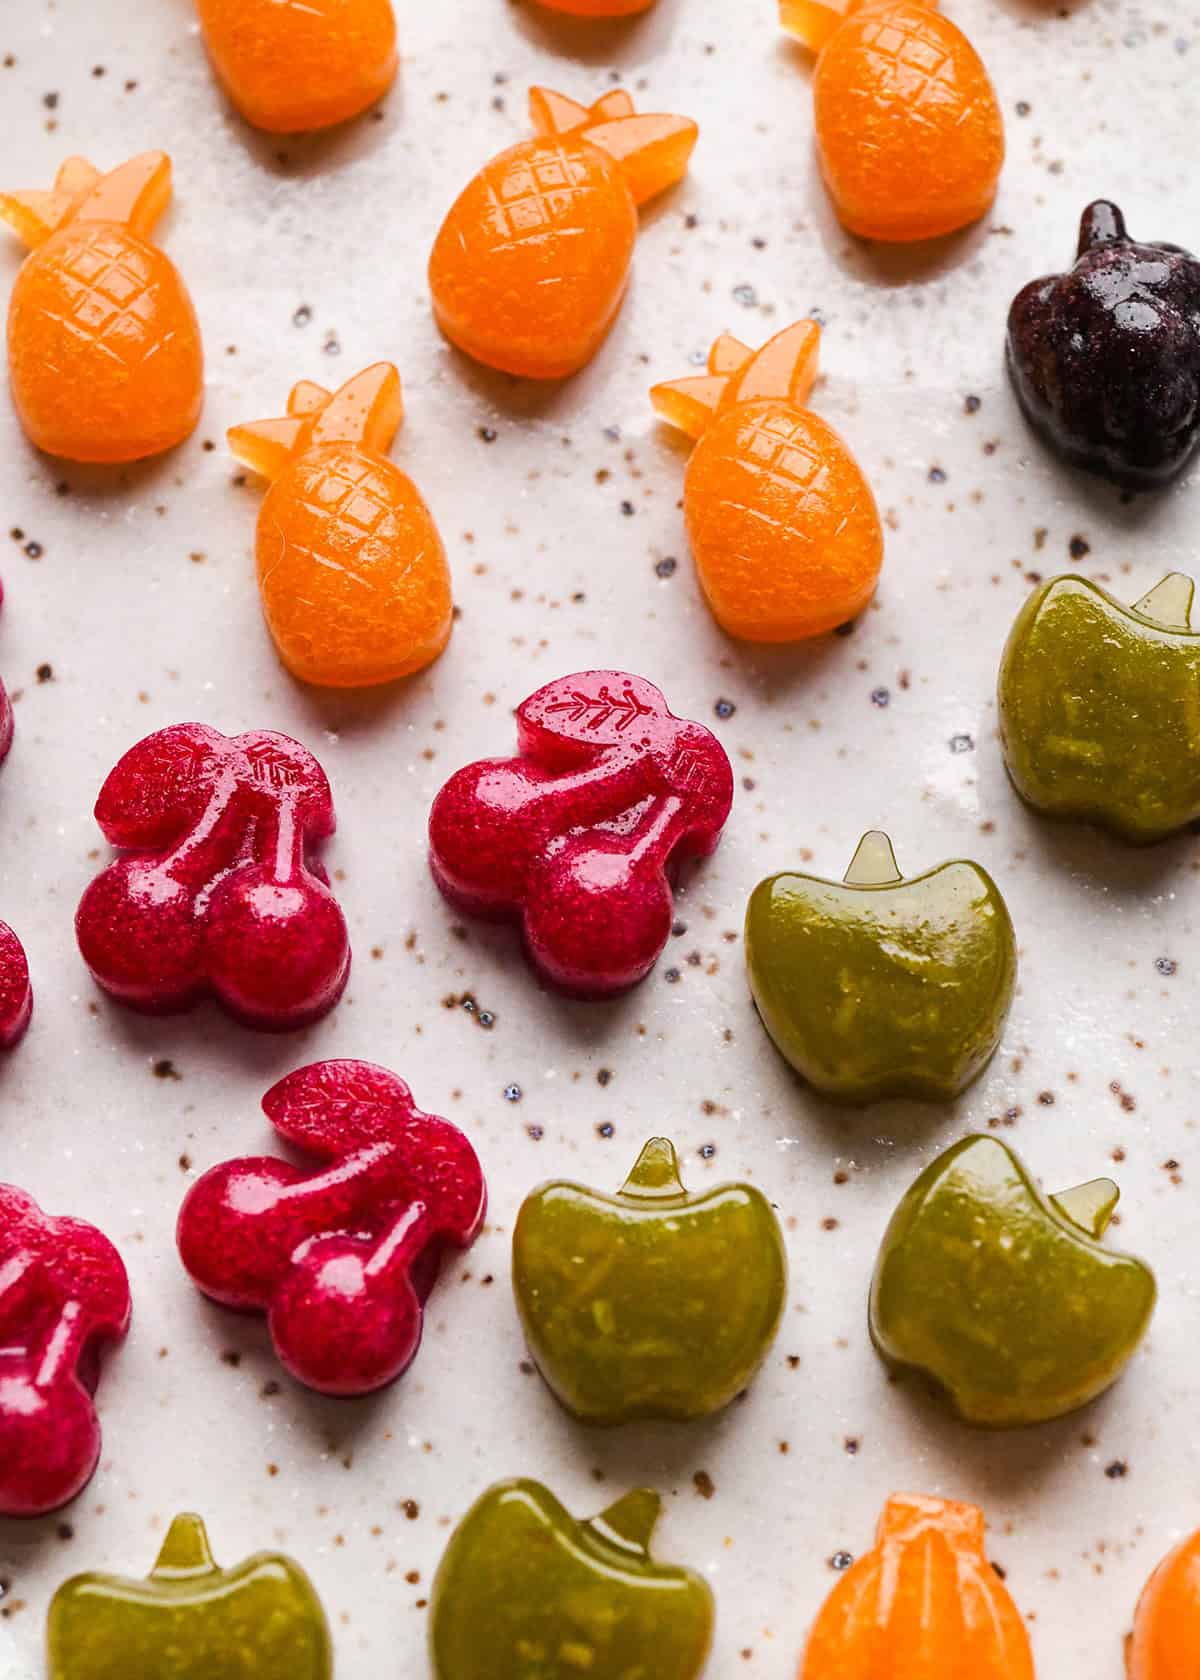
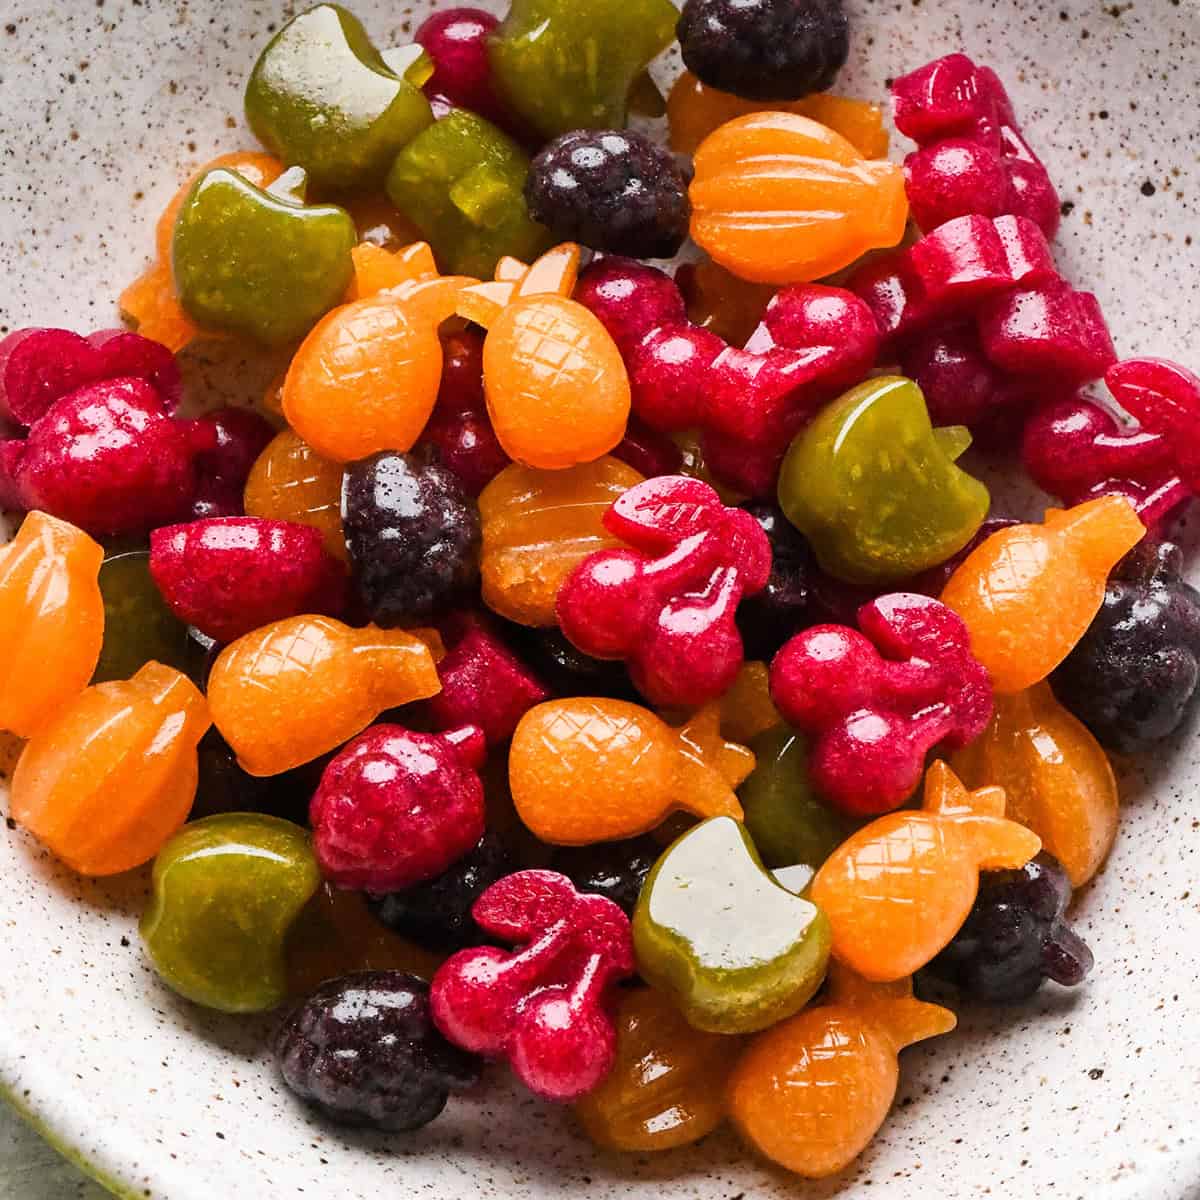
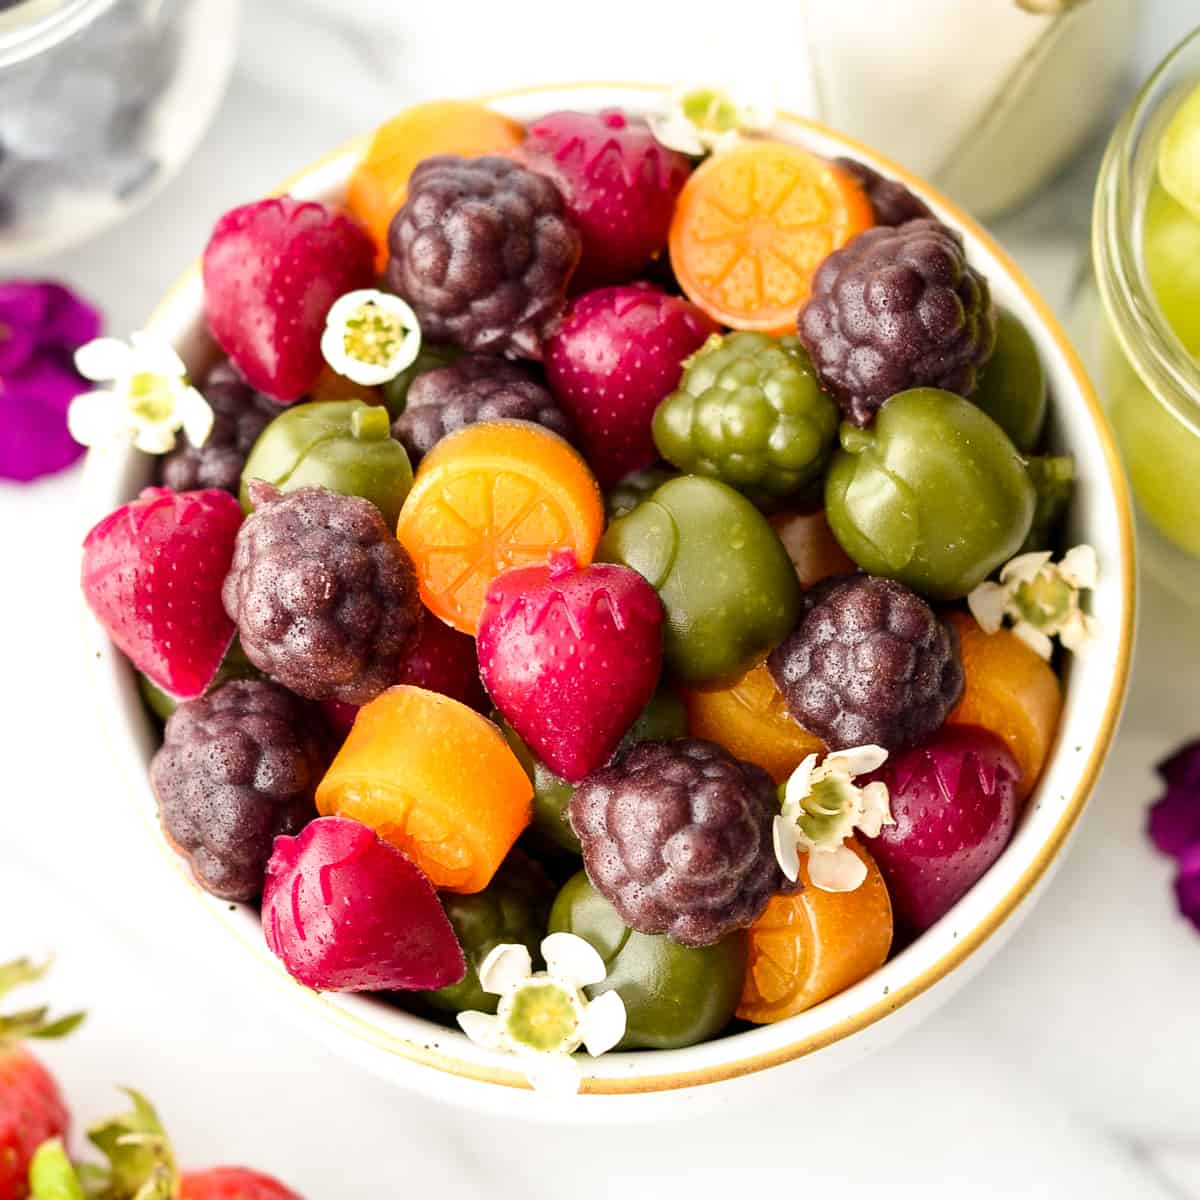
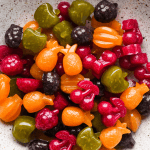
Posted Aug 21, 2024 These homemade fruit snacks are not your average fruit snacks. They are made with whole fruits and vegetables and naturally sweetened. Plus they are gluten and grain free and have a 45 grams of protein per batch! So much better than store-bought varieties. I also love that the gorgeous colors of these homemade fruit snacks come from the natural colors in the fruits, no food dyes required! Natural foods are the best “dyes” if you ask me!
Homemade Fruit Snacks: Ingredients & Substitutions
The great thing about this recipe is that, while the method is pretty particular, the ingredients are fairly versatile.
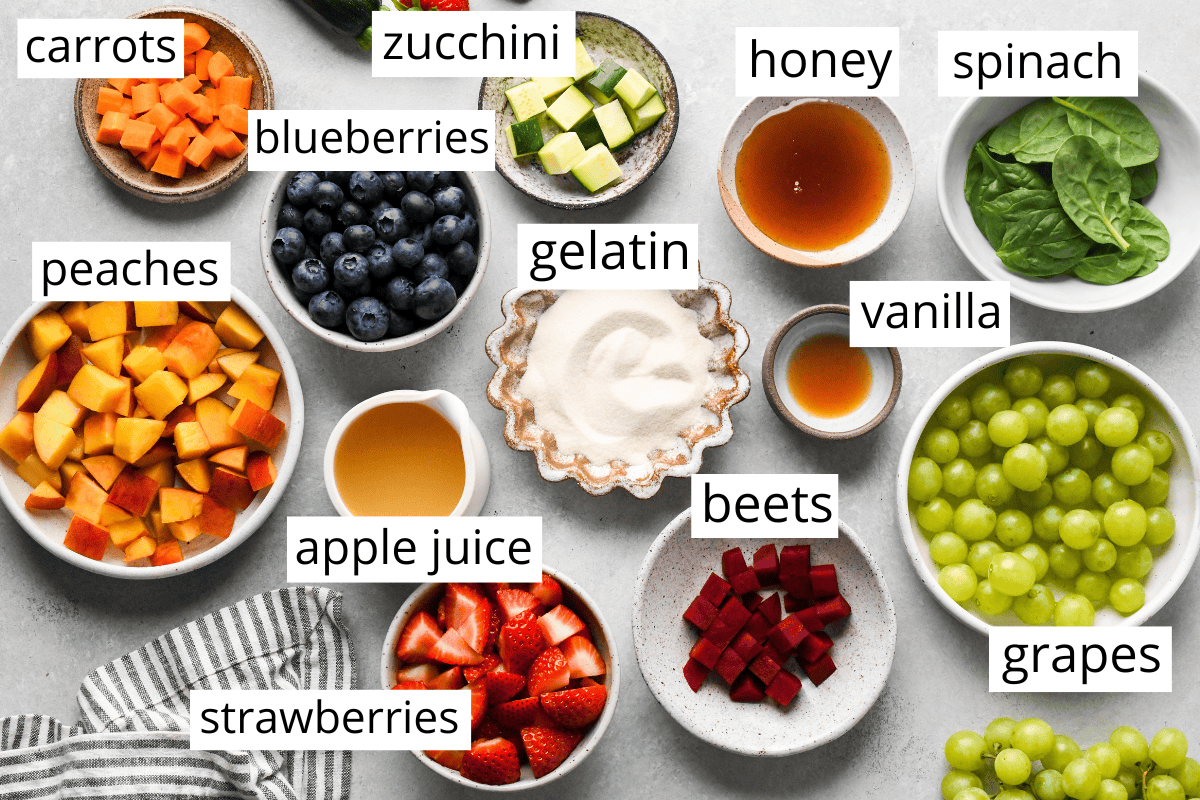
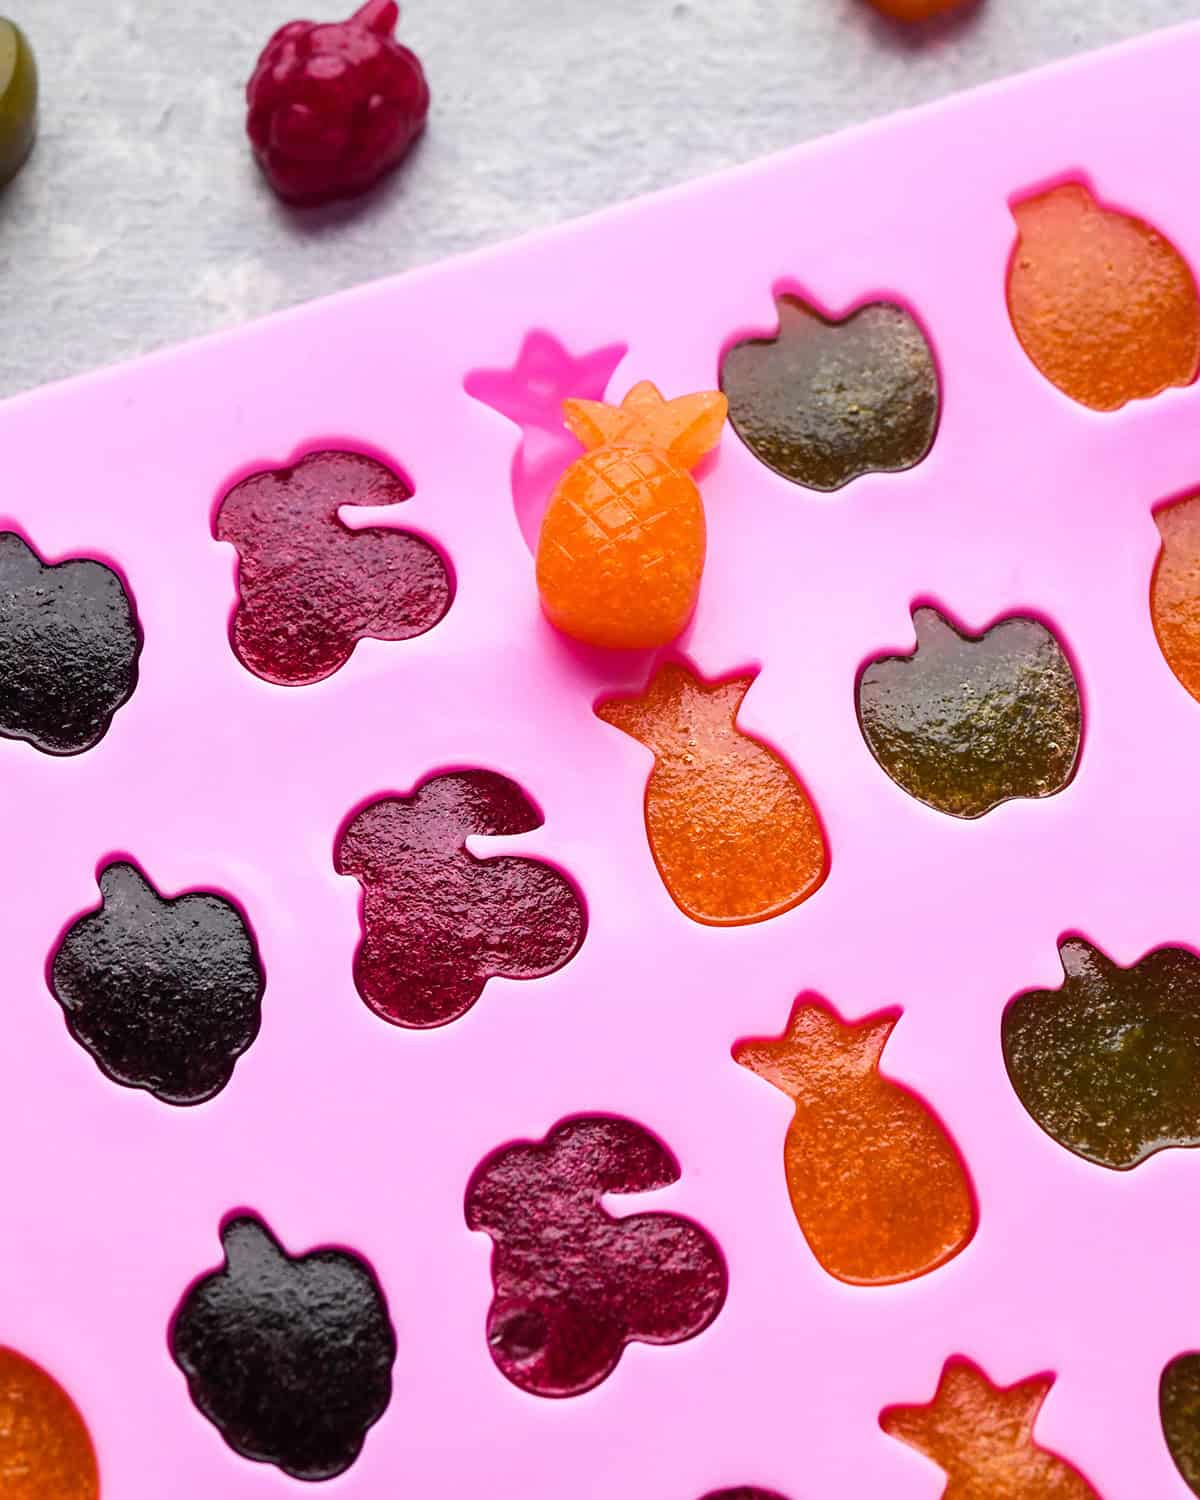
Fruit: I have given suggestions for the different fruits I used to make each color, but you can let your preferences drive you here. The only two fruits that you cannot use are Kiwi and Pineapple. They contain the enzyme bromelain, which breaks down the proteins in the gelatin and will prevent the fruit snacks from setting up. Vegetables: the same freedom applies with the vegetables, use your favorites. Each mixture contains 1 cup of fruit and ¼ cup vegetables. You can use all fruit if you don’t want to add vegetables. Juice: I highly recommend using an organic, unsweetened juice variety of your choice. I chose apple because it has a neutral color and flavor, but you can use any flavor you like.
Raw vs. Cooked Vegetables
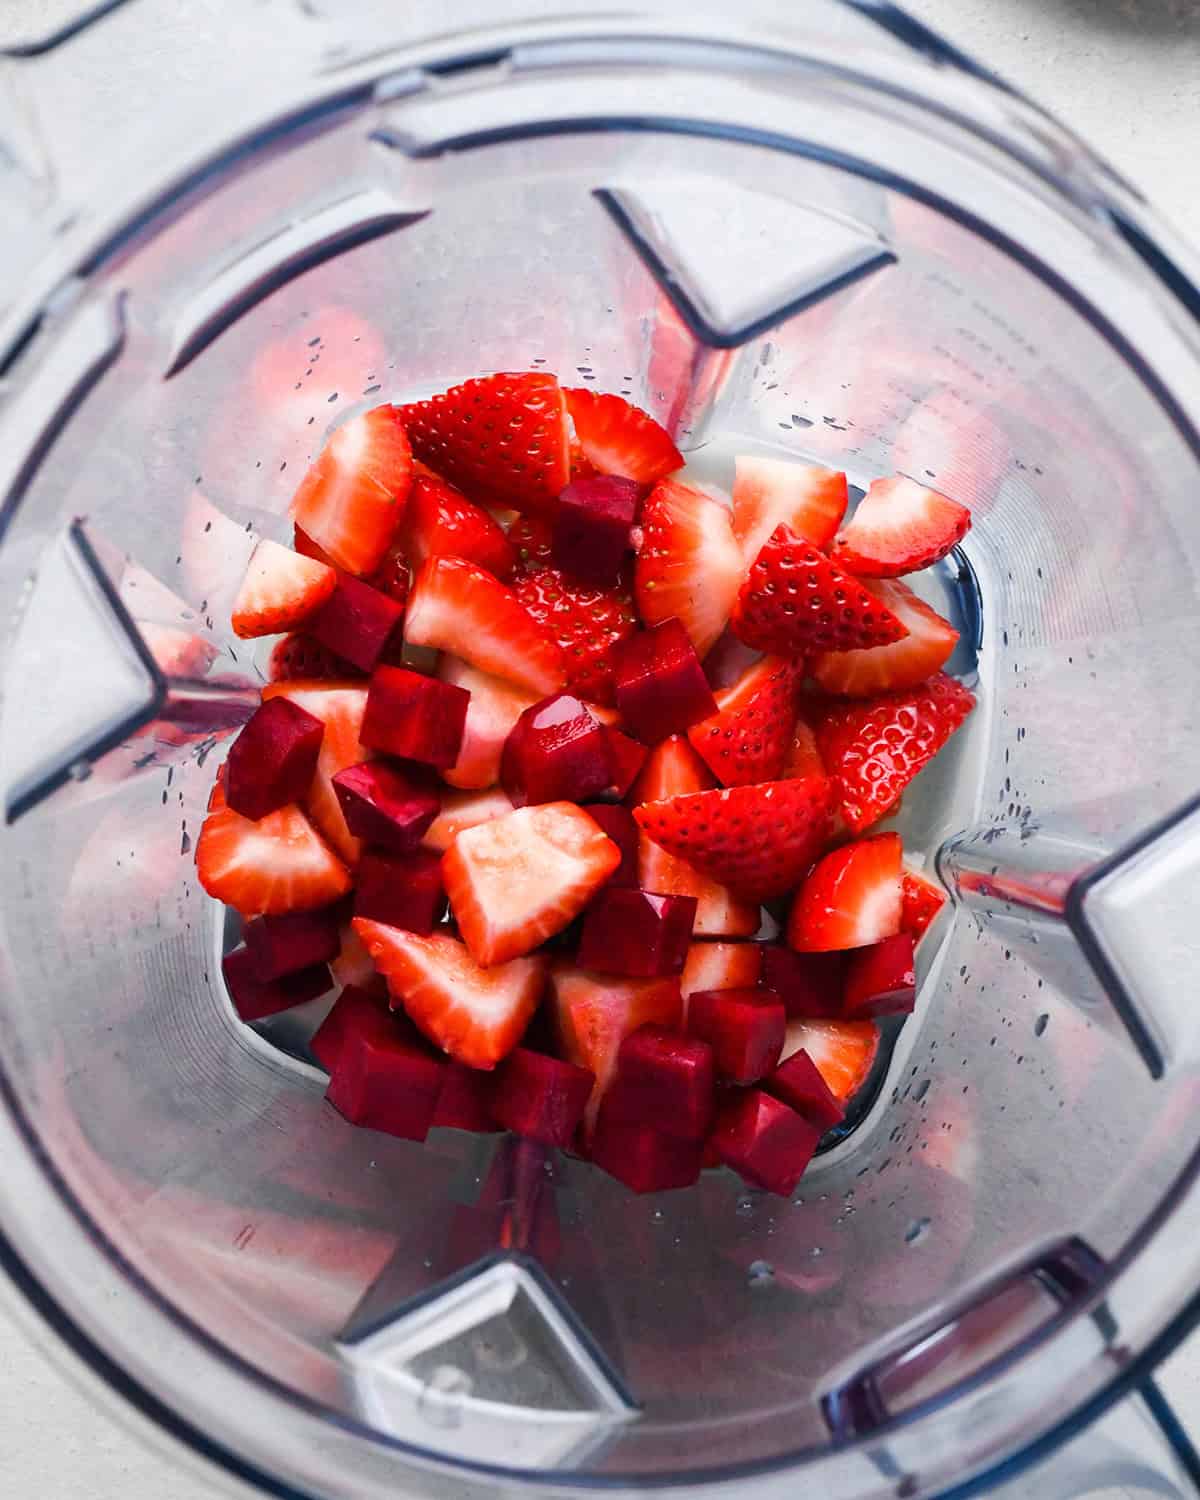
All of the vegetables used in these combinations were blended raw (including the beets). If you decide to use a vegetable like sweet potatoes, I recommend cooking it first and using the soft puree in this recipe.
How to Make Homemade Fruit Snacks
Let’s walk through how to make homemade fruit snacks, and don’t forget to watch the video.
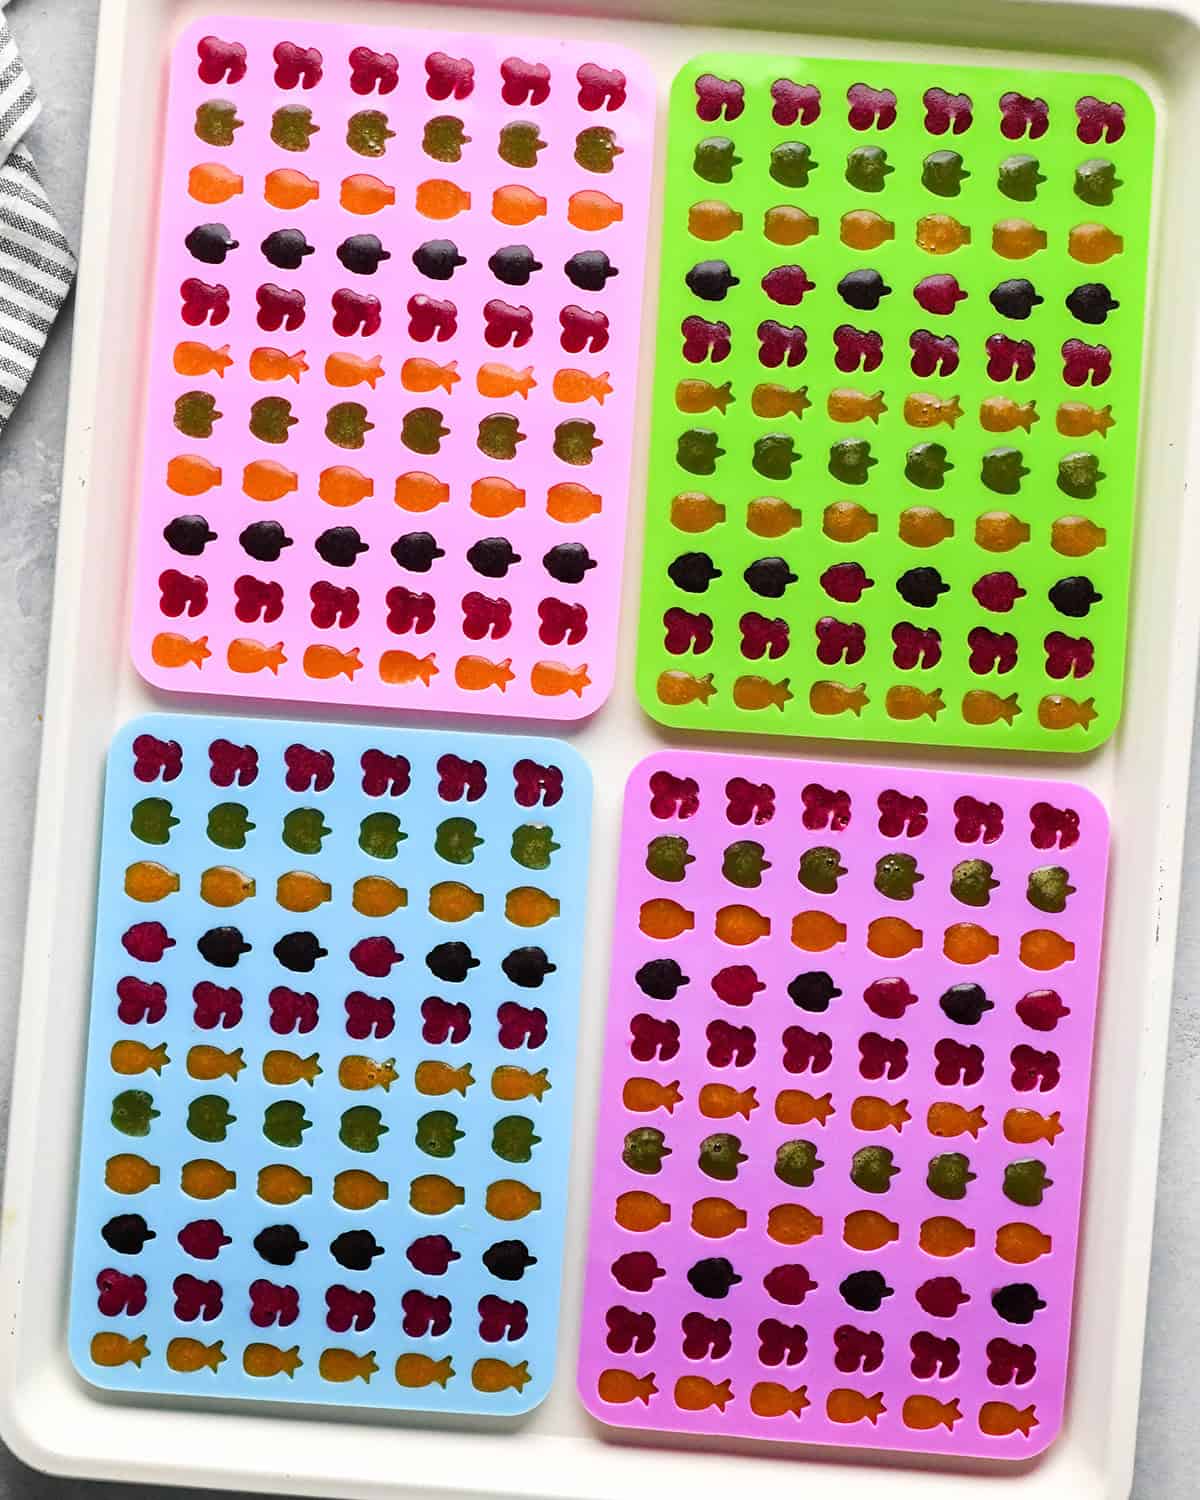
Lay Out Supplies & Materials
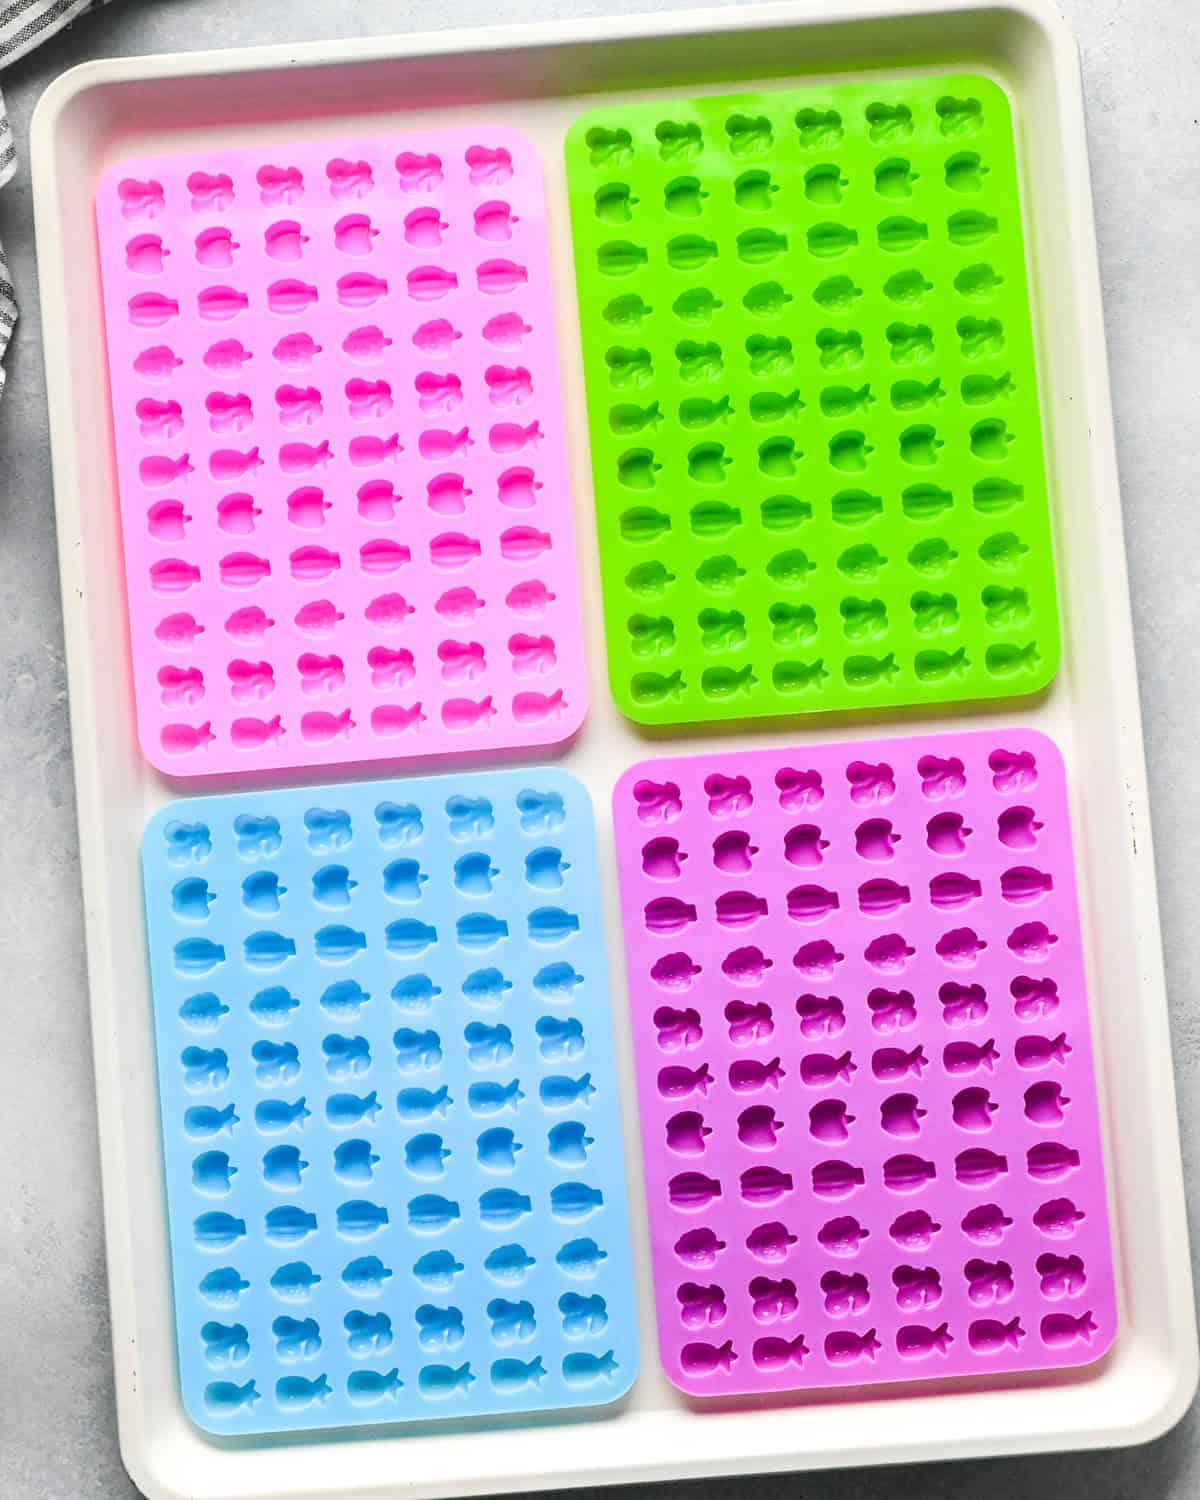
Begin by putting the silicone molds on a large baking sheet or line an 8×8’ square dish with wax paper or a silicone mat and lightly grease, set aside.
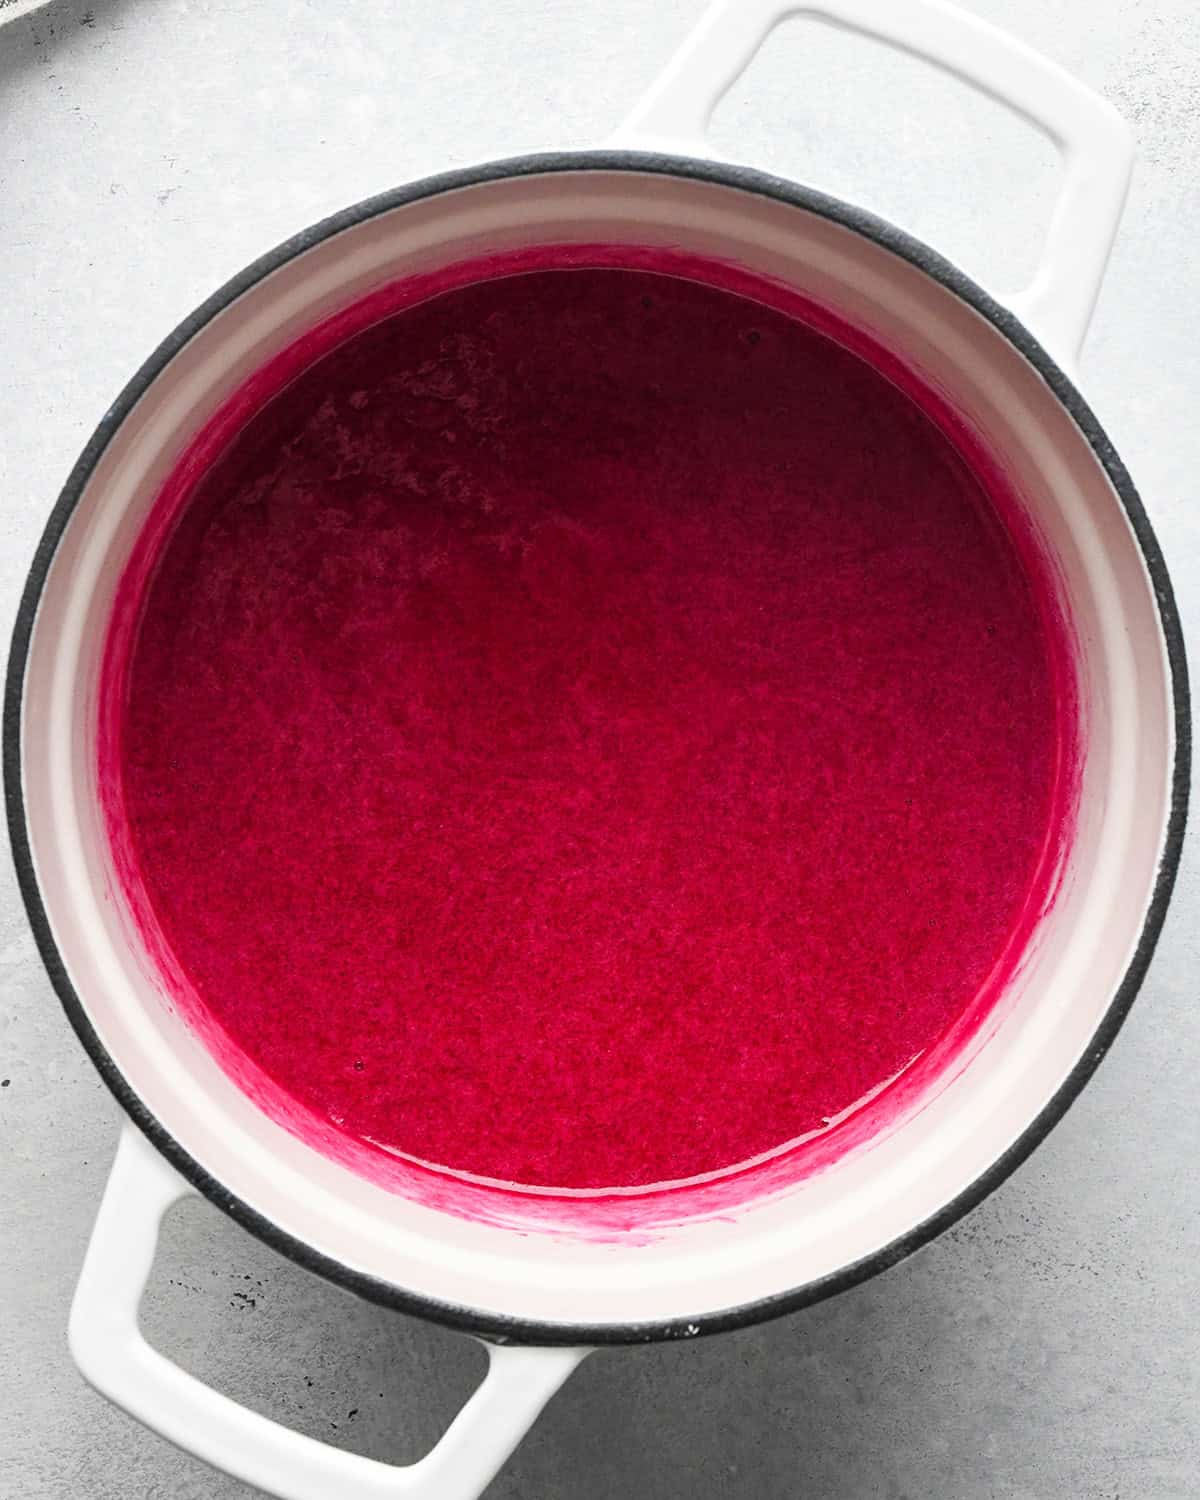
Make the Fruit Snack Mixture
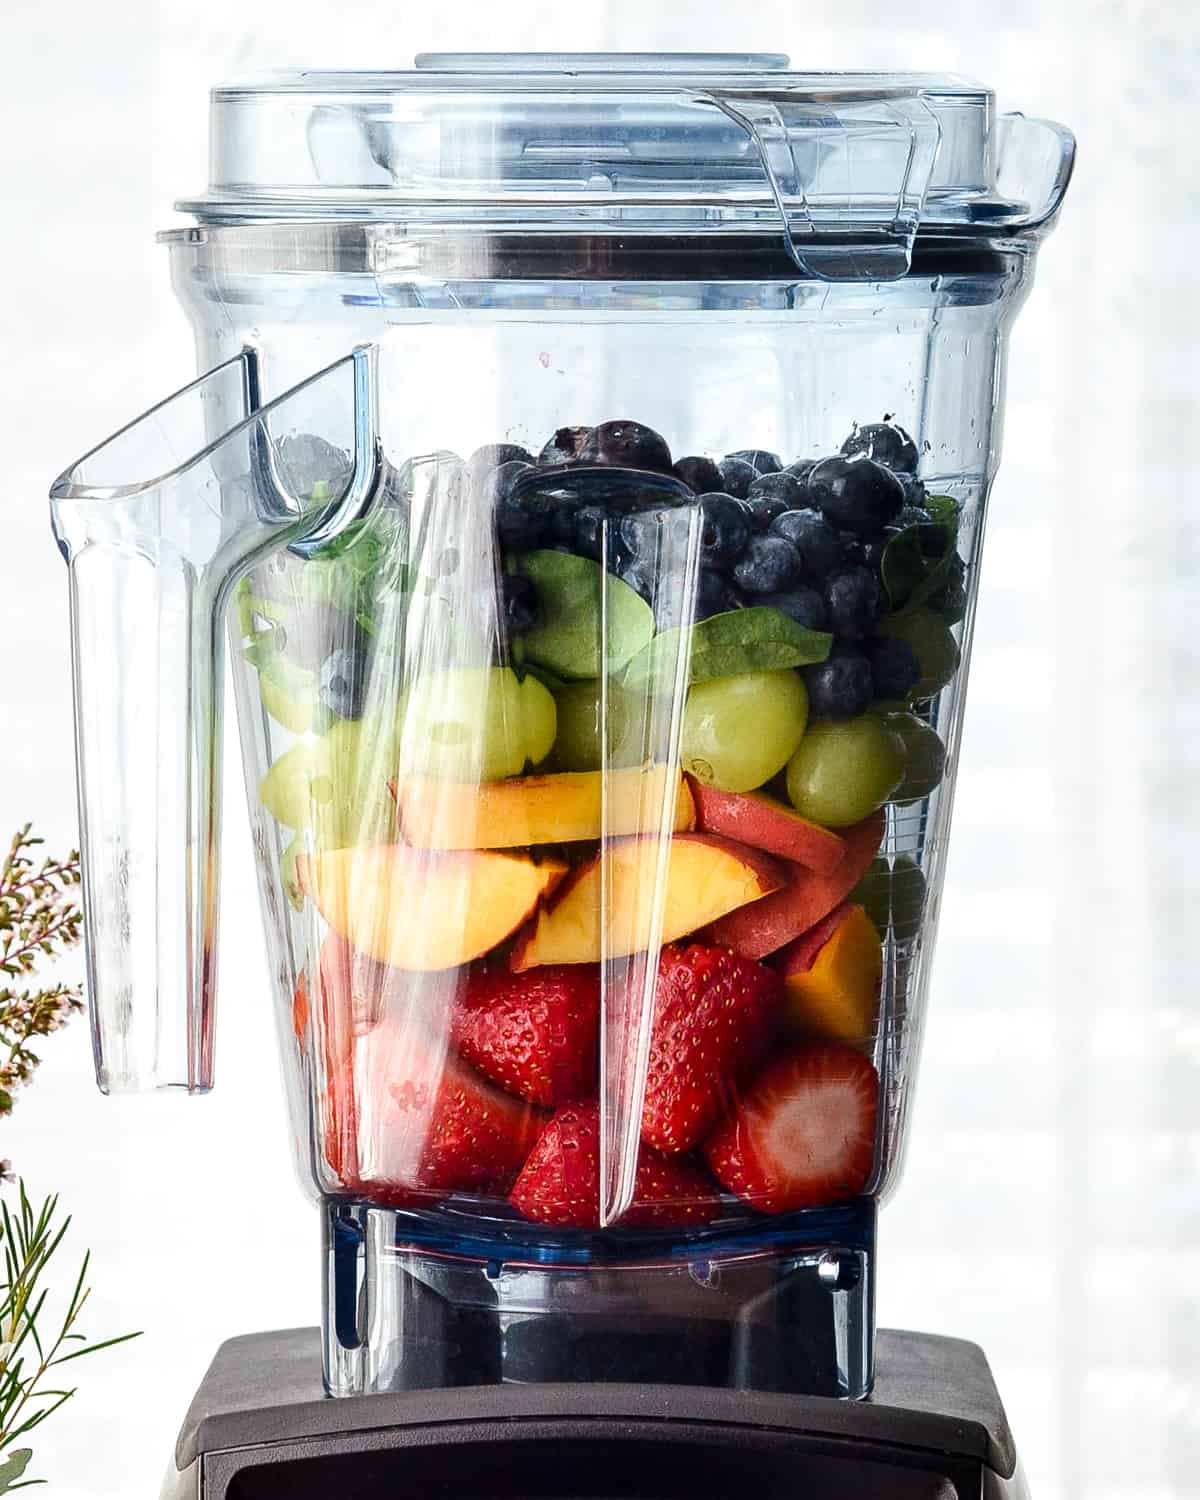
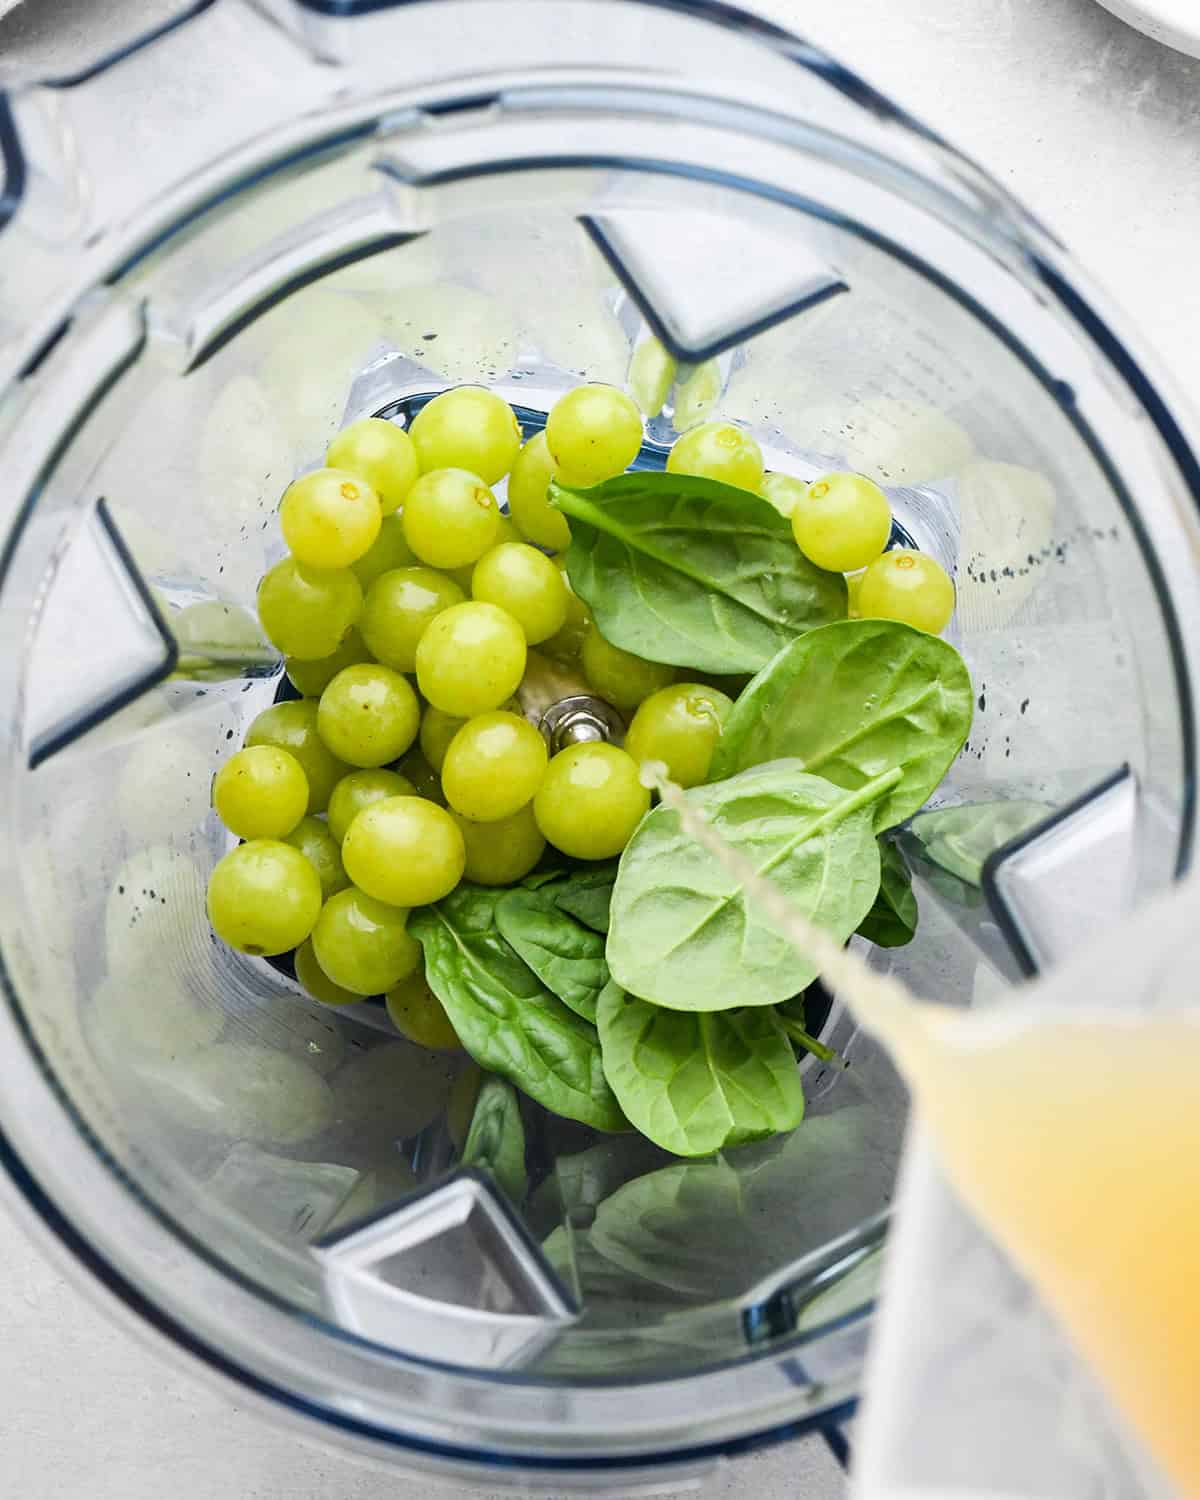
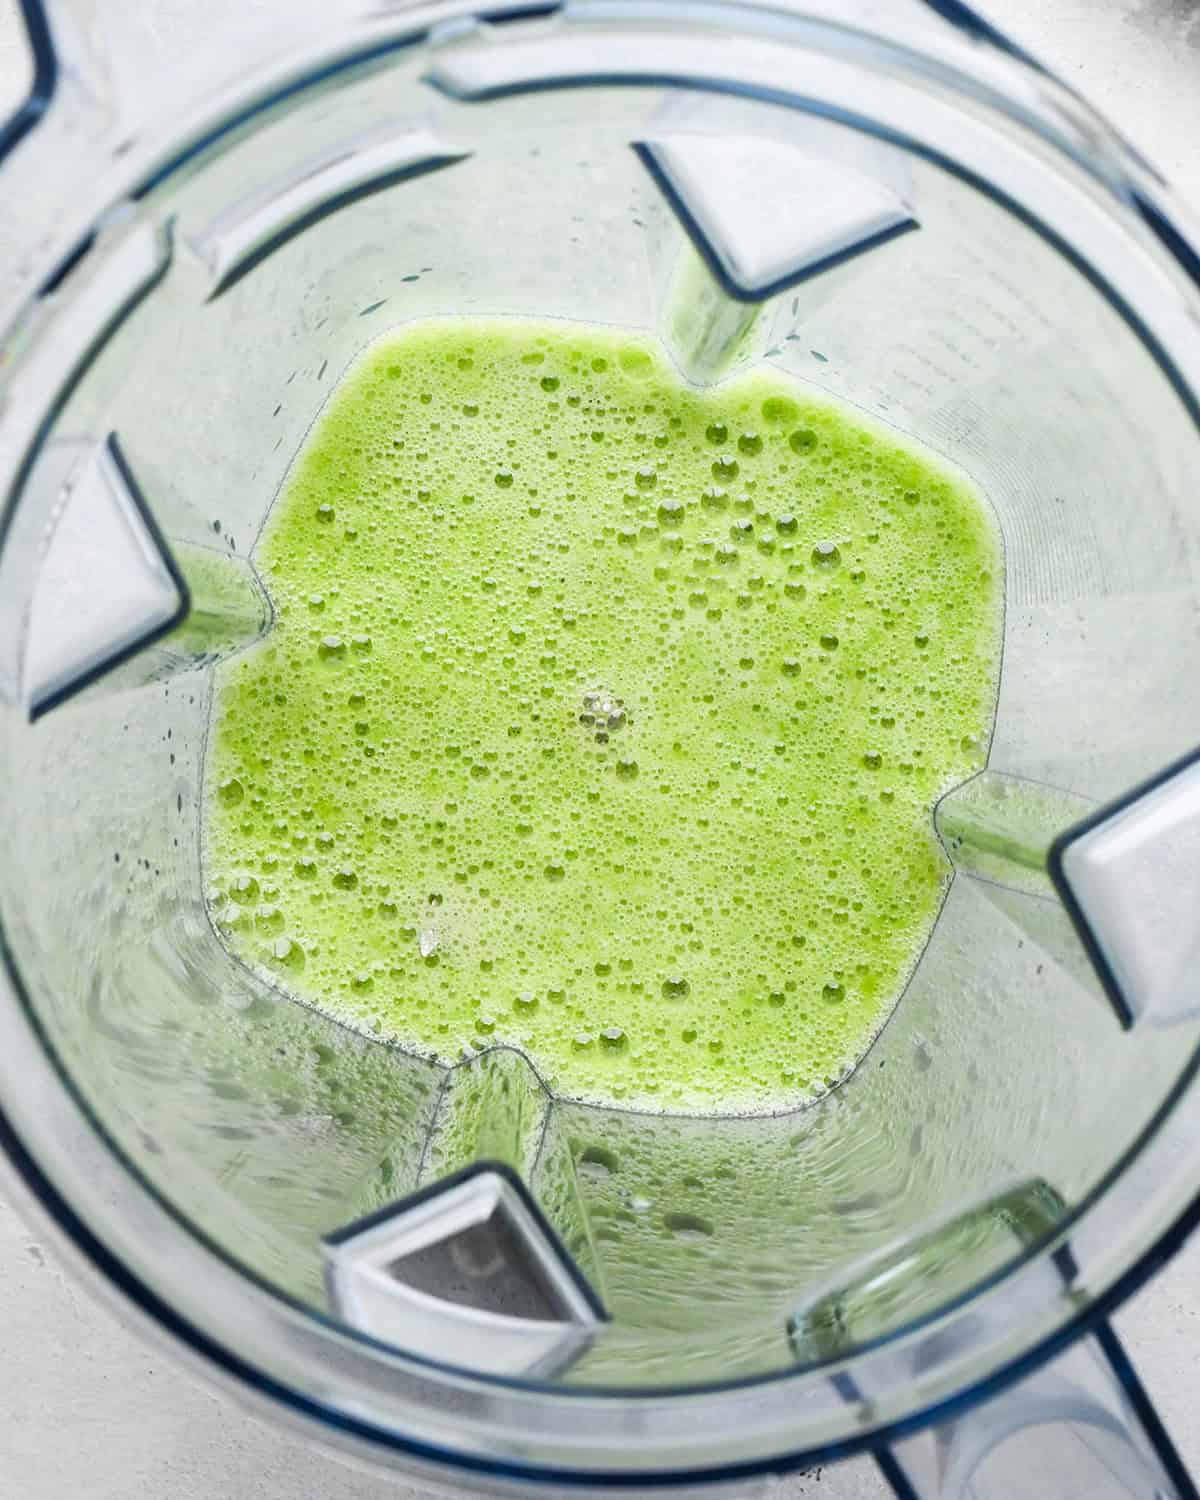
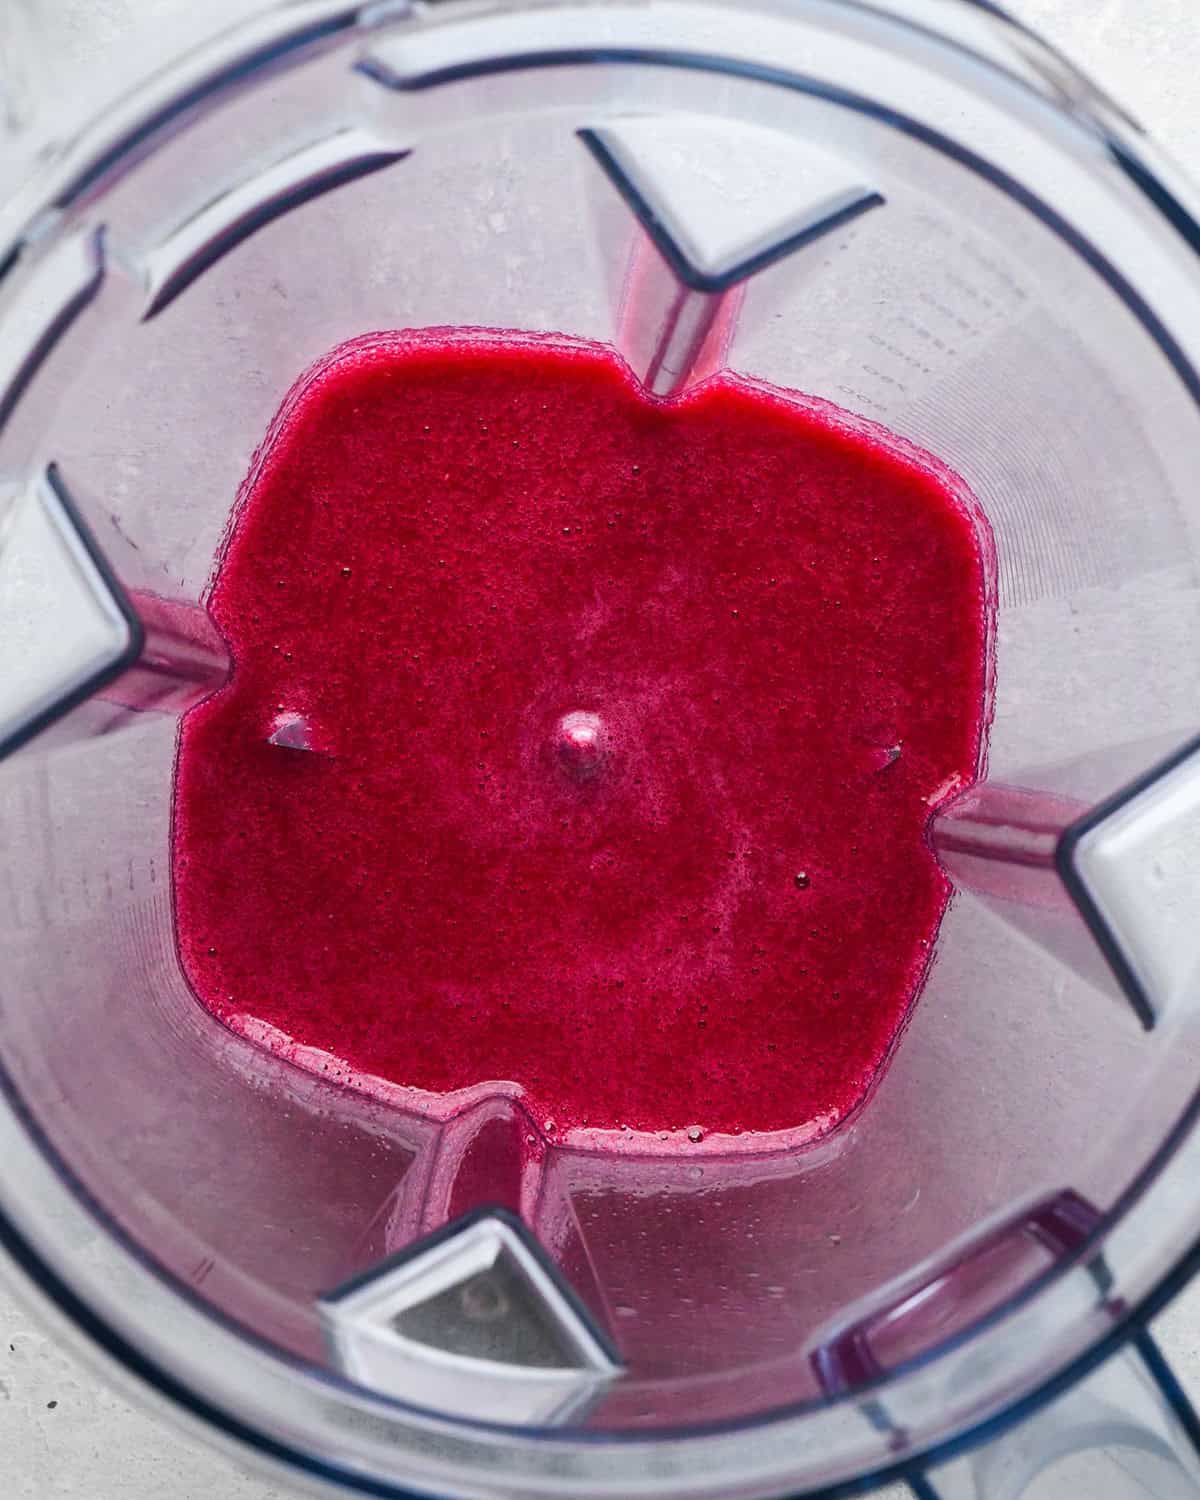
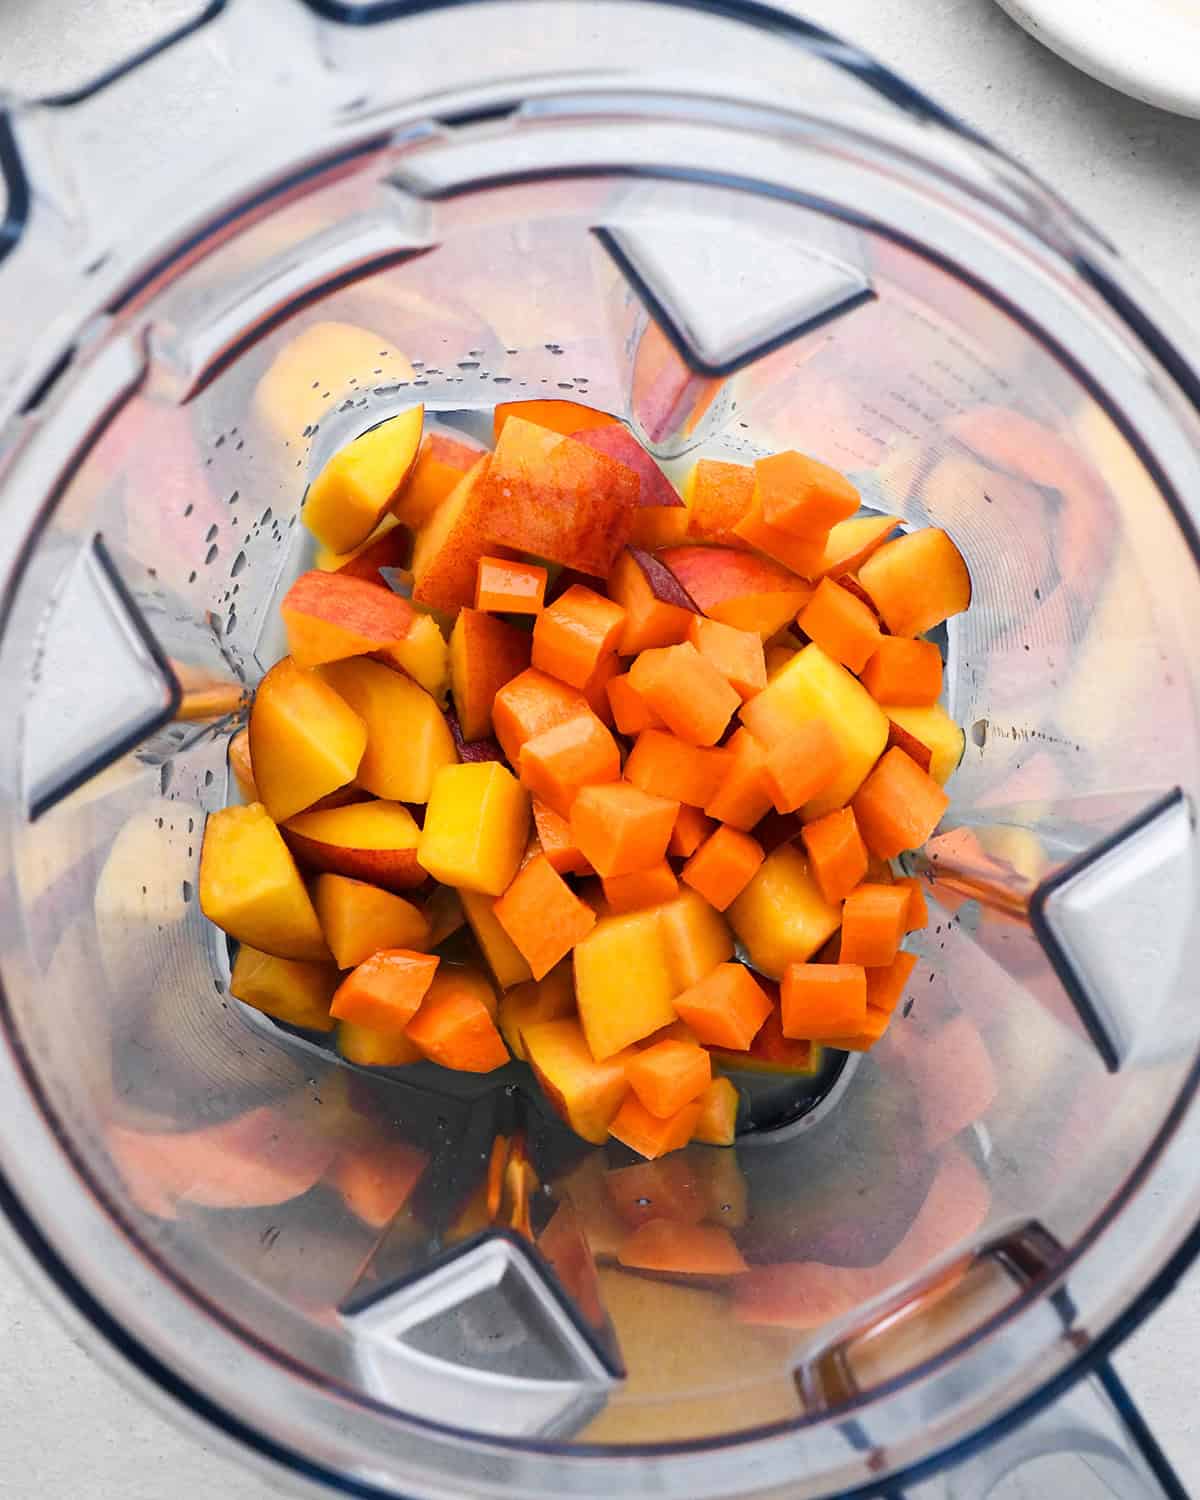
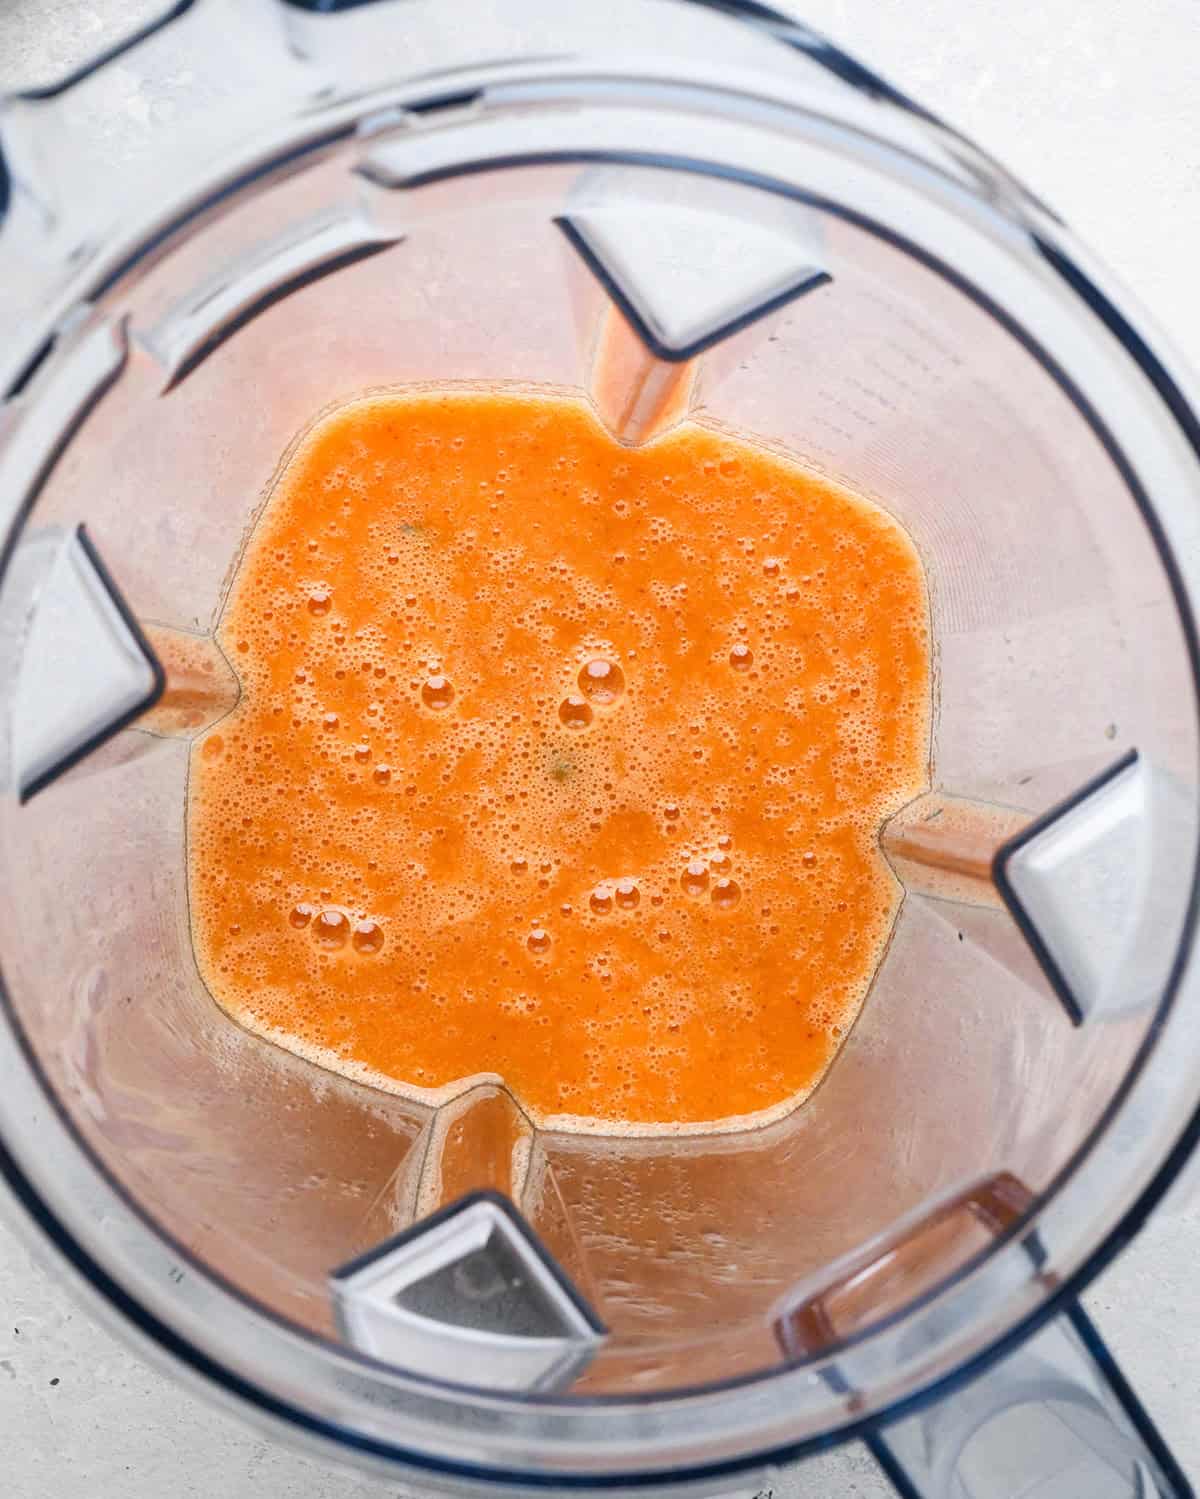
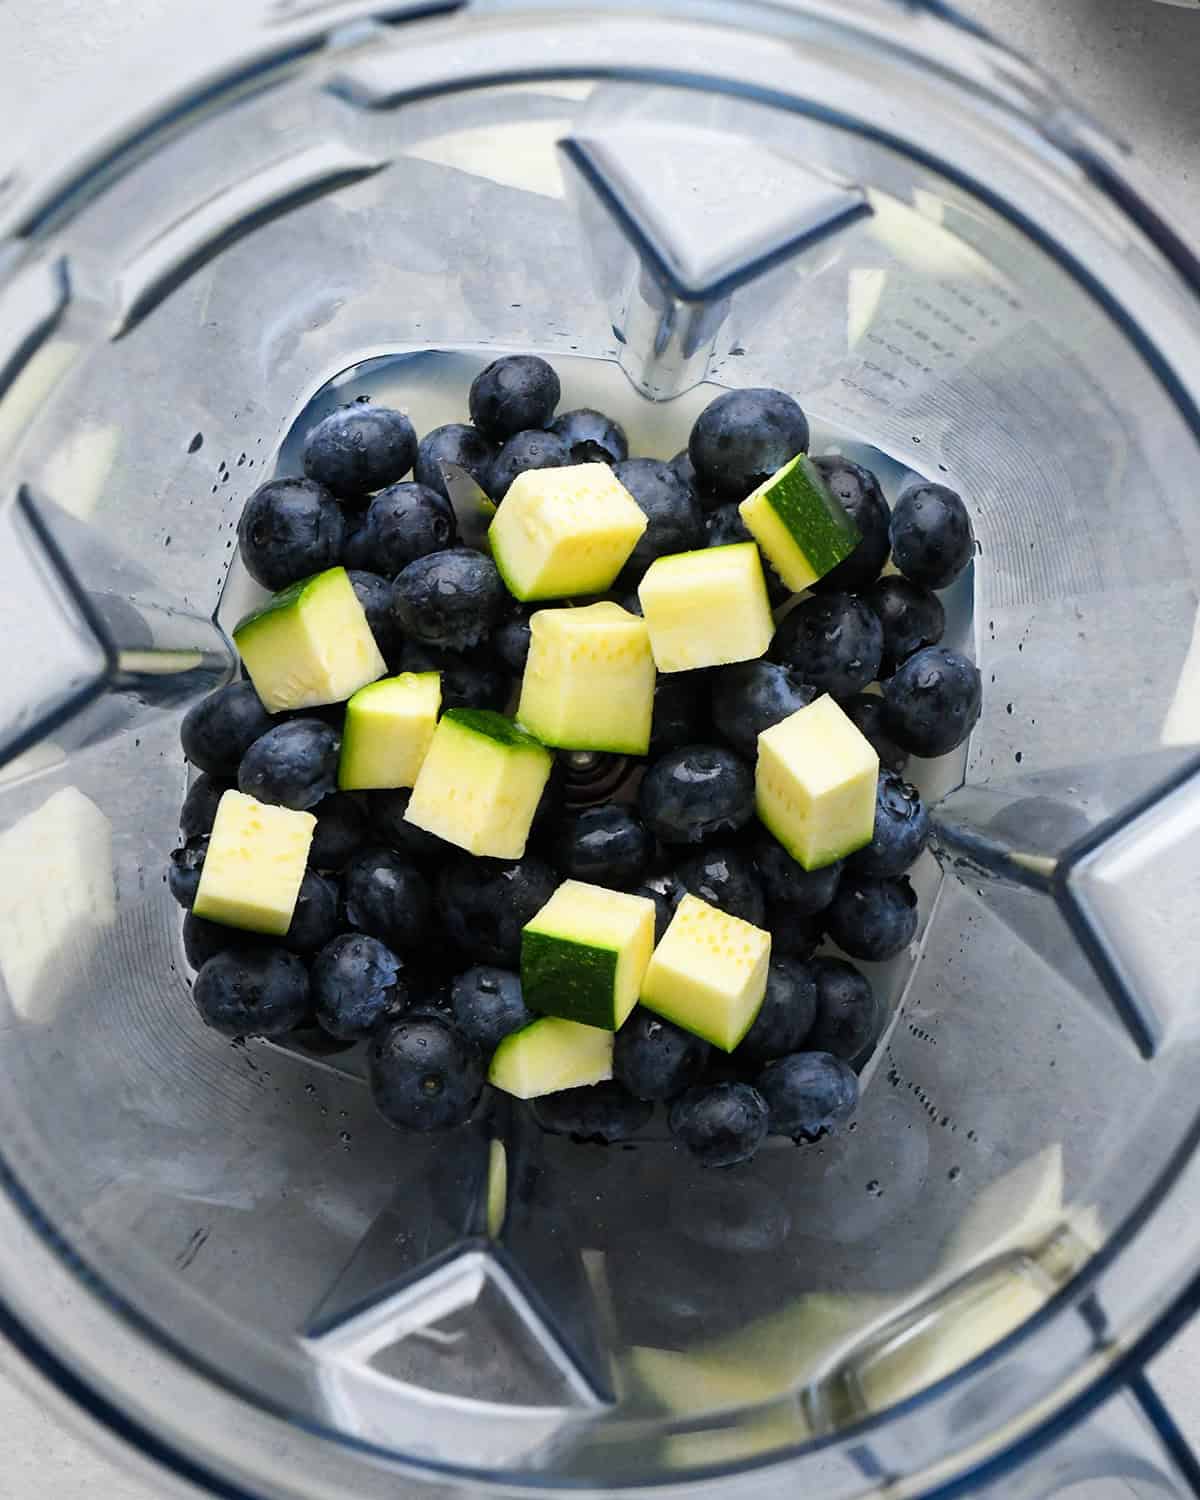
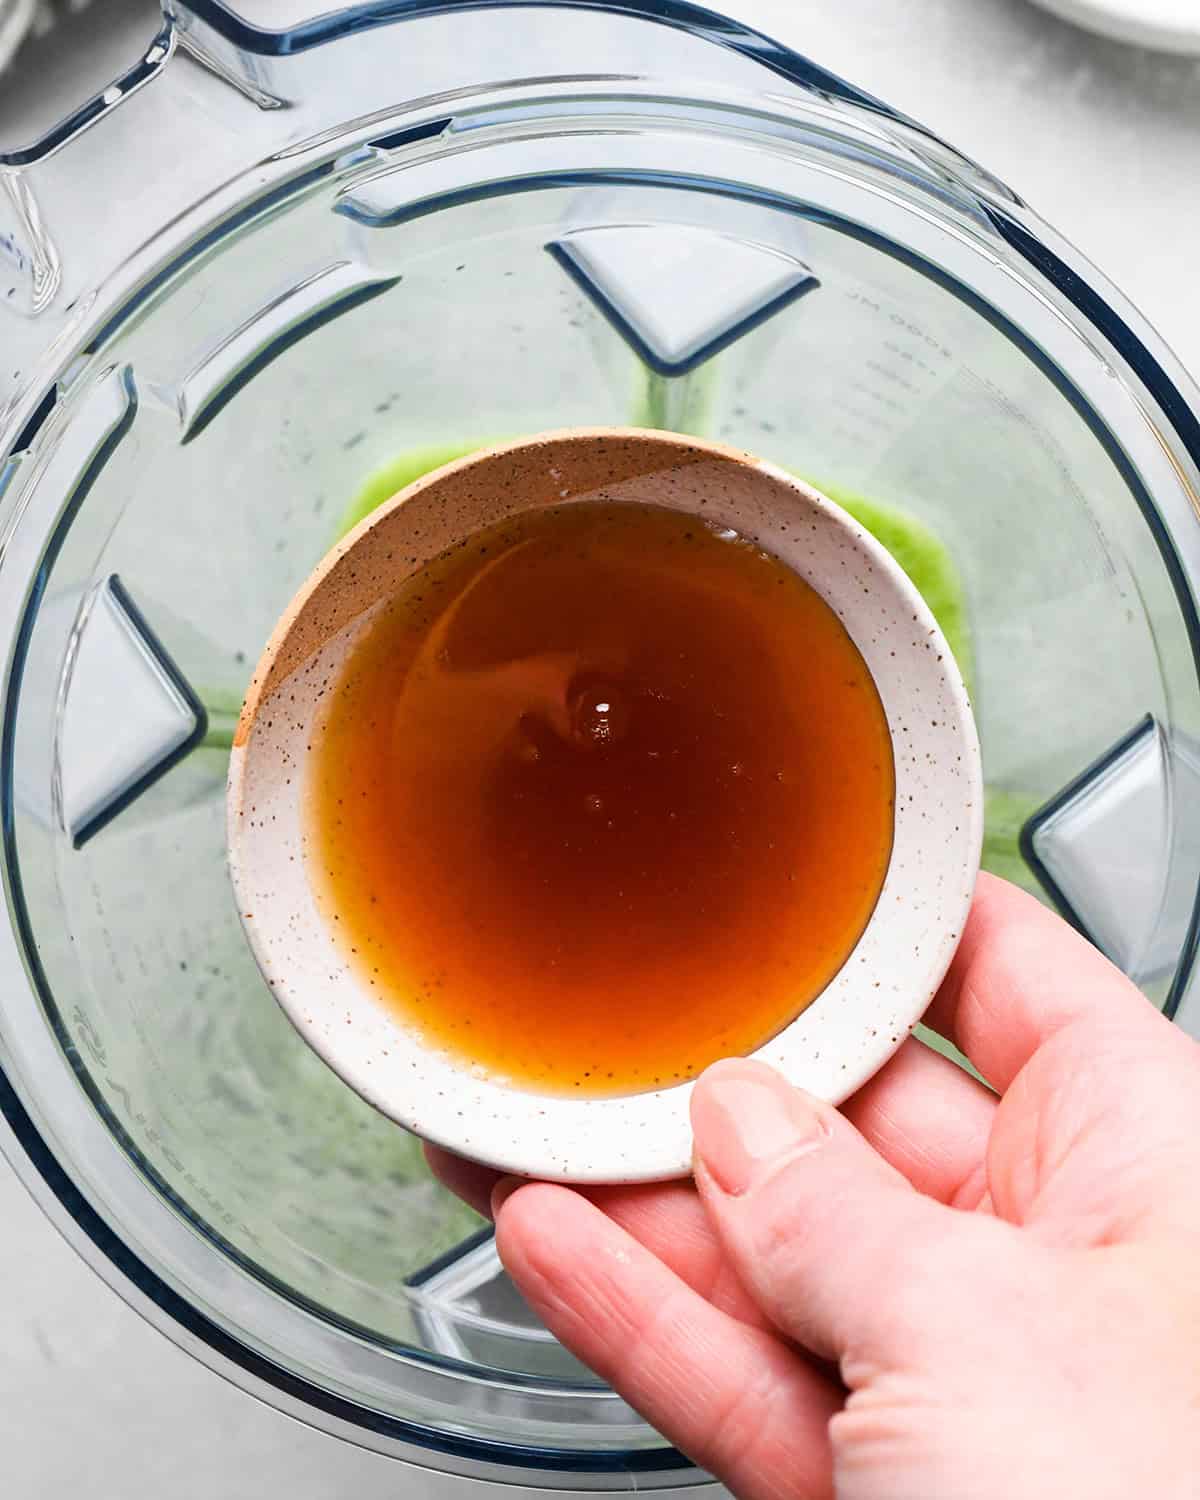
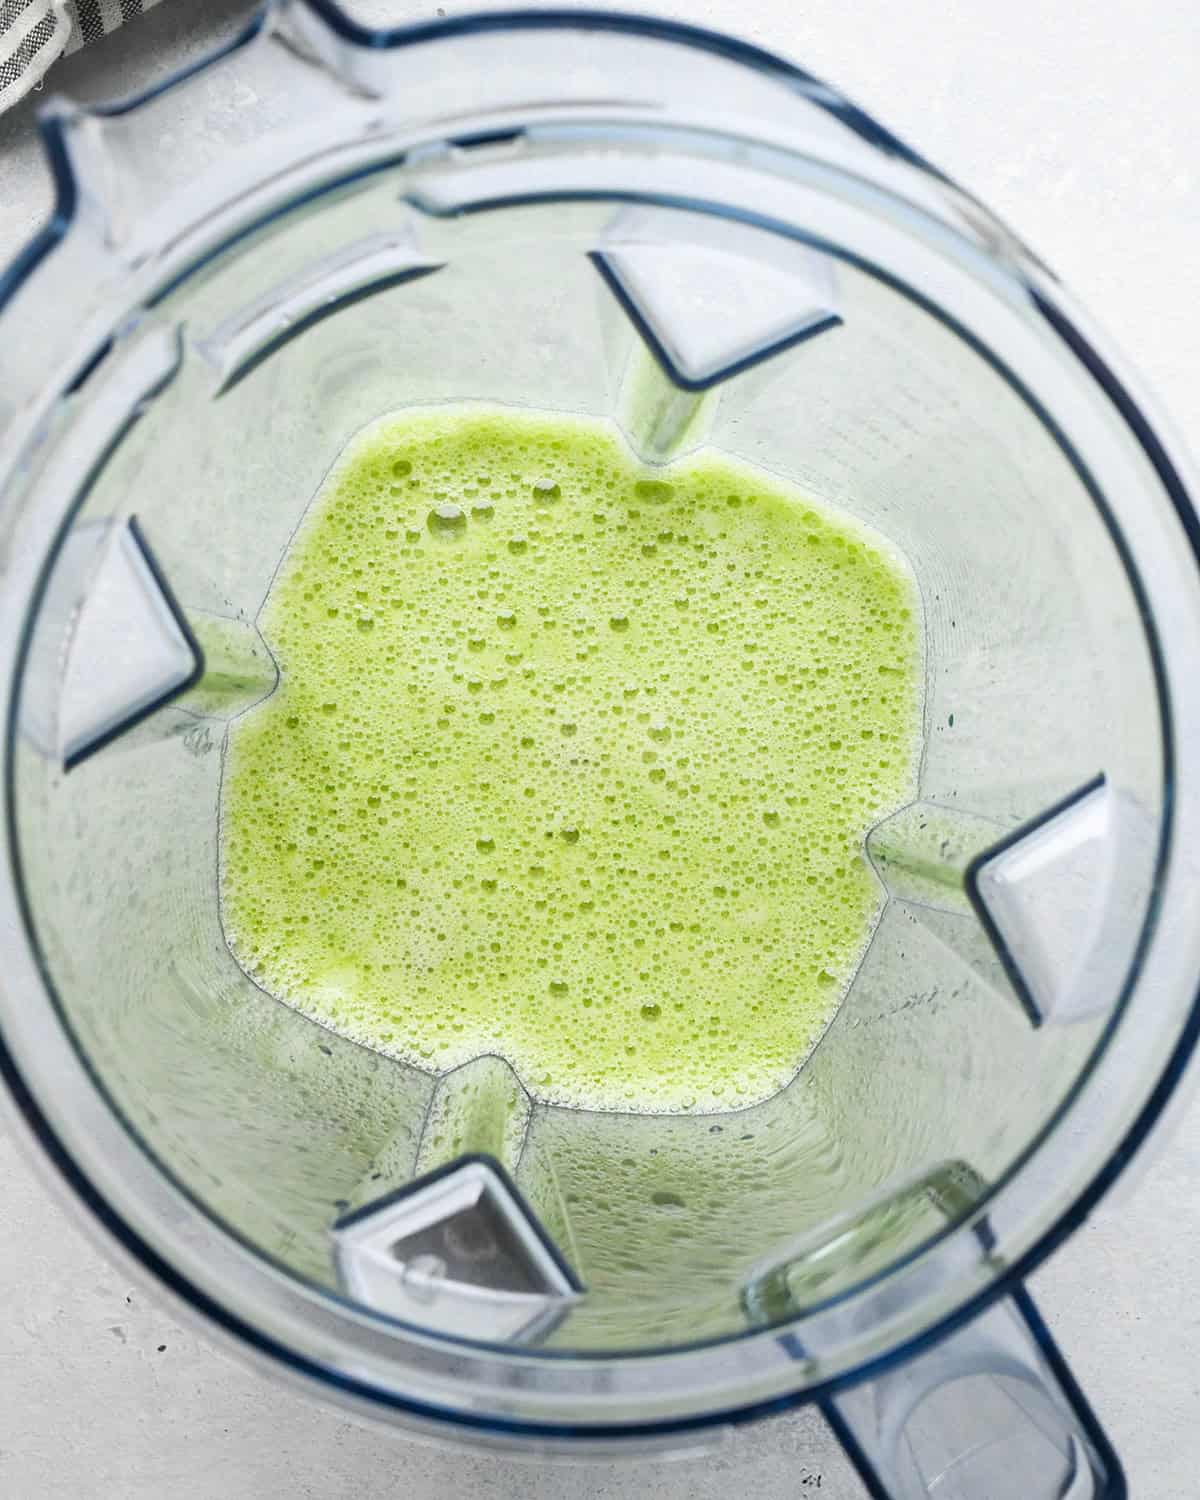
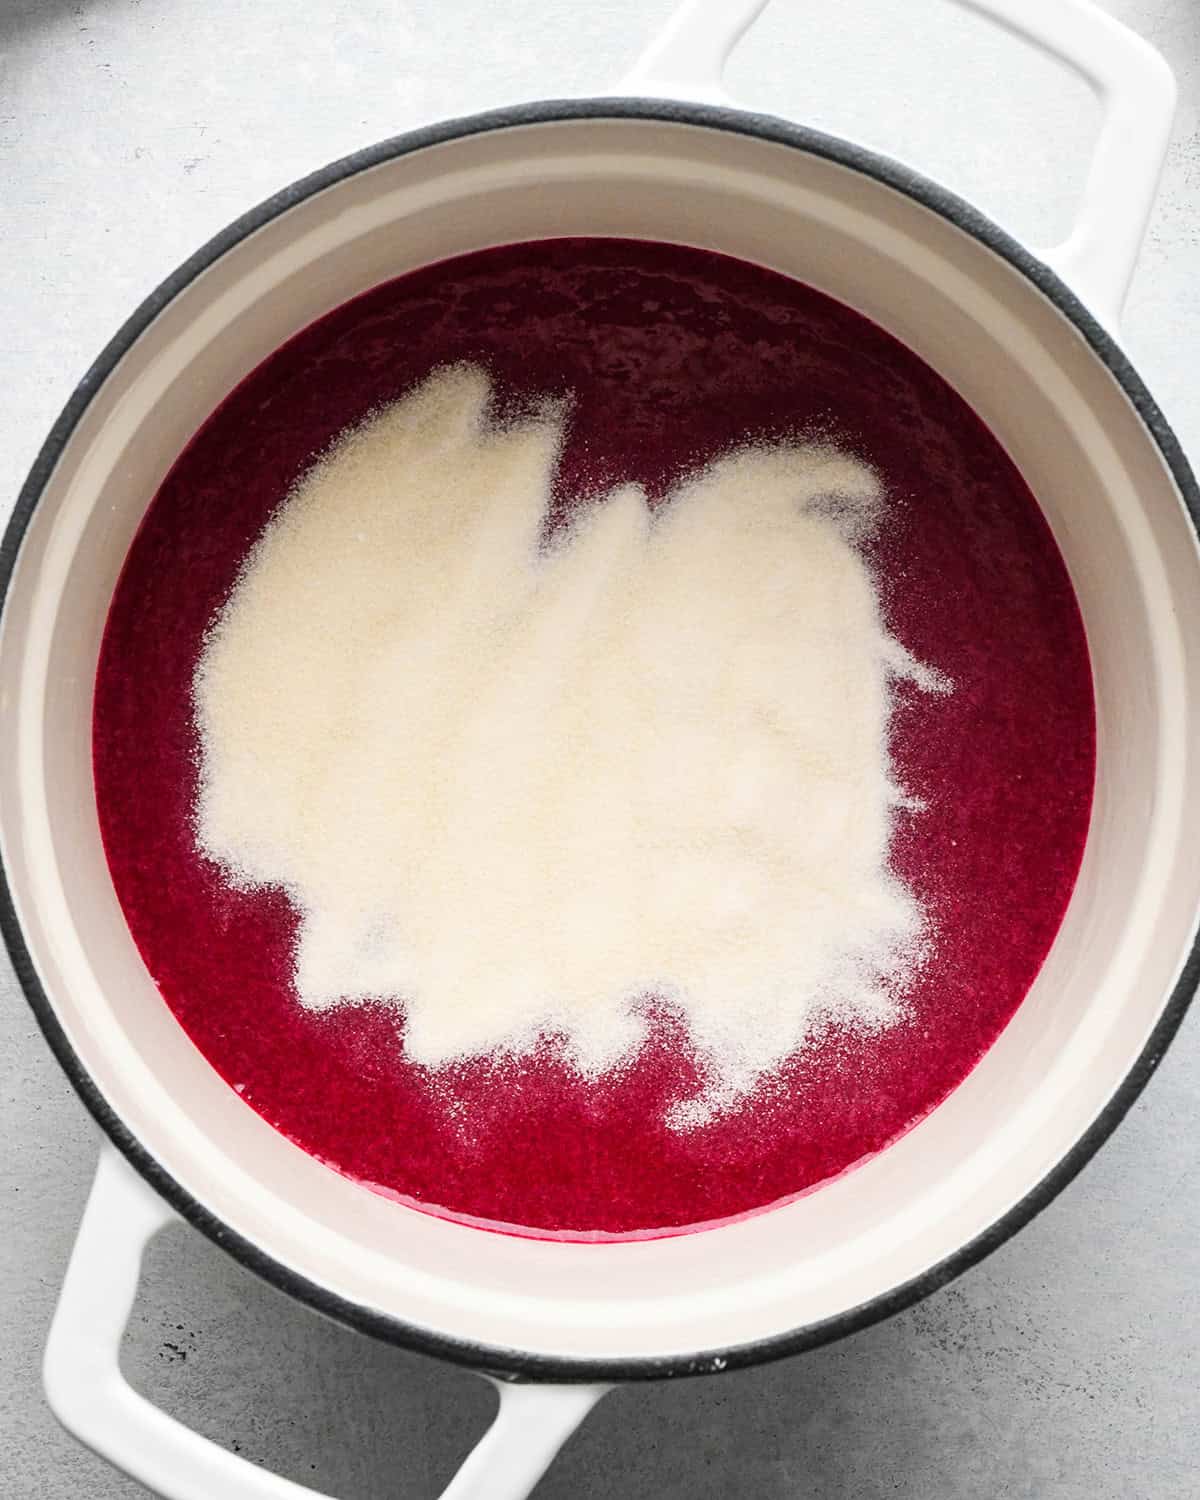
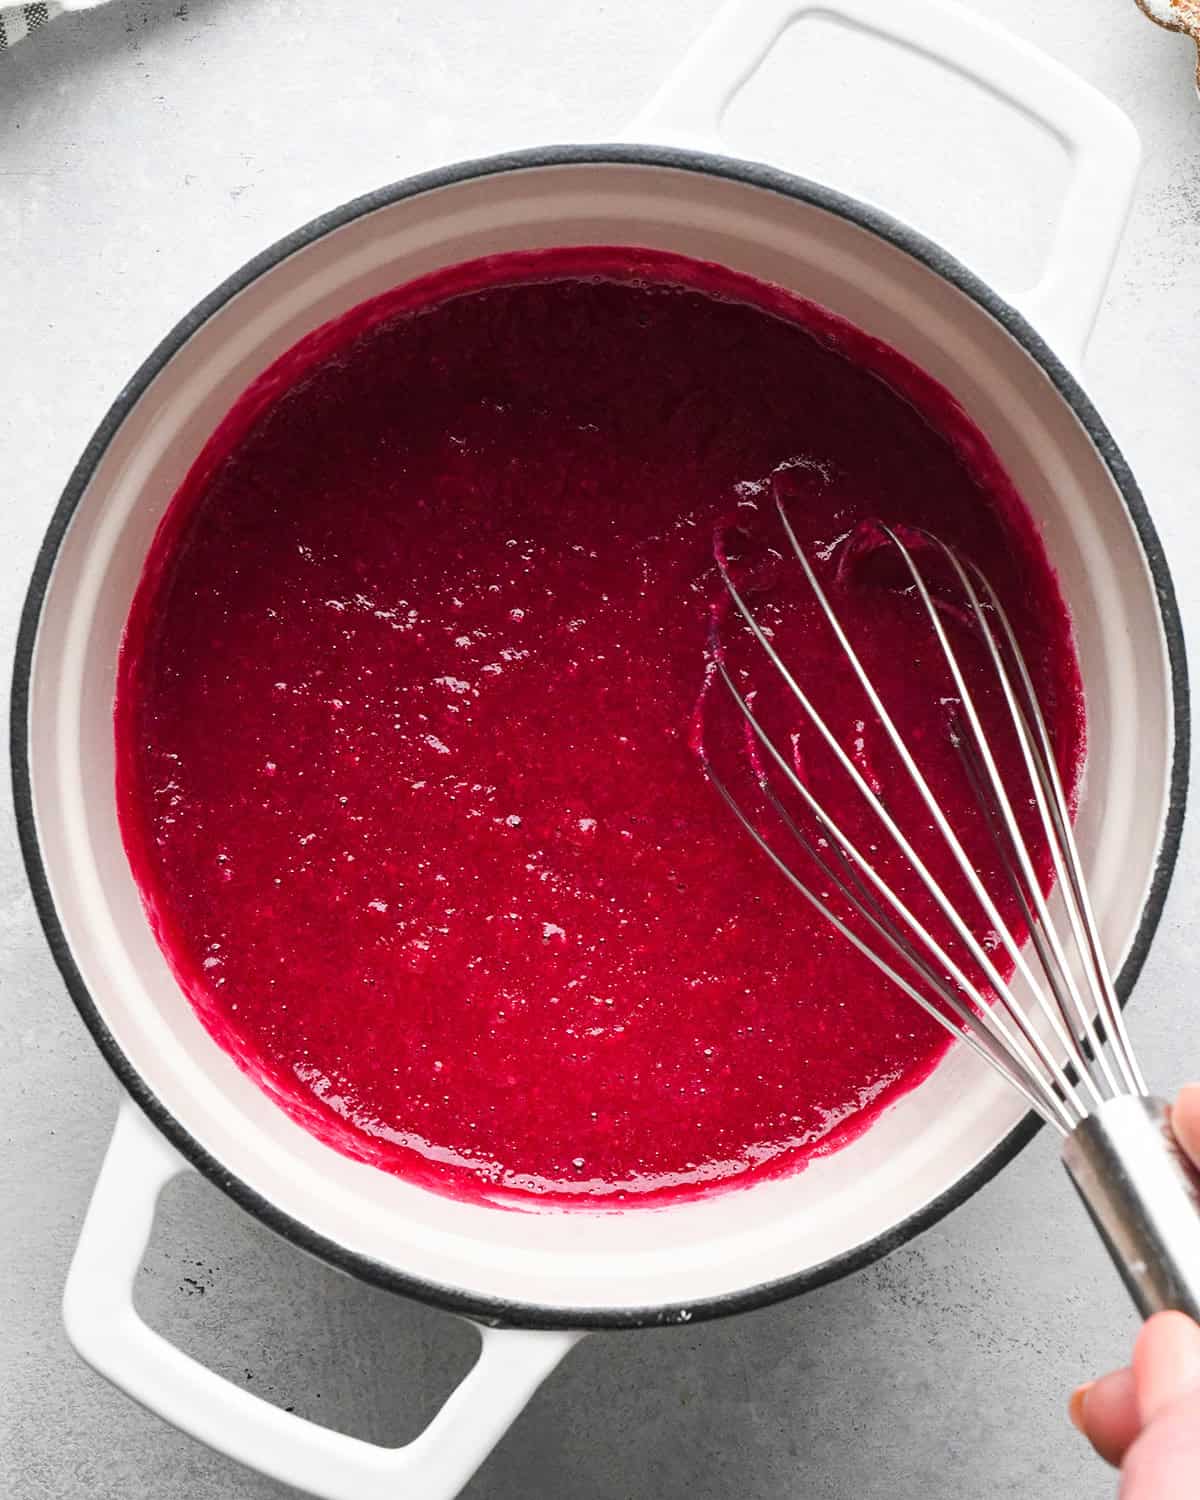
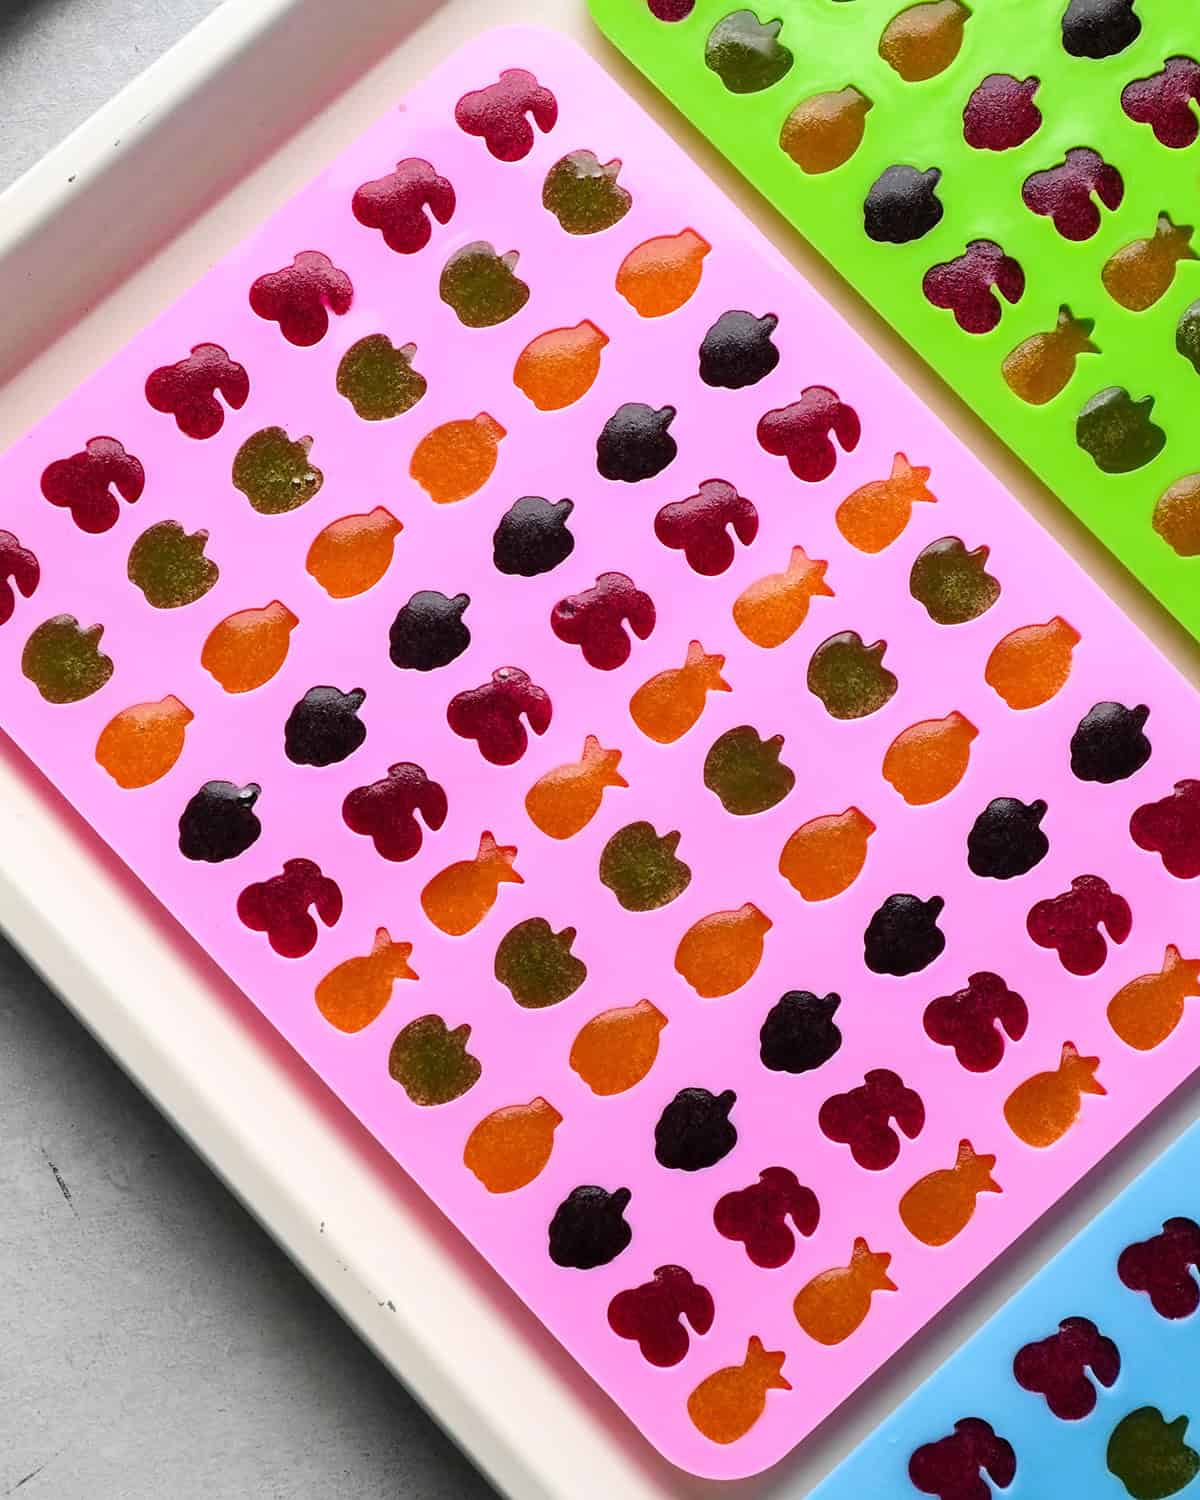
I share how to make green, red, orange and blue/purple fruit snacks in this recipe. You really can use any combination of fruits and vegetables. Each mixture contains 1 cup of fruit and ¼ cup vegetables. You Begin by putting the fruit, vegetables and ¼ cup apple juice in the container of your Vitamix and secure the lid. Then, turn the machine on and slowly increase the speed to high. Blend on high until the mixture is smooth. (add more juice 1 Tablespoon at a time if necessary, until the mixture reaches a smooth consistency). For green use green grapes and spinach (or zucchini). To make red, use strawberries and beets. For orange fruit snacks, use peaches and carrots. For blue use blueberries and zucchini. Then, add the honey and vanilla and blend until smooth. Taste the mixture and add more honey if desired. Once the mixture is smooth, transfer it to a small saucepan and whisk in the gelatin. Heat on medium heat until gelatin is dissolved and mixture is no longer grainy when touched (about 3 minutes). Make sure it does not boil. Using a dropper, fill the silicone molds. Or pour your mixture into your prepared baking pan. I suggest keeping the saucepan on the warm burner (with the heat source turned off) as you fill the molds. That way the mixture remains slightly warm and cools more slowly. Test for doneness by putting some of the mixture between your pointer finger and thumb and rub them together. If it feels even slightly grainy, continue cooking and whisking. If it feels smooth then you can begin to fill the molds. Be sure to work quickly. The fruit/veggie fruit snack mixture begins to thicken as it cools. I Transfer to the refrigerator to set for at least 2 hours. Once set remove from molds and enjoy. If you don’t have molds then simply spread the mixture in ax 8×8″ pan lined with wax paper. Let the Homemade Fruit Snacks set and then cut them with a warm, sharp knife.
Serve
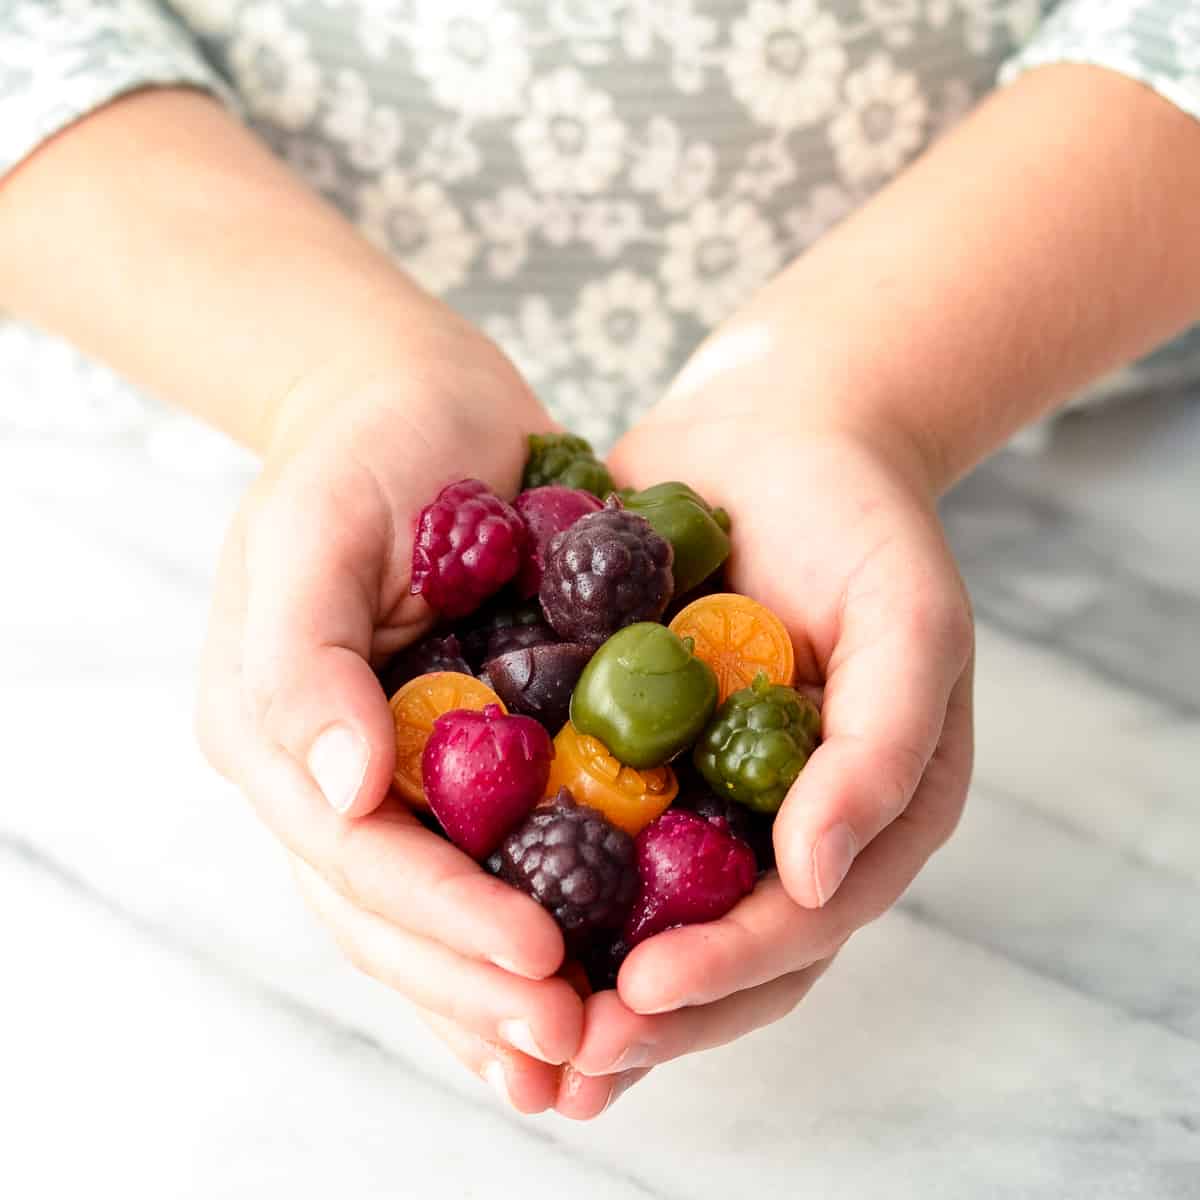
I suggest serving these fruit snacks slightly chilled or at room temperature.
Store/Freeze
Homemade fruit snacks can be stored in an airtight container in the refrigerator for up to one week. Or in the freezer for up to 2 months. Thaw slowly in the refrigerator before serving. If you make and love our recipes, it would mean so much to me if you would leave a comment and rating! And don’t forget to follow along with us on Instagram, Pinterest, Facebook, and Youtube – be sure to tag @joyfoodsunshine and use the hashtag #joyfoodsunshine so we can see your creations! Note this recipe was published in 2017, and has been updated with process photographs and a video and additional helpful information, but the recipe itself remains unchanged.
try these recipes
![]()