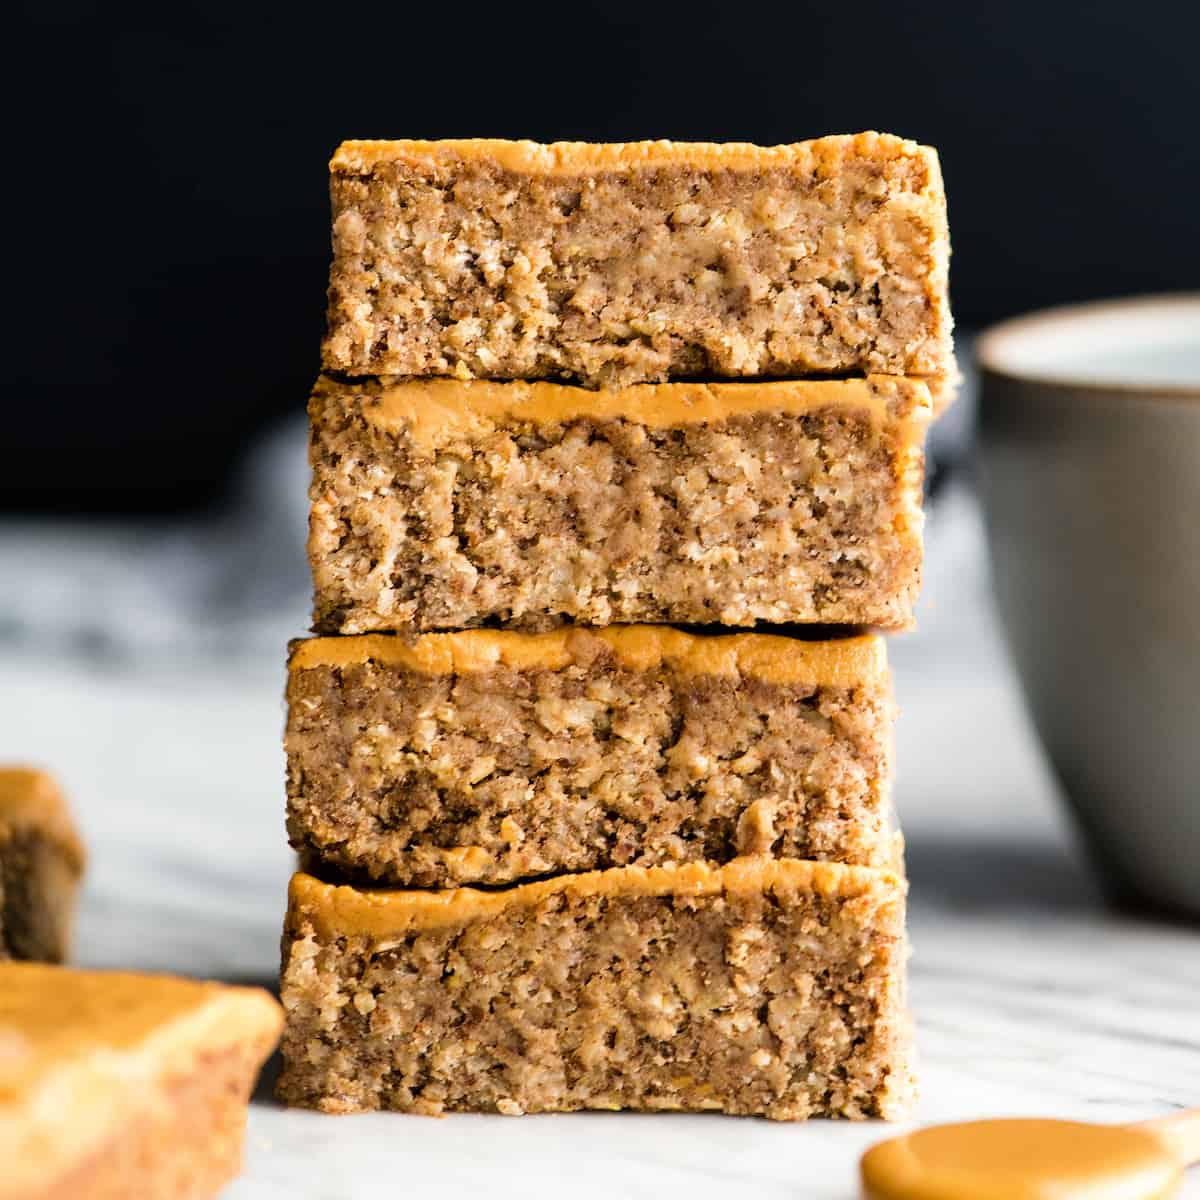
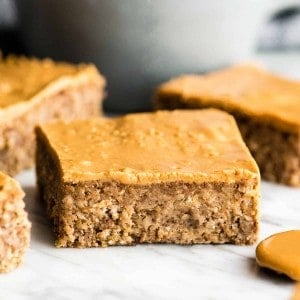
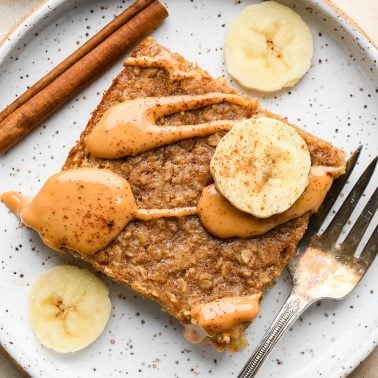
Posted Mar 10, 2019, Updated May 12, 2024 When I decided to start this website in 2016, I knew right away that this would be my very first post. These Healthy Breakfast Bars have been my constant companion for the last 15 years are are, hands down, my favorite recipe of all time. These breakfast bars gave me energy through my career as a high school chemistry teacher. They helped me grow all the necessary parts of our very first tiny little human, and the second, and the third, and the fourth, and the fifth, and the sixth. These healthy oatmeal breakfast bars sustained me as we moved across the country away form all our friends and family. Every night when my head hits the pillow and I close my eyes, I know one of these beauties will be waiting for me when I wake up. I love them. Truly I do. I mean, what’s not to love? These breakfast bars are full of fiber, protein, potassium, omega-3s, and are SO delicious. They are gluten, dairy and refined sugar free, but they are hearty enough to keep you full for hours. And they’re easy to make! To me, they are perfect.
Healthy Breakfast Bars: Ingredients & Substitutions
I get a lot of questions about possible substitutions for this breakfast bar recipe, so let’s chat about them now! A great thing about this recipe is that it’s fairly customizable.
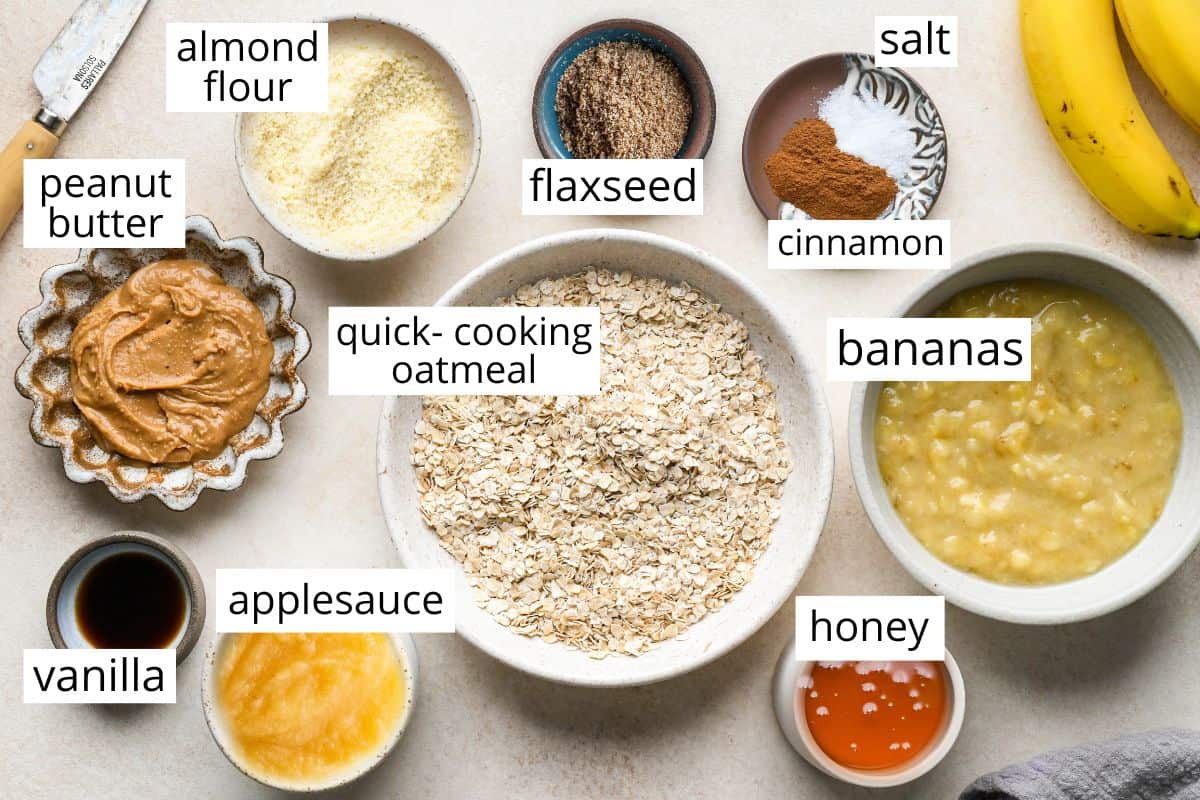
Quick Cooking Oats. Old fashioned oats work well, using them will result in a chewier texture. Almond flour/meal: If you’d prefer to not use almond meal, omit it and increase the amount of oatmeal by ½ cup. Ground Flaxseed: You may substitute ½ cup of almond meal or extra oats in place of the ground flaxseed. Protein Powder: This is an optional ingredient. I love using Vanilla Protein Powder for a little flavor and protein boost, but you can omit it entirely if you don’t keep this ingredient on hand! Honey: maple syrup is a good substitute. Or, add an extra banana or an extra ¼ cup applesauce instead if you’d prefer a less-sweet, sugar free option. Peanut Butter: I use creamy or crunchy and choose your favorite variety.
How to Make Breakfast Bars
Since I have made this breakfast bar recipe every week for 15 years now, I’m pretty sure I could make them in my sleep! However, in order to be helpful I want to walk through all the steps in this recipe for you.
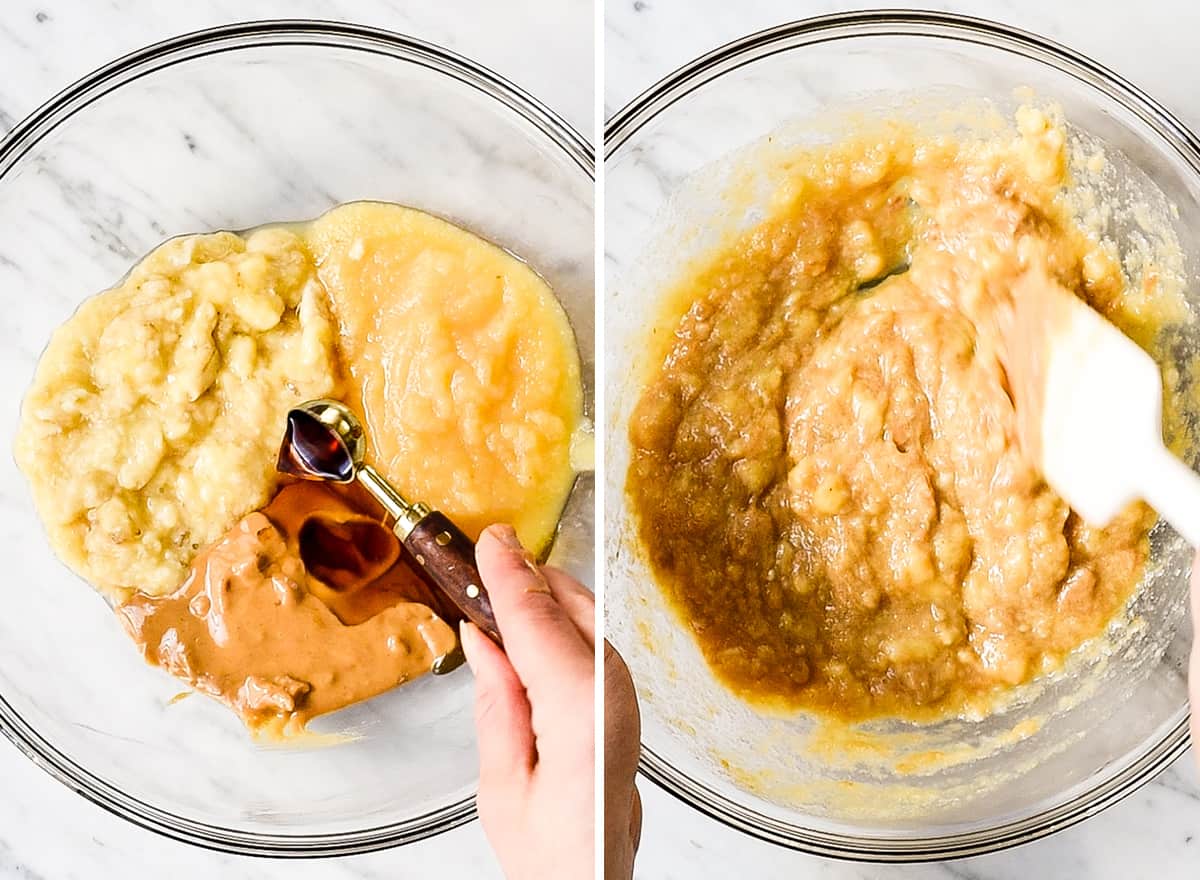
Combine Wet Ingredients
To make these breakfast bars in one bowl, start by mashing the banana. I use a potato masher, but a fork would work as well. Then add the rest of the ingredients and stir until the mixture is uniform throughout!
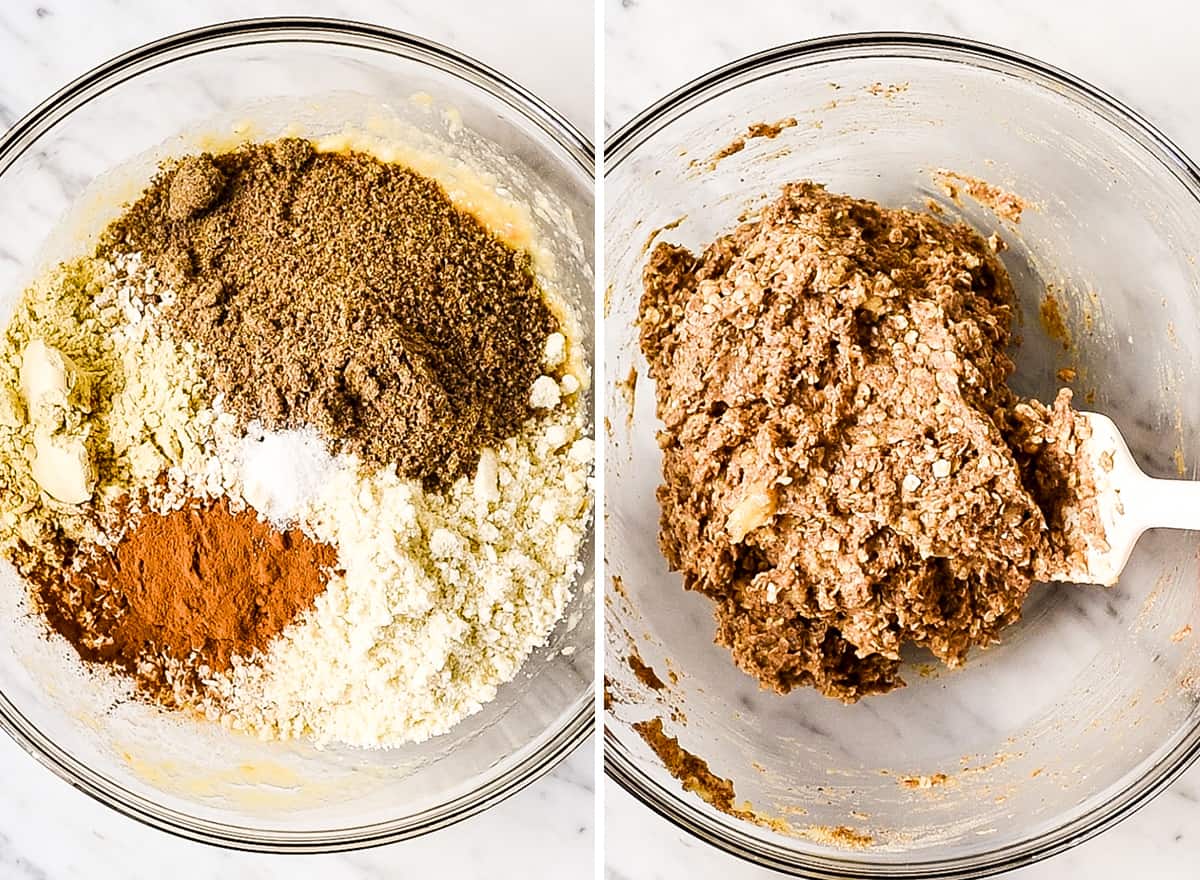
Add Dry Ingredients
Next, add all the dry ingredients to the wet mixture and stir to combine. As you can see, the final mixture should not be runny. It should be moist but not at all liquidy.
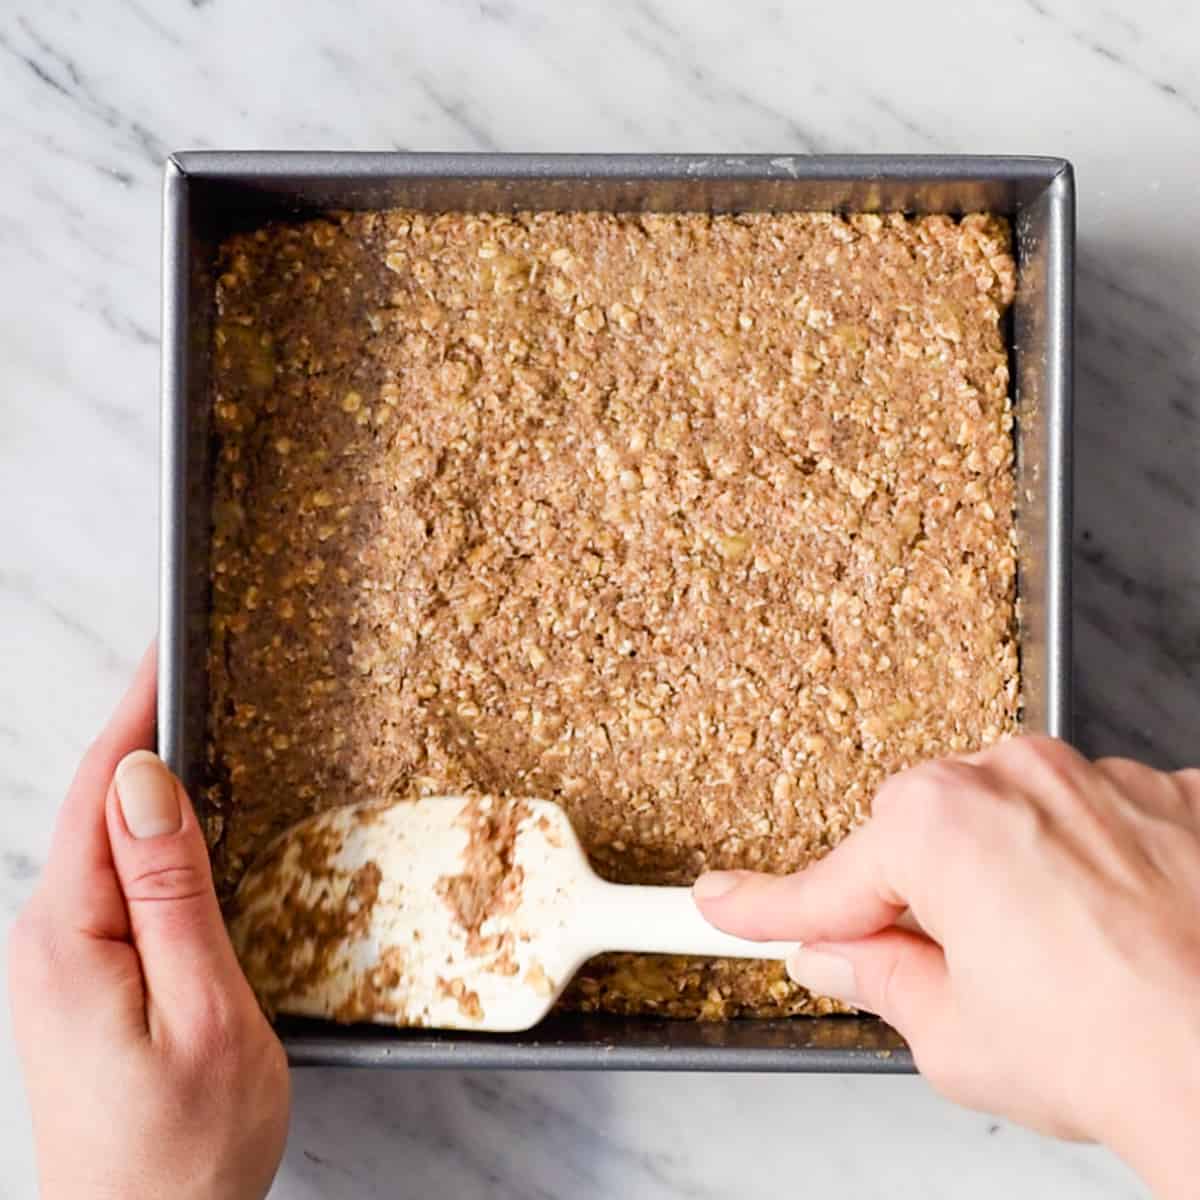
Bake for 20 Minutes
This healthy breakfast bars recipe requires two sessions of baking. First, bake the breakfast bars naked (without any peanut butter on top) for 20 minutes. The top should be slightly firm when the breakfast bars are removed from the oven. Since all ovens are different your baking time may vary slightly. However, it is important that the top isn’t mushy and that you can spread peanut butter around on it without it becoming a mess!
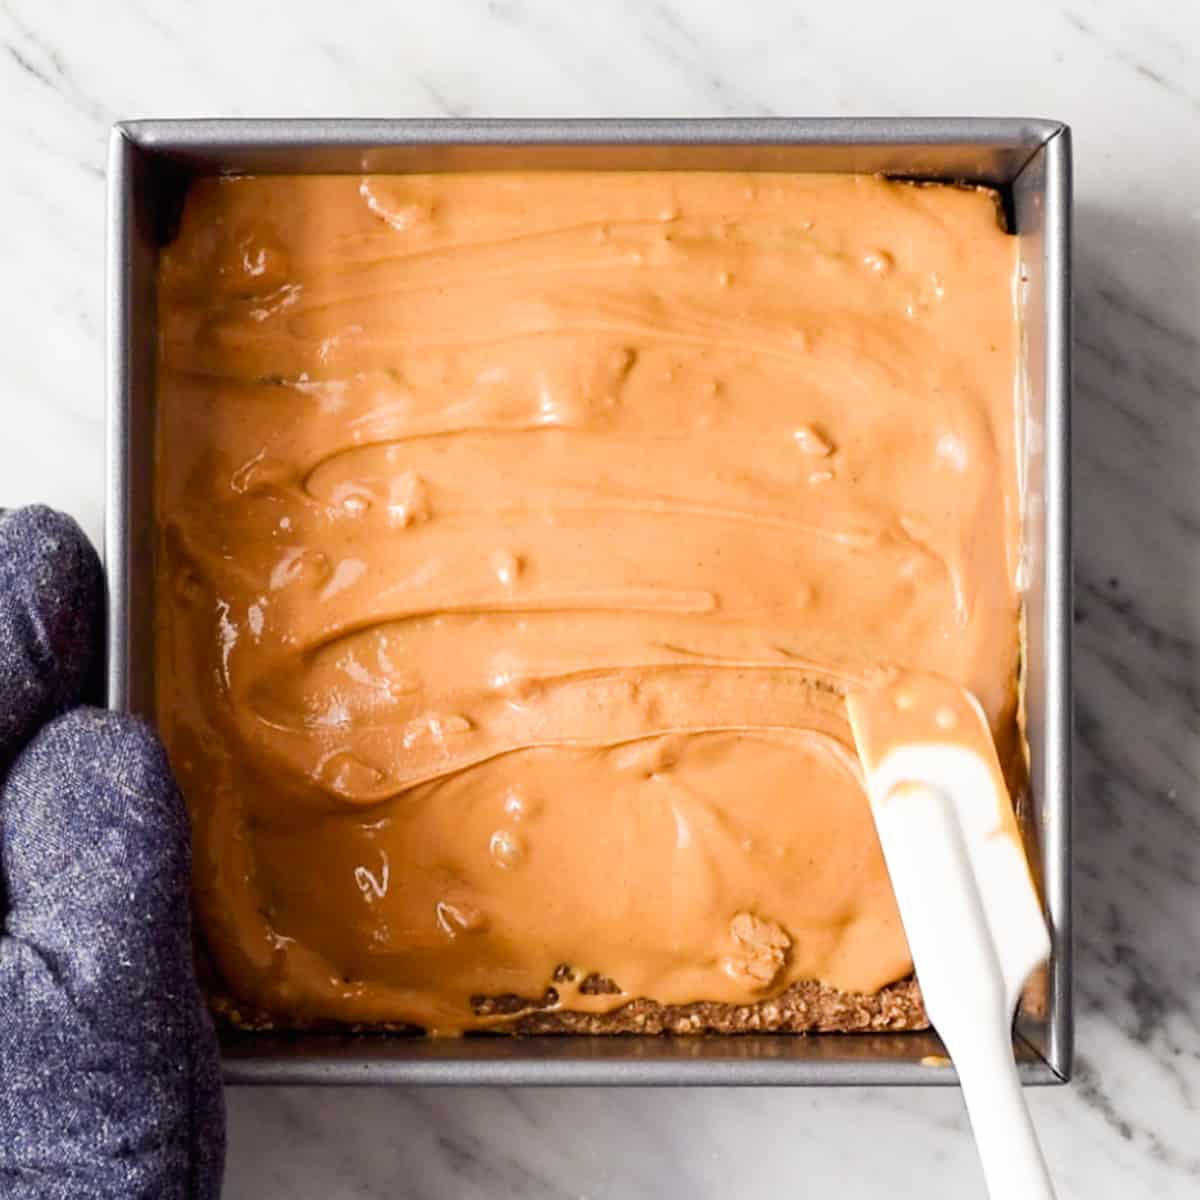
Top With Peanut Butter
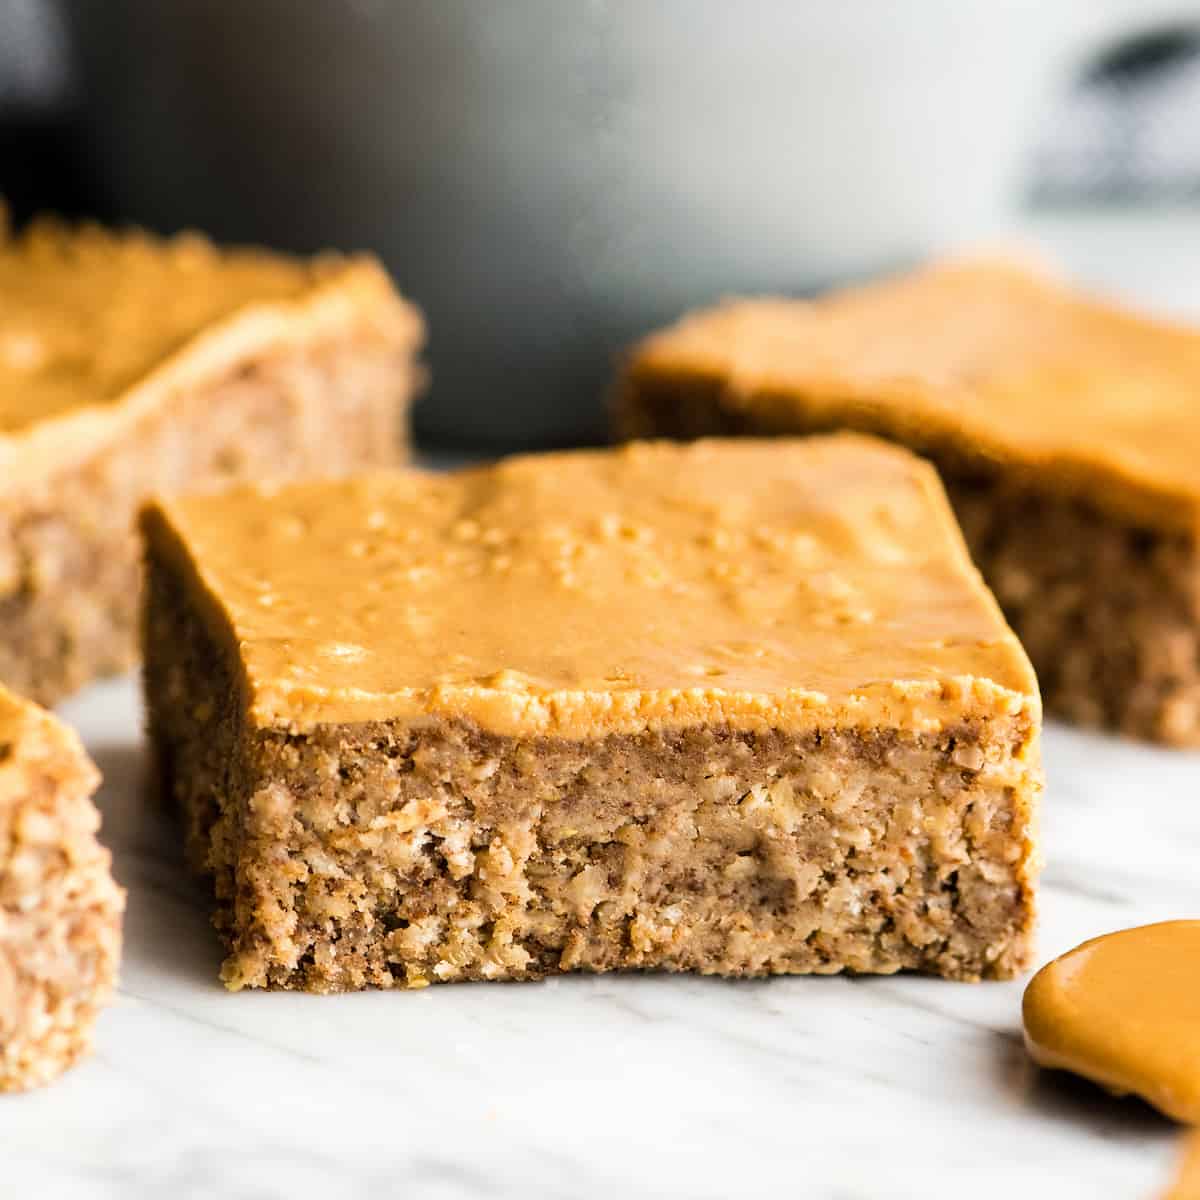
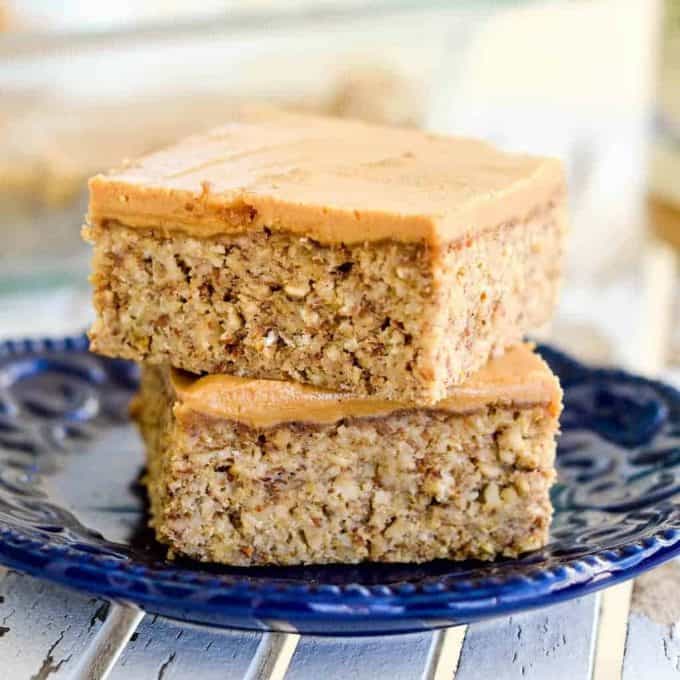
After 20 minutes of baking, remove the oatmeal breakfast bars from the oven and spread a layer of peanut butter on top. The amount you use will depend on your taste. I enjoy a super thick layer of peanut butter, so I use about 1/4 to 1/2 cup. Use as much or as little as you’d like!
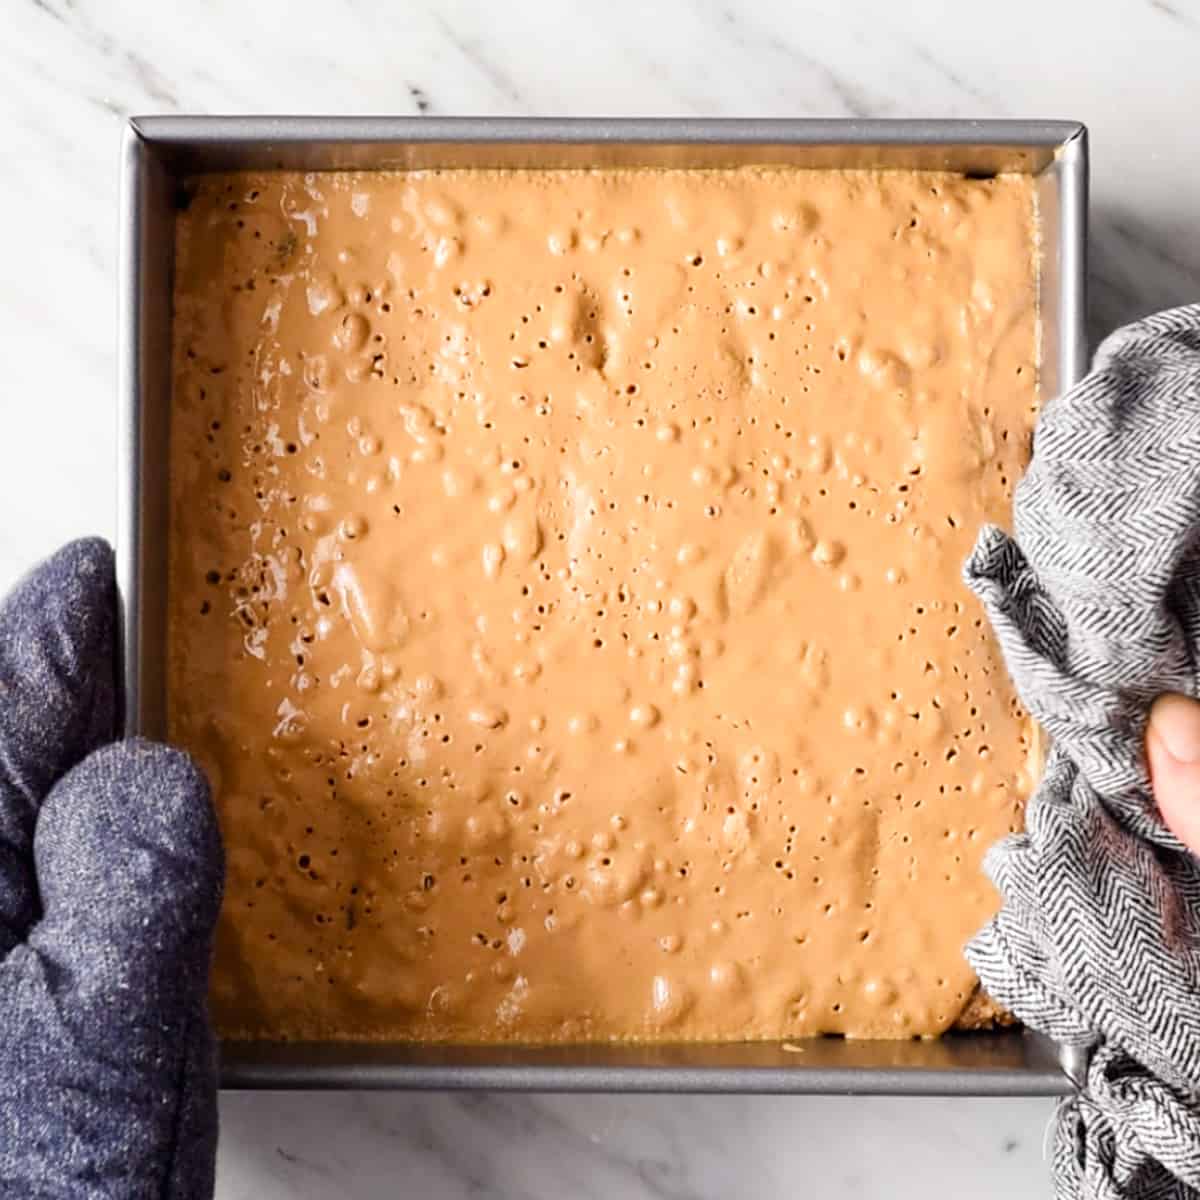
Bake for 10 Additional Minutes
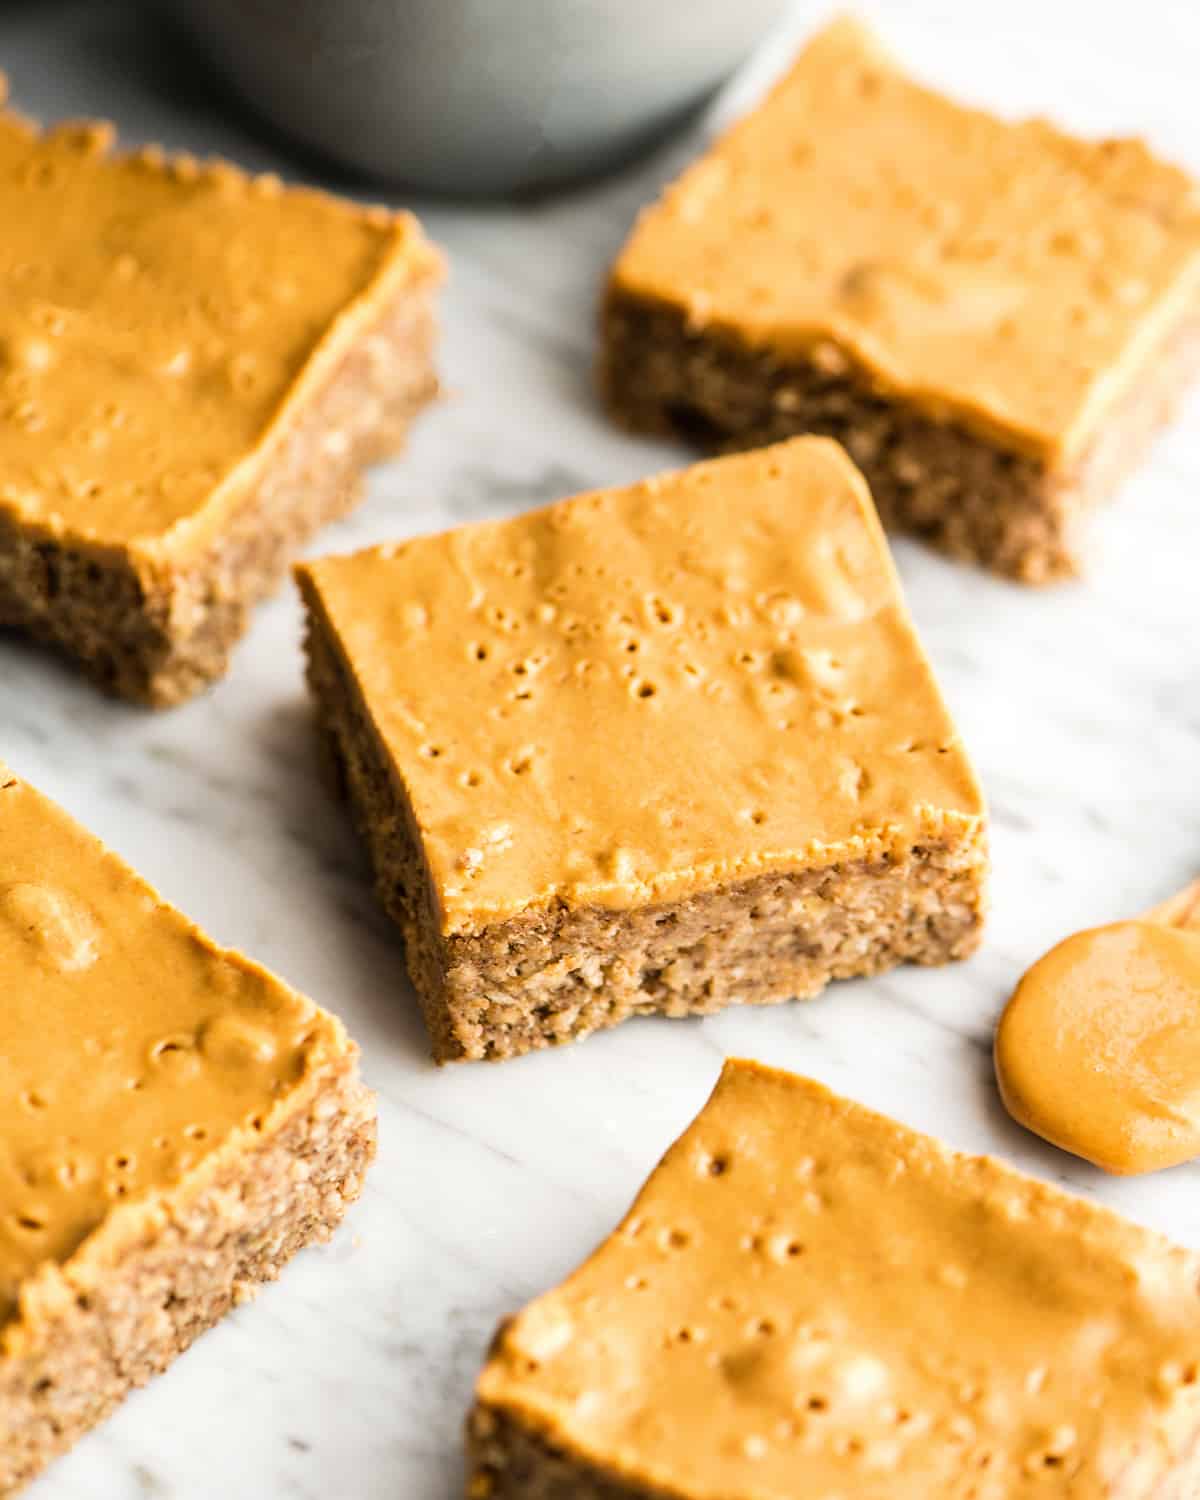
Return the breakfast bars topped with peanut butter to the oven for 10 more minutes. This step sets the peanut butter and finishes baking the bars. As you can see, the final product will have nice little sinkholes of peanut butter on top! YUM!
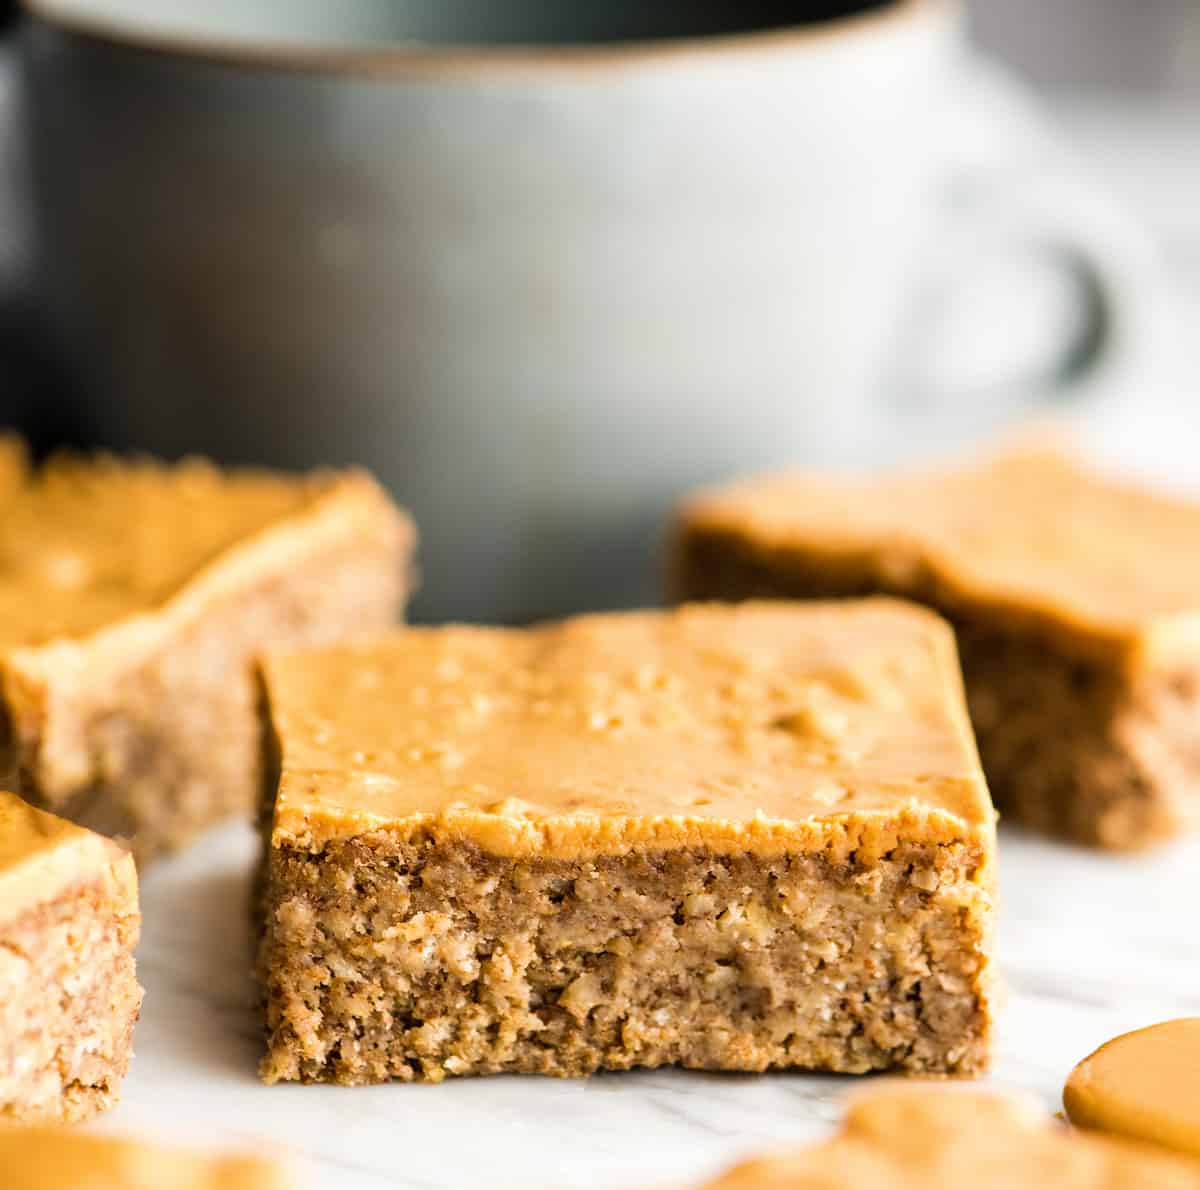
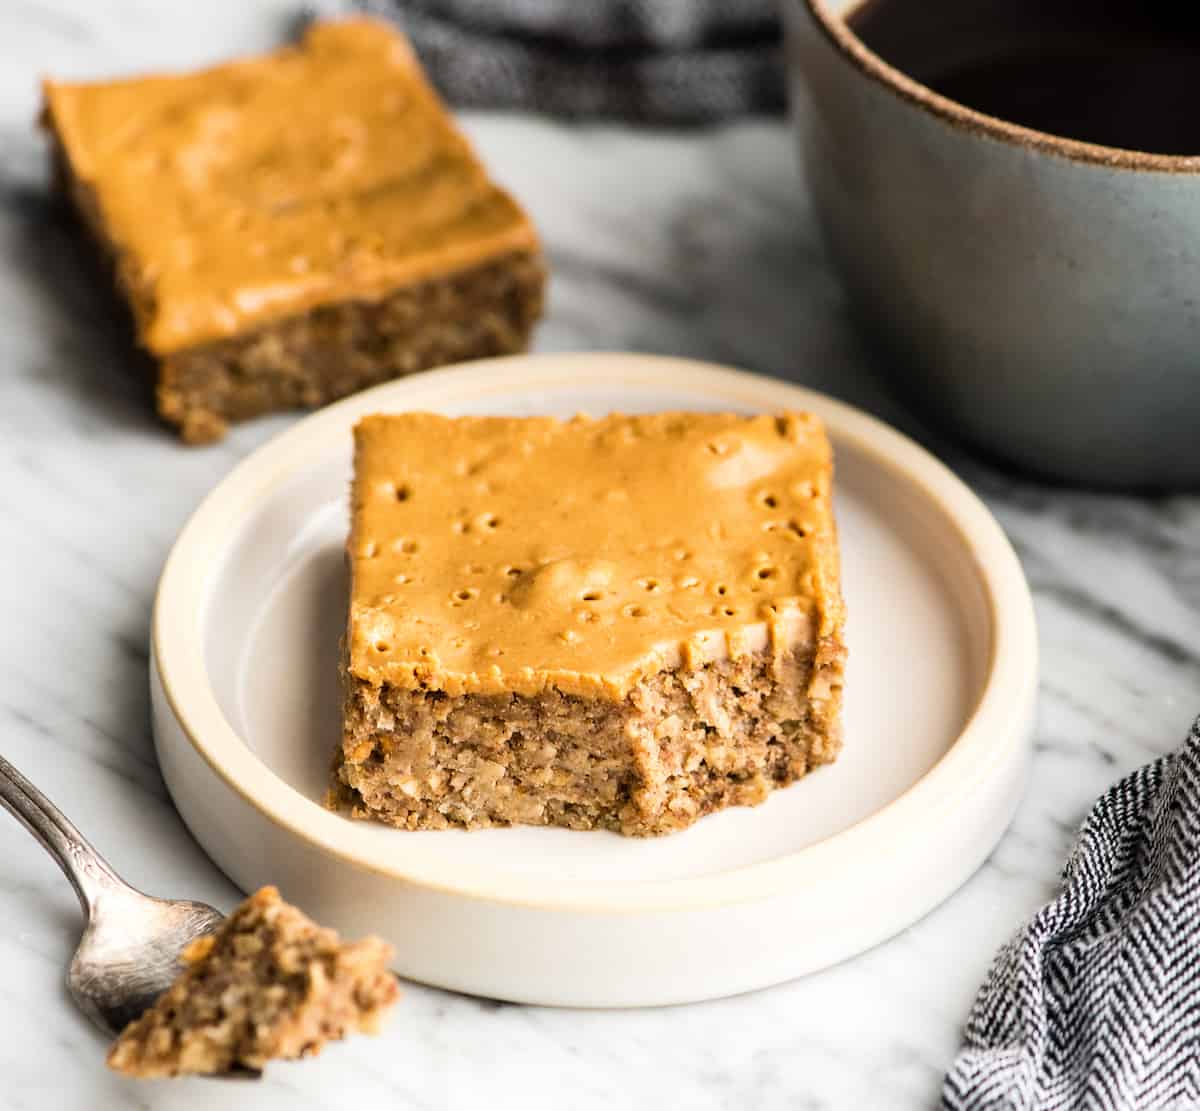
Chill Overnight
These breakfast bars are best served cold. I always make them the day before I want to eat them and let them cool in the refrigerator overnight. I have eaten them warm when I didn’t have my act together and they’re still good, but not as good if catch my drift!
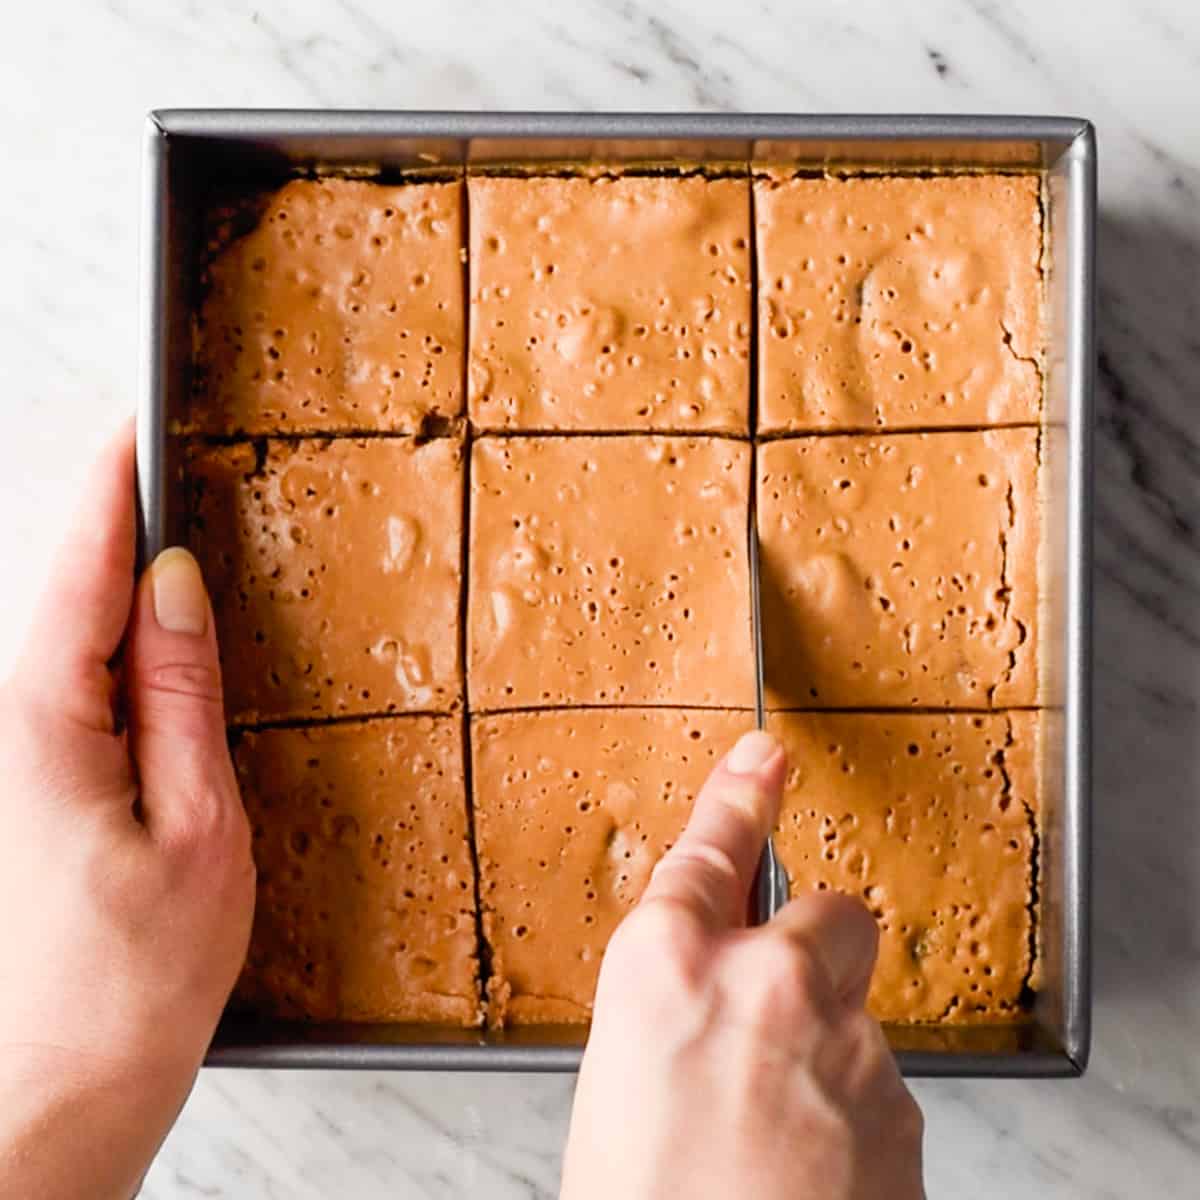
Cut & Enjoy
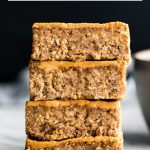
Finally, once the breakfast bars have cooled in the pan overnight, cut them into squares and enjoy! Or you can cut them and save them for later! I always cut them into 9 breakfast bars, because it’s the perfect size breakfast for me to enjoy with a green smoothie.
Store/Freeze
I make a large batch of these (sometimes a double batch) to eat all week long. Wrap them individually in plastic wrap and store them in an airtight container in the refrigerator for up to 1 week or in the freezer for up to 2 months. Thaw slowly in the refrigerator (do not microwave). If you make something from JoyFoodSunshine I would love to see your creations. Follow along with me on Instagram, Pinterest, Facebook, Twitter and Youtube. Tag me in your photos #joyfoodsunshine @joyfoodsunshine Don’t forget to rate this recipe and leave a comment below.
![]()