Posted Oct 18, 2023, Updated Sep 30, 2024
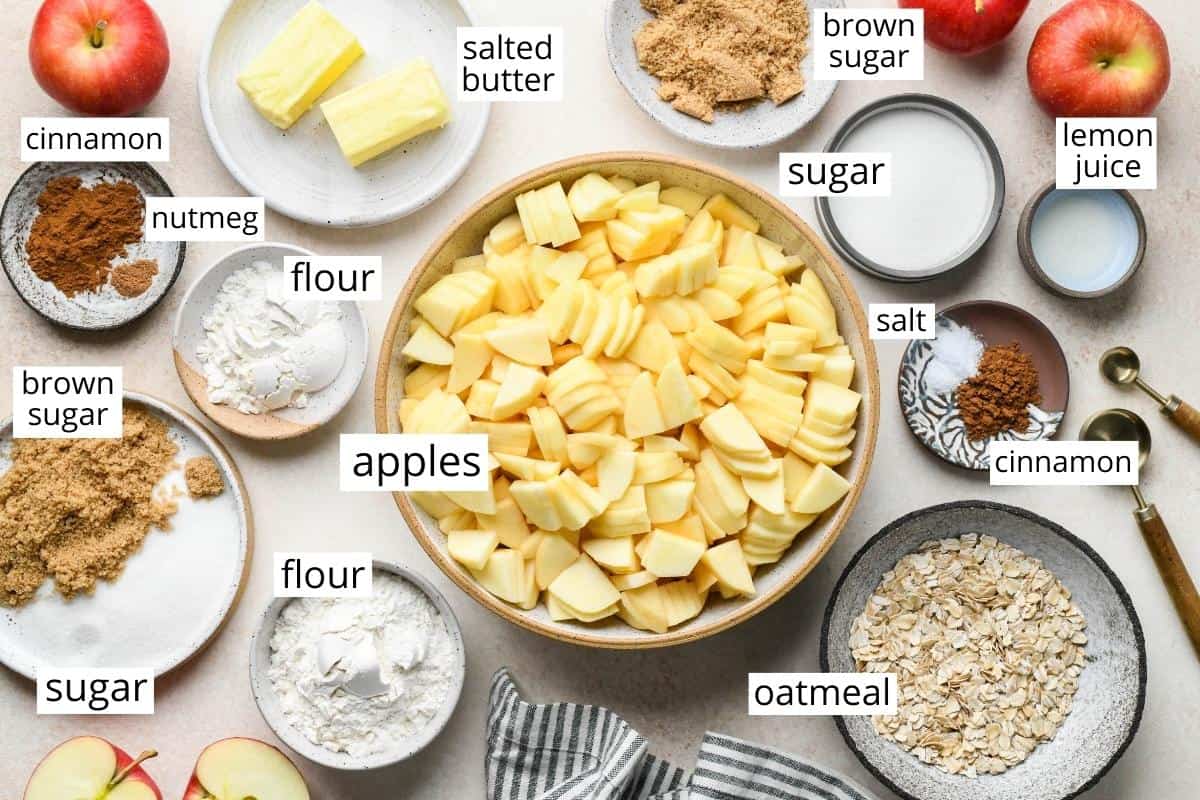
Apple Crisp Recipe: Ingredients and Substitutions
Apples. I recommend a sweet/tart apple like granny smith or pink lady, but any variety works. Light Brown sugar. use dark brown sugar for a richer molasses taste. Granulated sugar. organic cane sugar is a good substitute. All-purpose flour. a 1:1 all-purpose gluten-free baking flour works well in both the crisp topping and filling to make this recipe gluten-free. Salted Butter. unsalted butter or ghee both work well in this recipe. Old-fashioned oats. Quick-cooking oats are a good substitute.
How to make Apple Crisp
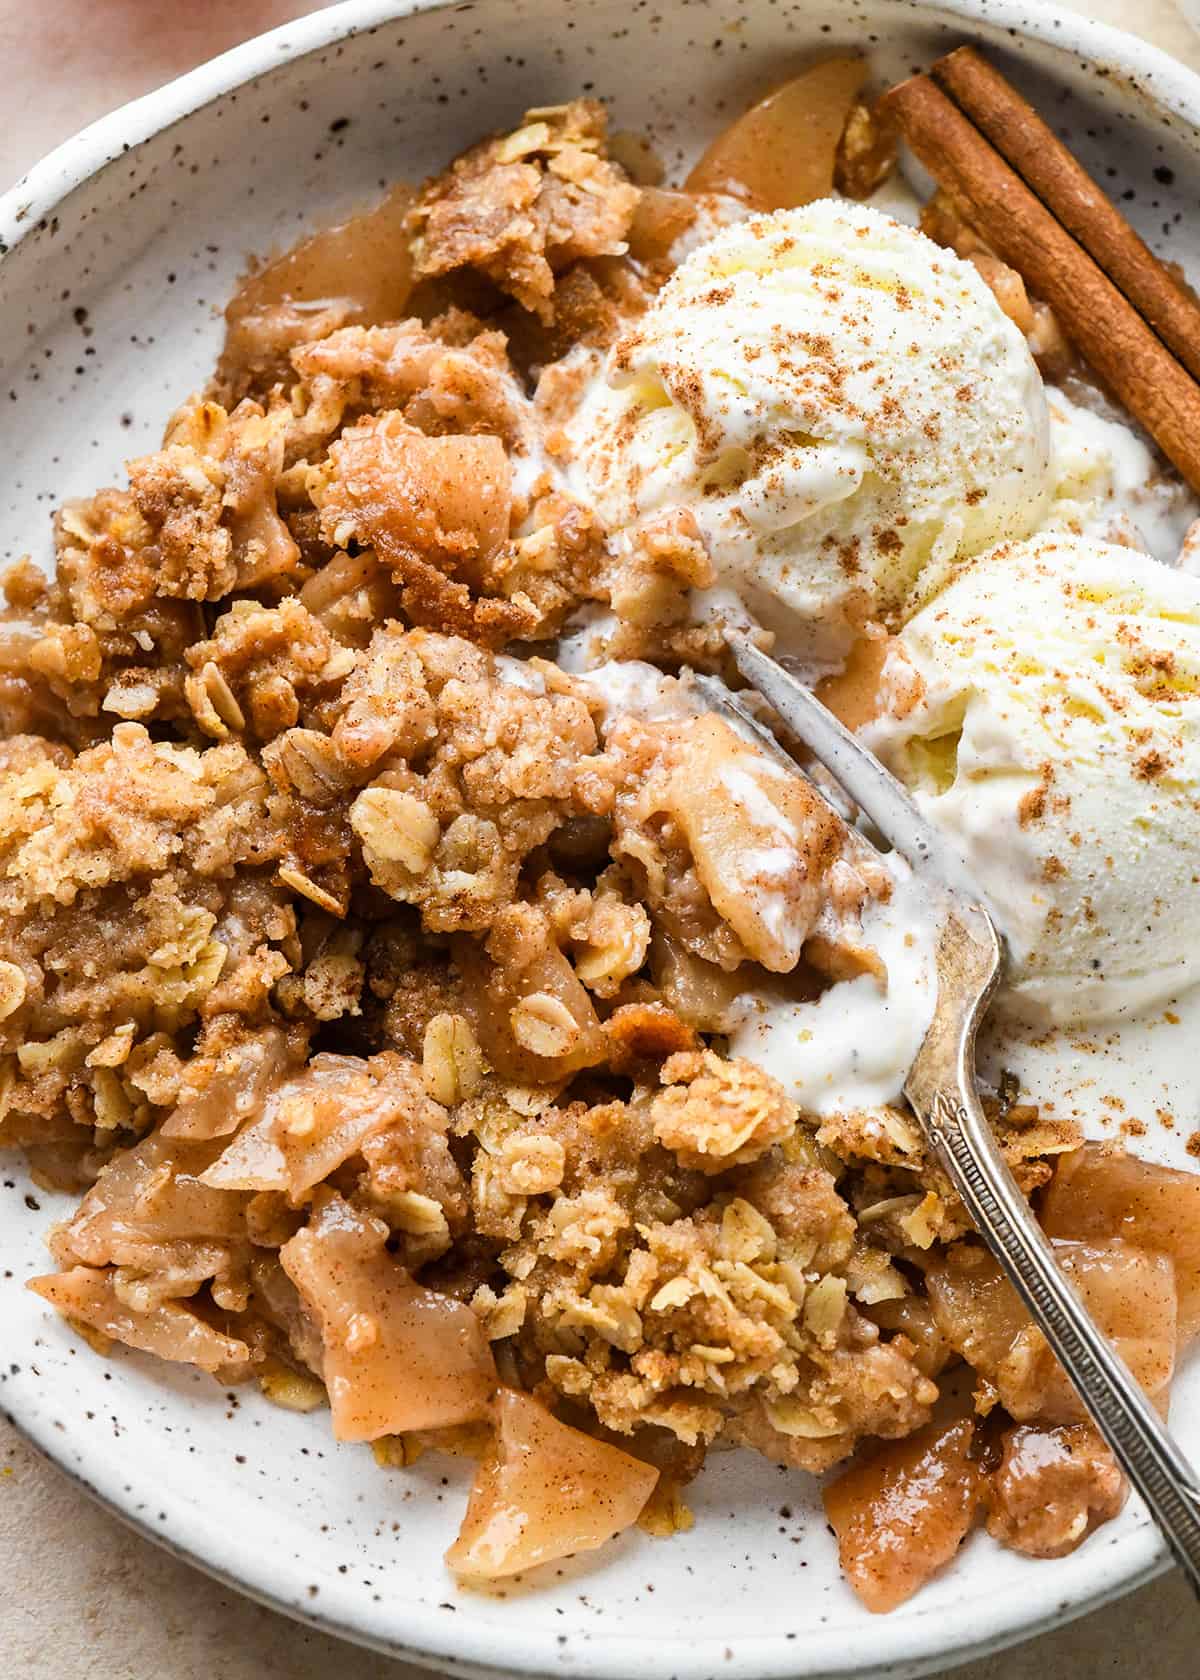
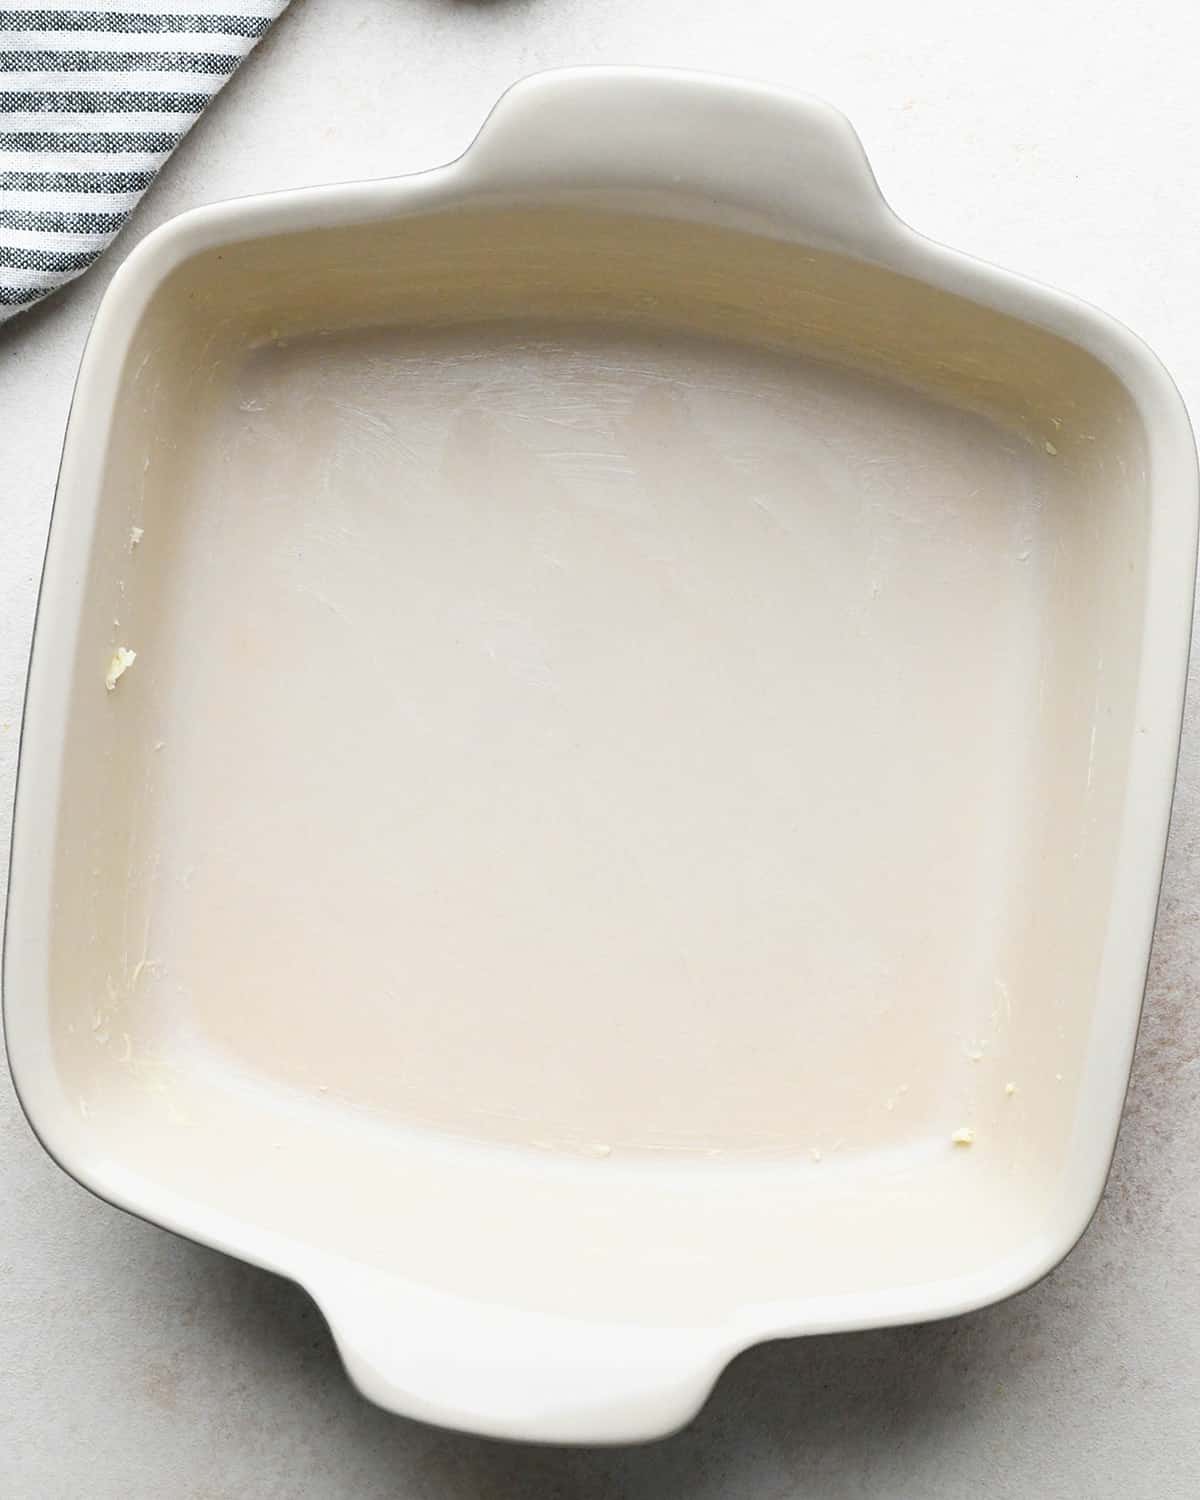
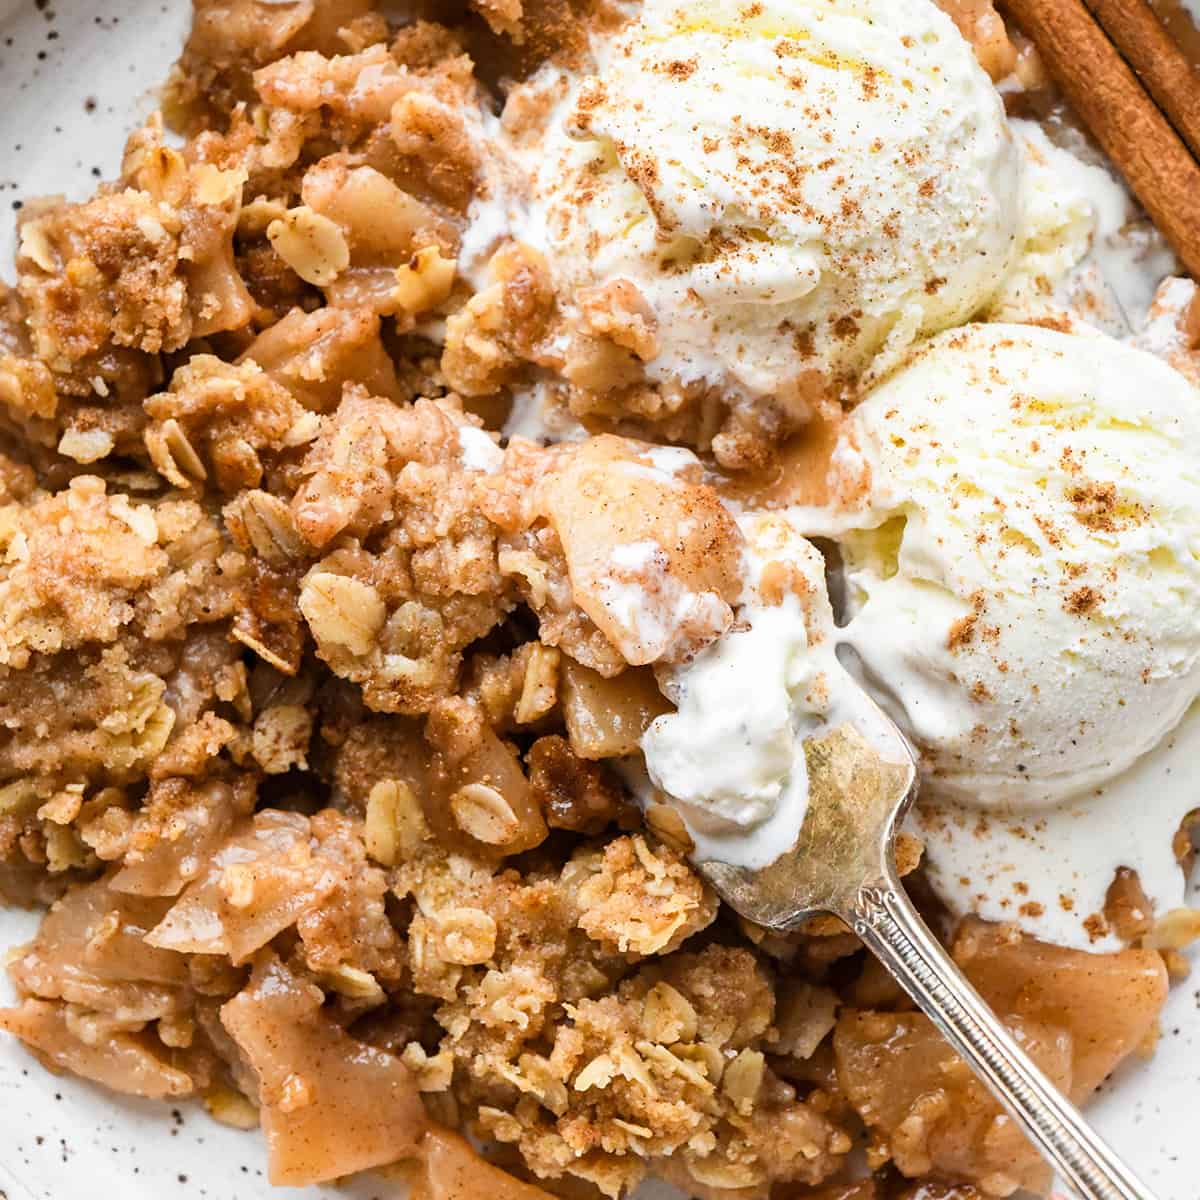
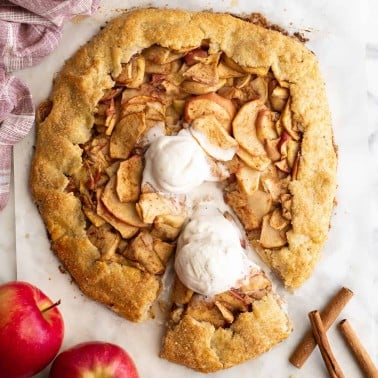
Let’s walk through how to make this easy apple crisp recipe. As always, watch the video for further guidance. The buttery crisp topping paired with the sweet and perfectly spiced apple filling is fall perfection in a baking dish! Serve it warm with a scoop (or two) of vanilla ice cream & a drizzle of caramel sauce for a crowd-pleasing dessert. If you don’t have time for chilling pie crusts, like in these apple pie or apple crumble pie recipes, then this apple crisp recipe is exactly what you need, or, these apple pie bars or apple cobbler! Even if you do have time, I would venture to say that I prefer apple crisp over pie (gasp), because it’s just that delicious. Begin by preparing the baking dish and preheating the oven.
Make the Apple Crisp Topping
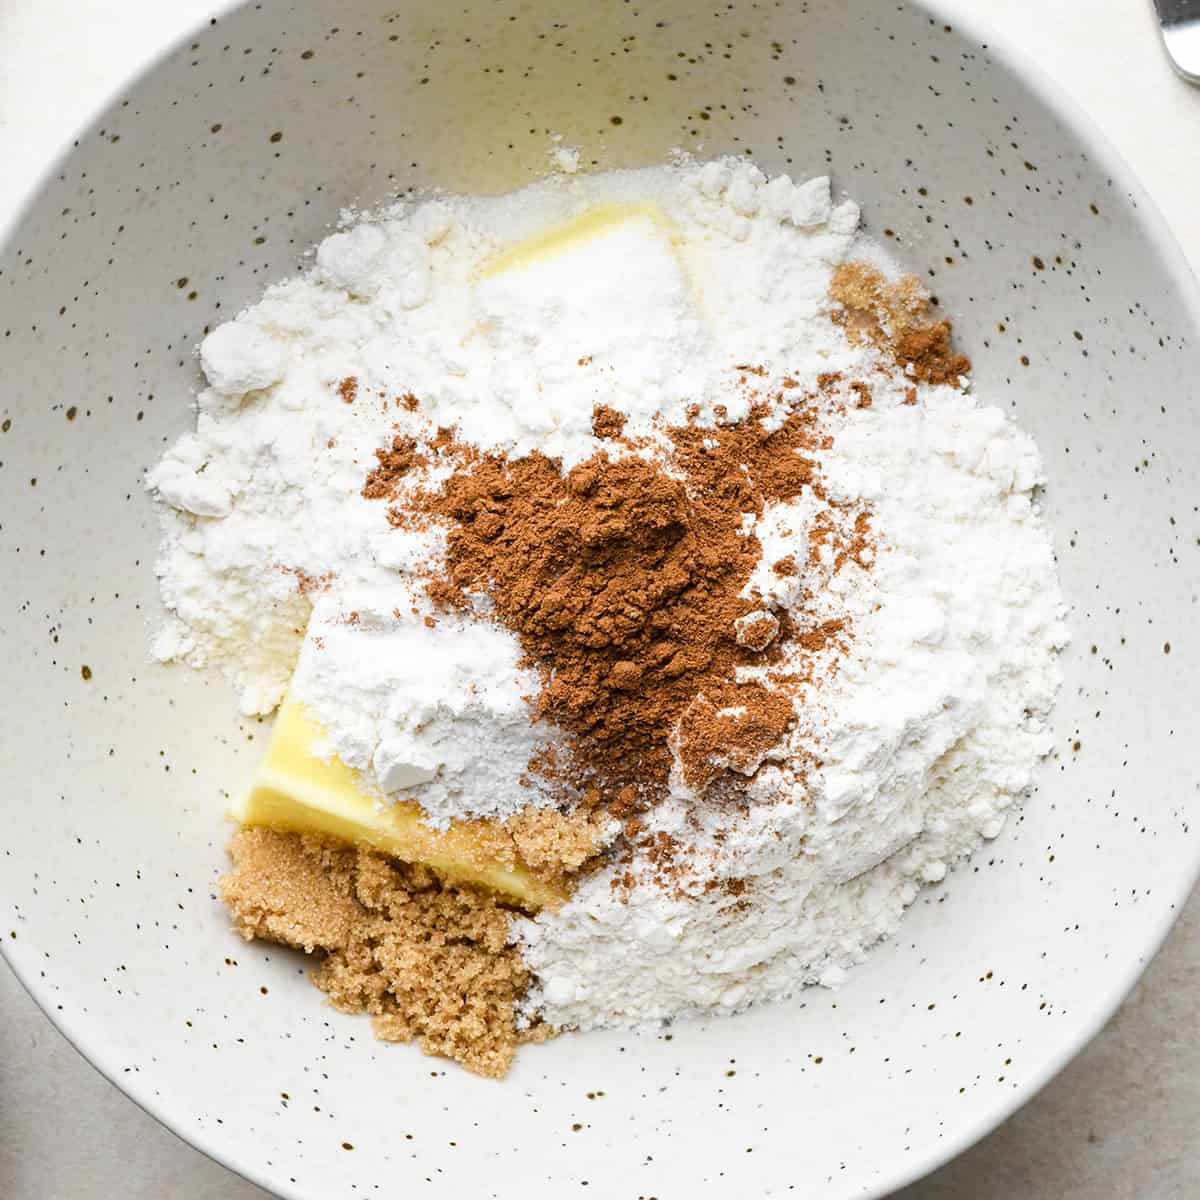
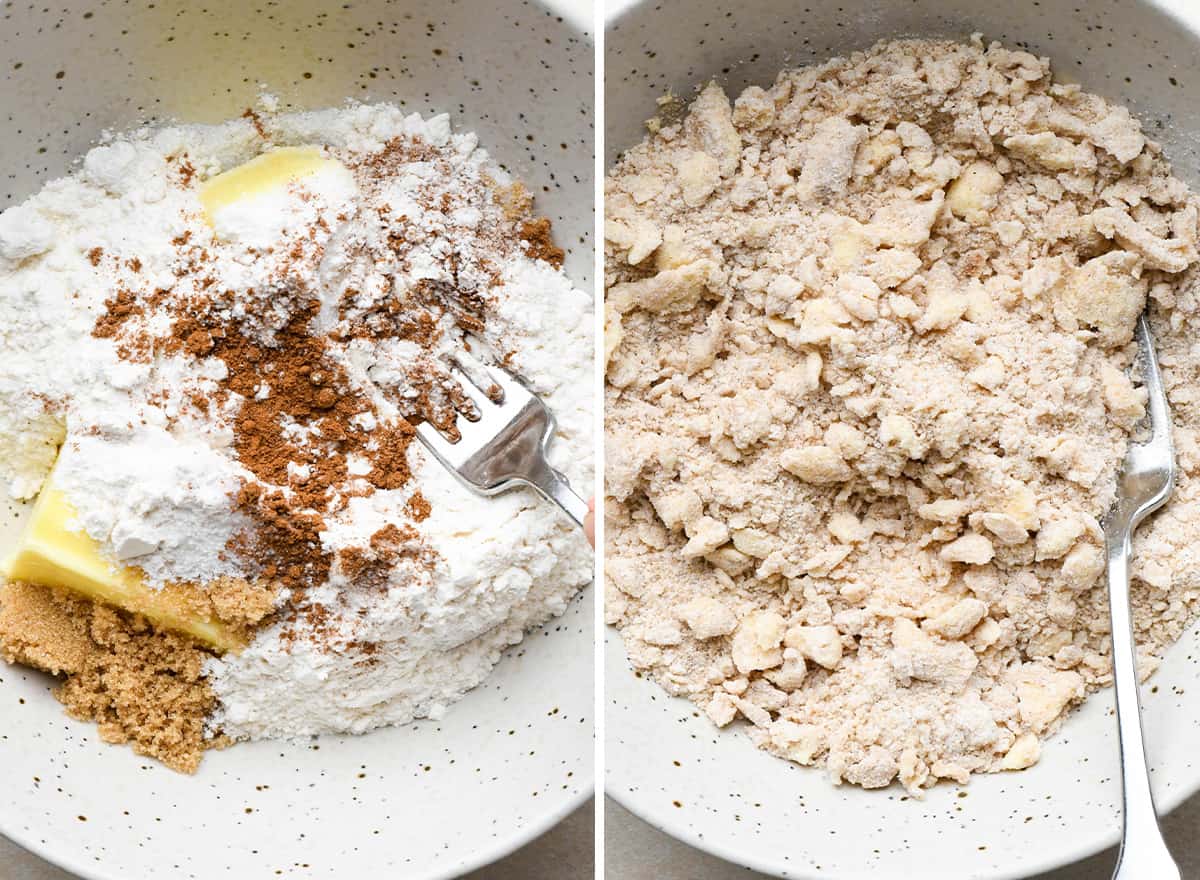
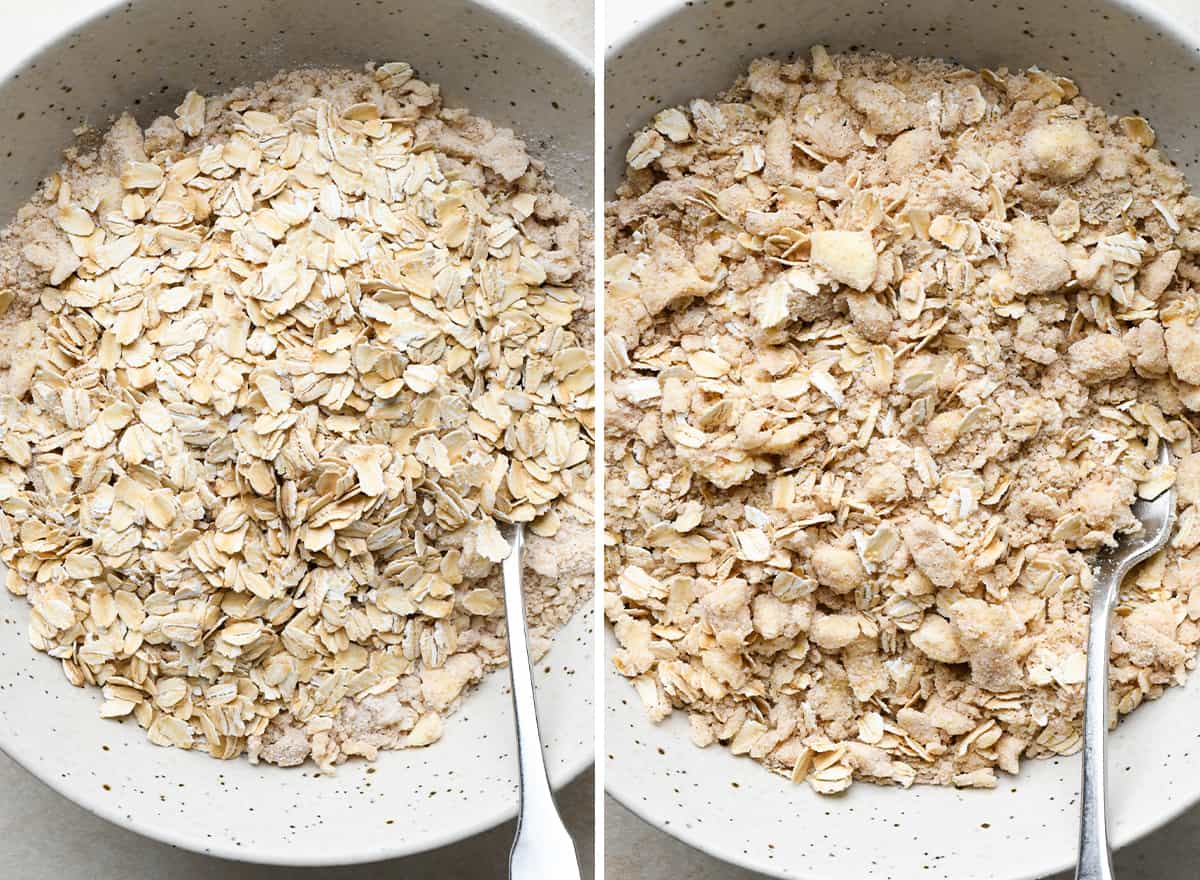
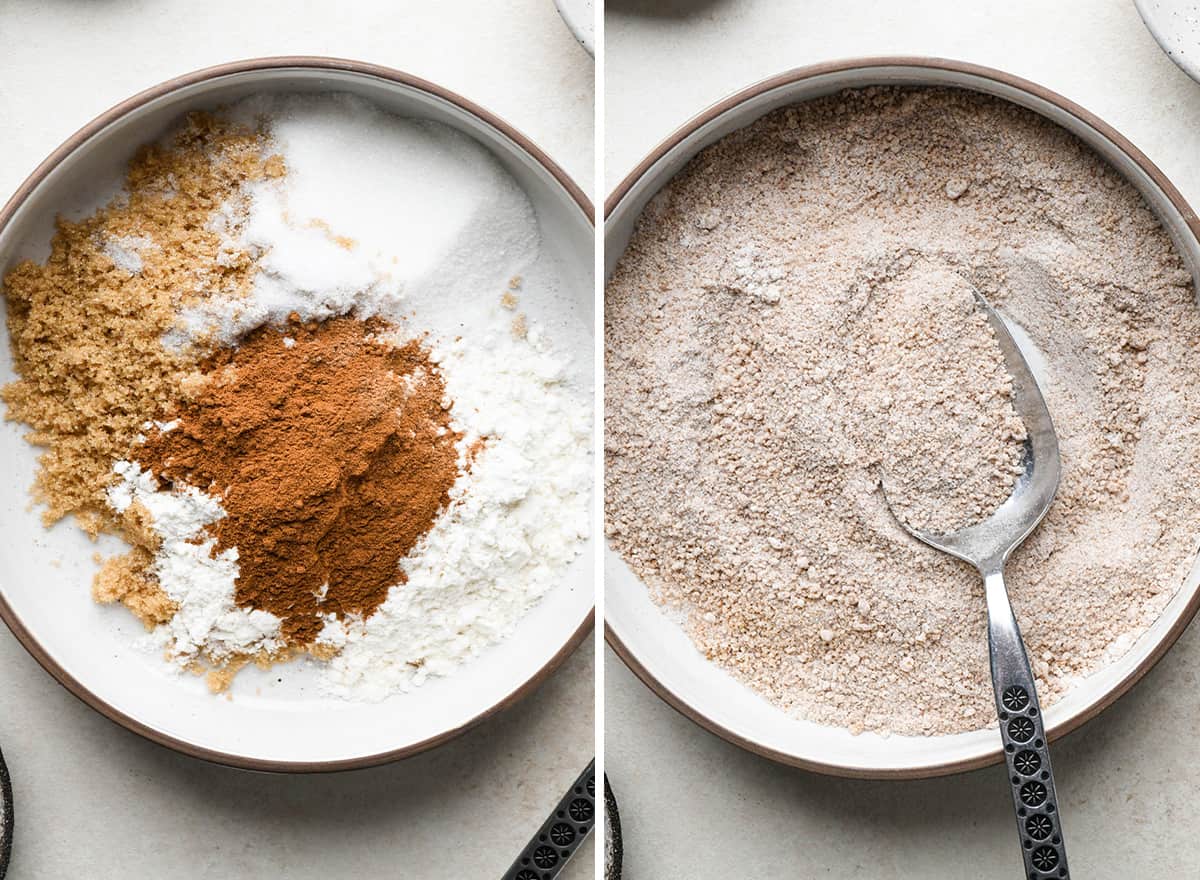
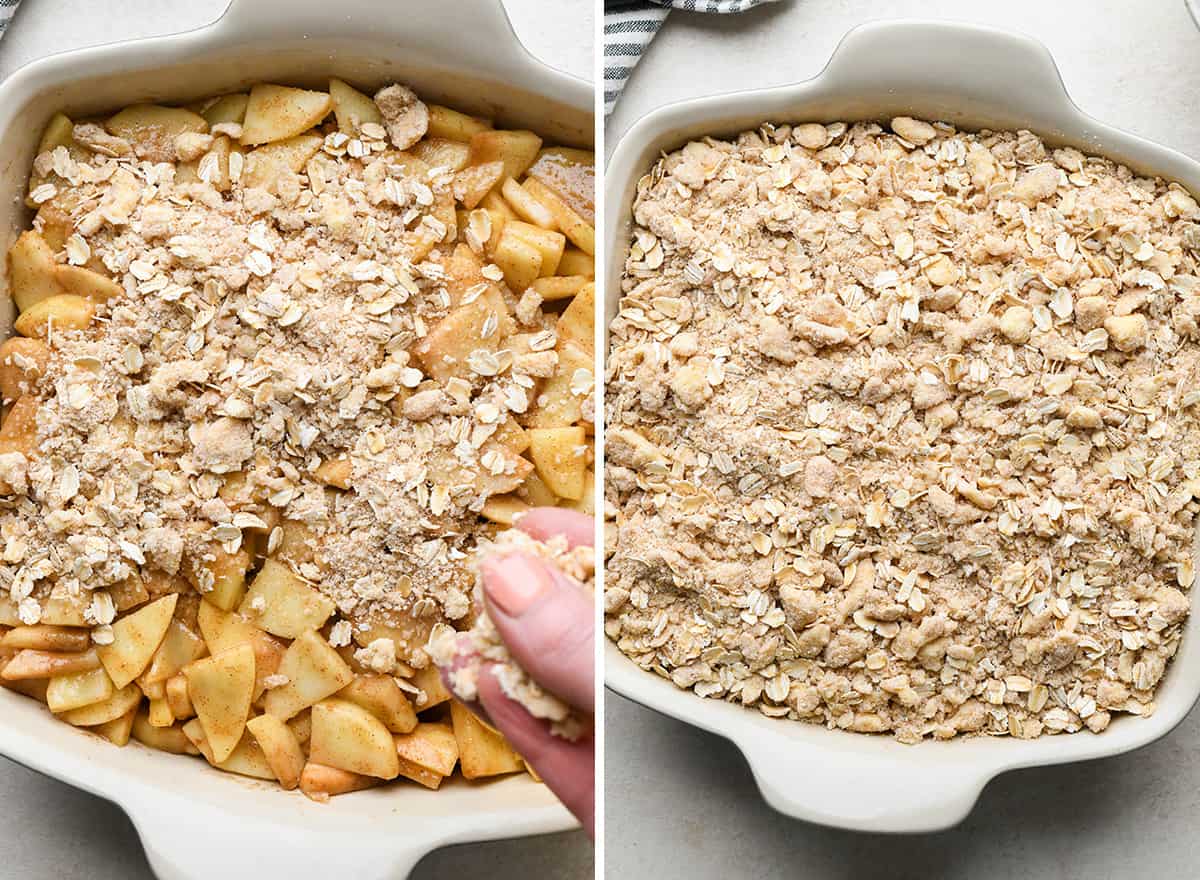
Then, make the crisp topping. Combine the ingredients for the topping (except oats) in a large bowl. Next, use a fork, pastry cutter or your hands to cut the slightly-softened butter into the dry ingredients. Add the oatmeal to the butter/dry ingredient mixture and stir until it’s evenly distributed. Then set the crisp topping aside while you make the filling!
Make the Apple Crisp Filling
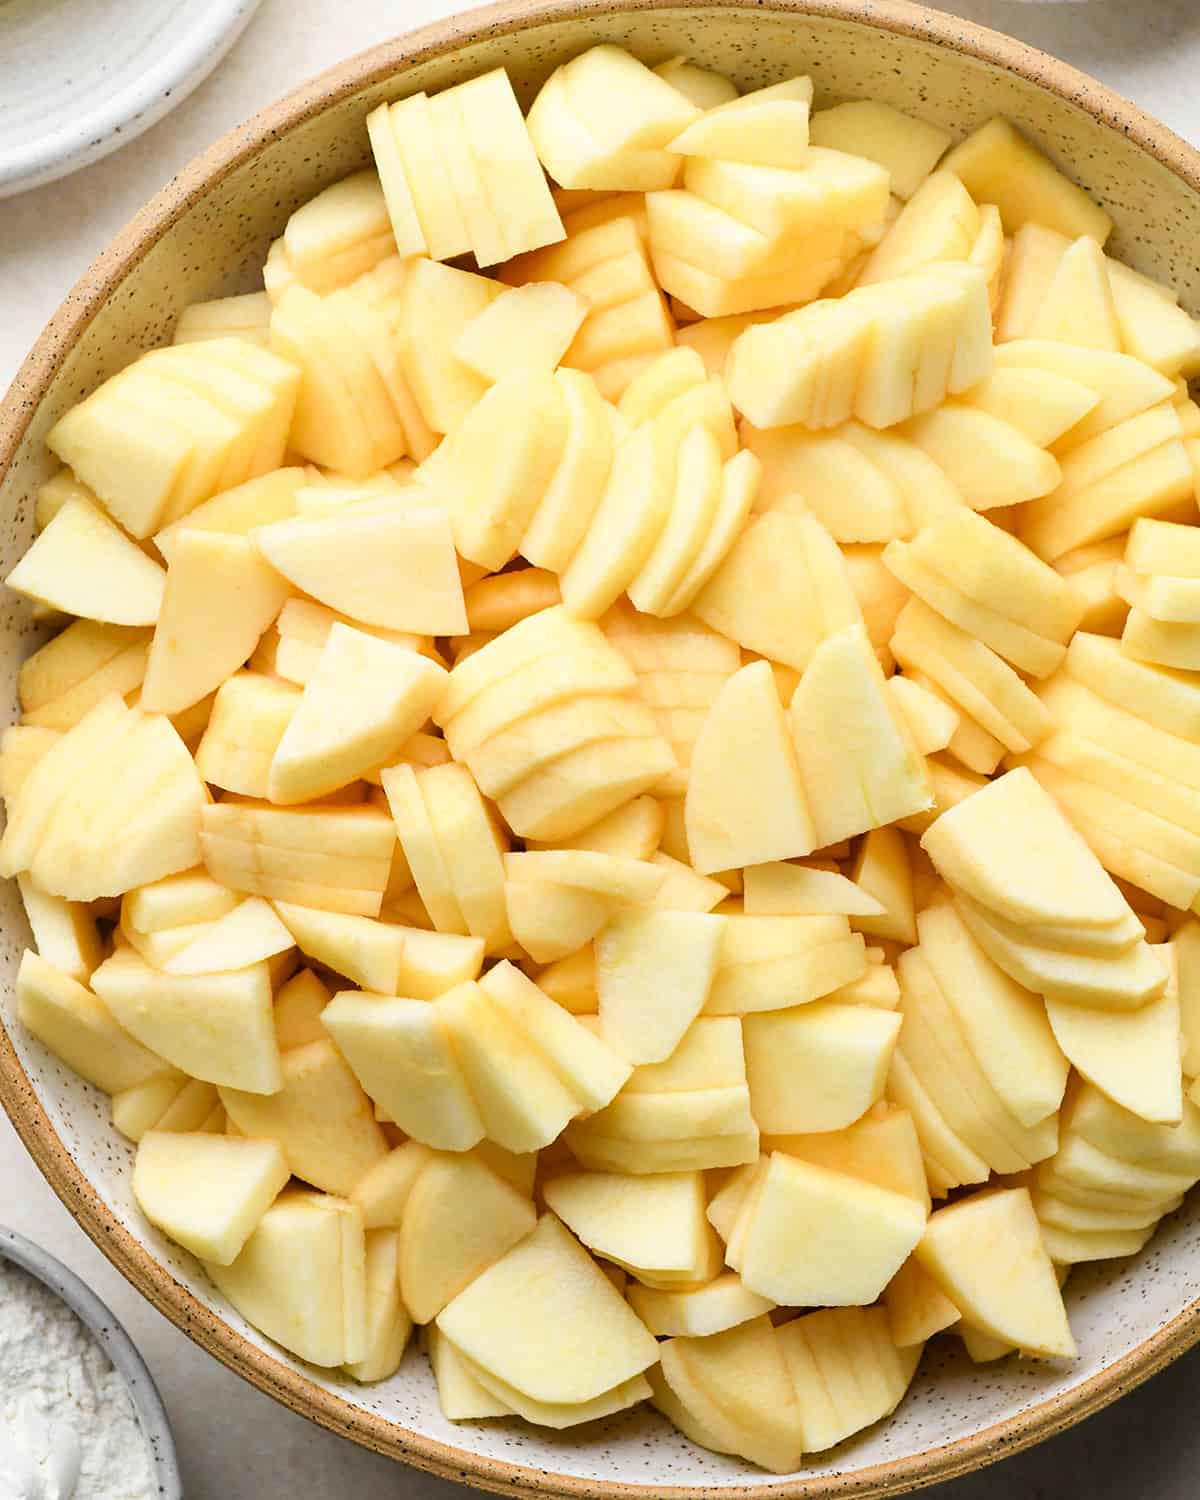
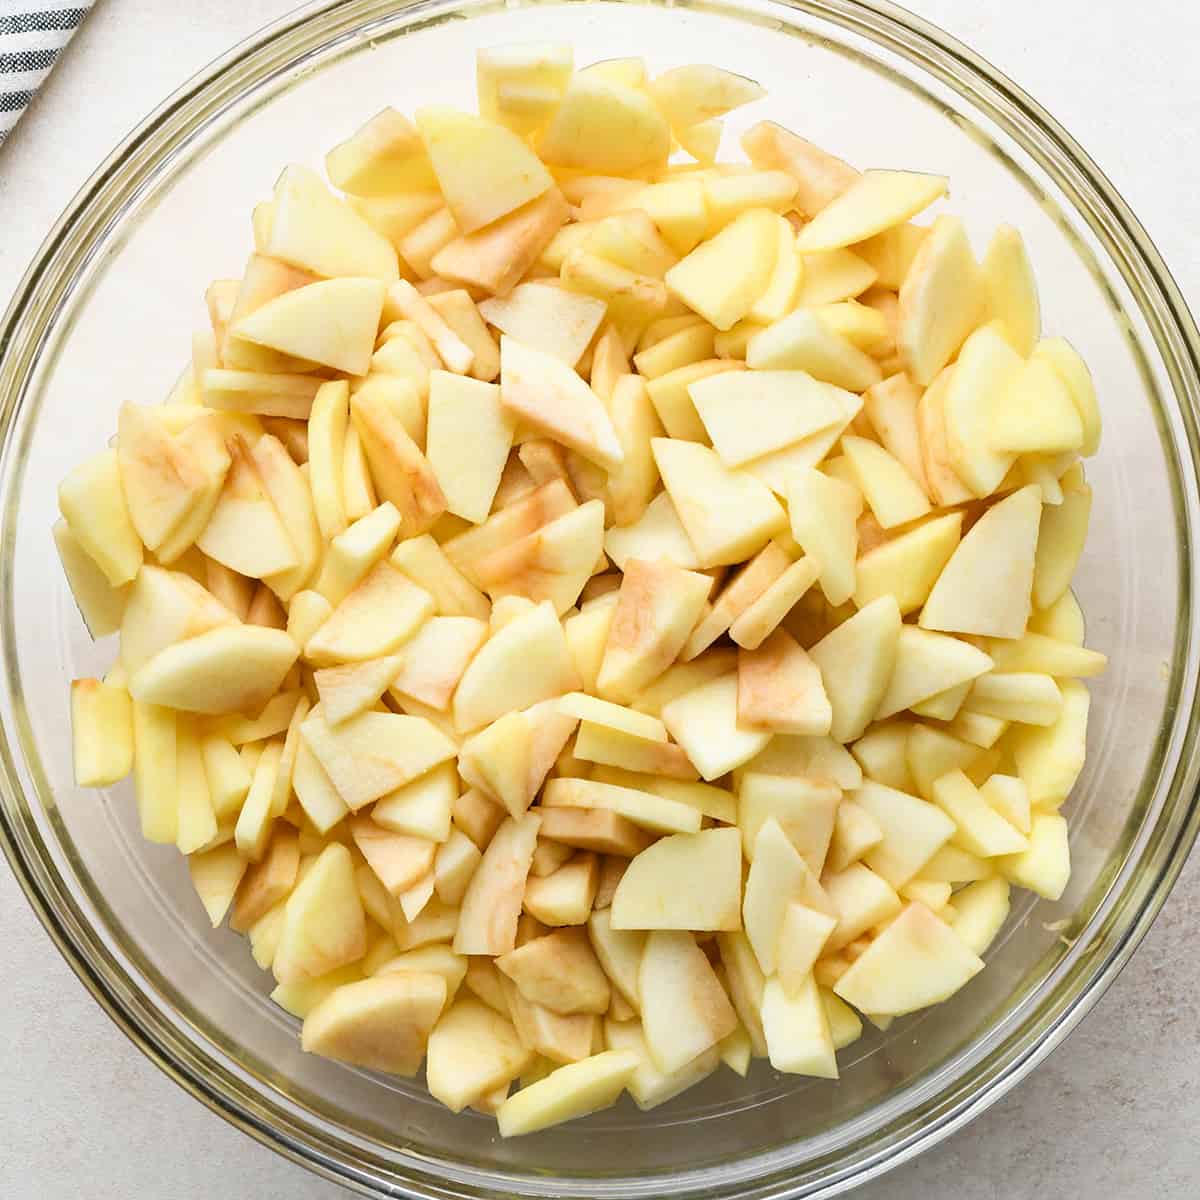
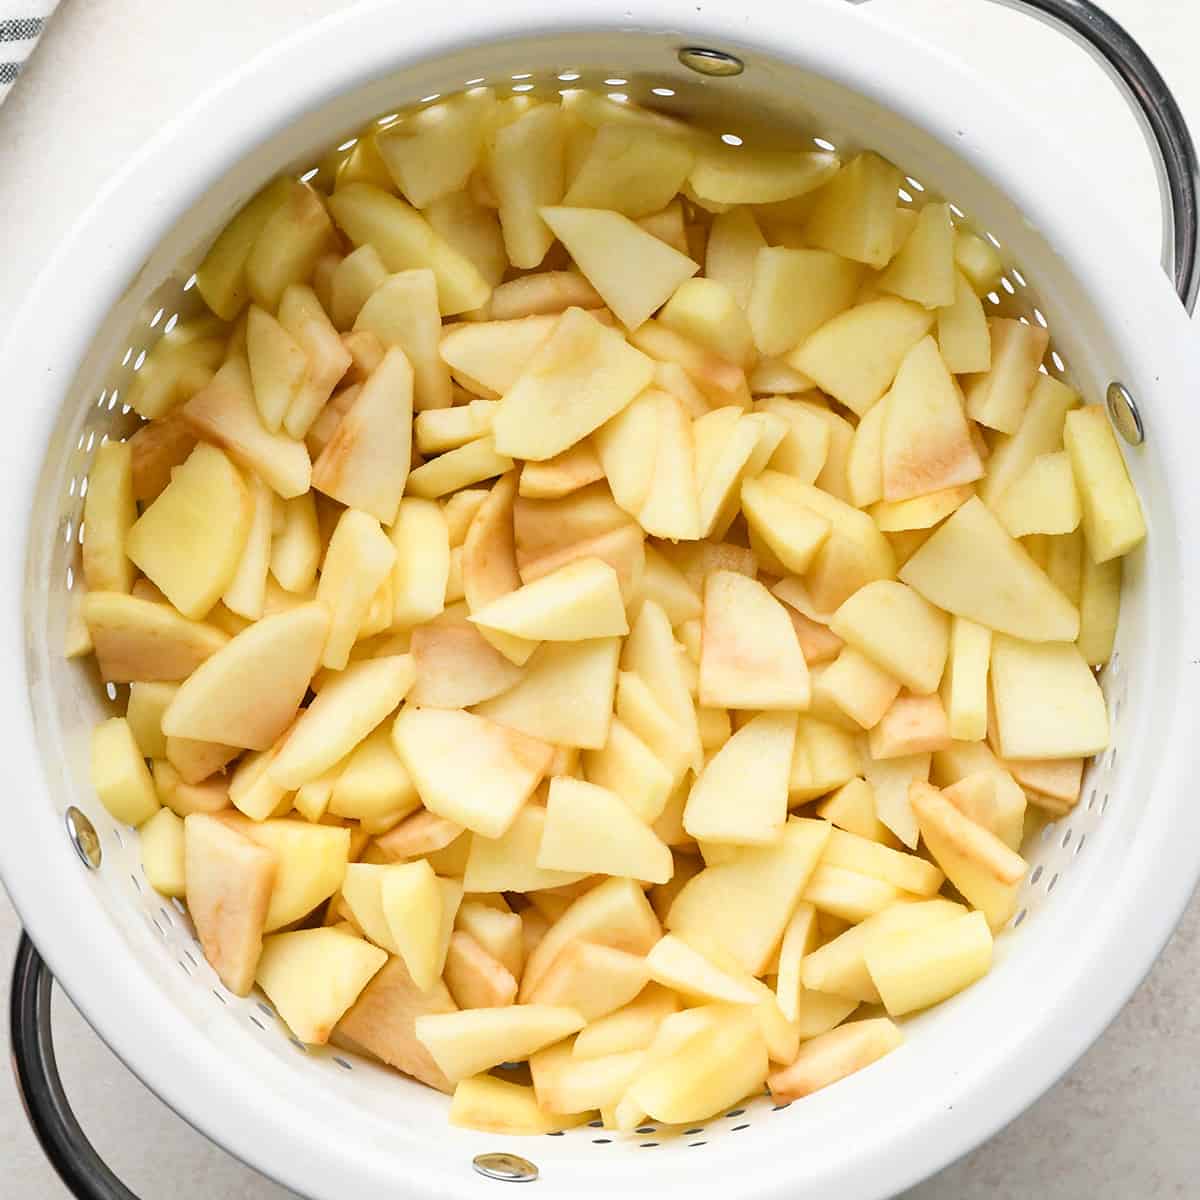
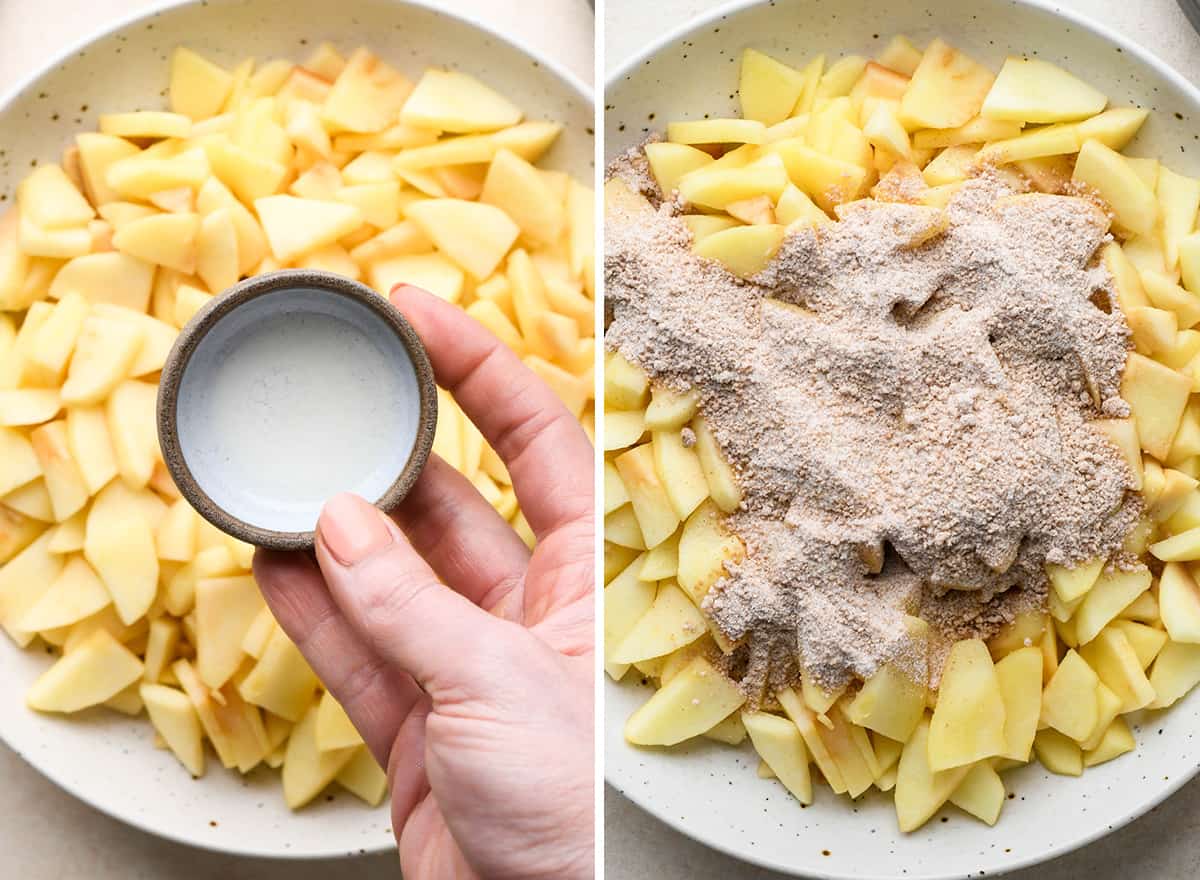
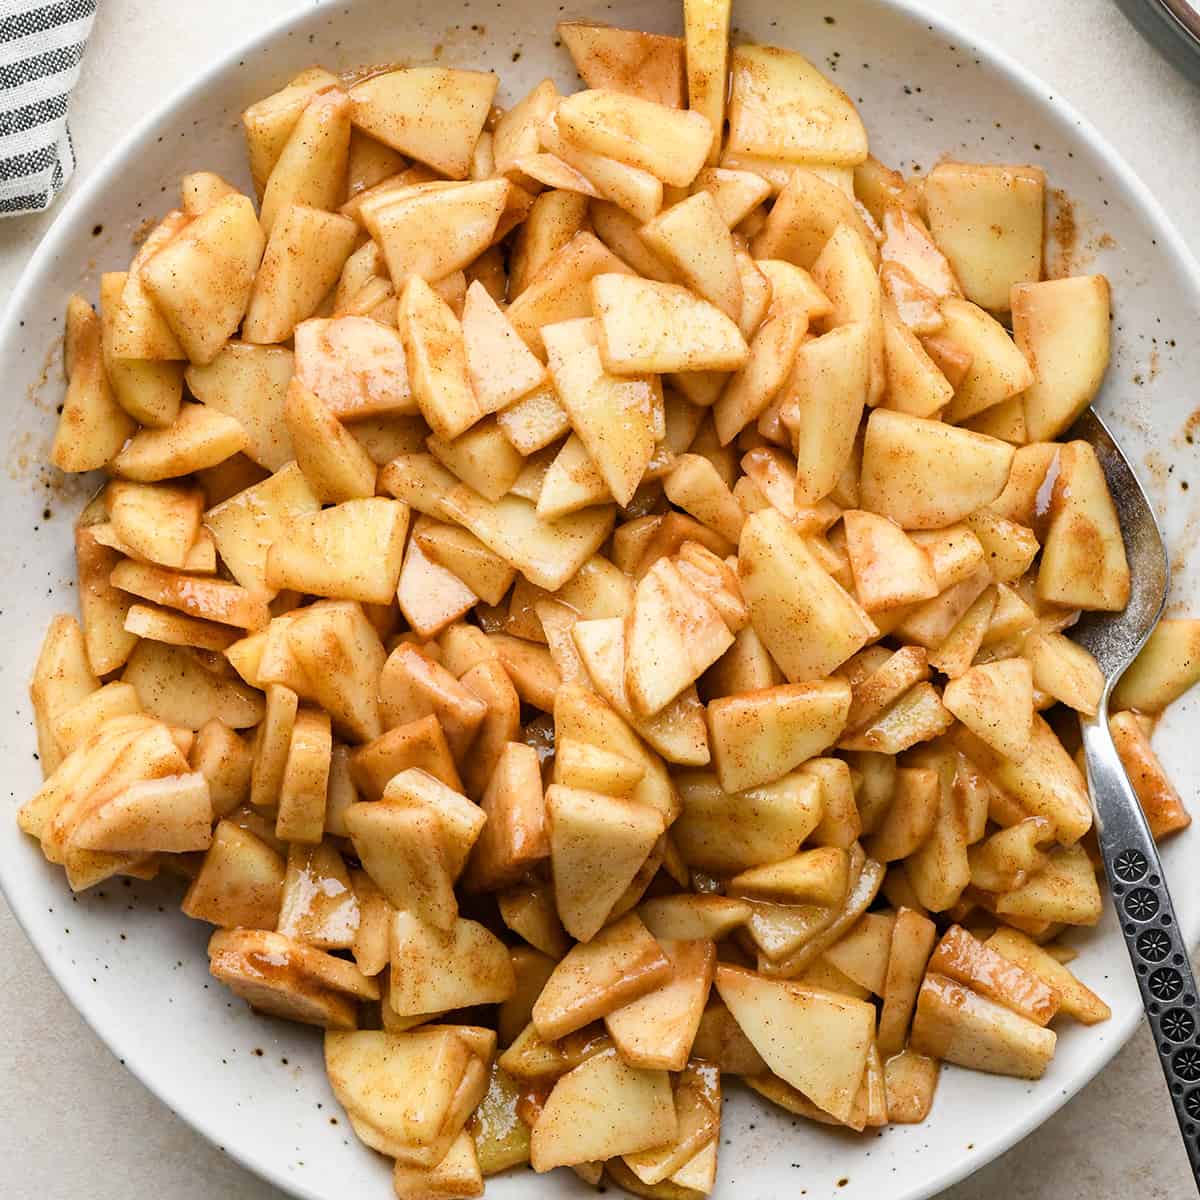
Begin by peeling, coring and finely slicing the apples into piece as shown in the photo below. Once the apples are peeled, cored and sliced, cook them in a microwave-safe dish for 6 minutes. Then transfer the cooked apples in a colander to cool and drain for at least 10 minutes. Make sure you leave space at the bottom of the colander for the water to drain. Next, in a small bowl, combine the dry filling ingredients. Then, transfer the apples from the colander to a large bowl and add the lemon juice and dry ingredients. Stir until combined.
Assemble the Apple Crisp
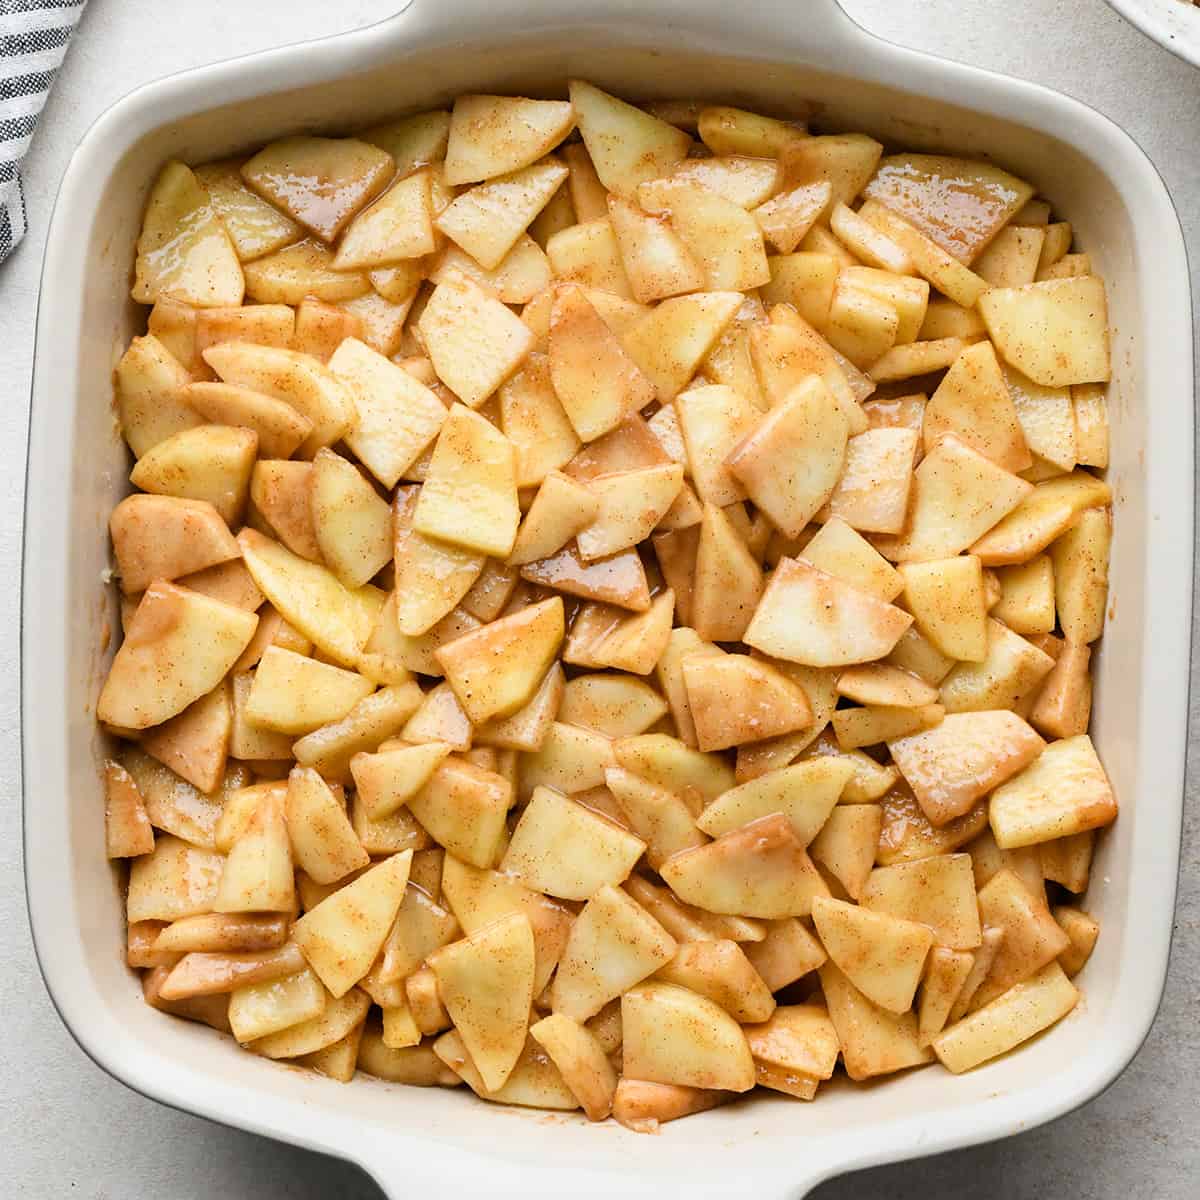
Choose a baking dish: Add the apple filling to a prepared baking dish. I suggest a 9×9″ baking dish. You can also use a round casserole dish. The important thing is that whatever dish you choose has a capacity of at least 2 to 2.5 quarts. Next, evenly sprinkle the crisp topping over the filling.
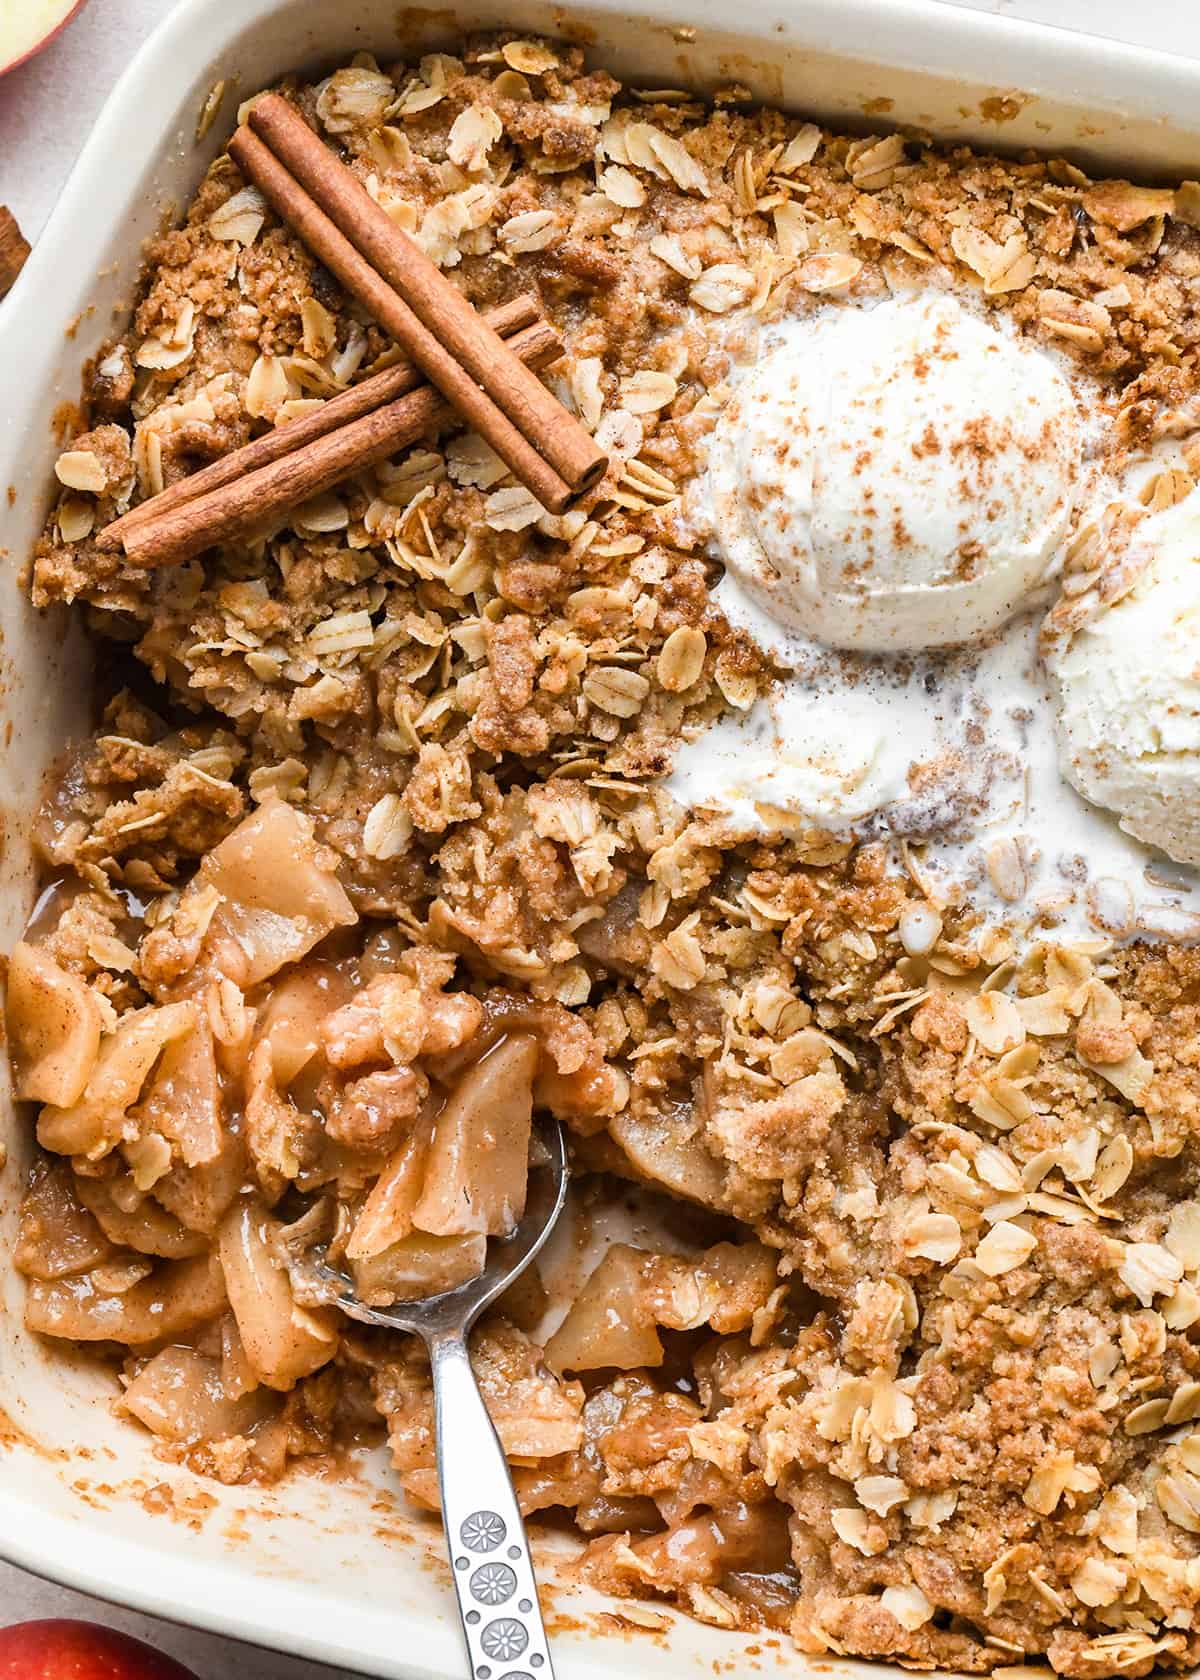
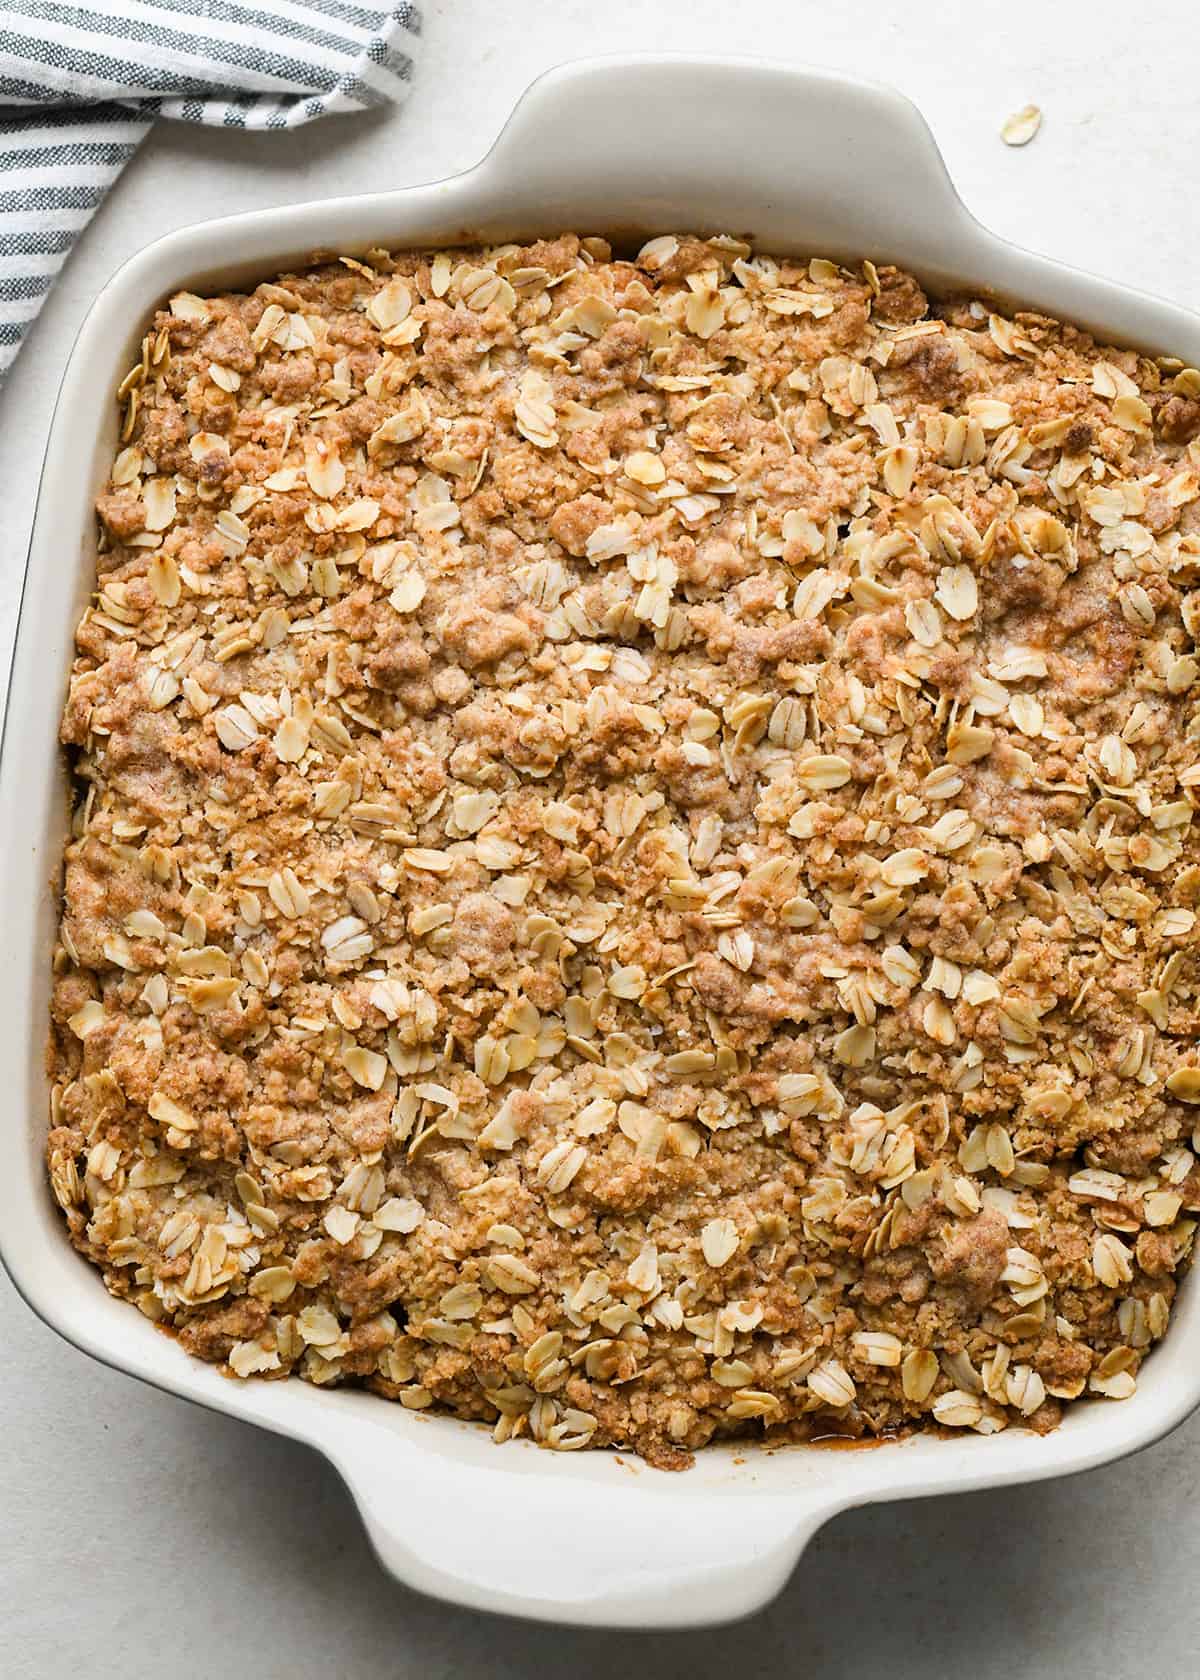
Bake & Cool
Once the apple crisp is assembled, bake it in the preheated oven until the filling is bubbly and the top is lightly browned. If you notice the top browning before the filling bubbles, simply tent the pan with aluminum foil and continue baking. Set the apple crisp on a wire rack to cool for at least 30 minutes. This cooling time allows the filling to gel and everything to firm up a bit before serving.
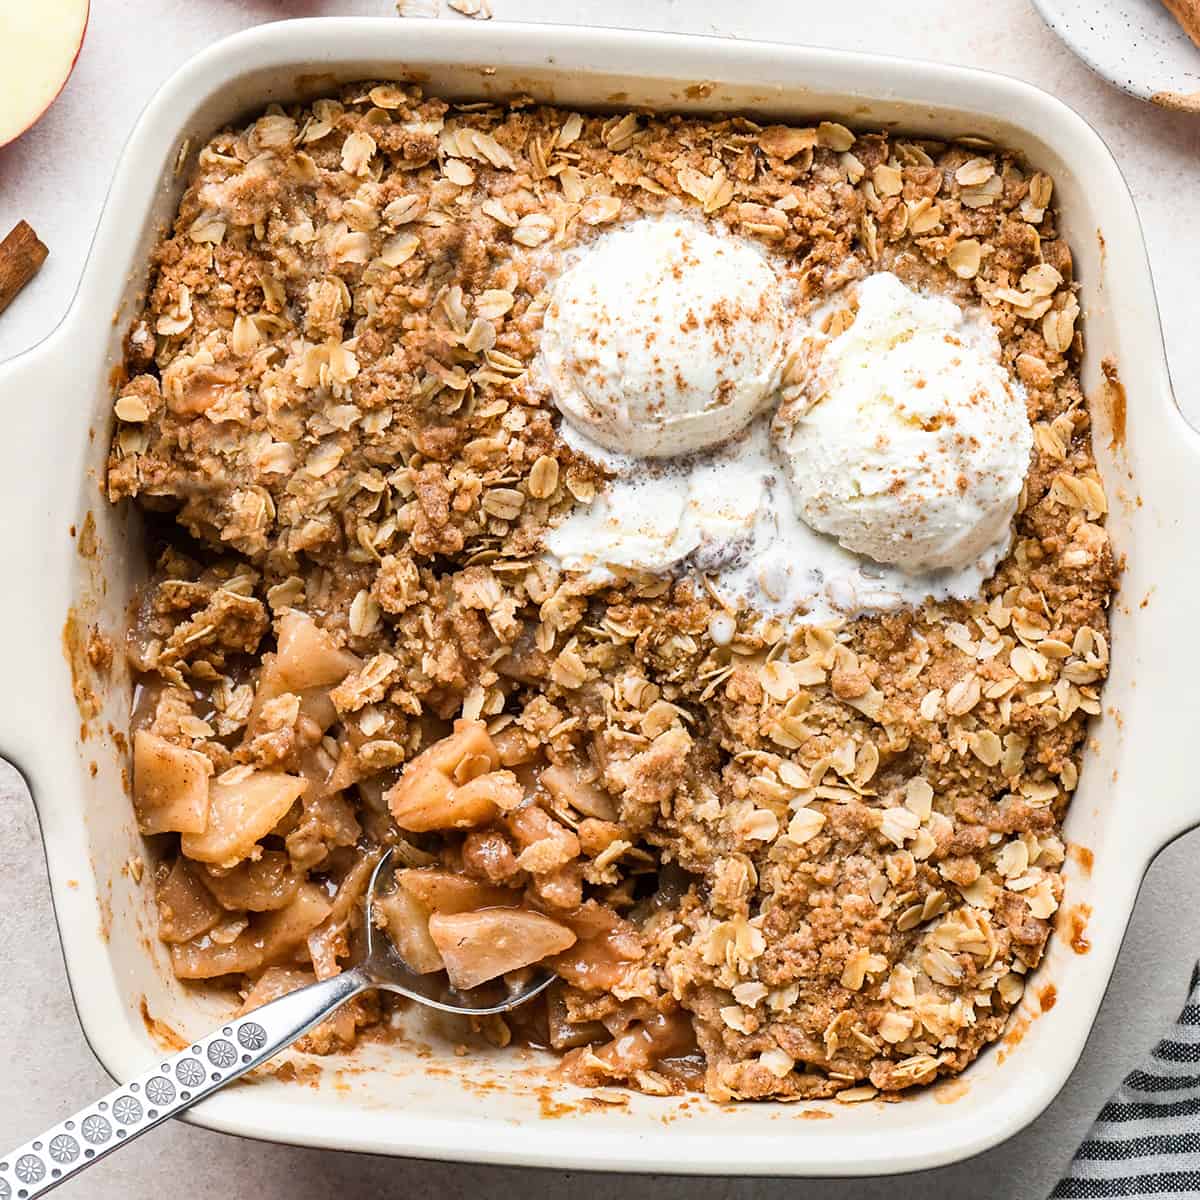
Serve
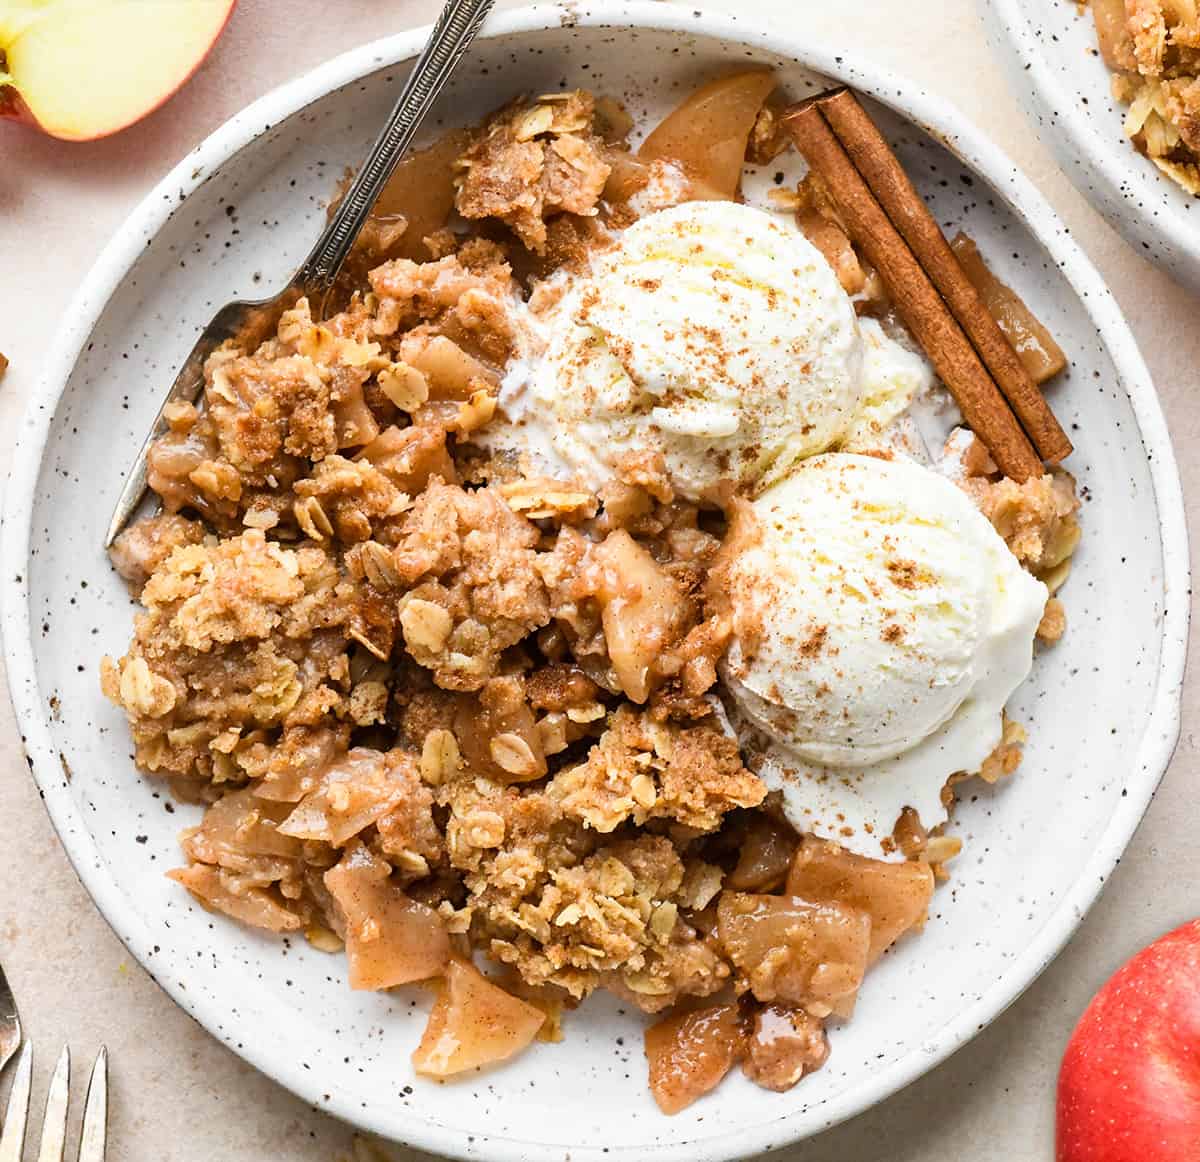
This apple crisp recipe is best served slightly warm. If you make it in advance, you can cover it with foil and put it in the oven set to “warm” to reheat before serving. Here are some serving suggestions:
With a scoop of vanilla ice cream on top. Top with a dollop of the best homemade whipped cream! Add a drizzle of caramel sauce. Add a sprinkle of nuts (like these cinnamon sugar pecans or candied almonds) for some crunch.
How to Store Apple Crisp
Store any leftovers in an airtight container in the refrigerator for up to 5 days. Reheat in the microwave or in the oven set to warm.
Freeze
Freeze the unbaked crisp: assemble the apple crisp, wrap it tightly in plastic wrap and cover with foil and freeze on a flat surface for up to 2 months. Thaw overnight and then bake according to recipe instructions. Freeze baked crisp. Bake the apple crisp, let it cool completely, wrap it in plastic wrap/foil and freeze for up to 2 months. Warm covered with foil in the oven until heated all the way through. Freeze individual portions in an airtight container for up to 2 months. Reheat on warm in the oven or microwave.
If you make and love our recipes, it would mean so much to me if you would leave a comment and rating! And don’t forget to follow along with us on Instagram, Pinterest, Facebook, and Youtube – be sure to tag @joyfoodsunshine and use the hashtag #joyfoodsunshine so we can see your creations!
![]()