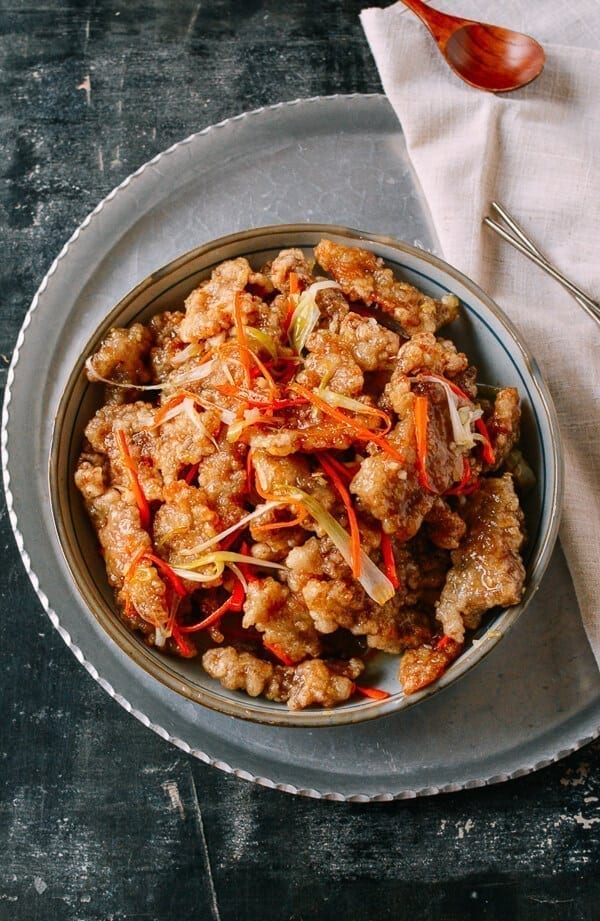
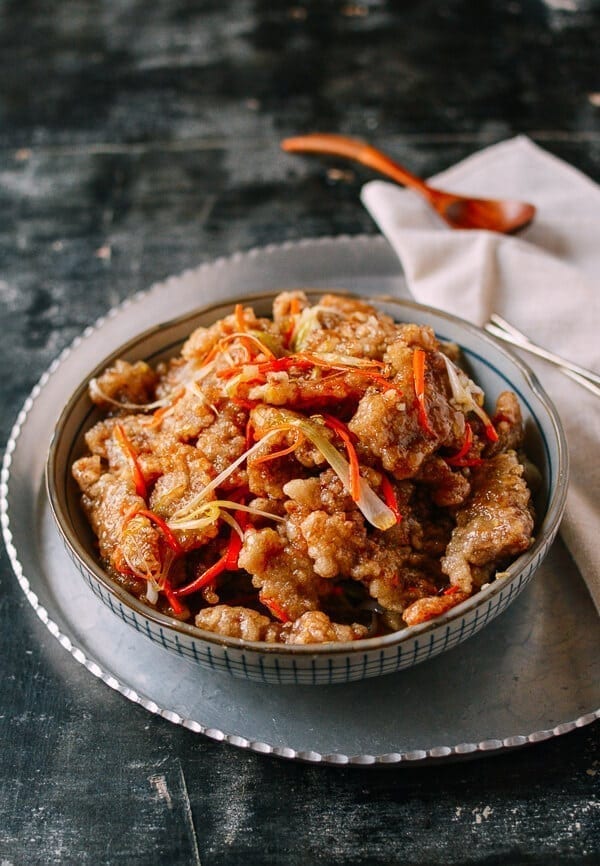
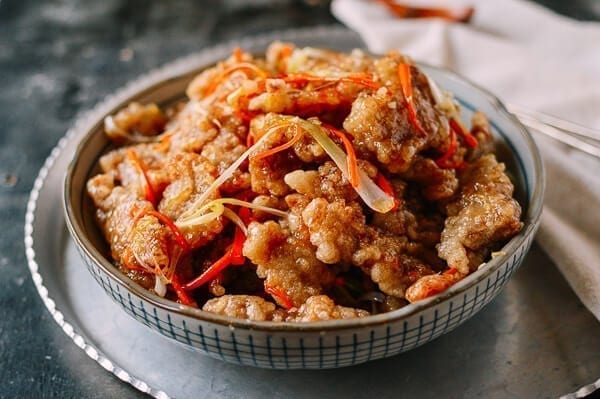
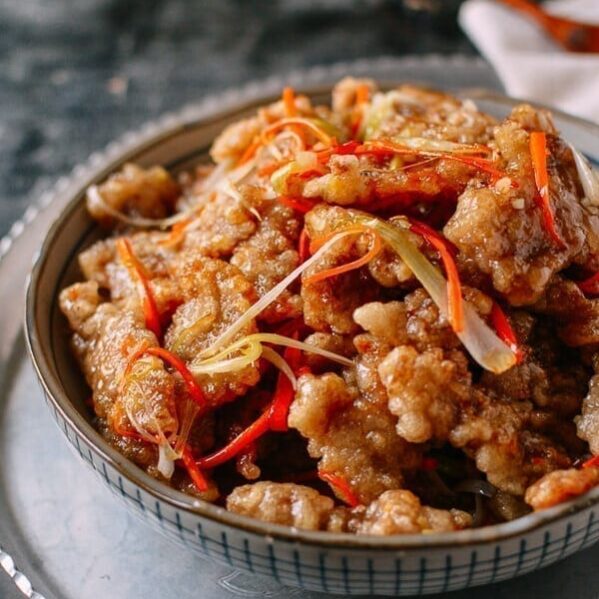
What is Guo Bao Rou?
This Dongbei Guo Bao Rou isn’t a renowned dish. It has humble origins in Harbin during the Qing Dynasty, when it was apparently originally created for foreigners living there during that time period. But a reader requested it, and when we say “we’ll add it to the list,” we mean it! Here’s what we look for in a well-executed Guo Bao Rou: robust sweet and sour flavor and a super crunchy and crispy texture that’s tender inside. As I write this, it boggles my mind how artful cooking can be. Every ingredient, every set timing, and every temperature change can affect the outcome of the recipe.
Important Recipe Notes
I know you don’t usually hear me saying this, since I prefer to make things as simple as possible, but this Guo Bao Rou is a dish that requires full attention to detail. Here are a few notes on the recipe:
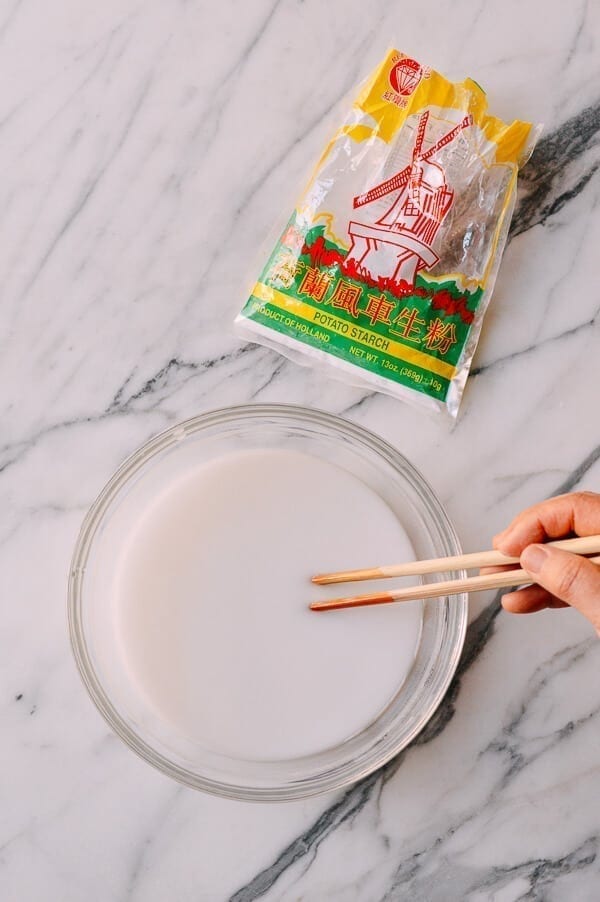
The pork is cut slightly thicker and marinated with water to ensure it stays tender and juicy. Potato starch is the star of this dish. Please don’t try to substitute another ingredient! You’ll be amazed by this potato starch batter; if you eat a piece of fried pork before you coat it in sauce, the crispy coating crunches. If you’ve never used potato starch before, you’ll be hooked! Feel free to repurpose this batter for other dishes. The frying temperature should be set at 250 to 300 degrees F, which is low for frying pork. However, in this case, we’re trying to fry the batter to a crisp while keeping the pork tender. There are two rounds of frying, similar to french fries. The first frying cooks the pork and the second ensures the batter turns golden brown. The sweet and sour sauce is the only element of this dish you can adjust to your liking. If you like your sauce lighter, don’t let it reduce and thicken as much. Either way though, you’re looking for a sheer and shimmering finish on your pork. Pretty tantalizing, huh?
Happy wokking, and I hope you find this version of “Sweet and Sour Pork” pleasing to your palate!
Guo Bao Rou: Recipe Instructions
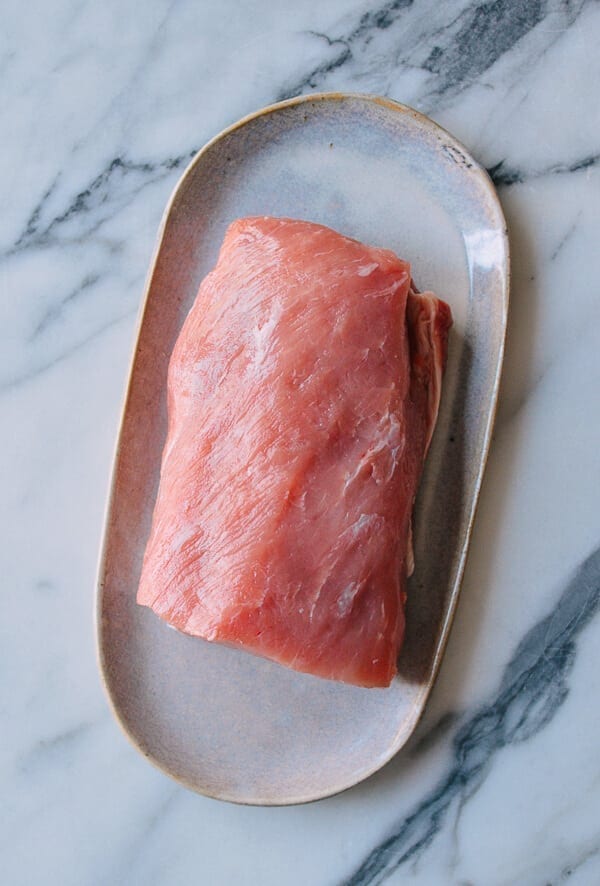
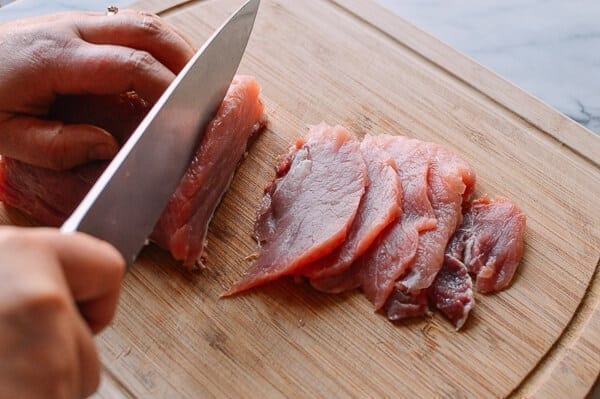
Slice the pork loin into ¼-inch thick slices.
Marinate with 1 tablespoon light soy sauce, ½ teaspoon salt, 1 tablespoon Shaoxing wine, and 3 tablespoons water, working the ingredients thoroughly into the pork pieces. Cover and transfer to the refrigerator. In a medium bowl (large enough to fit all the pork), dissolve the potato starch in 1½ cups of water, and stir until completely dissolved. Set aside for 15 minutes, or until the potato starch has completely settled to the bottom.
Now prepare the sauce by mixing the sugar, rice vinegar, ½ teaspoon salt, and sesame oil together. Stir to dissolve, and set aside.
Take your potato starch, and slowly drain out the majority of the water, leaving behind the potato starch paste.
Add the pork slices to the bowl, and use your hands to ensure the pork is completely coated in the wet potato starch. Add a tablespoon of water at a time if the mixture is too dry and hard to work with.
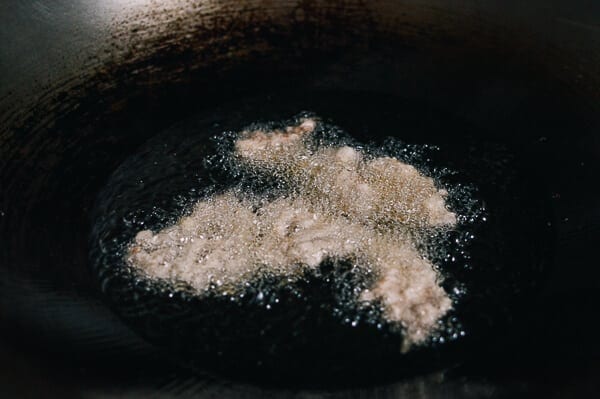
Prepare the oil for frying in a deep pot or wok, heating it slowly to 250 to 300 degrees F––no higher, or the pork will overcook. Use a kitchen thermometer if needed! Carefully lower the pork pieces, one at a time, into the oil, leaving space in between, as they tend to stick together.
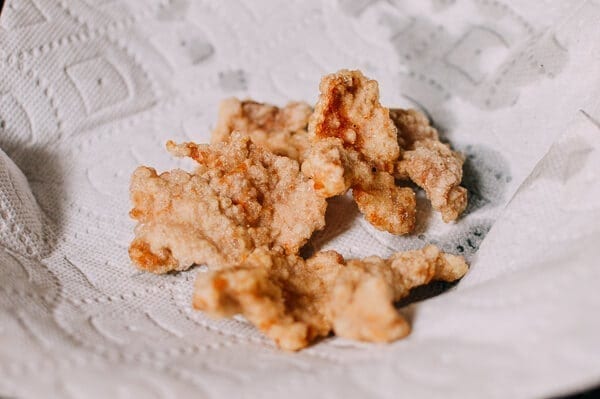
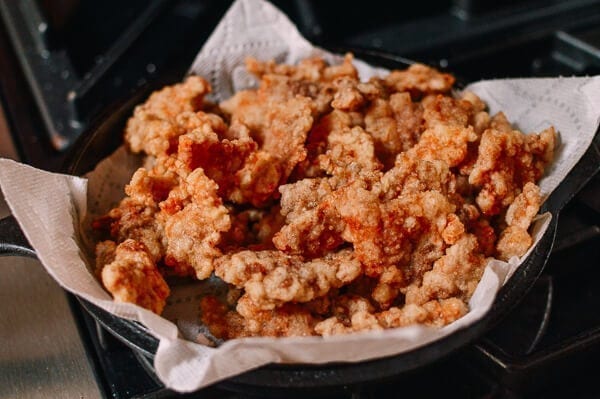
Fry each batch for 2 minutes, transferring the fried pork to a paper towel-lined plate or wire rack to drain.
When all of the pork has been fried once, bring the oil back up to 250 – 300 degrees F and fry the pork again in batches for about 30 seconds each batch.
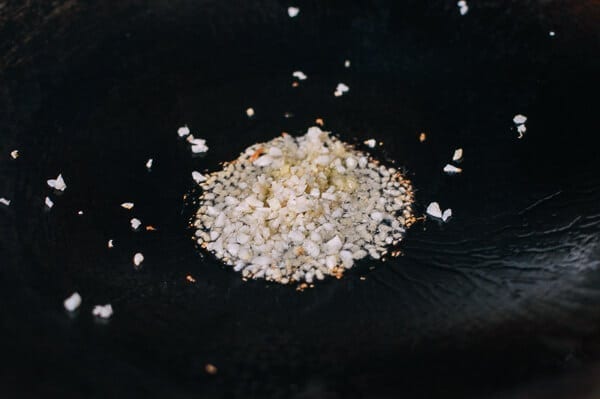
Now you’re ready to put together the rest of the dish. If you fried the pork in your wok, carefully pour the hot oil into a heat-proof container, leaving about 1 tablespoon of it behind. Heat the wok over medium heat. Cook the ginger and garlic briefly.
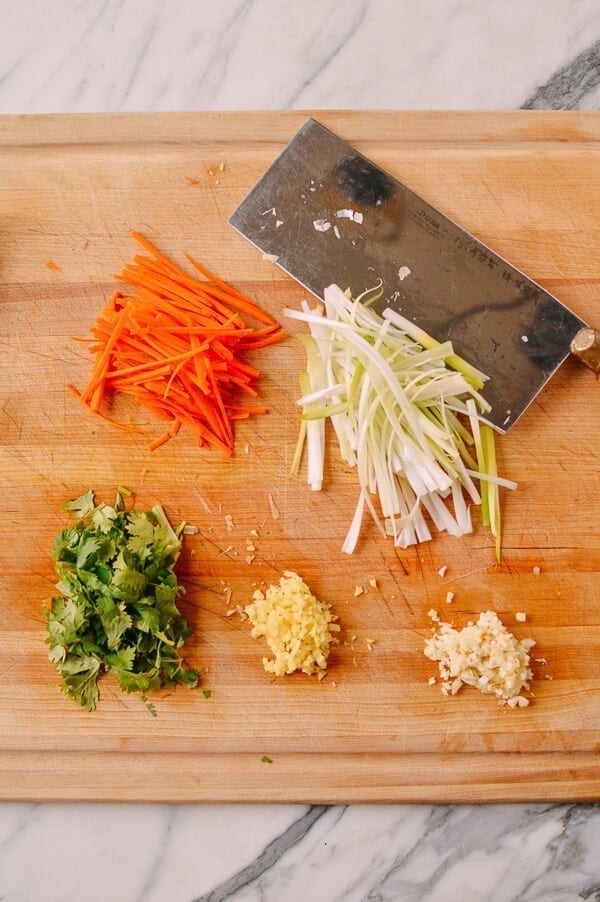
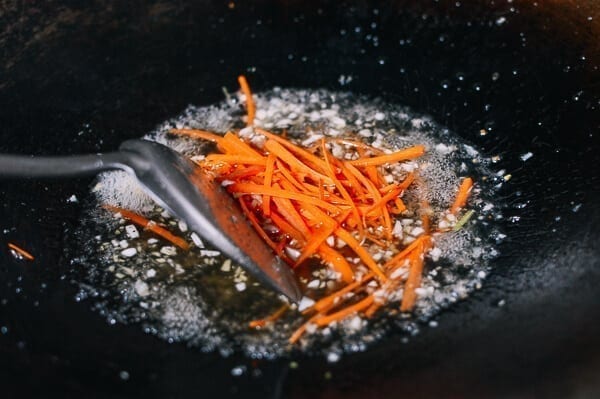
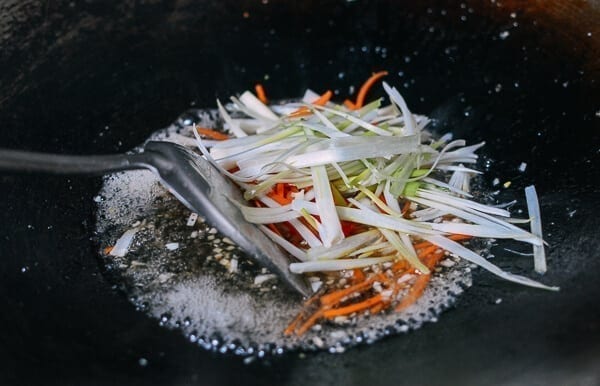
Add the sauce mixture, turn up the heat, and cook for about 2-3 minutes. You should have about ⅓ cup of sauce in the wok after it’s reduced. Next, add the carrot, scallions, cilantro, and fried pork.
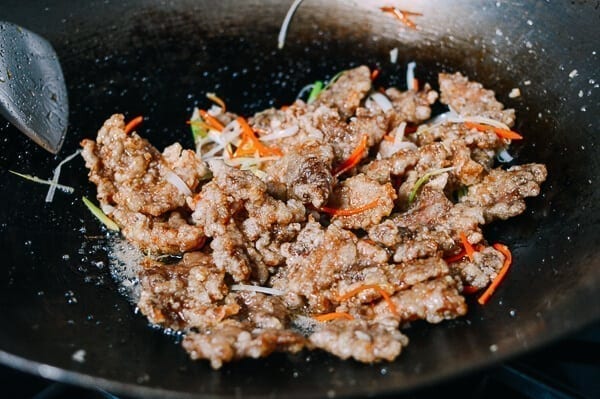
Stir quickly so there is a thin layer of sauce coating each piece of pork. Serve immediately!