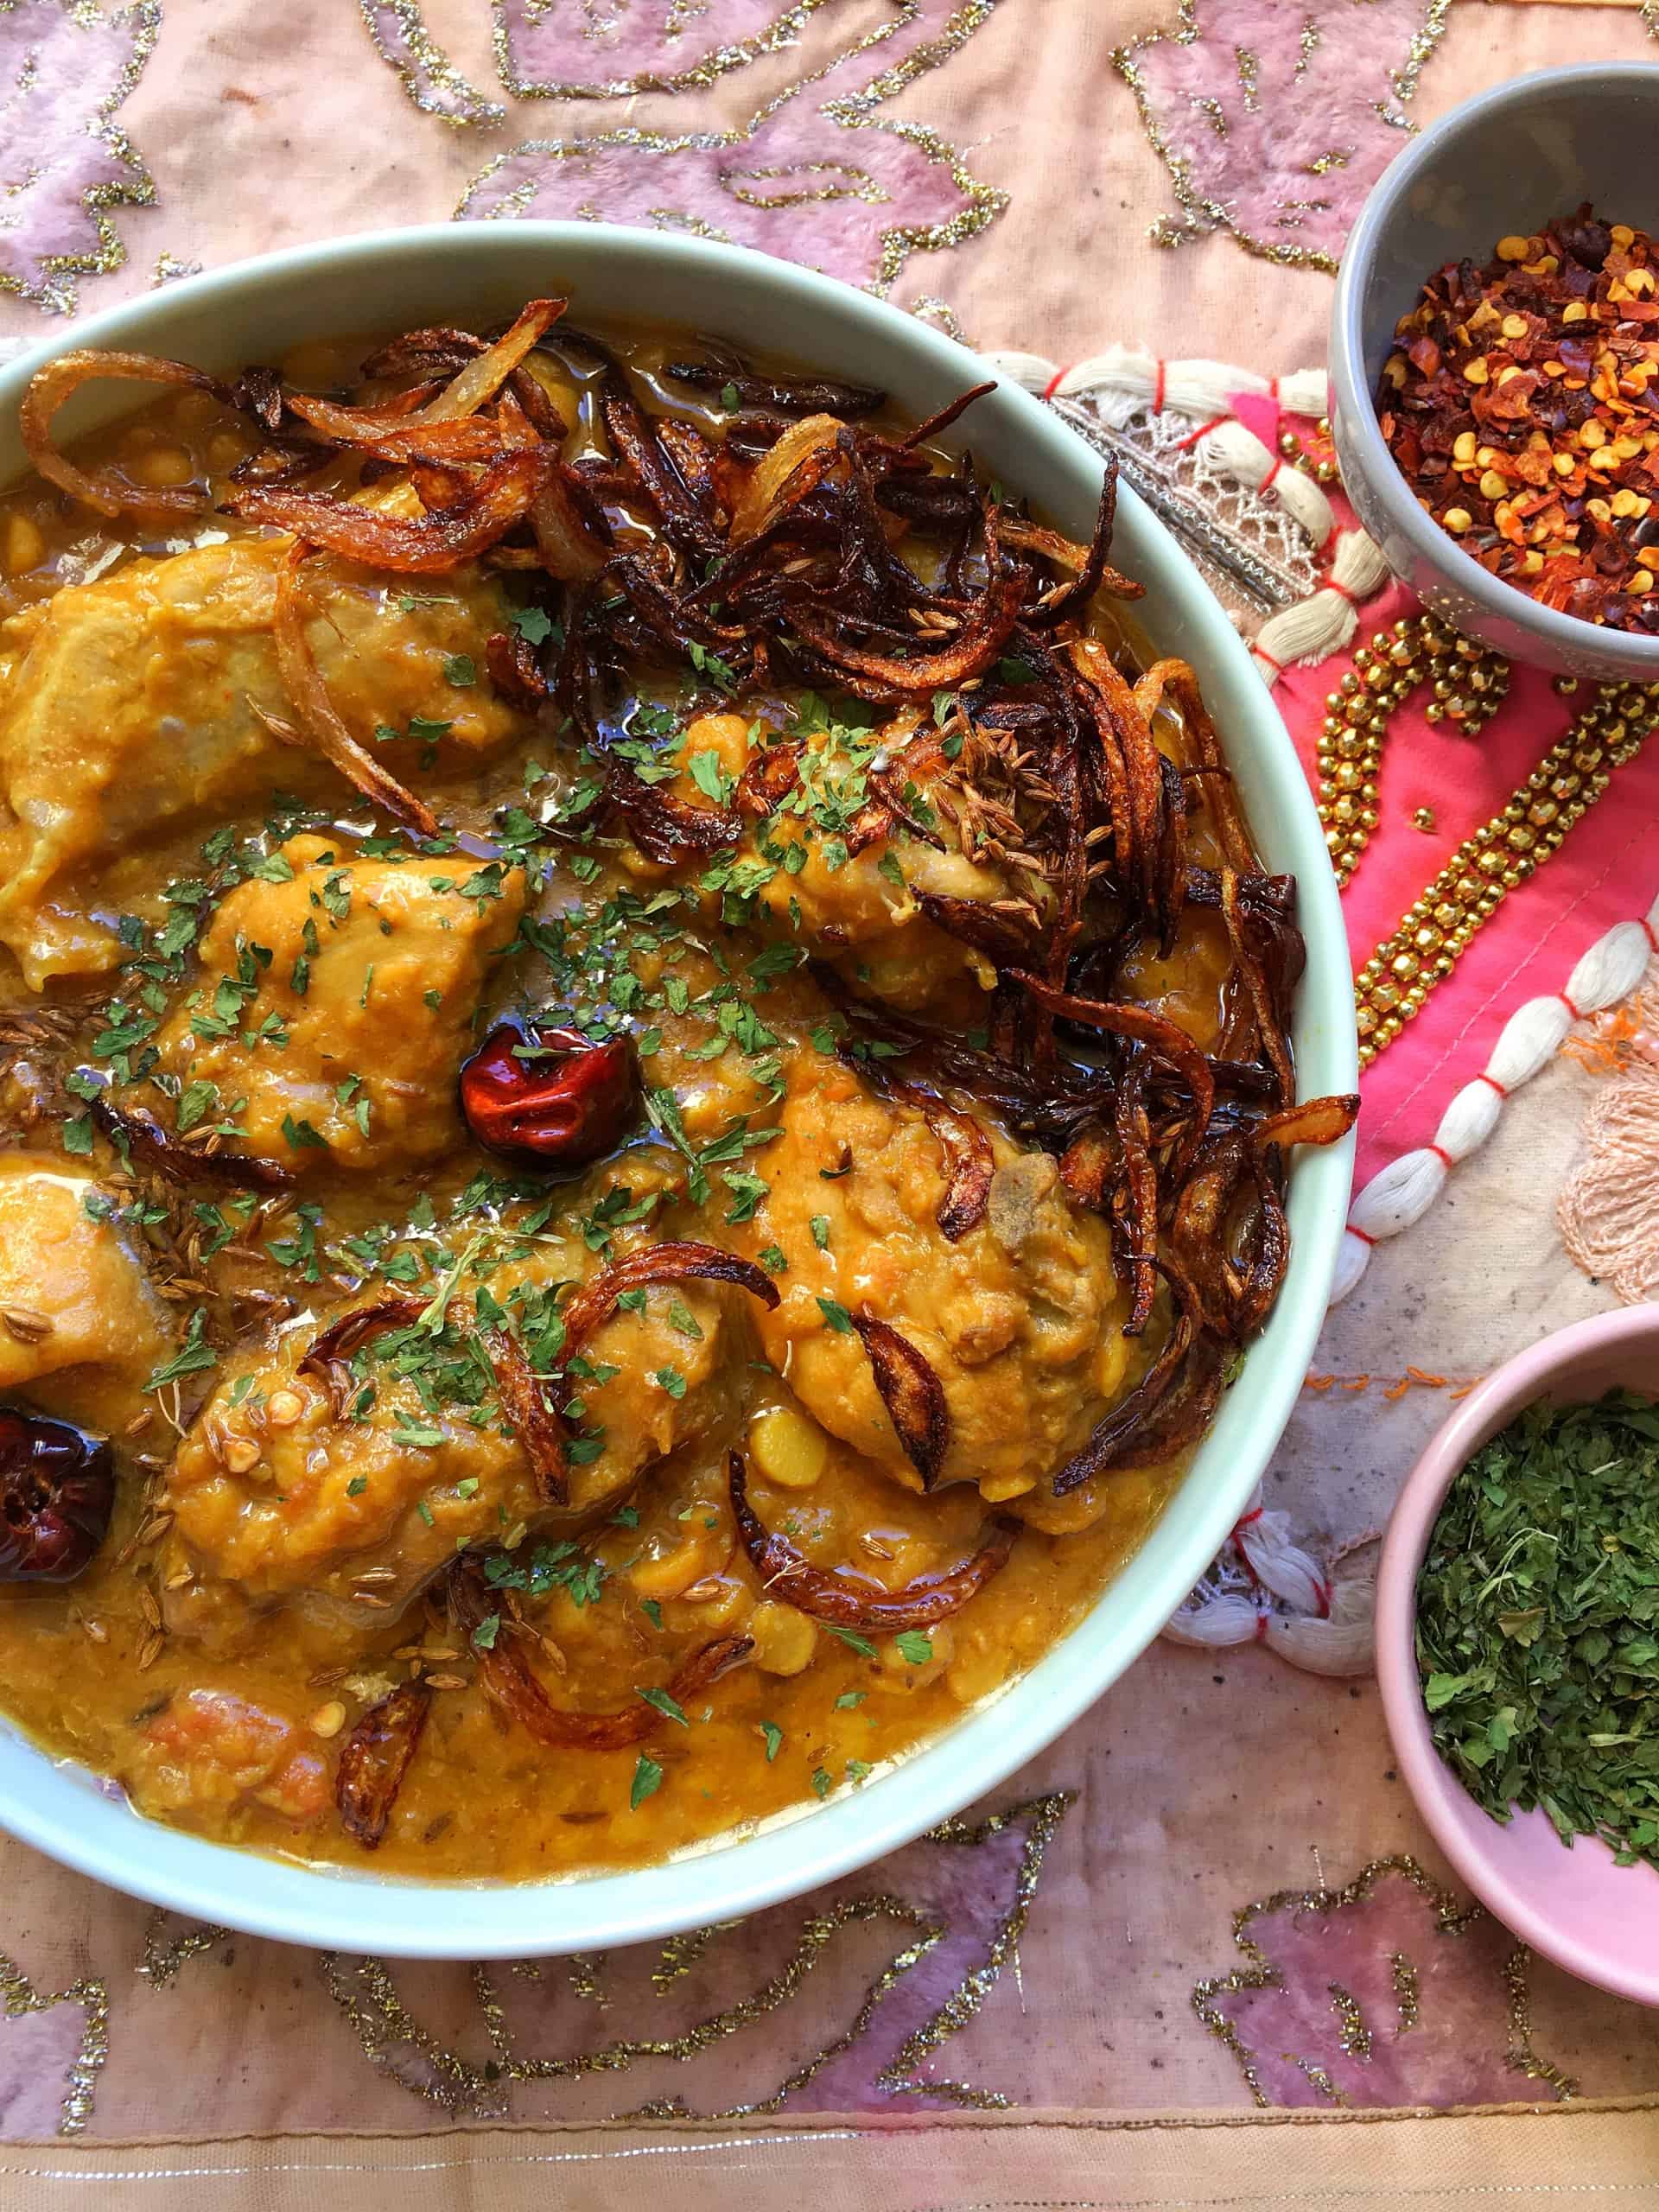
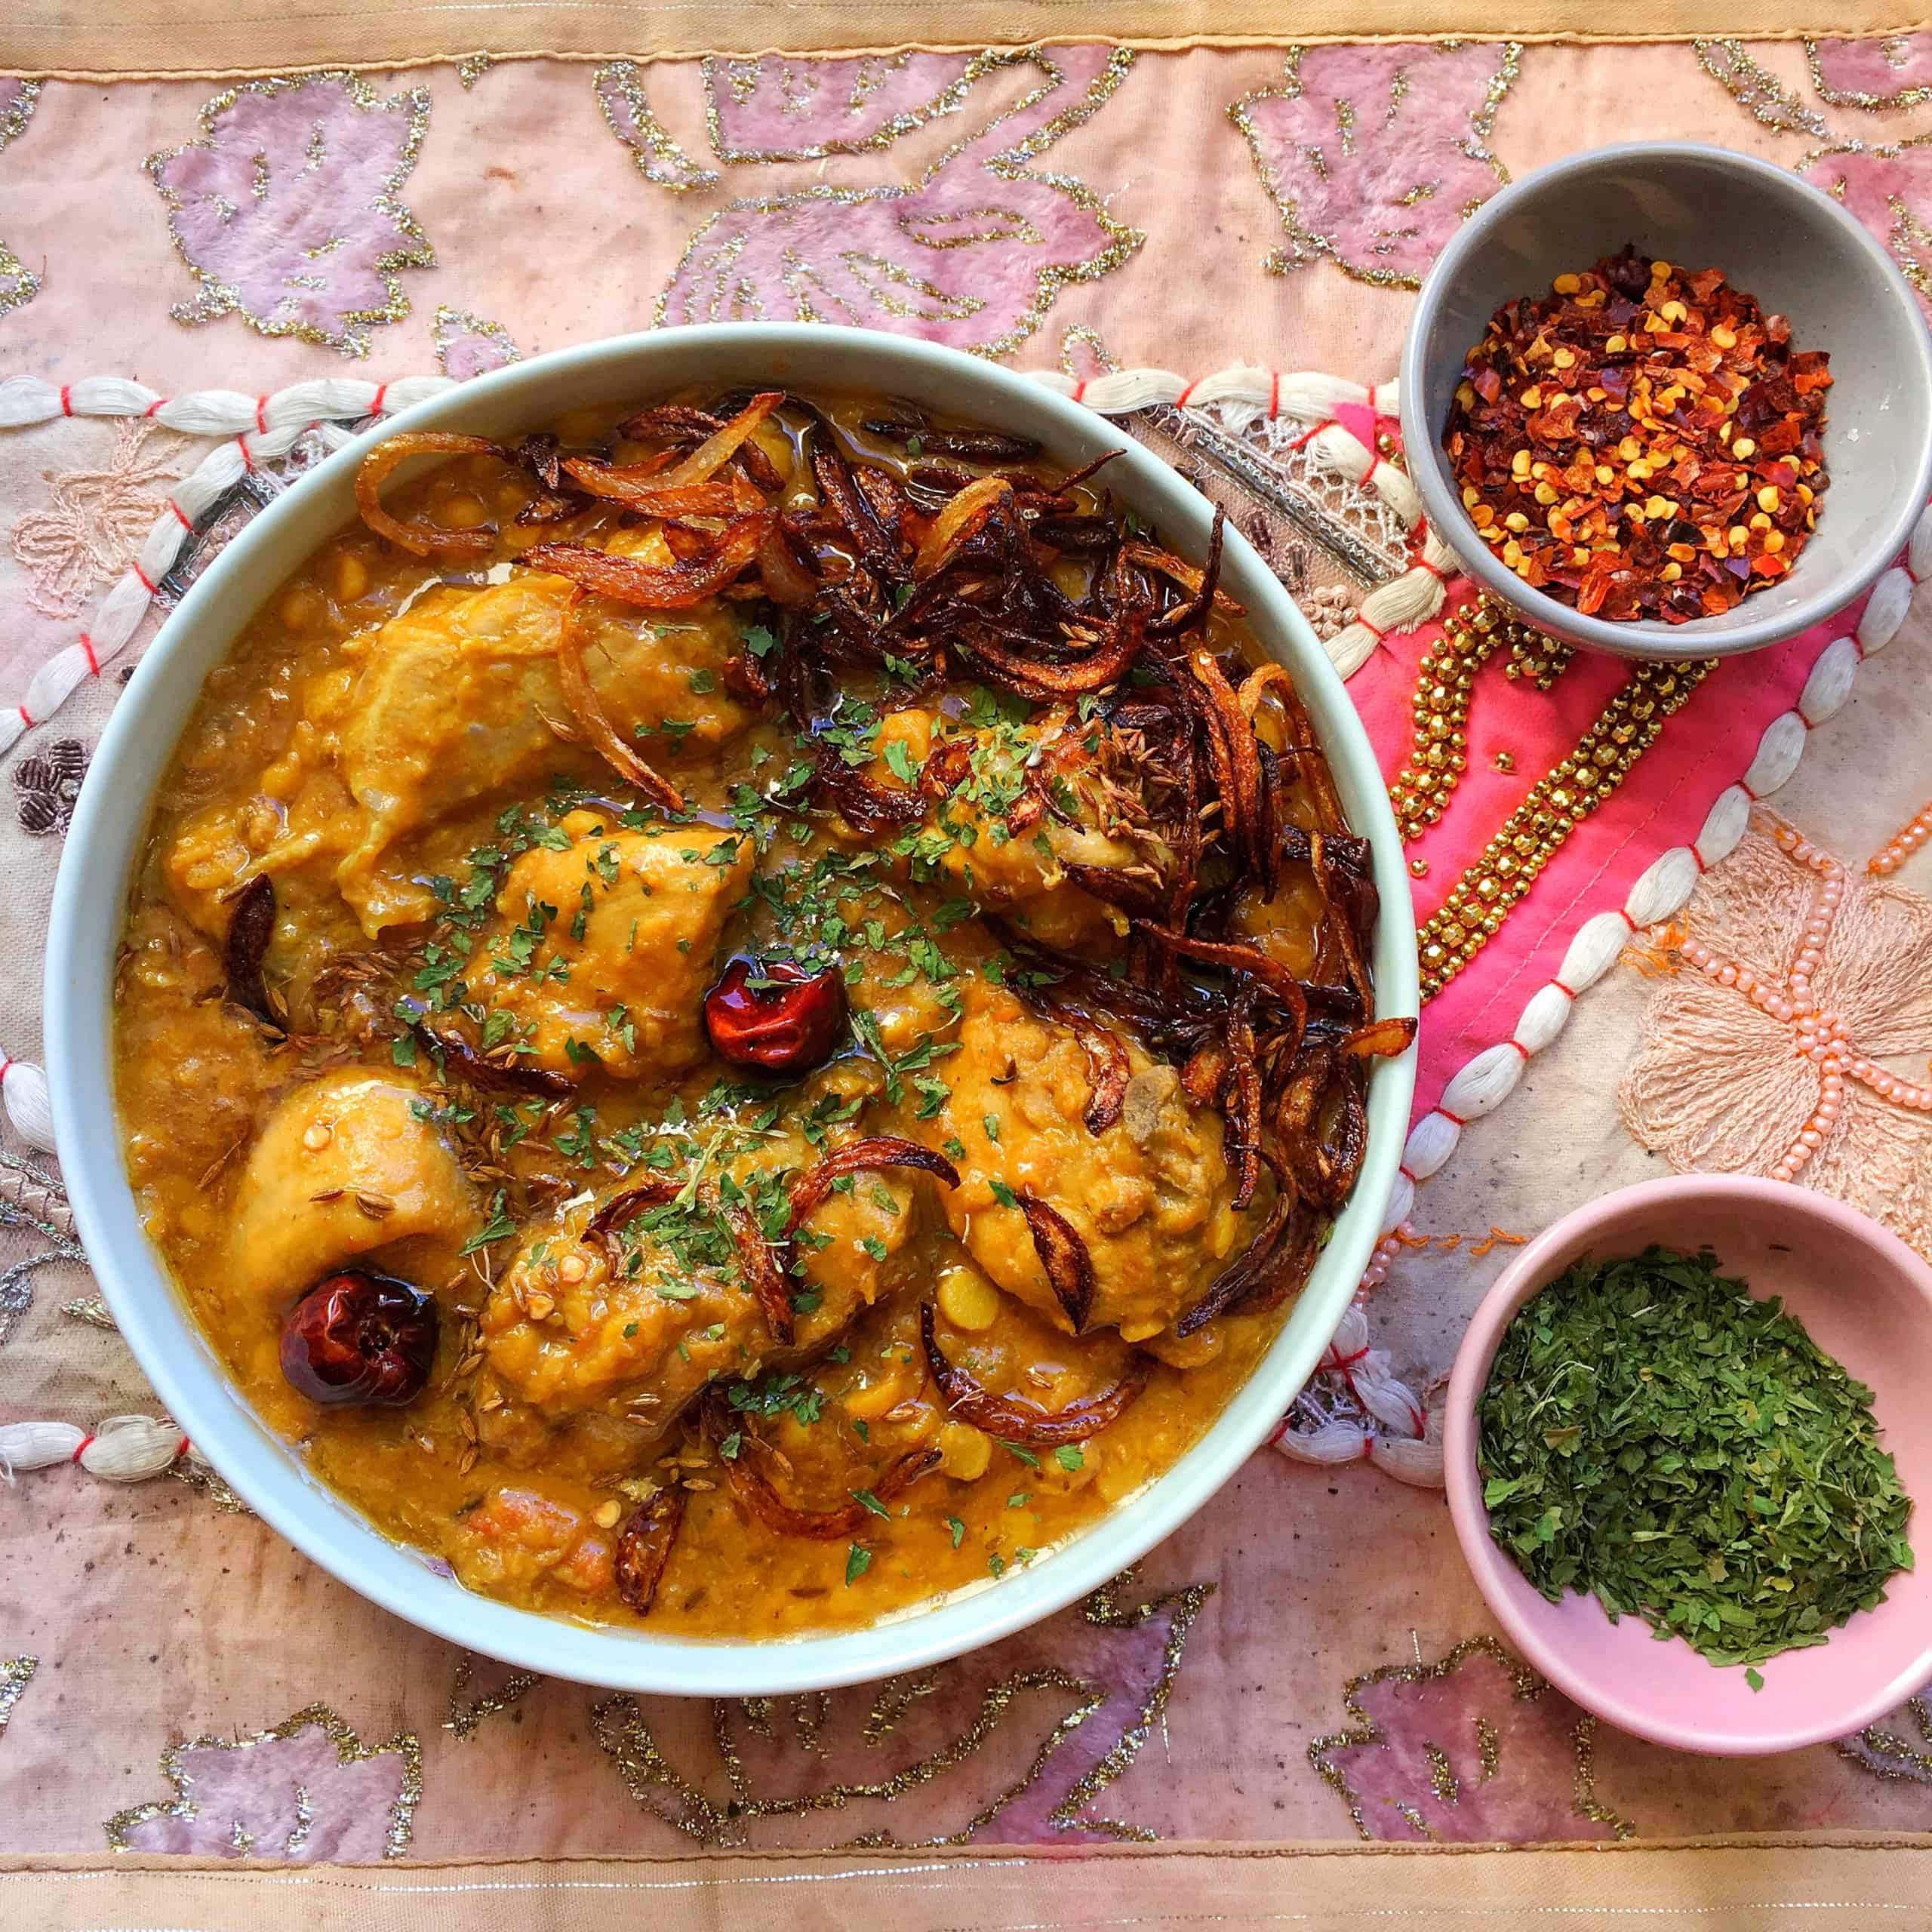
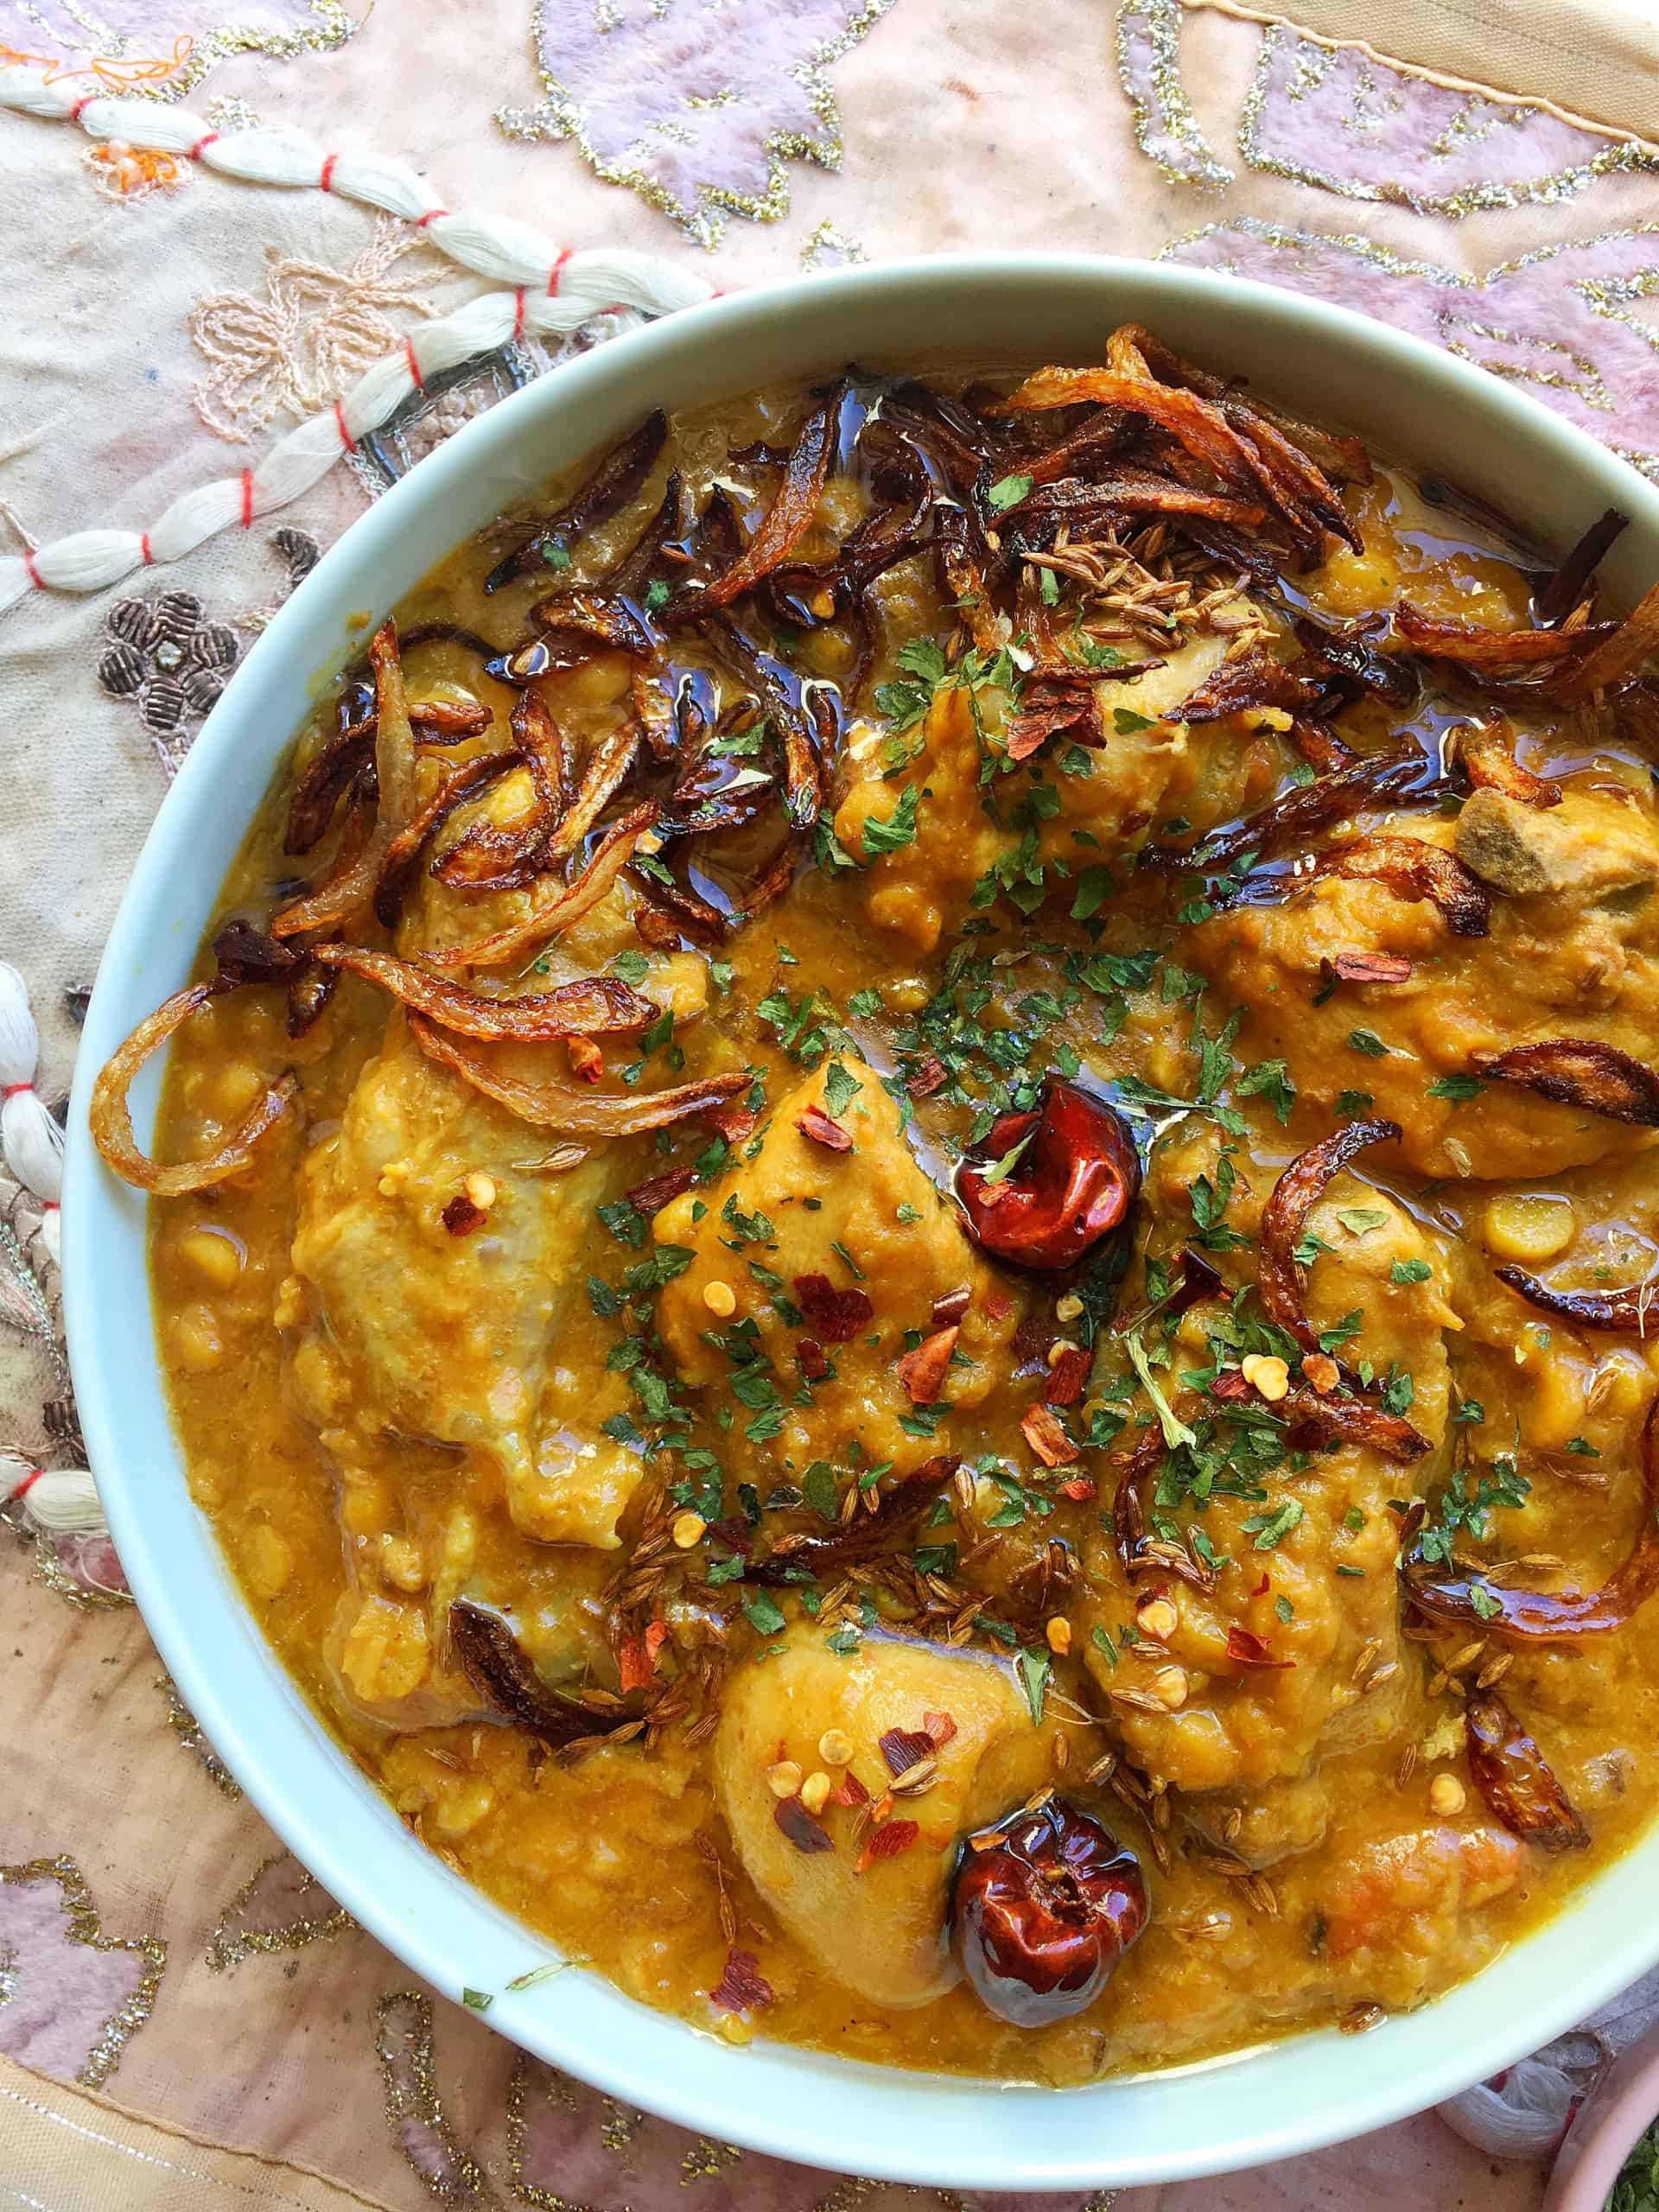
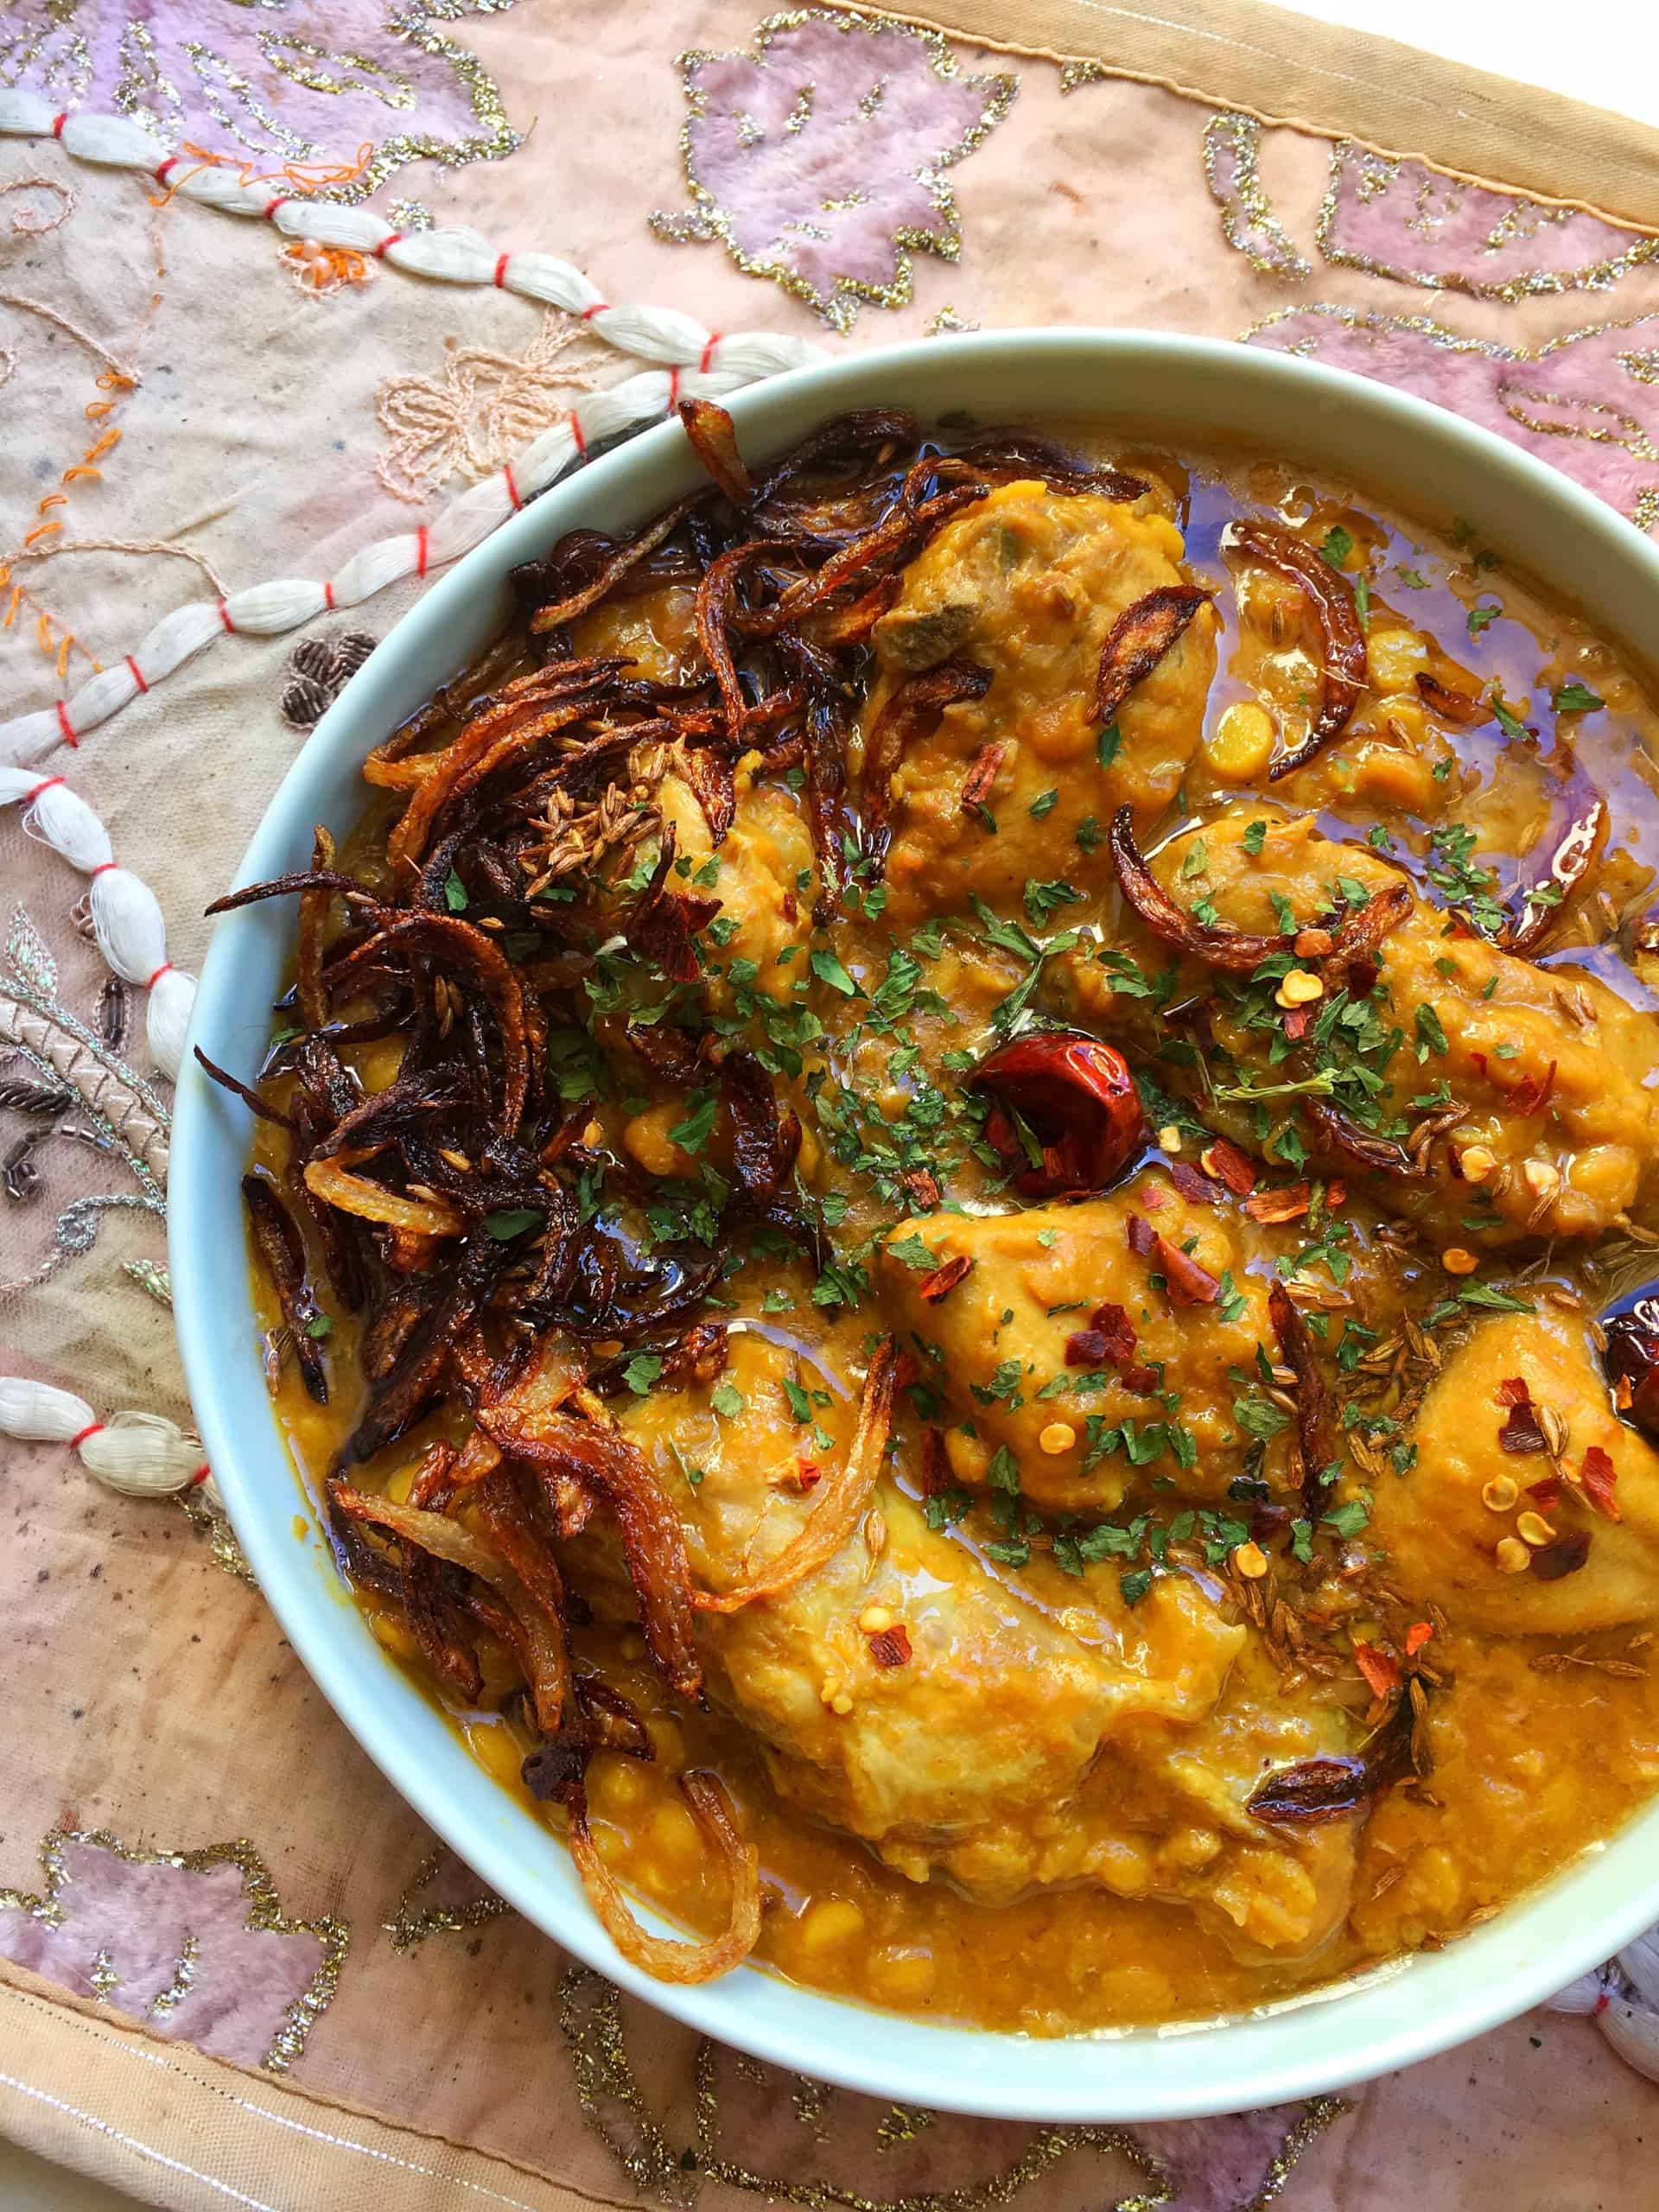
Dal Chicken is the less commonly known brother of the more popular Dal Gosht, which is cooked with red meat. This version is equally as delicious and holds the obvious benefit of cooking quicker AND being cheaper (looking at you right in the eye, Cost of Living Crisis). Usually when I begin to cook something with the intention of getting a written recipe down for it, I have my notebook out on the counter, jotting down quantities and details. If it’s a recipe I’ve been working on for a while I’ll have the full details of my previous attempts alongside notes on what was amiss or too much. When it comes to ’the one’, the final recipe, I’ll take pictures of the entire process to upload onto the blog & my Instagram. I think this is how most bloggers develop recipes (bloggers, correct me if I’m wrong!). Anyway, on the fateful day I made this Dal Chicken recipe, it came out PERFECT the first time. I was shook. I totally wasn’t expecting it to come out so good the first time because to be totally honest with you all, I’ve struggling disproportionately at cooking Dal with any meat. I’ll explain why. My usual method of Dal Chicken/Gosht was previously always a one-pot method. I’d fry the onions and tomatoes into a masala, then add the lentils and meat and cook it. Now, the problem with this was that more often than not, the lentils would take too long to cook. And in order to get the lentils to be done through, I’d end up with meat that had fallen off the bone, essentially mush. I tried SO many times to get the timing right, and sometimes I would, but most of the times it would be a miserable fail. It was pretty frustrating not being able to develop a fool-proof, no-fail method. Of course, I had seen other recipes and people cook the lentils separately before adding them in to the masala and meat - but I just felt really bitter and unhappy about having to use two pots (I know, petty, right?!) and wanted to find THE SECRET to making it all in one pot. The fateful day I made this Dal Chicken curry, I cooked the lentils separately because I just couldn’t face another wasted dinner or tough lentils in my mouth. And… it was… PERFECT. I felt like I had FINALLY found the missing piece of this elusive puzzle that I had been keeping from my own self. Now, I don’t fully understand the complete logistics of why the one-pot method didn’t work for me. I feel like it may be due to the fact that lentils have variable timings of how long it takes to cook which can depend on soak time, temperature, age of lentils to name some reasons. To be honest, I don’t think I ever will know the reason fully. I know LOTS of people make it all in one pot. But ya know what? Lots of people make it in two pots. And now, I’m one of them. And whatever works for me, I will not question! This method basically involves boiling the chana dal separately until it is just done, but not disintegrating into a soup. In another pot, you cook your chicken just like you would for a regular chicken curry. Once the chicken is half way done, you add in the chana dal alongside the water which you boiled the dal in, cooking everything together until the chicken is done. Finally, we’ll add a tadka - a tempering - of beautiful slivers of onions, cumin seeds and dried red chillies. Honestly guys, this is a curry to die for! The day I cooked this up, my husband enjoyed it SO much he went in to ask me exactly what I did, particular in the tadka, because it was so rich and flavoursome and he wanted to replicate it. A good tadka goes a looooong way, folks.
Tips for Your Dal Chicken
You can boil the chana dal in advance and store in the fridge, to use when you’re ready. It would be a good idea to reserve the water too, as it contains a lot of flavour that we’ll be using in the curry. You will need to add back quite a lot of water into the curry. Lentils have a tendency to absorb a lot of moisture, therefore be prepared to add back a lot of the chana dal water. In fact, even after you finish cooking the curry the lentils will continue to absorb moisture therefore you may feel the need to add additional water if you plan on eating it later. For the best tadka, you need to stay close by and stir constantly on a medium heat. It’s very tempting to cook the tadka on a high heat, however this will result in your onions not browning evenly and maybe even burning, which will ruin the flavour of the curry. You can slice a few cloves of garlic too, if you like a prominent garlicky taste, to add to the tadka. Add them in a few moments before you add the cumin seeds. If you won’t be serving this immediately, don’t add the tadka. Save the tadka for just before serving.
On to the recipe! Unfortunately I wasn’t able to take process pictures of this because I wasn’t expecting it turn out so good on the first try. I’ll add process pictures the next time I make this - which should be soon given how tasty this was! Enjoy, with love x
📋 Recipe
Enter your email & I’ll send it right over. Plus, you’ll get bonus Pakistani food-goodness from Fatima Cooks, like new recipe alerts, exclusive email-only recipes + more! By submitting this form, you consent to receive emails from me. Your details are secure. Opt-out any time.