We make our own mooncakes every year for the Mid-Autumn Festival. Try this recipe once, and it may become an annual tradition!
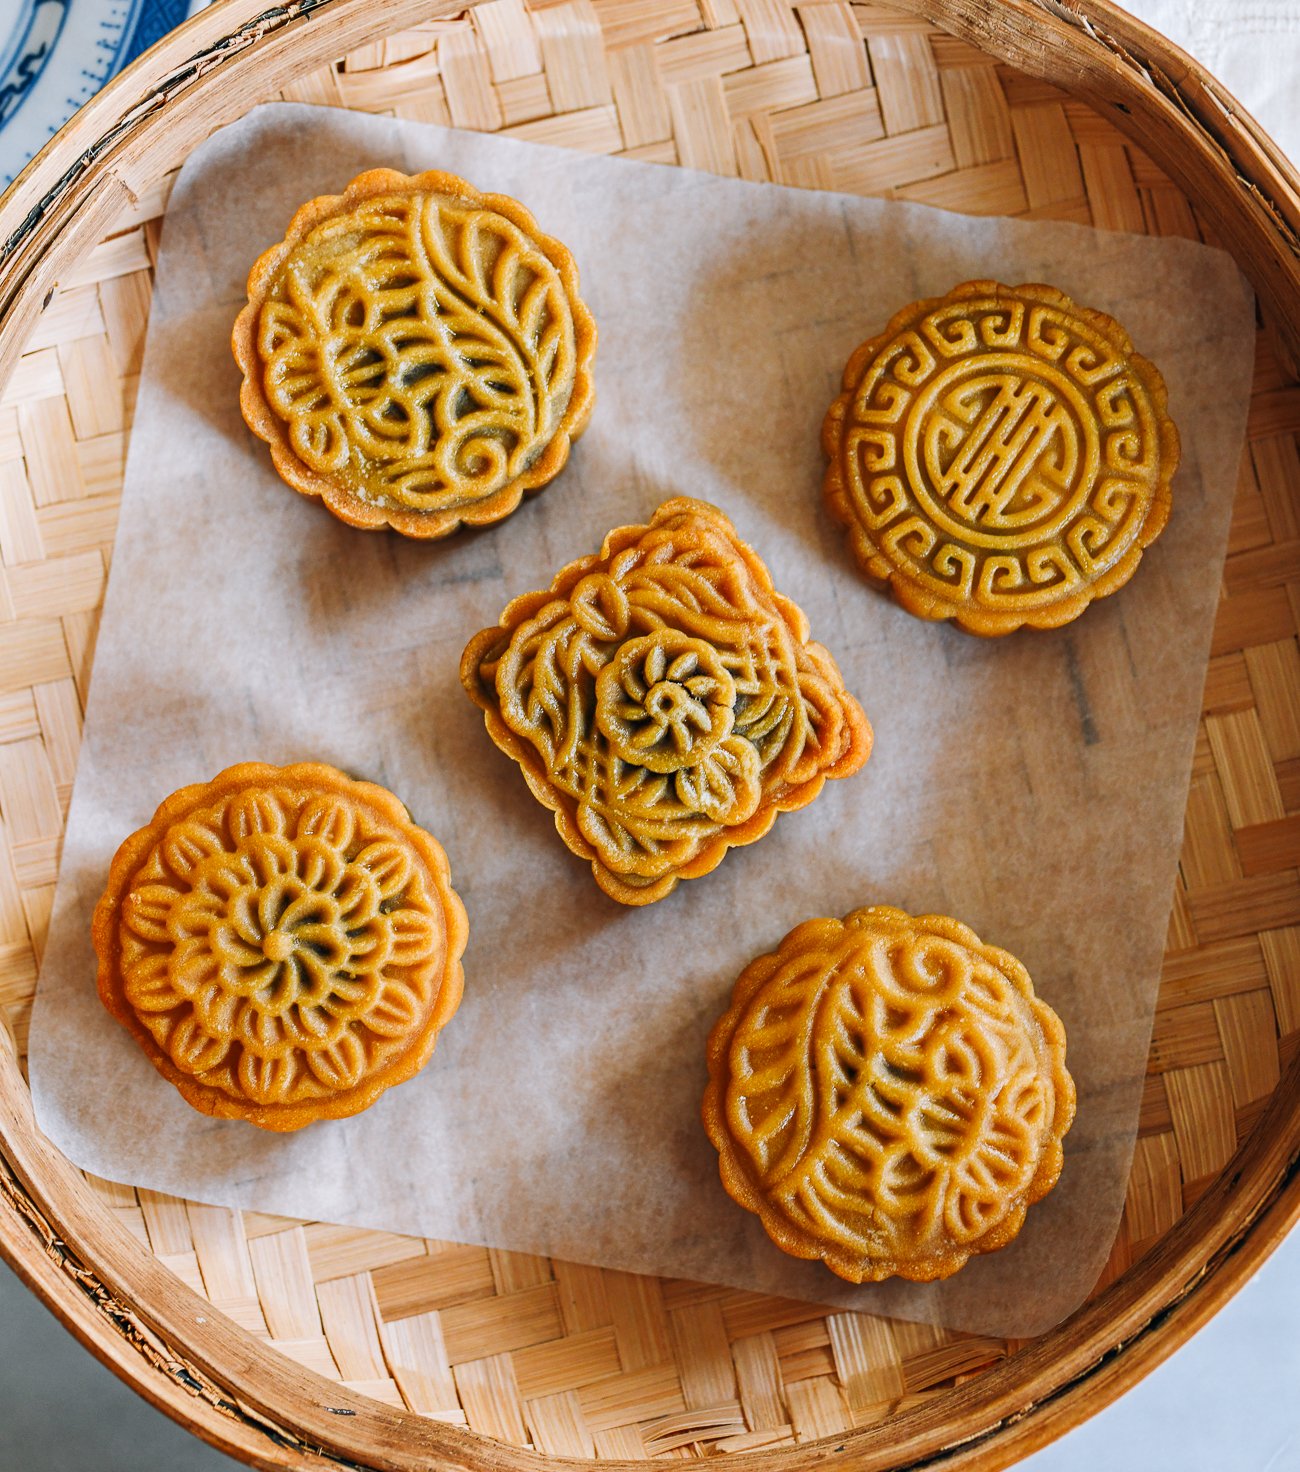
A Classic Mooncake Recipe
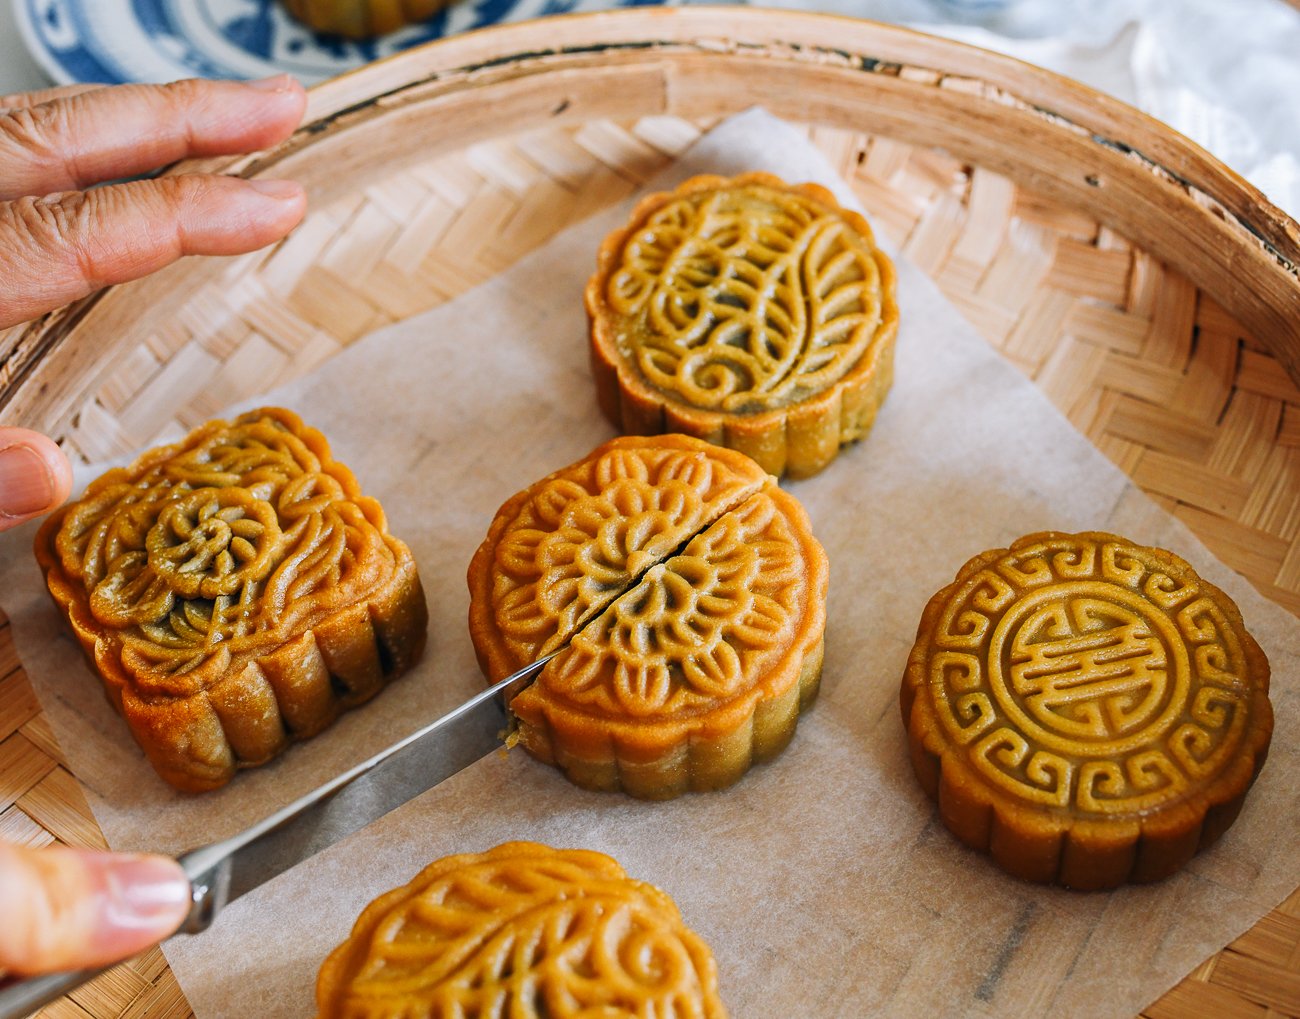
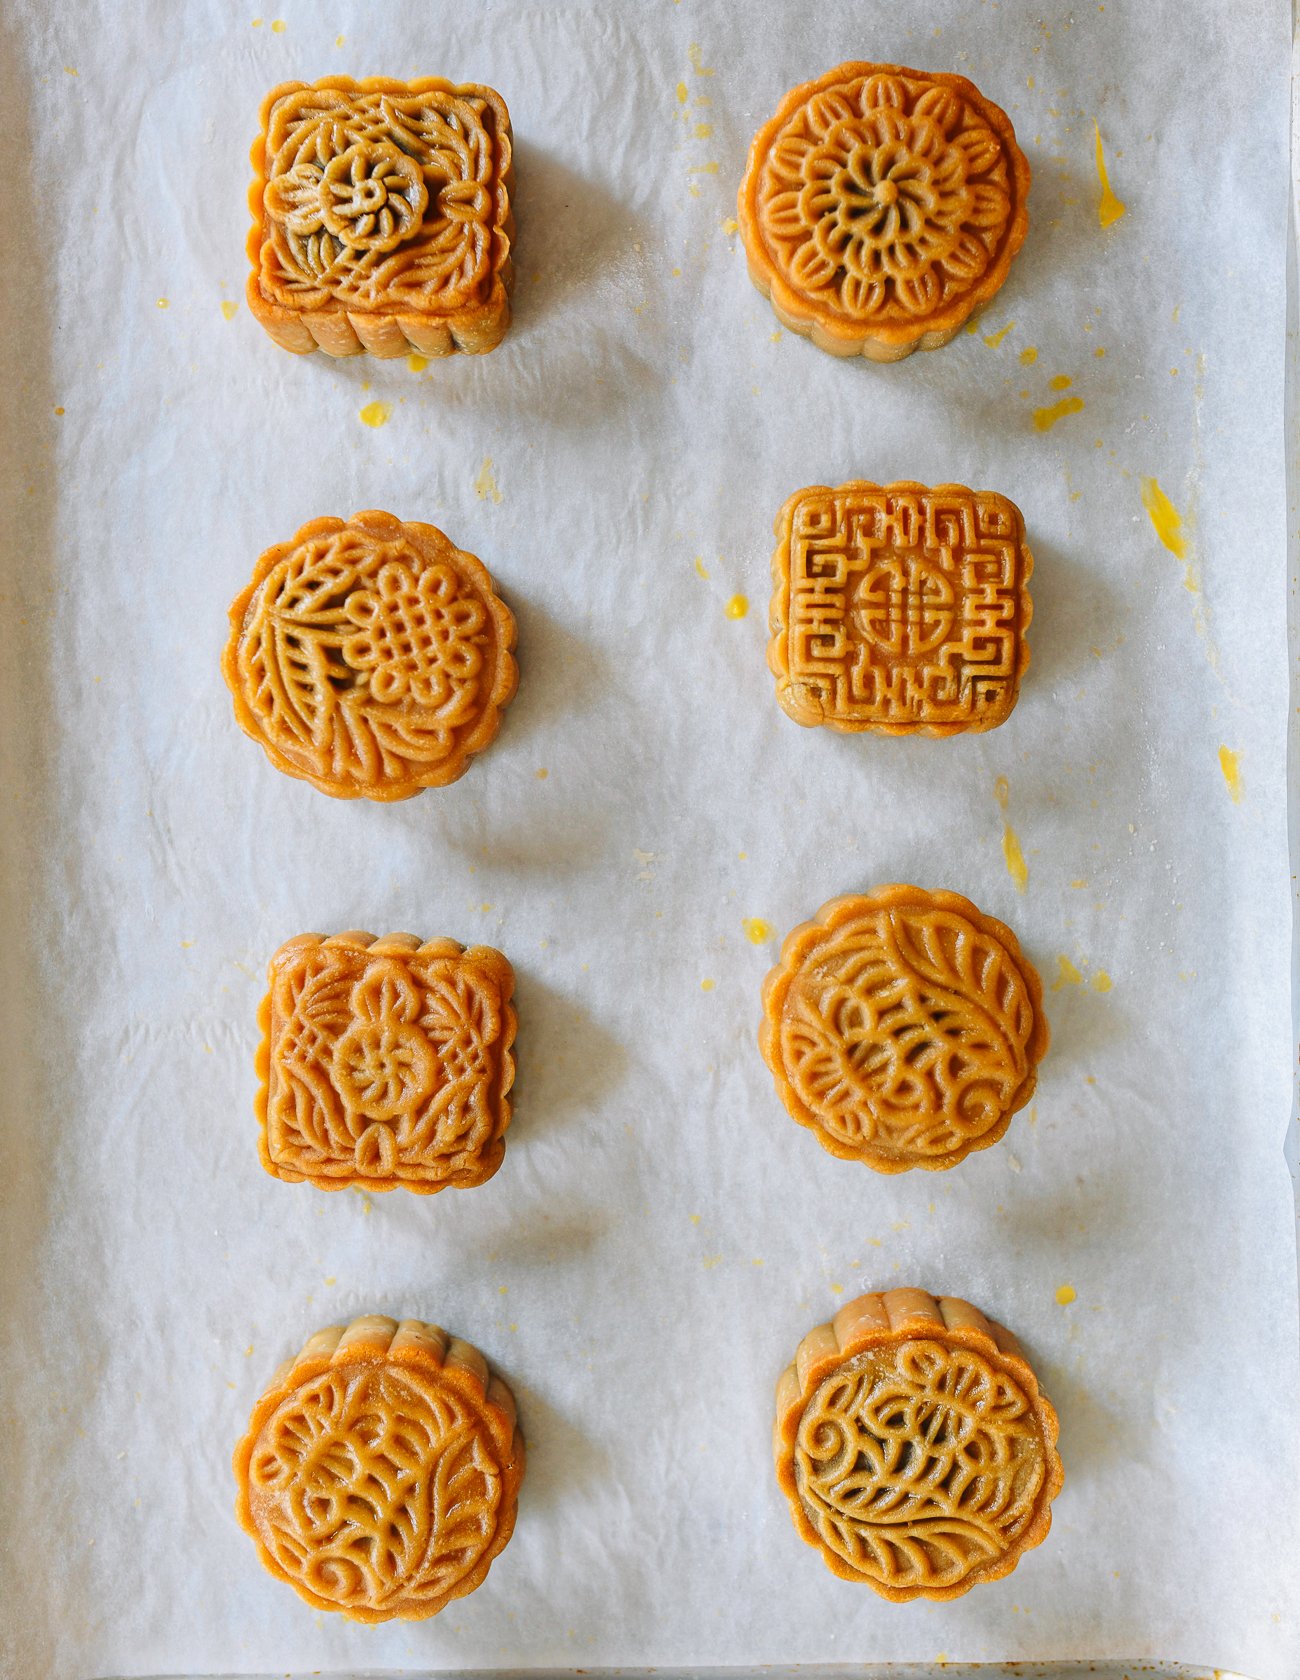
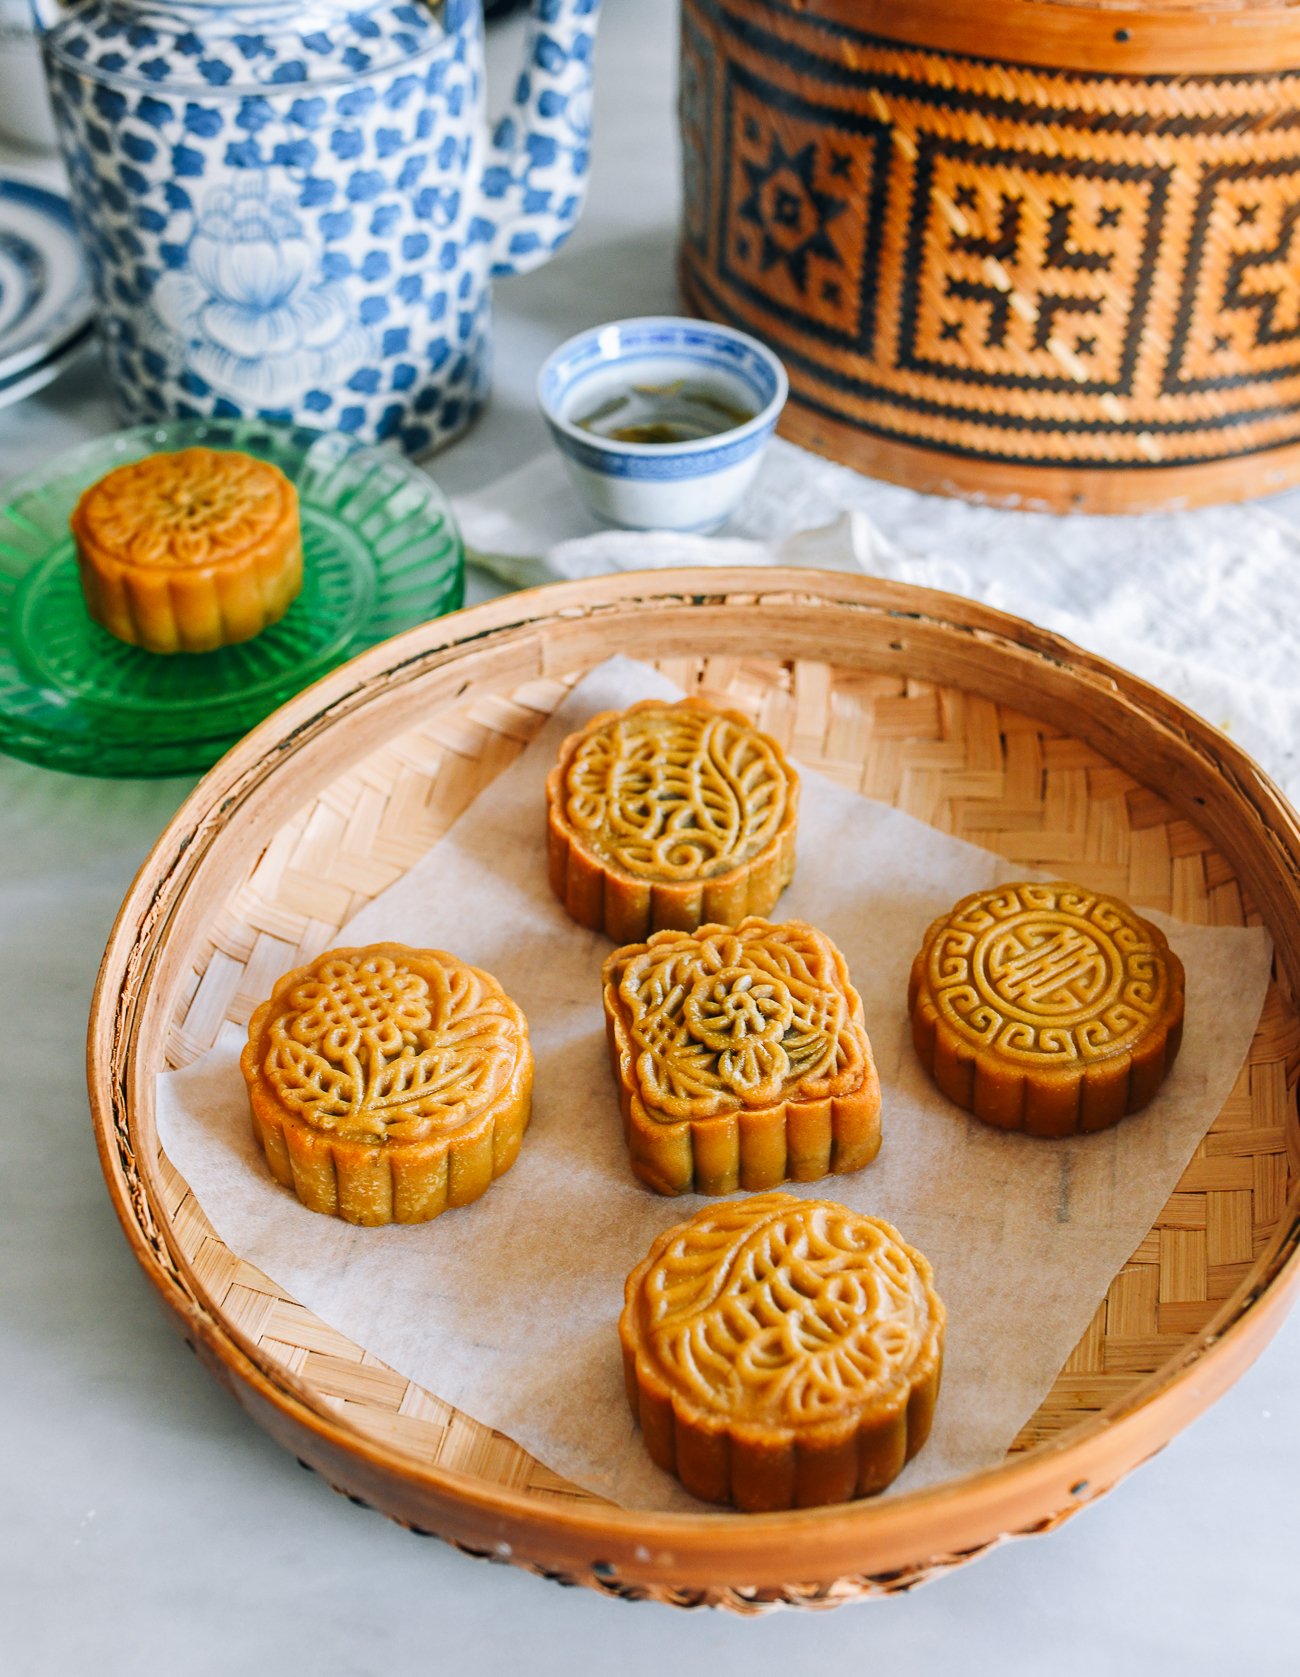
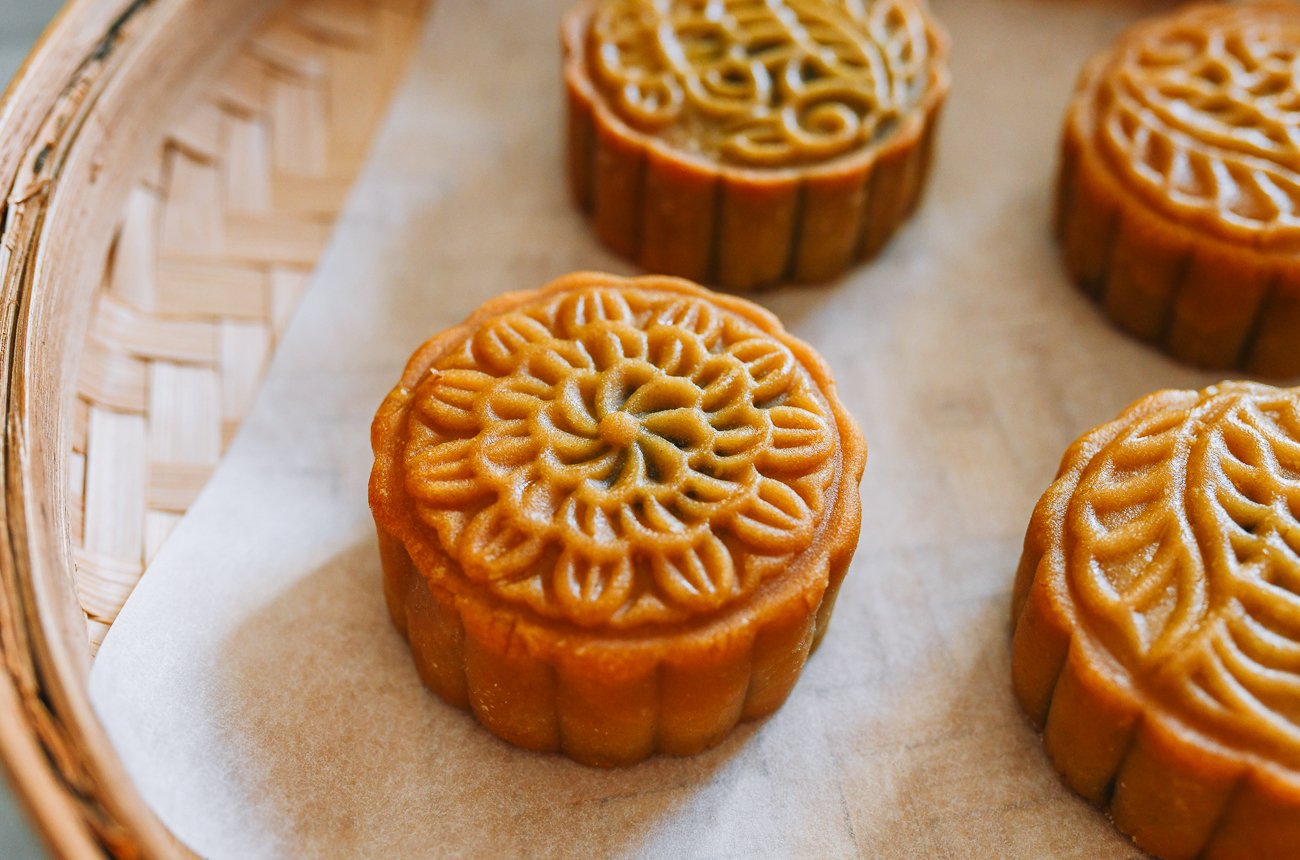
There are many types of mooncakes out there, so what makes this a classic mooncake recipe? Well, these mooncakes are what many Chinese Americans think of when they picture a mooncake: soft, amber pastry pressed into a beautiful pattern and surrounding a sweet filling. Today, we are making one of the most popular fillings: red bean. Another popular mooncake filling is lotus seed paste, which is very popular among Cantonese people and what we used in our first ever mooncake recipe. There are also sweet/savory fillings like in our ham and nut mooncakes, and totally savory versions like Shanghainese Xian Rou Yue Bing. More recently, modern “snow skin” mooncakes made with a mochi-like outer layer have become popular, and can be made in many different colors. We have recipes for all of them, but this year we decided to go back to basics with this classic mooncake with red bean filling.
Passing On The Tradition
This year, I thought that it was time for my girls to take the lead on the mooncake making process. While they have seen me make them for the blog and for the Mid-Autumn Festival many times, they hadn’t made them by themselves before this year. I want them to pass on this skill to their children and keep this tradition going! To do that, I had to relinquish control over this year’s mooncake production (honestly, I didn’t mind the break!). I wrote this recipe out, passed it to them, and they followed it together in Sarah’s apartment. Kaitlin put together a video showing the whole process. While they may have been a bit nervous to start, I think they did a great job. Consider the torch passed!
Mooncake Recipe Stages
This recipe is based on our original lotus mooncake recipe, and there are several stages: For best results, use the metric measurements we provide in the recipe card, and weigh your ingredients using a digital scale. You should also use the scale when assembling the mooncakes to ensure that each one is the same size. Again, your mooncake mold should have a 100g capacity, which means each mooncake should weigh about 100 grams total after assembly. Okay, on to the recipe!
Classic Mooncake Recipe Instructions
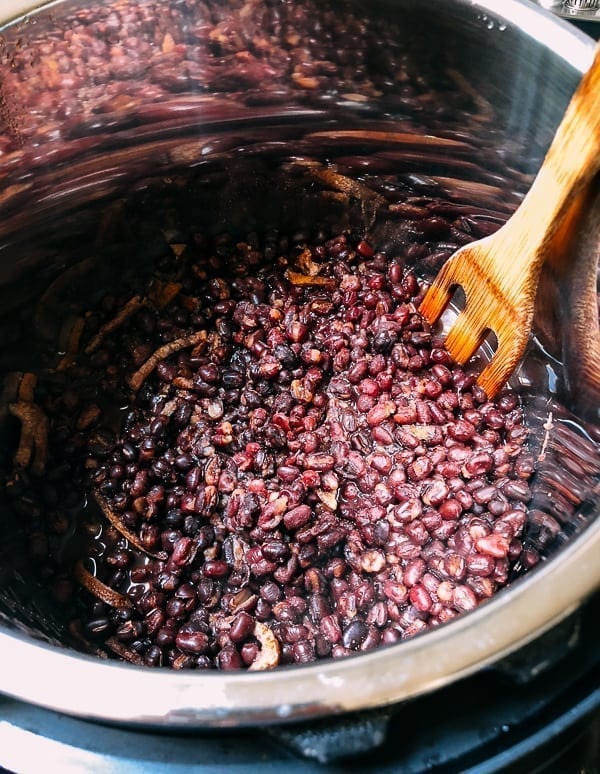
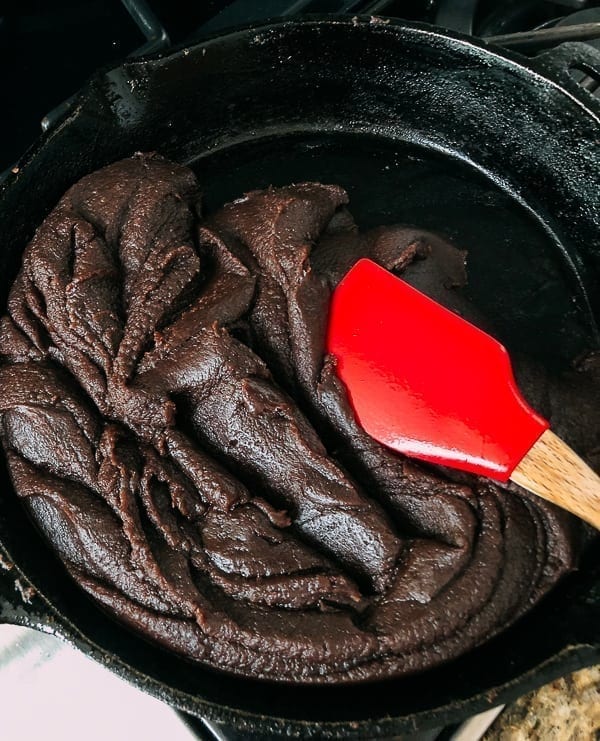
Part 1: Making the Red Bean Paste
You can make red bean paste using an Instant Pot or on the stove. If cooking on the stove, the beans must be soaked overnight before starting. This filling recipe yields about 1400 grams, or about 55g per mooncake. You’ll need:
1 pound dried adzuki beans – 450g3½ cups water – 830 ml (4 cups if cooking on the stove)1 cup vegetable oil – 240 ml190g rock sugar (or granulated sugar)⅓ – ½ cup maltose – 105g -160g (to taste)
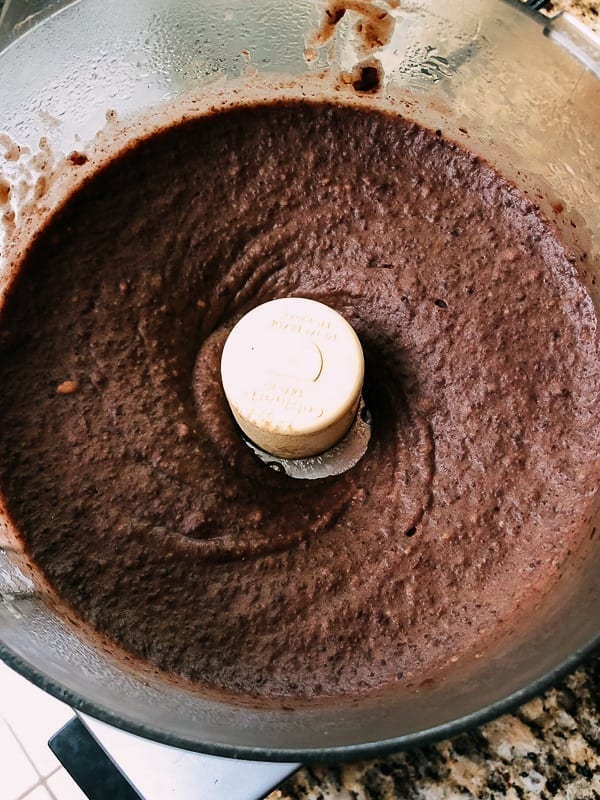
Rinse the adzuki beans, drain, and add to your Instant Pot along with 3½ cups of water. Close the lid, and set your Instant Pot on the Bean/Chili setting for 25 minutes. (If your red beans are very large or less fresh, increase the cooking time to 30-35 minutes.) Once the cooking time has elapsed, leave the Instant Pot untouched for another 10 minutes. Carefully turn the valve to venting to release the steam (protect your hand with an oven mitt). When the pressure has fully released, open the Instant Pot. If you do not have an Instant Pot, place the dried beans in a large bowl and cover with 2 inches (5 cm) of water. Soak overnight. Drain the soaked beans and transfer to a medium pot, along with 4 cups of water. Bring to a boil over high heat, reduce the heat to medium-low, and cover. Simmer for 40-60 minutes, stirring occasionally and adding more water ¼ cup at a time if the liquid dries up. Cook until the beans are tender enough to be mashed with the back of a spoon. Carefully transfer the cooked beans and liquid to a food processor, and puree until very smooth. If you have a smaller food processor, puree it in multiple batches as needed. (It’s ok to add a few drops of water if the paste is too thick.) In a thick-bottomed or nonstick pan over medium to medium-low heat, heat ¼ cup oil over medium heat. Add the bean puree and the sugar. Cook for 30-40 minutes until you have a thick paste, stirring often with a rubber spatula to prevent sticking or burning. Every 10 minutes, add another ¼ cup of oil until you’ve added 1 cup total, ensuring the oil is fully incorporated into the filling before adding more. Finally, stir in the maltose. The red bean paste is done once it can hold its shape. Let it cool to the touch before handling. If you pre-make the filling, store it in a clean, air-tight container after it has cooled completely. It will last in the refrigerator for about 1 week.
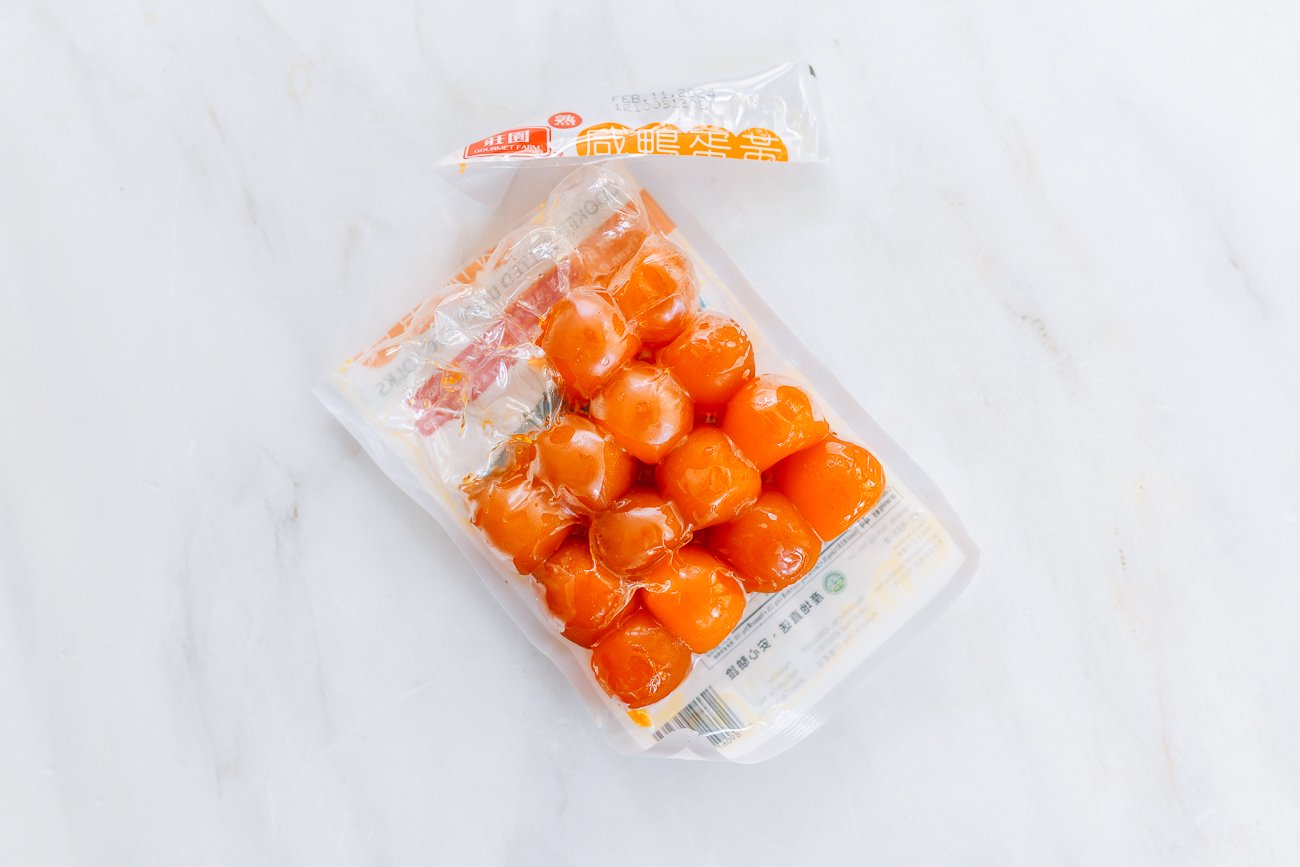
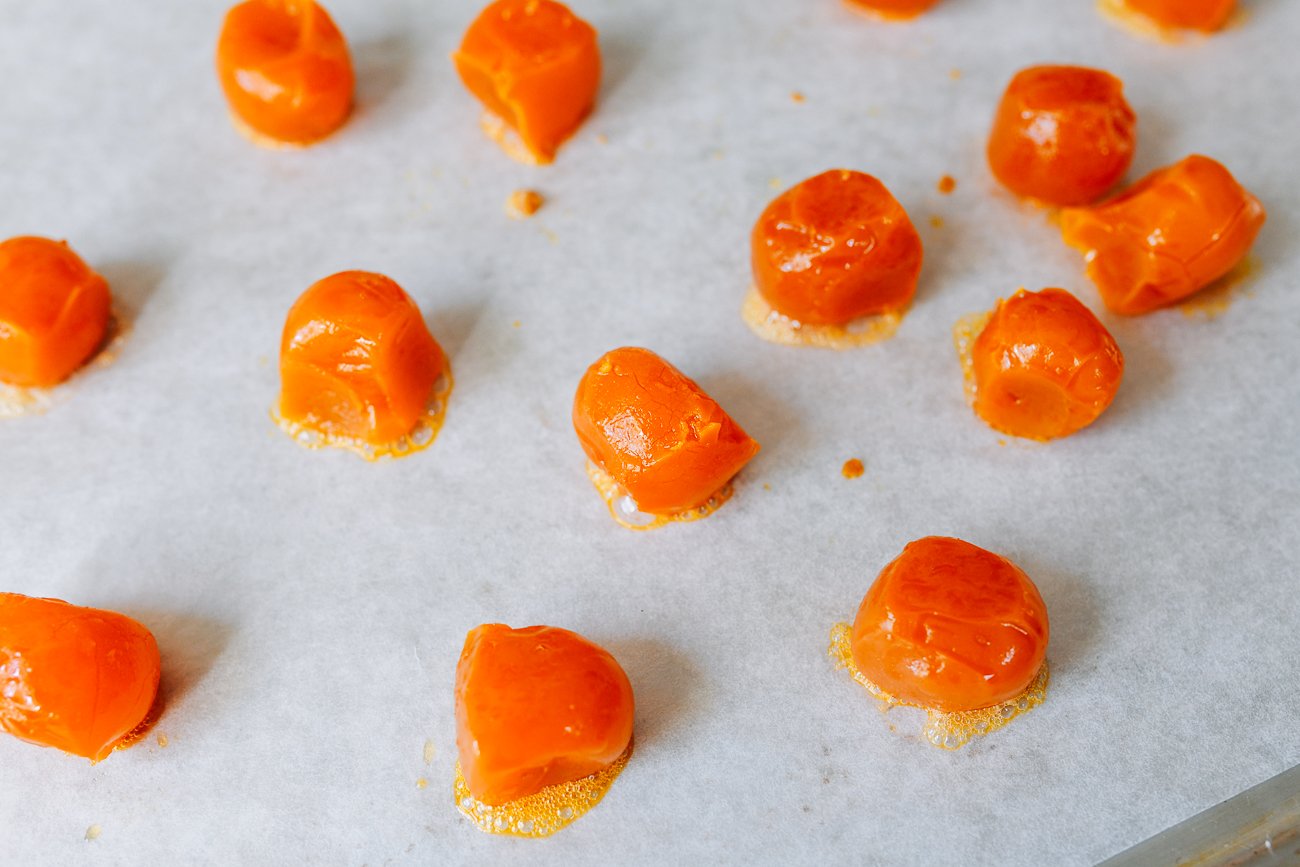
PART 2: Prepare the Salted Duck Egg Yolks (Optional)
There are a few ways to prepare the salted duck egg yolks if you’d like to include them in your mooncakes:
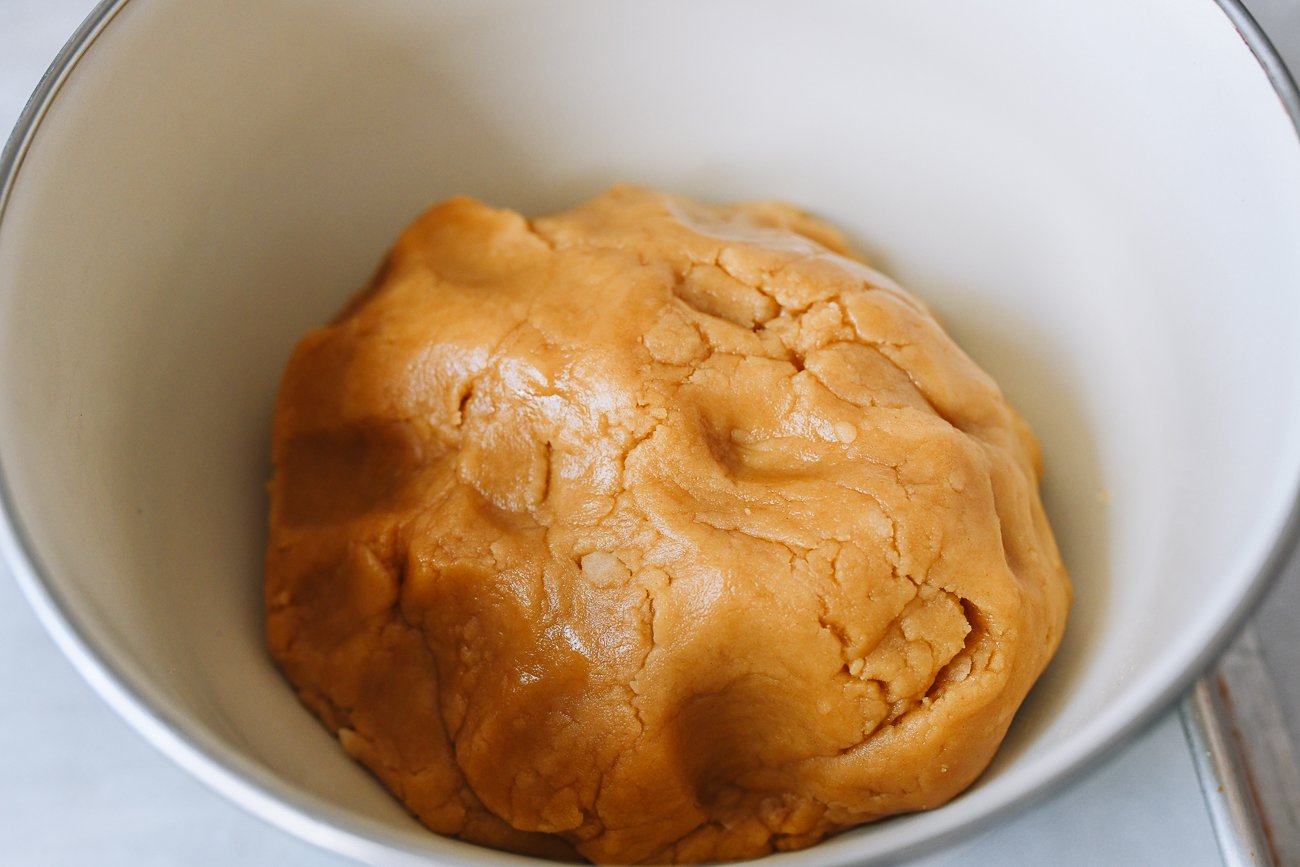
PART 3: Make the dough
This dough recipe yields about 750g, or about 30g per mooncake. You’ll need:
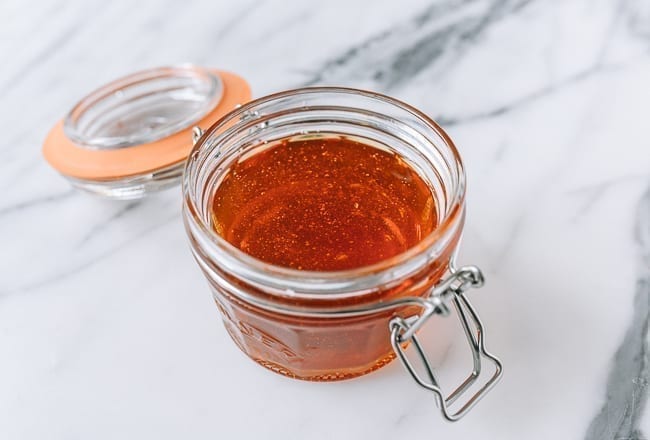
¾ cup plus 1 tablespoon golden syrup – 250g½ cup peanut oil (or corn oil) – 120 ml 1½ teaspoons Potassium Carbonate solution (AKA lye water, available at your Chinese grocery store)2¾ cups all-purpose flour (plus more for dusting) – 385g
If you have golden syrup on hand already, awesome! If not, you can follow our golden syrup recipe using just sugar, water, and lemon juice to make your own. In a mixing bowl, combine the golden syrup, oil, and Potassium Carbonate solution together with a rubber spatula. (If using cups for measuring, make sure you get almost every last drop of syrup/oil from the measuring cups into the bowl!) Then add the flour to the mixture, and use the spatula to combine everything into a soft dough. Do not overwork it. This step should only take 1-2 minutes. Cover the dough in an airtight container or with an overturned plate. Let it rest in the refrigerator for at least 1 hour or overnight. Chilled dough is much easier to work with.
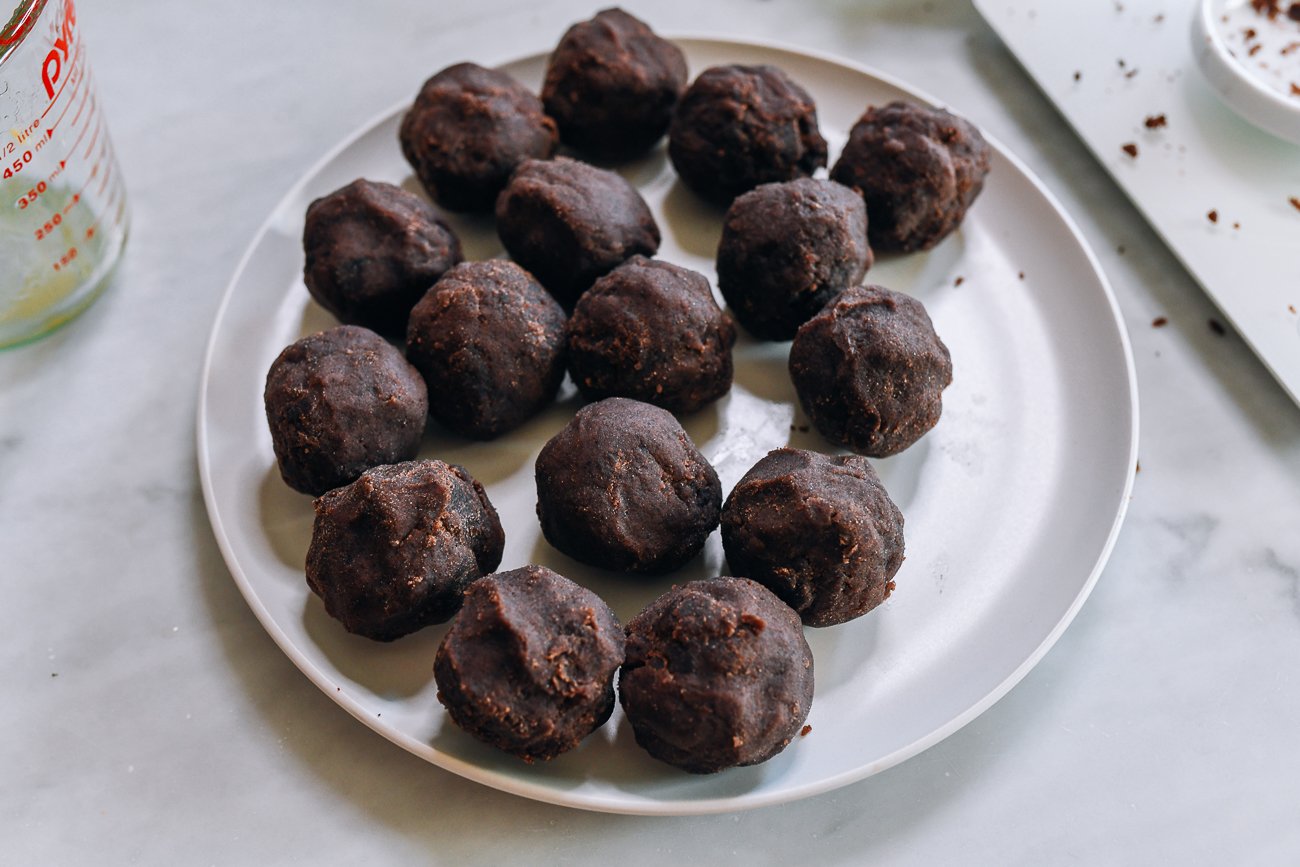
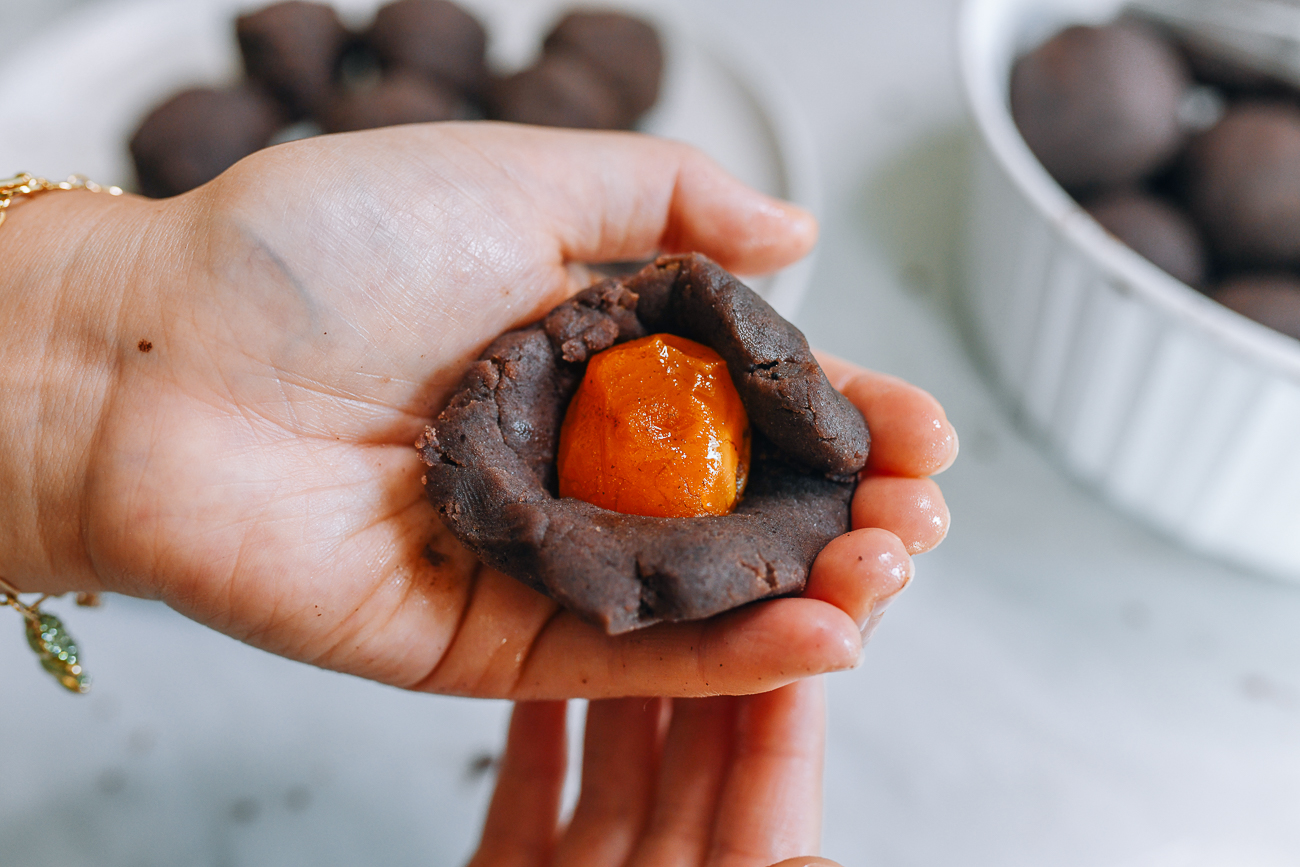
PART 4: Assemble the Mooncakes
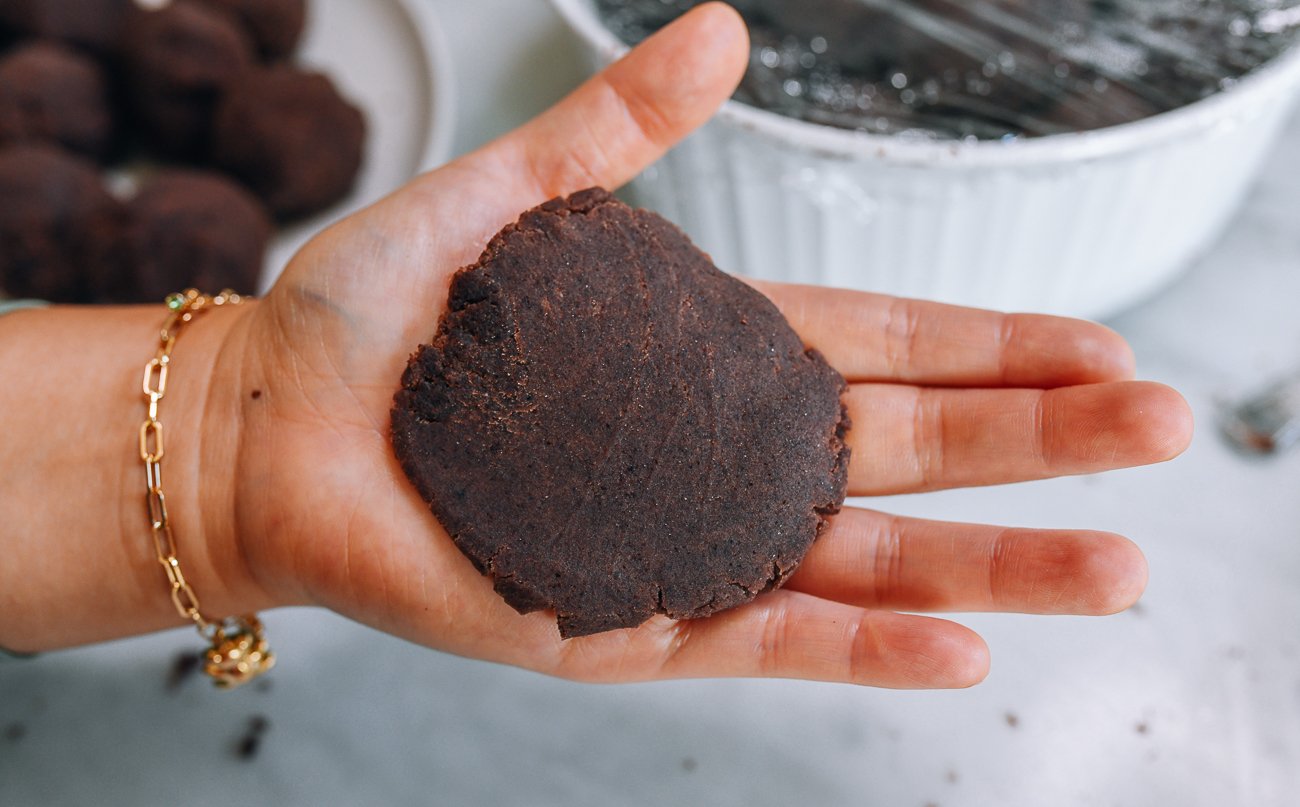
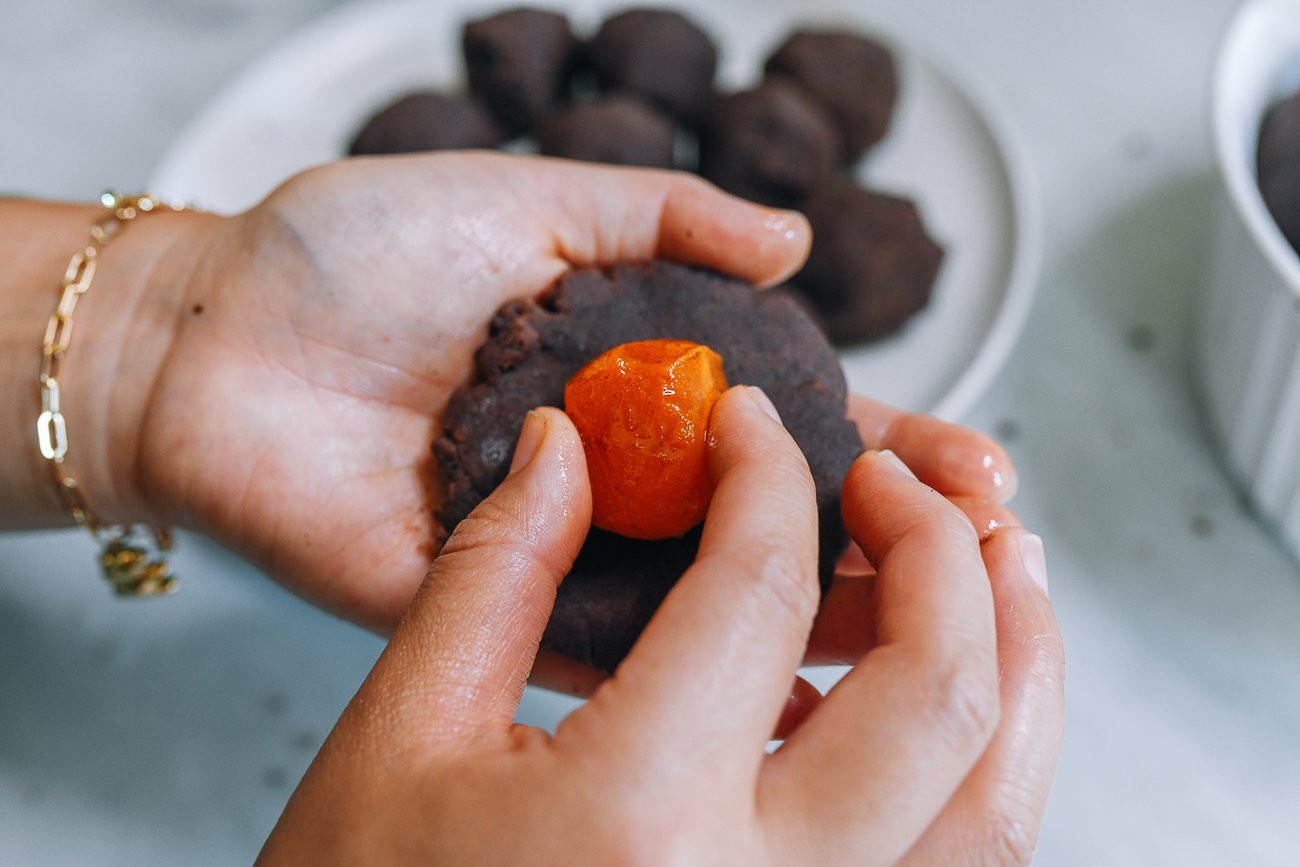
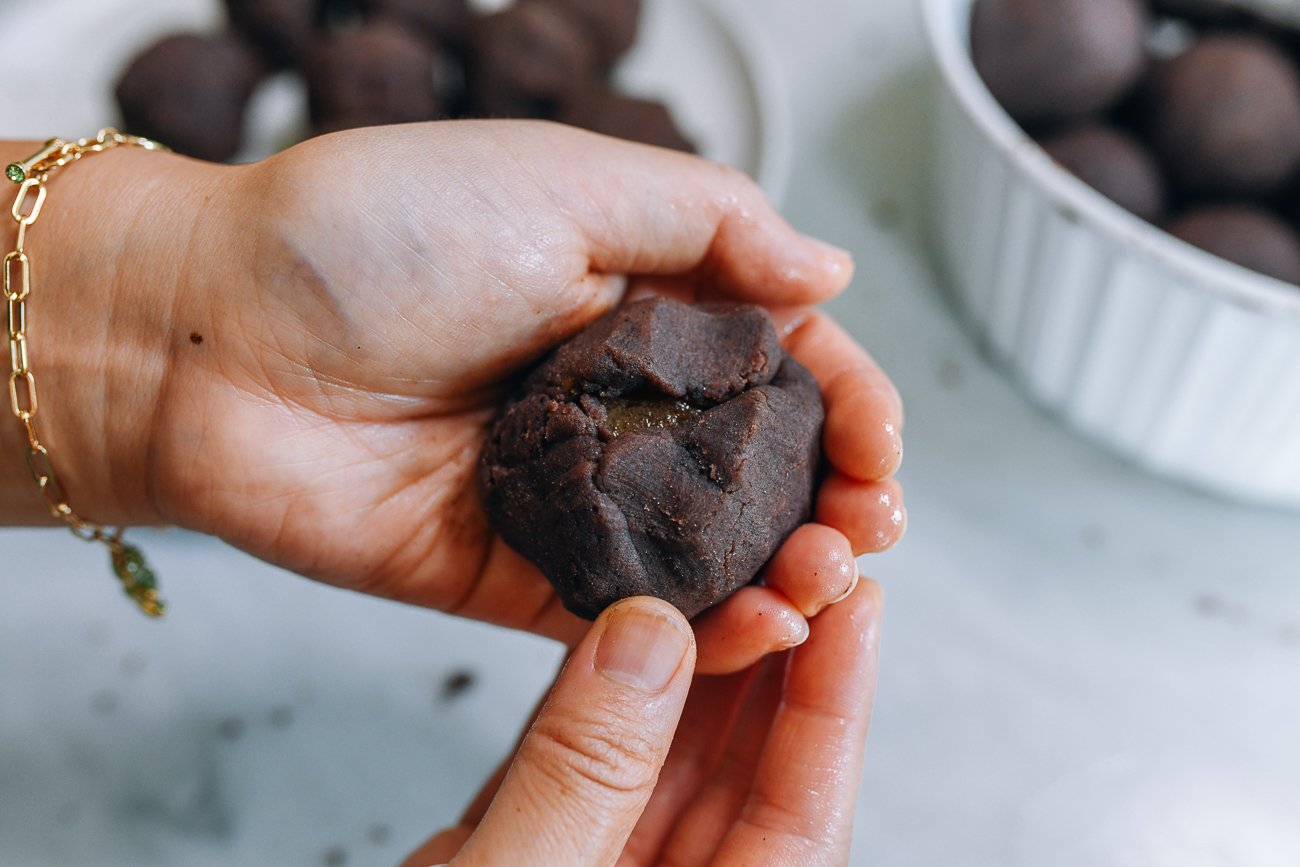
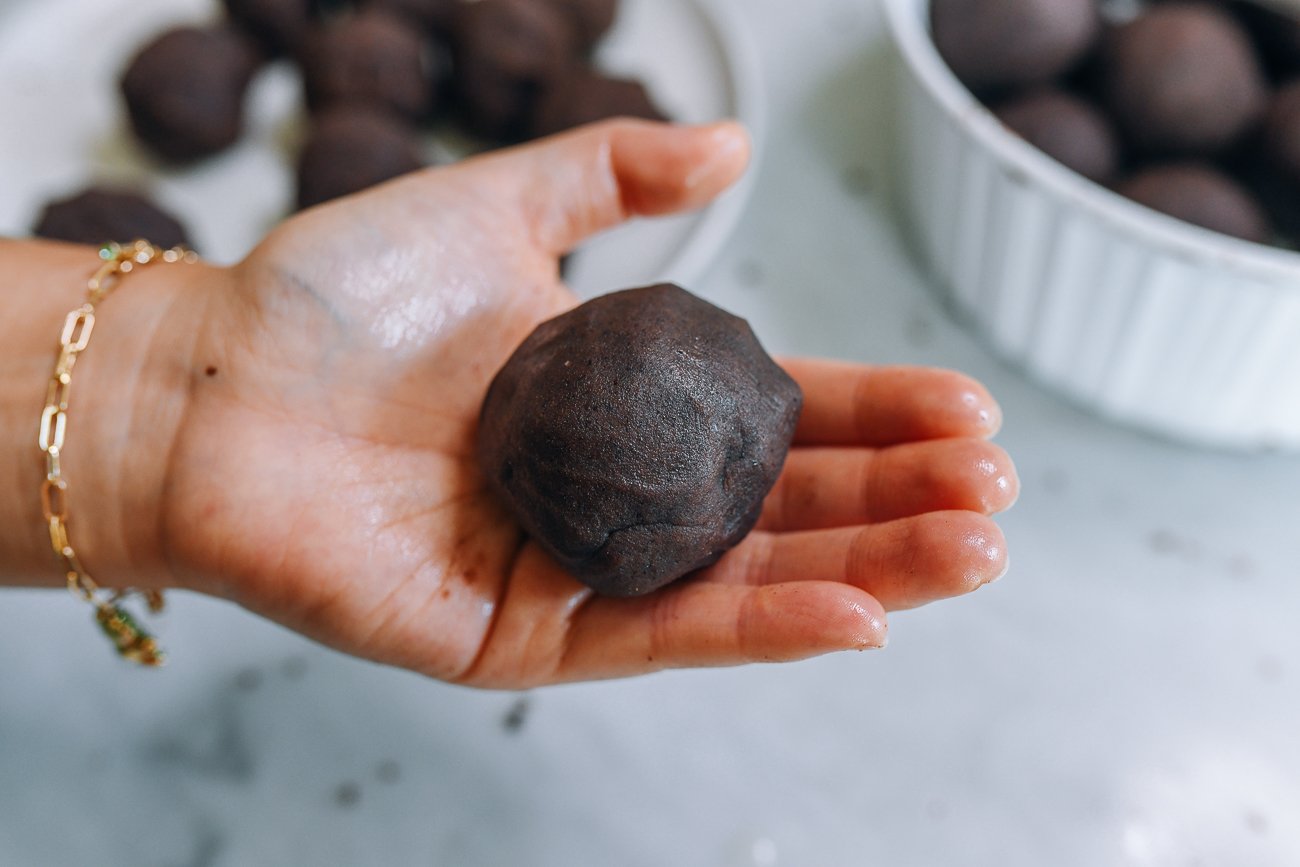
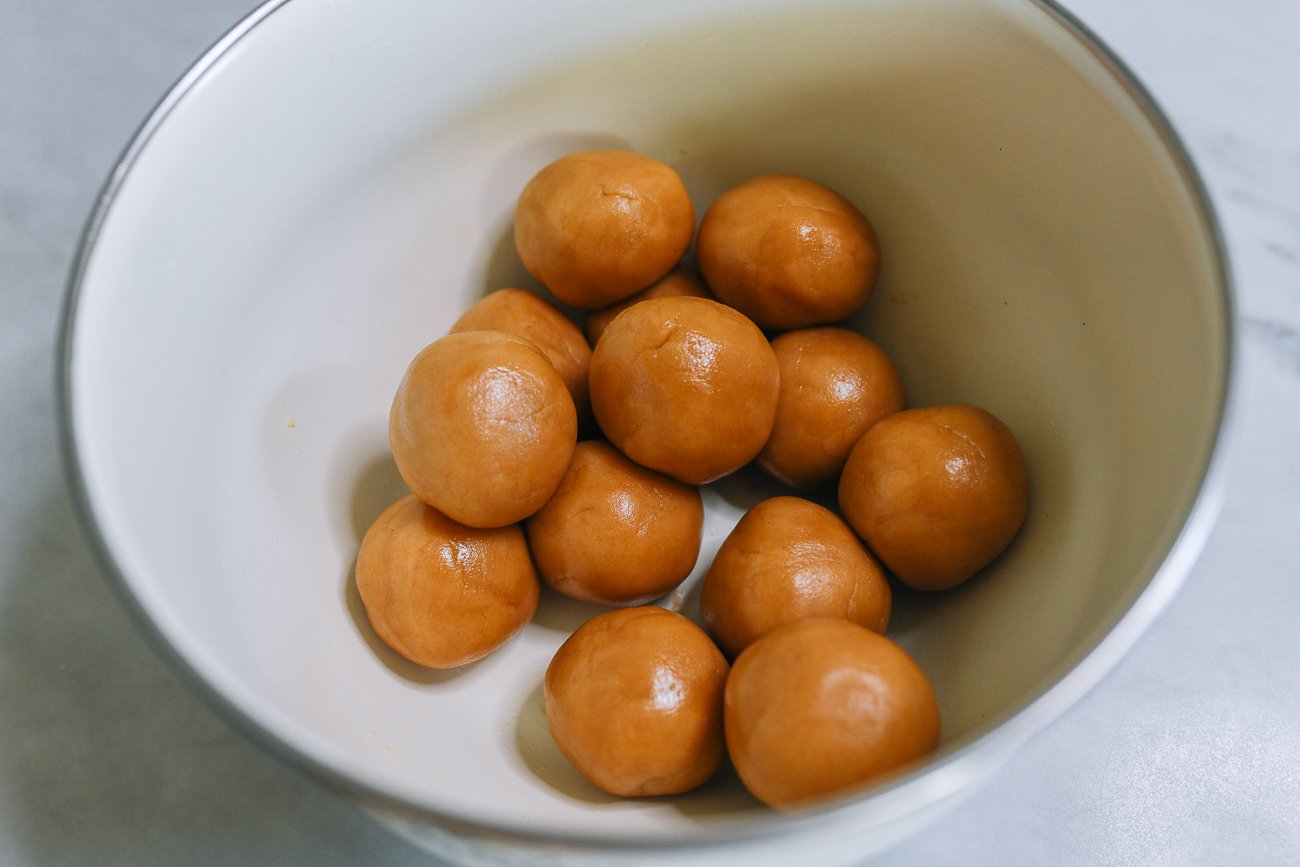
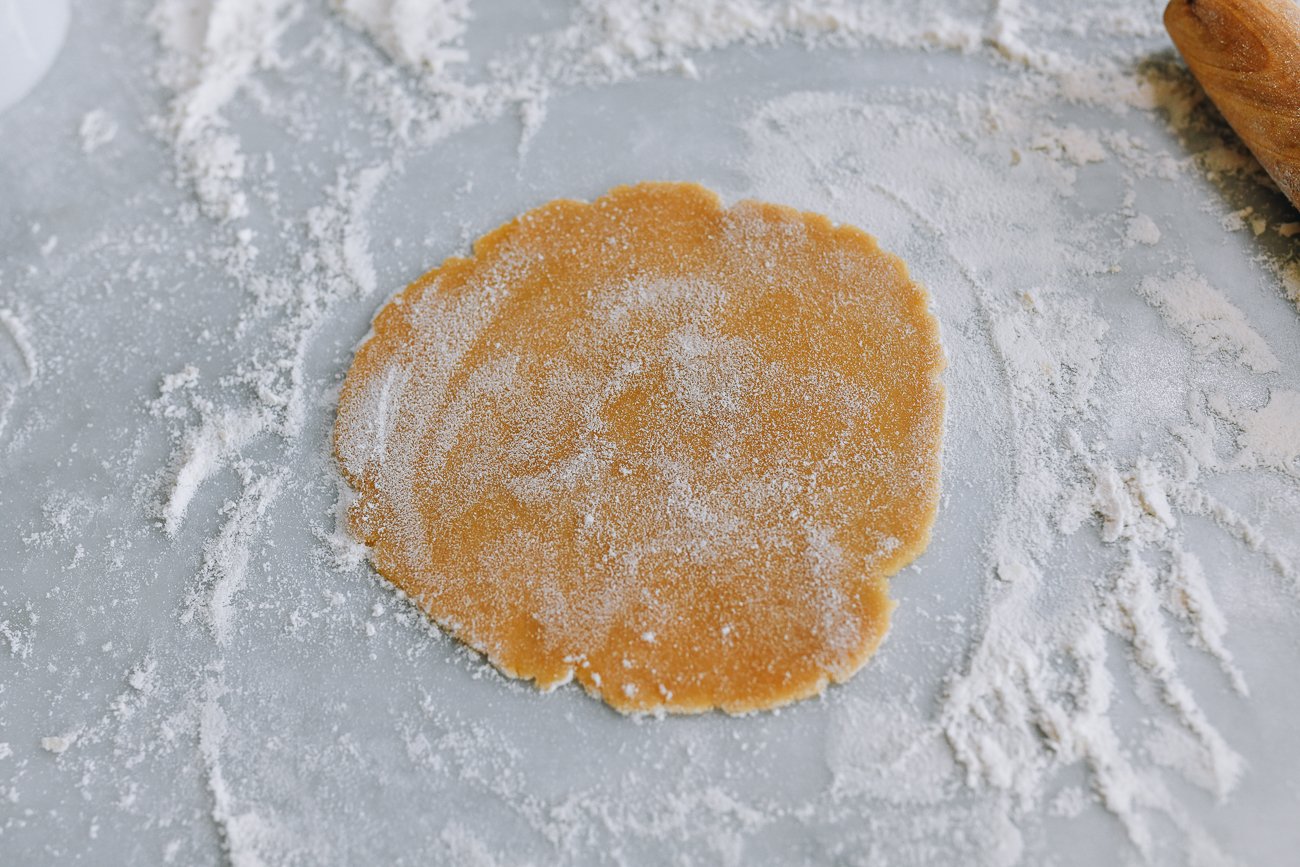
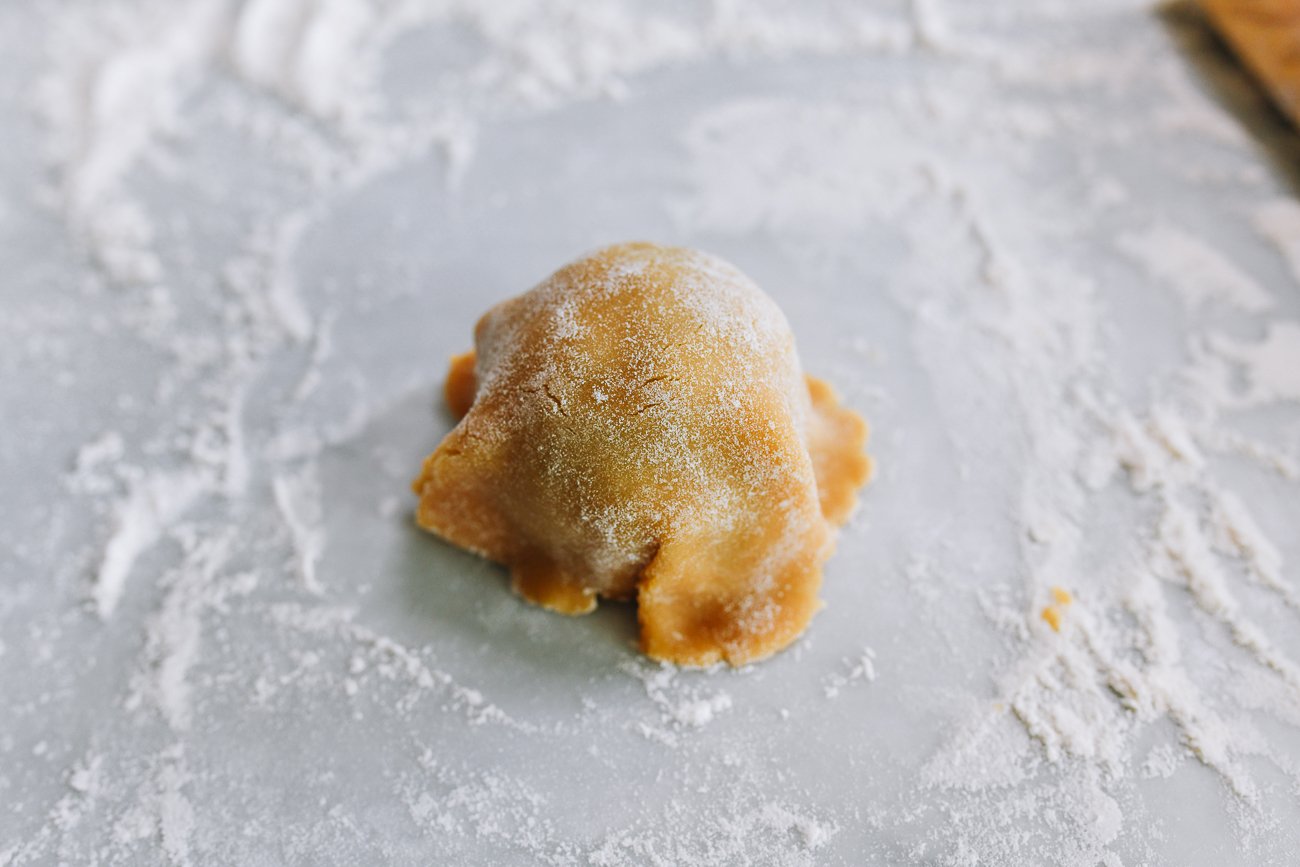
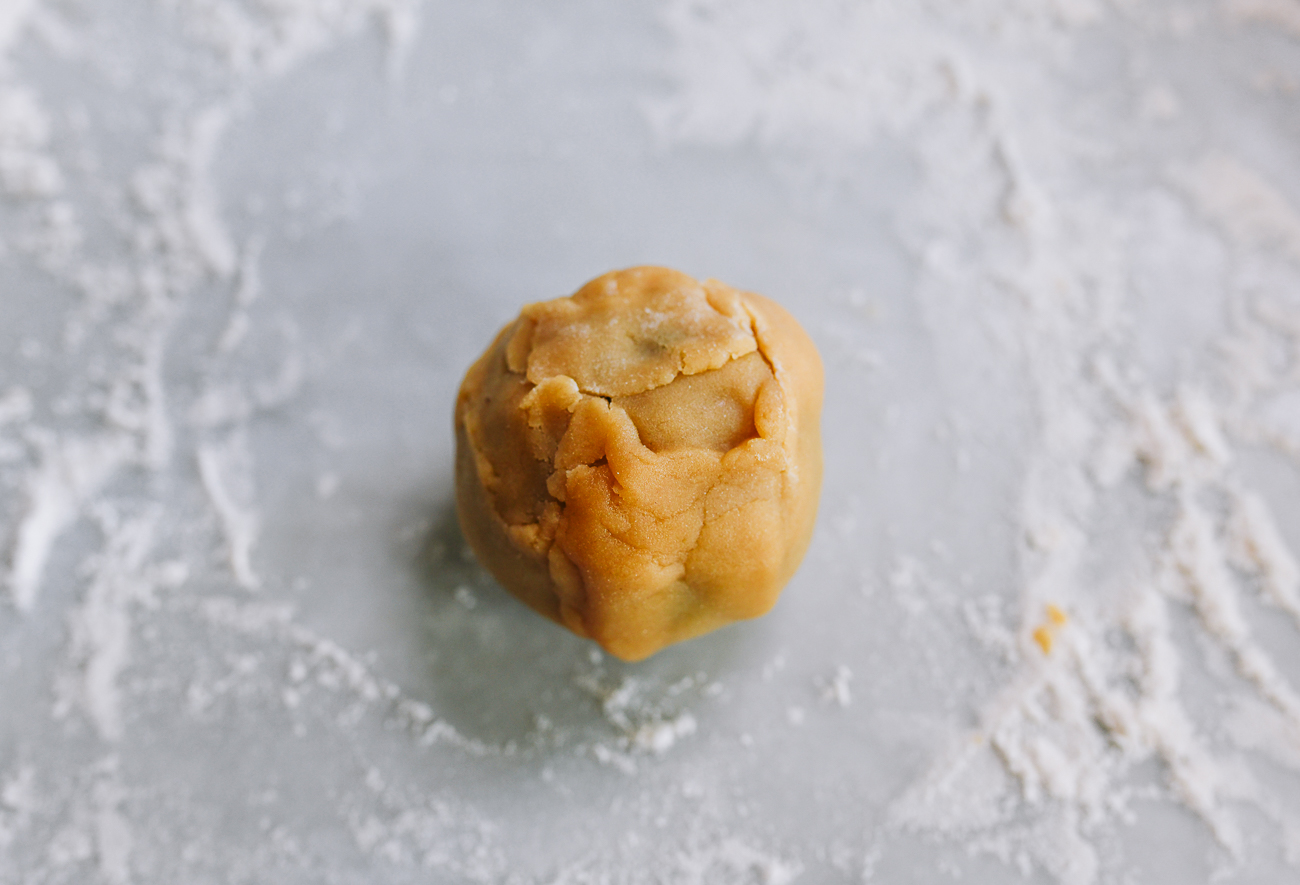
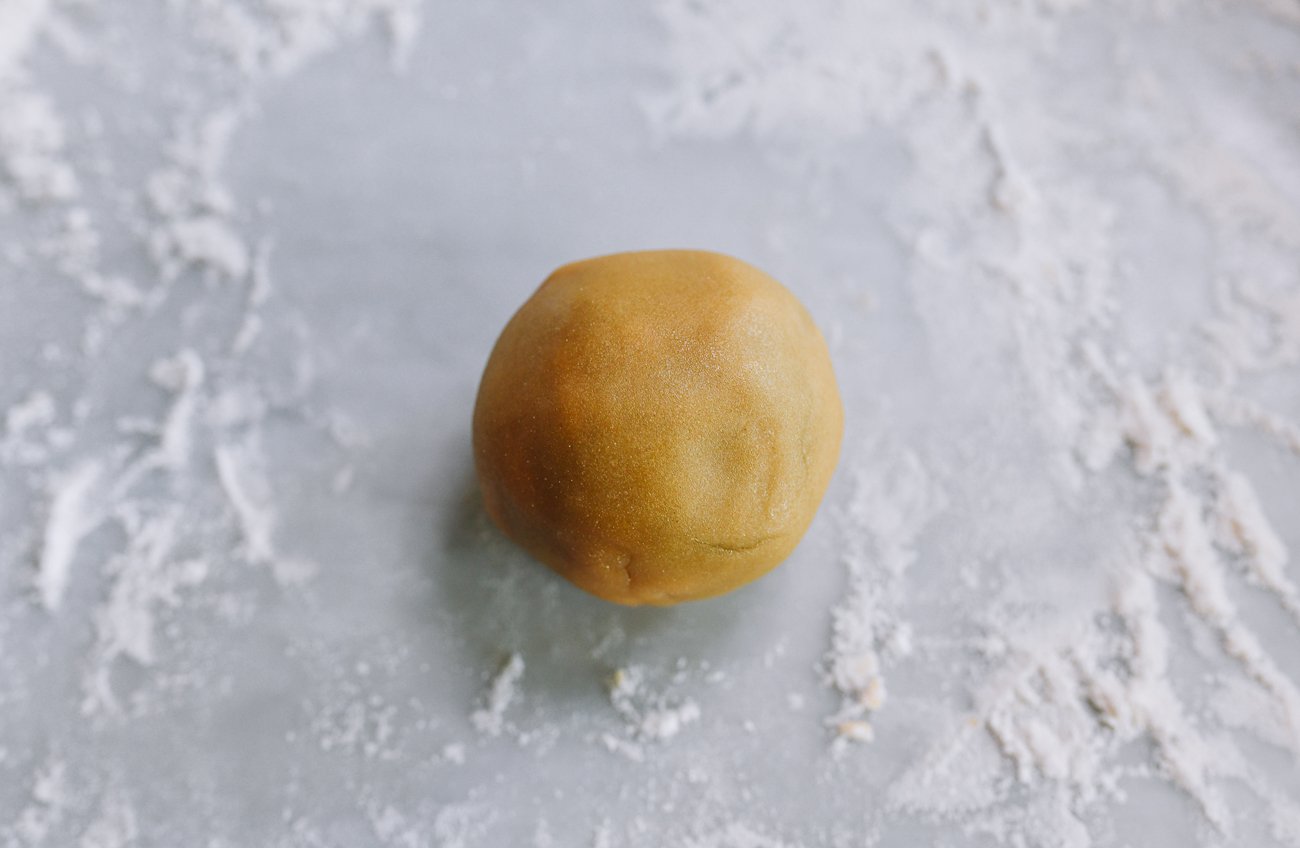
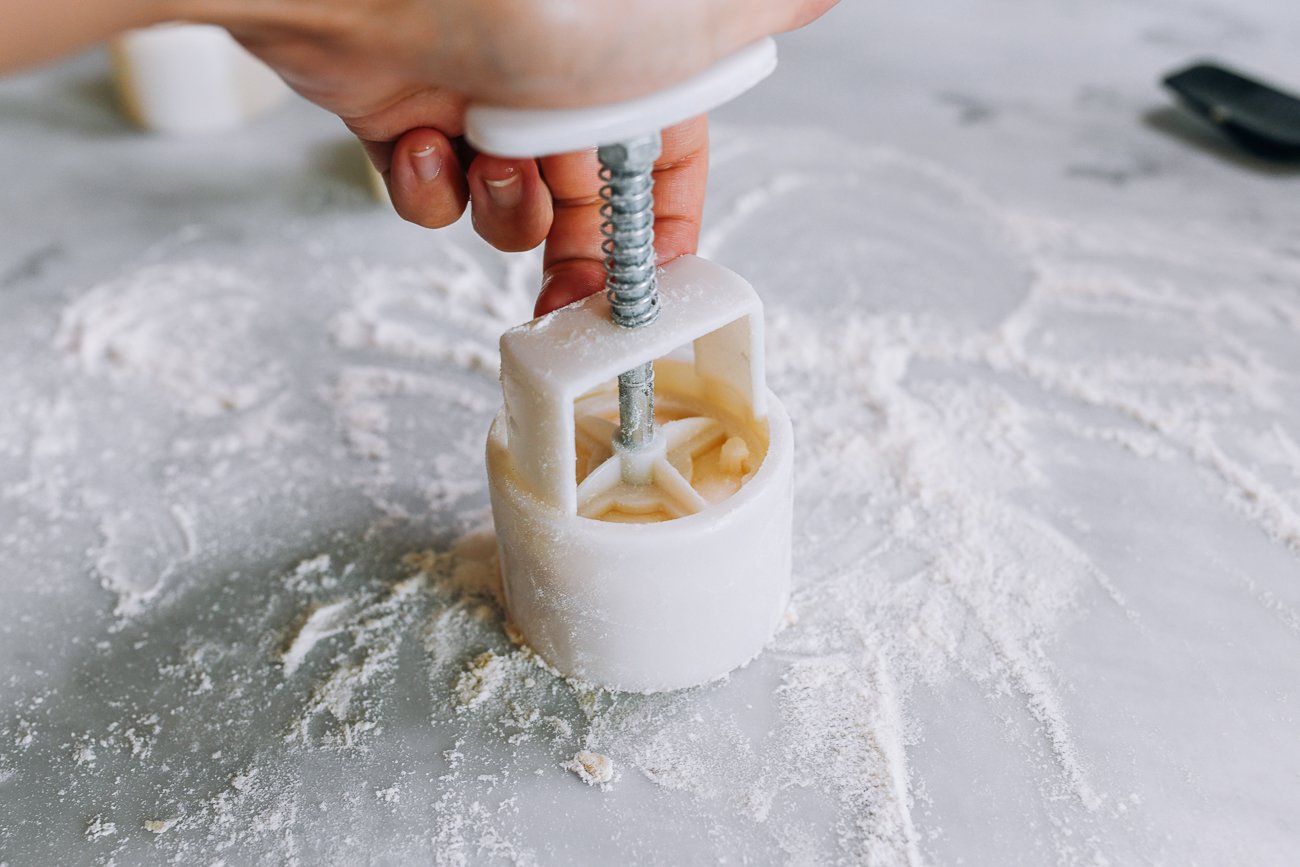
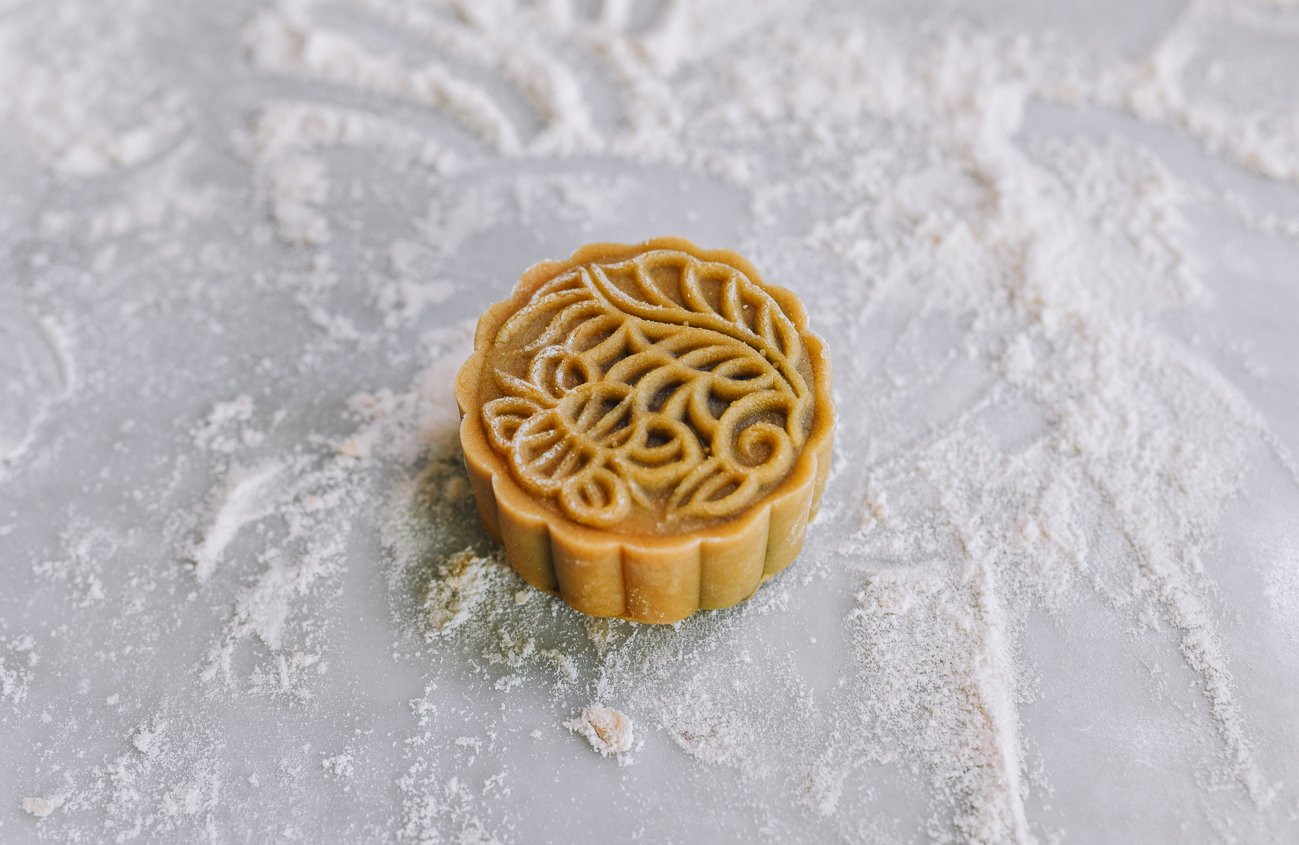
While the dough is resting, start preparing the filling. Separately weigh out twenty-four 55g scoops of red bean paste filling. With lightly oiled hands, shape each portion of filling into a smooth ball. If using salted duck egg yolks, make a deep well in the middle of each ball, and insert the yolk. Alternatively, shape the filling into a flat disc, place the yolk in the center, and then close the paste around it. Re-shape the red bean paste into a ball and repeat with the remainder of the ingredients. Cover tightly and refrigerate until you’re ready to assemble the mooncakes. Once the dough has finished resting, divide and weigh the dough into twenty-four 28-30g pieces, plus 1 smaller dough ball for scraps/mending. Shape each piece into a ball, and keep in a covered container to chill in the fridge. You’ll only be working with a couple dough balls at a time. It’s time to prepare the mooncake mold. My mold came with four pattern plates––one plate should be attached to the mold itself and locked in place. Dust the inside of the mold with plenty of flour and shake off the excess. You’ll need to do this before pressing every mooncake to avoid sticking. Take one dough ball, lightly dust it with flour, and roll it out on a lightly floured surface into a 4-inch/10cm round. Use a thin, flat spatula to lift up the dough, and place it on top of a ball of filling. Gently press out the air bubbles around the filling. Now turn the opening facing up, and slowly press the dough together to close the opening, keeping the dough distribution as even as possible. The dough will crack easily, but it’s also easy to squish back together or patch with an extra scrap of dough. The chief goal here is to close the dough around the filling without capturing air inside. Roll between your hands to create a smooth ball. Now, lightly dust the assembled ball with additional flour. Place it on a lightly floured work surface, then press the mooncake mold onto the ball until the base of the mold makes contact with the work surface. Firmly press down on the spring until you feel resistance. Lift the mold and gently press the mooncake out of the mold. If any dough gets stuck in the mold or you have areas where the filling is peeking through the dough, get a small piece of the scrap/mending dough to patch up the area. Then clean the mold (a toothpick helps get dough out of any nooks and crannies in the mold) and dust it well with flour again. Then gently press in on all sides of the mooncake to make it smaller, so it can go back in the mold for re-shaping. Use more flour for dusting if this becomes a persistent issue. Place the mooncakes on a baking sheet about 1 inch (2.5cm) apart as you make them. Repeat until you’ve assembled all the mooncakes. (Note that they will not change size during baking.)
Part 5: Bake the Mooncakes
To bake the mooncakes, you’ll need:
1 egg yolk3 tablespoons water, plus more for misting
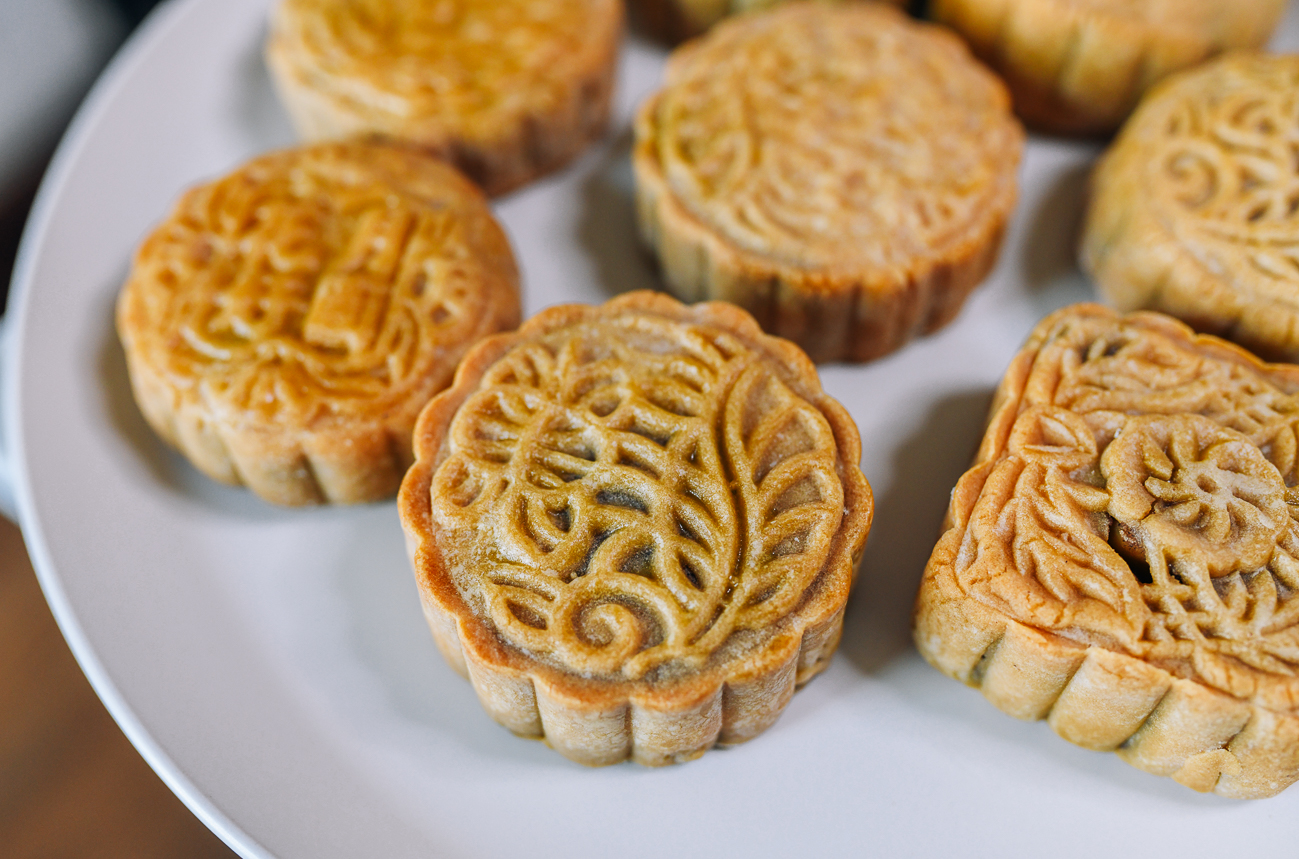
Preheat the oven to 325°F/160°C when you’re almost finished assembling the mooncakes. Right before baking, gently mist the mooncakes with a food-grade spray bottle (if you have one) filled with water. You can also dip your fingers into a bowl of water, and fling the water on your fingers onto the mooncakes a couple of times. This prevents the dough from cracking. Immediately put the mooncakes in the oven and bake for 5 minutes. (Remember to set the timer!) Now prepare the egg wash by whisking the egg yolk and 3 tablespoons of water together. After the mooncakes have been baking for 5 minutes, take them out of the oven and immediately lower the oven temperature to 300°F/150°C. Very lightly brush each mooncake with egg wash (preferably using a natural bristle pastry brush), being careful not to allow any egg wash pool in the nooks and crannies of the mooncakes. Put them back in the oven, and bake for another 15 minutes. When the mooncakes first come out of the oven, the dough will look a bit dry, and not oily like what you are used to when opening packaged mooncakes. This is normal. Cool completely, and then store the cooled mooncakes in an airtight container for 1-2 days, and the outside will get that nice shiny sheen you recognize! Store your mooncakes in an airtight container in the refrigerator for up to 10 days, and enjoy!
Watch Video: