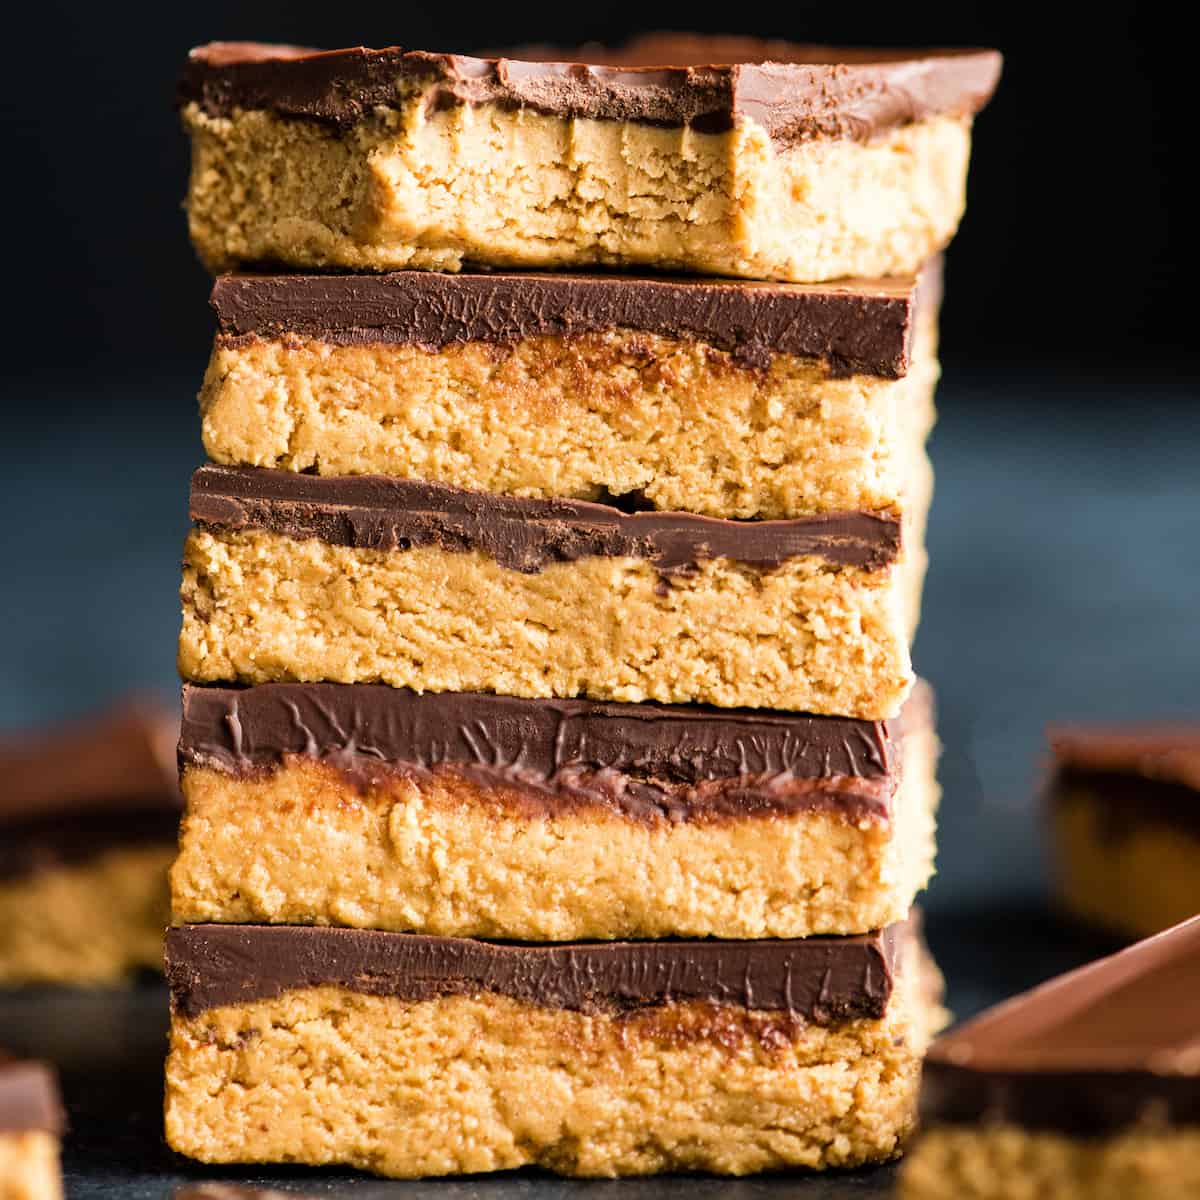
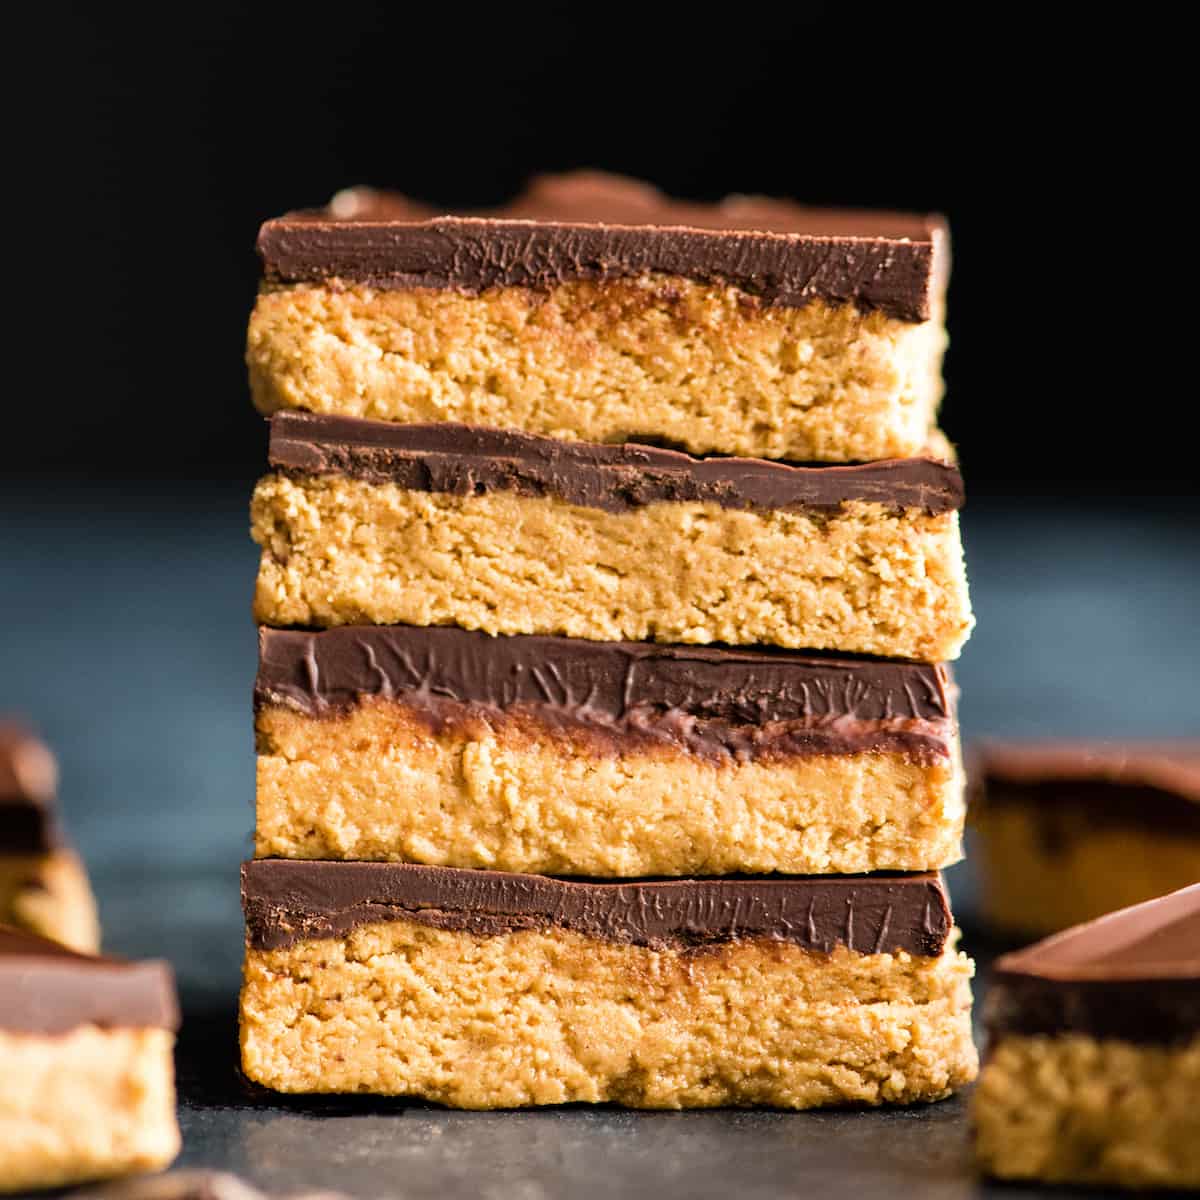
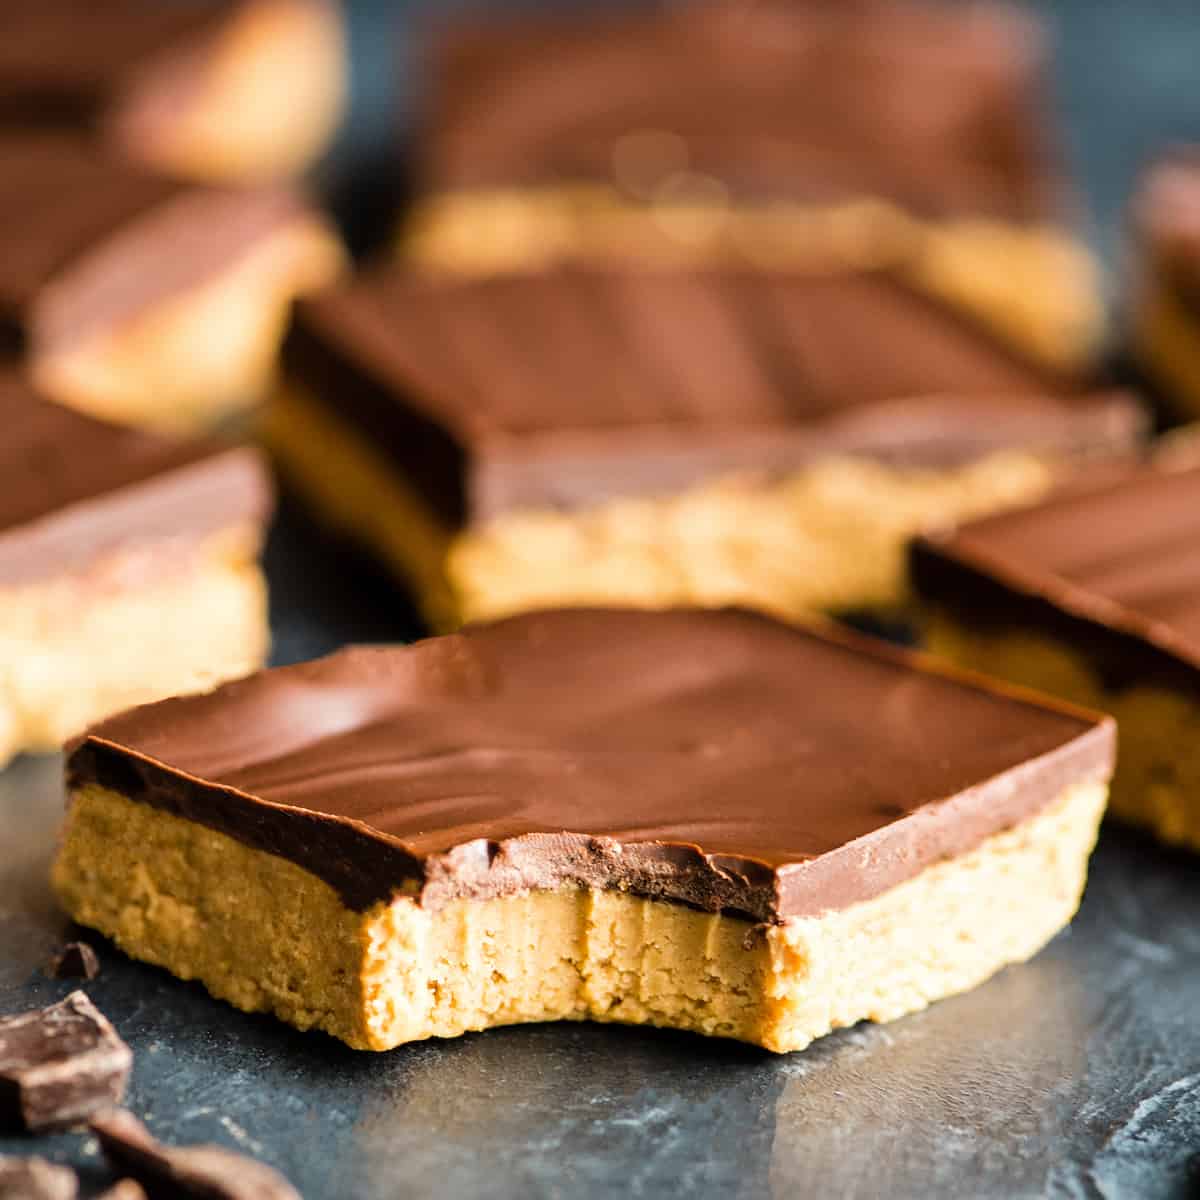
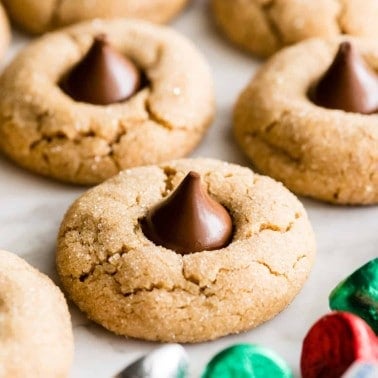
Posted Dec 09, 2018, Updated May 18, 2024 These No-Bake Chocolate Peanut Butter Bars are my husband’s favorite Christmas cookie, and rank pretty high up there for me too (along with these soft peanut butter cookies and cut-out sugar cookies)! They taste like a peanut butter cup but are much easier to make.Chocolate peanut butter bars will be the star of your Christmas Cookie tray, and they only require 15 minutes & less than 10 minutes to make.
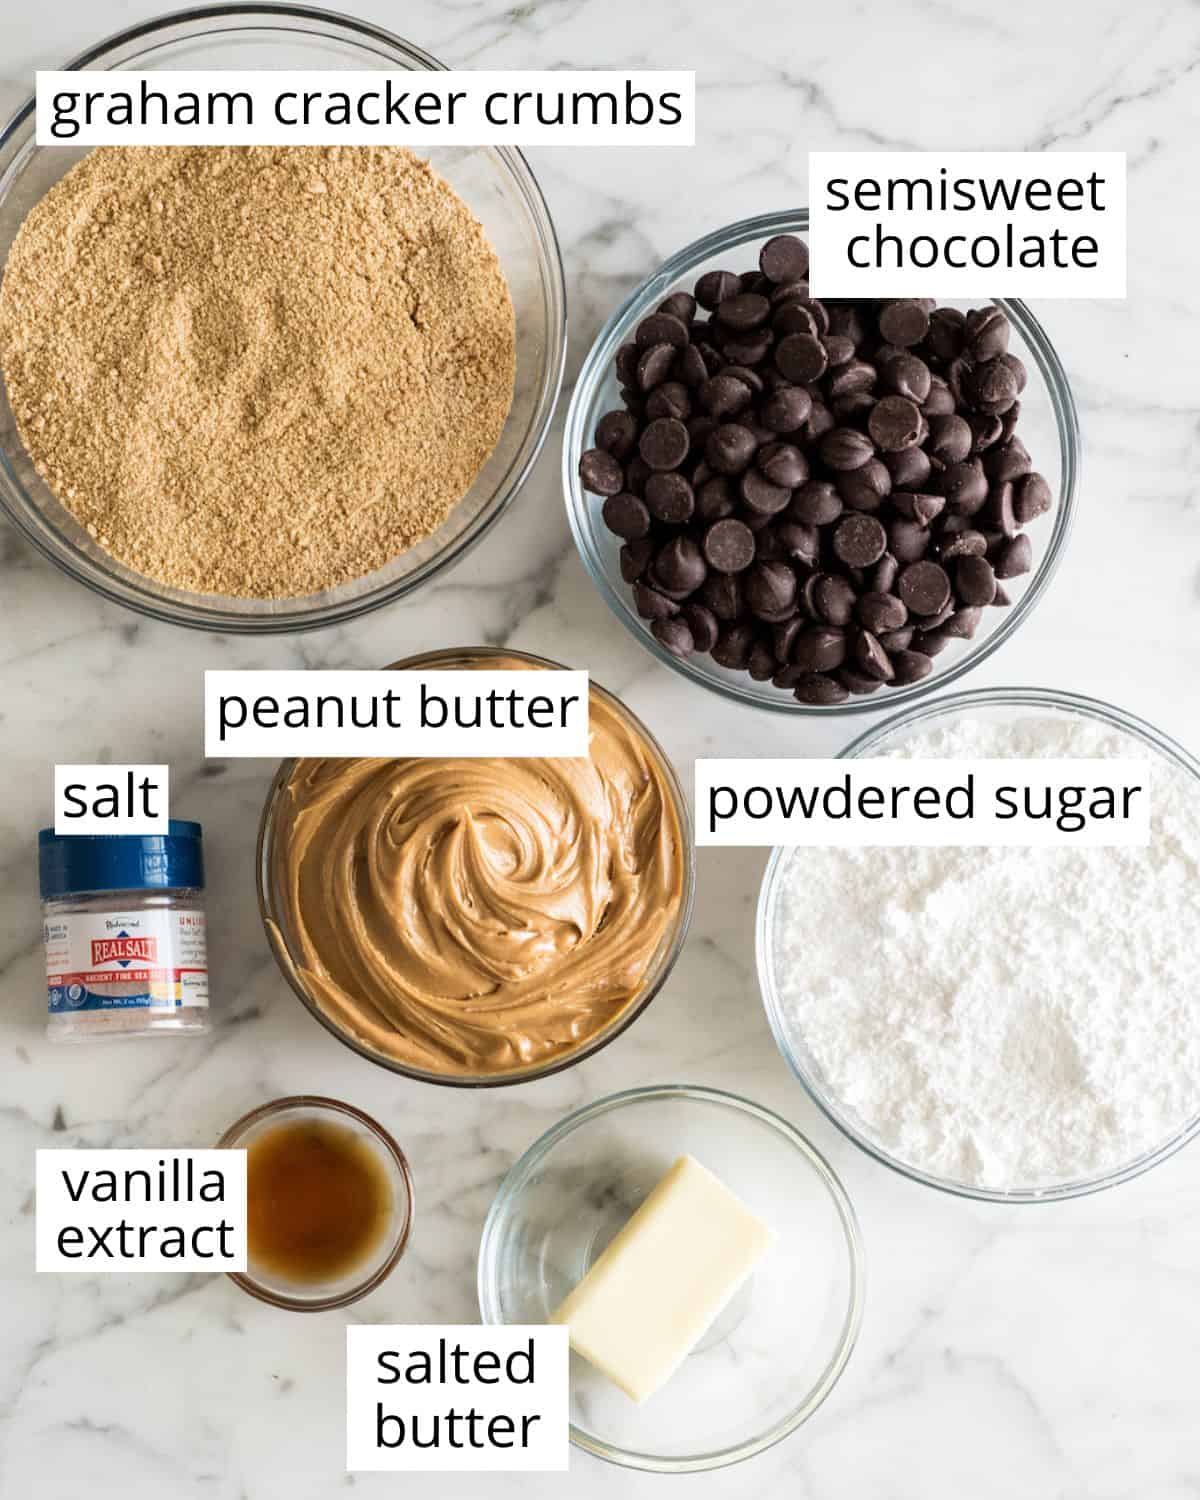
Chocolate Peanut Butter Bars: Ingredients & Substitutions
Salted Butter: unsalted butter or vegan butter are good substitutes. Peanut Butter: Make sure it’s creamy and not too liquidy. I prefer a natural, no-stir variety so that the bars hold up better as they reach room temperature. If you choose to use a more runny peanut butter you will need to serve these bars cold or add more powdered sugar or graham cracker crumbs to get them to hold up well at room temperature. Graham Cracker Crumbs: use store-bought or make your own. Chocolate Chips: Our favorite chocolate of choice is a semi-sweet variety. However I have used milk chocolate, dark chocolate, and even white chocolate with good results!
How to Make Chocolate Peanut Butter Bars
We’ll walk through the recipe step-by-step, and don’t forget to watch the video.
Make the Peanut Butter Layer
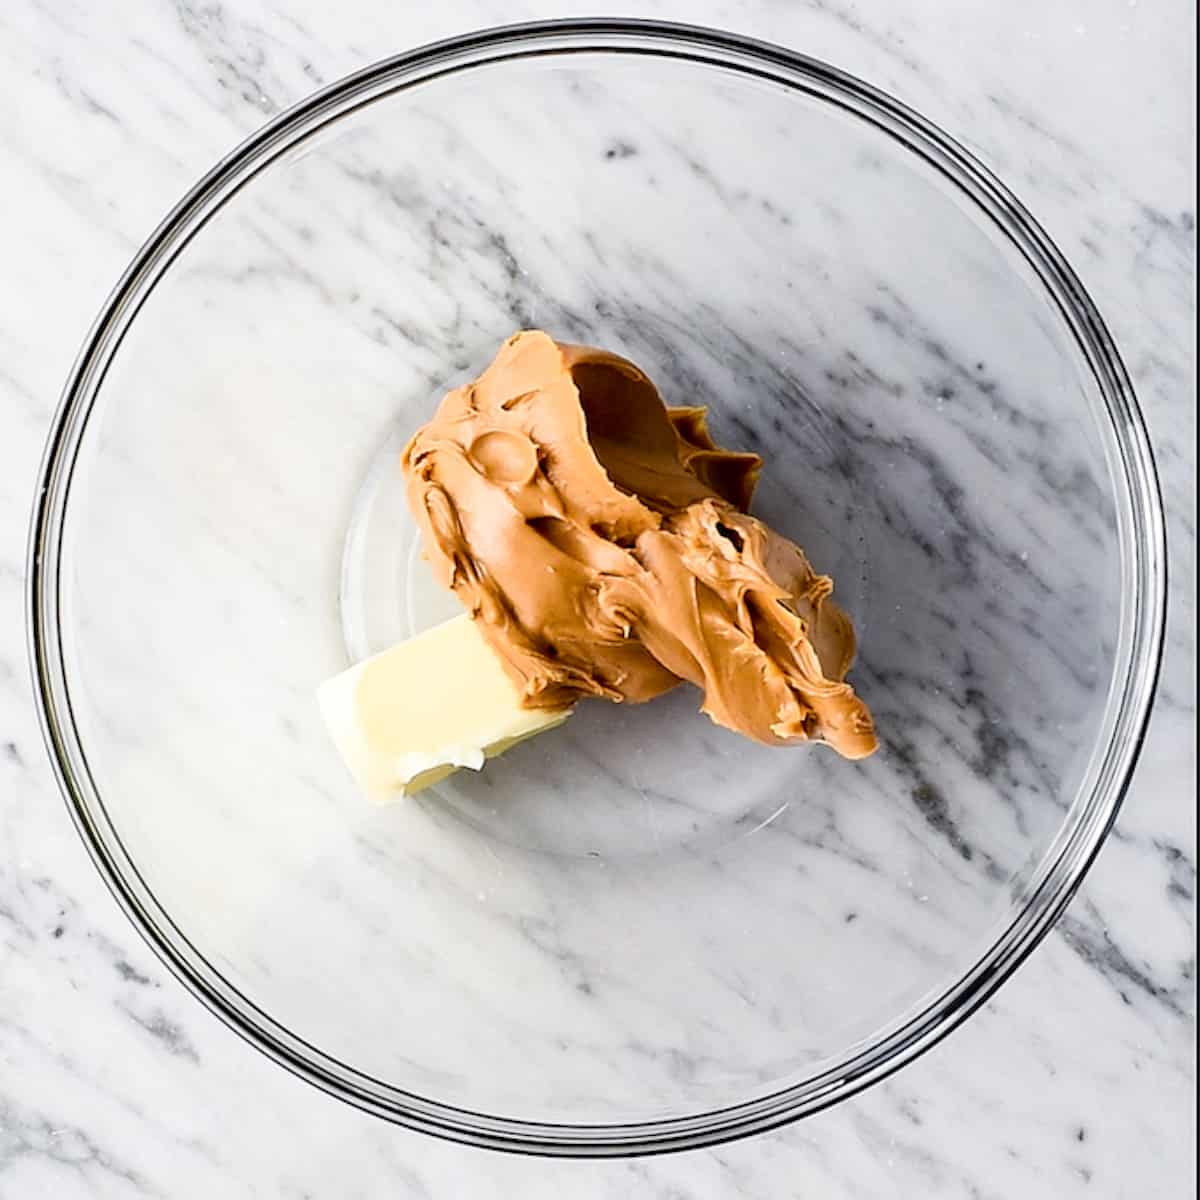
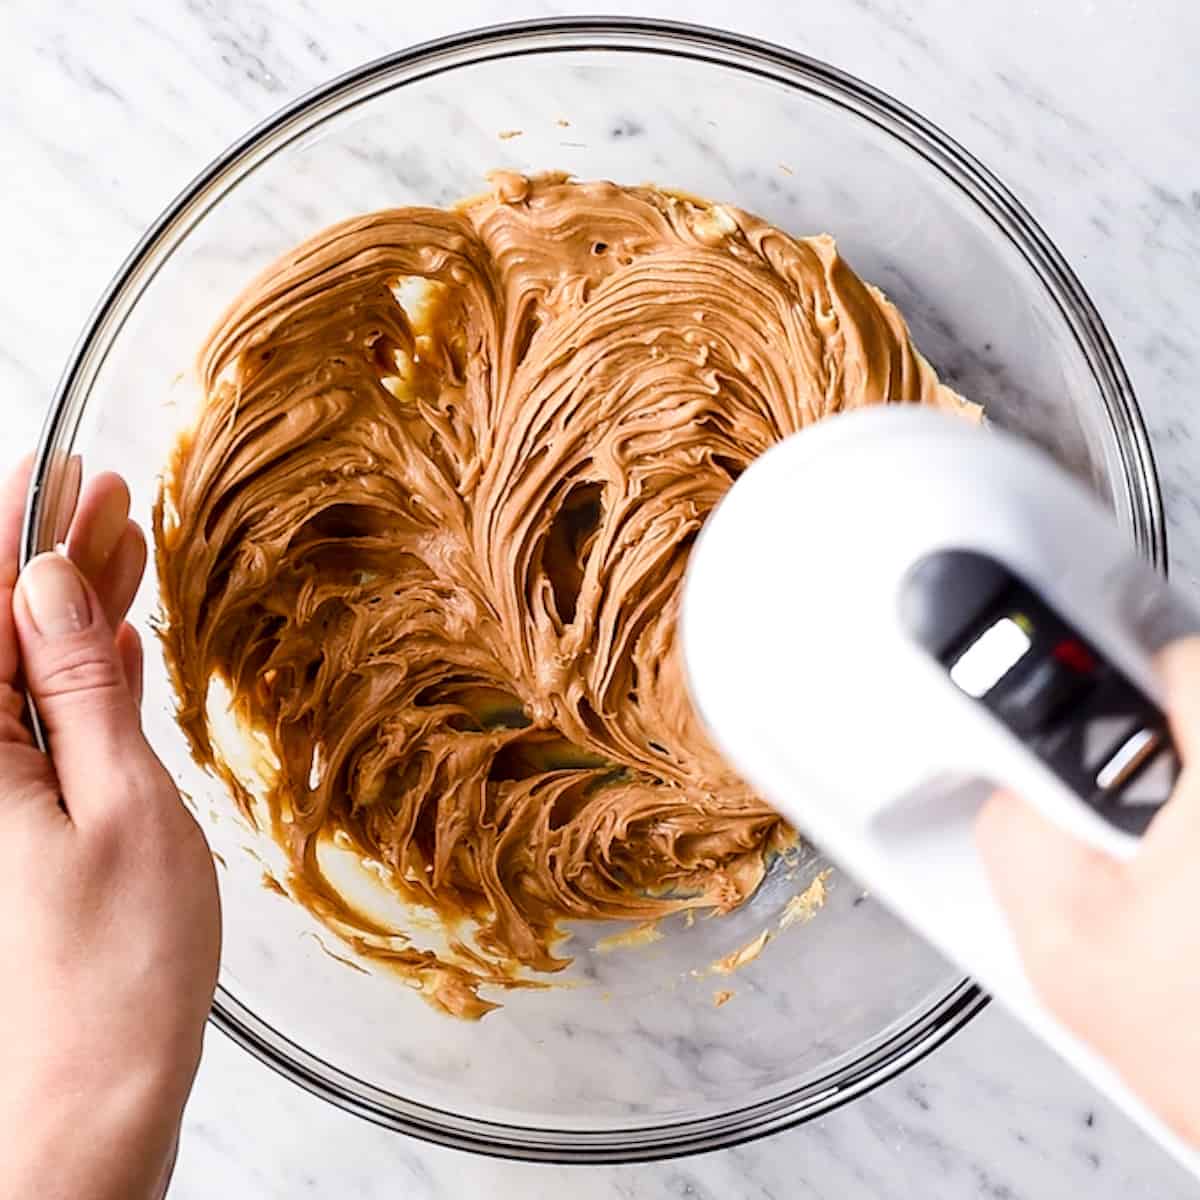
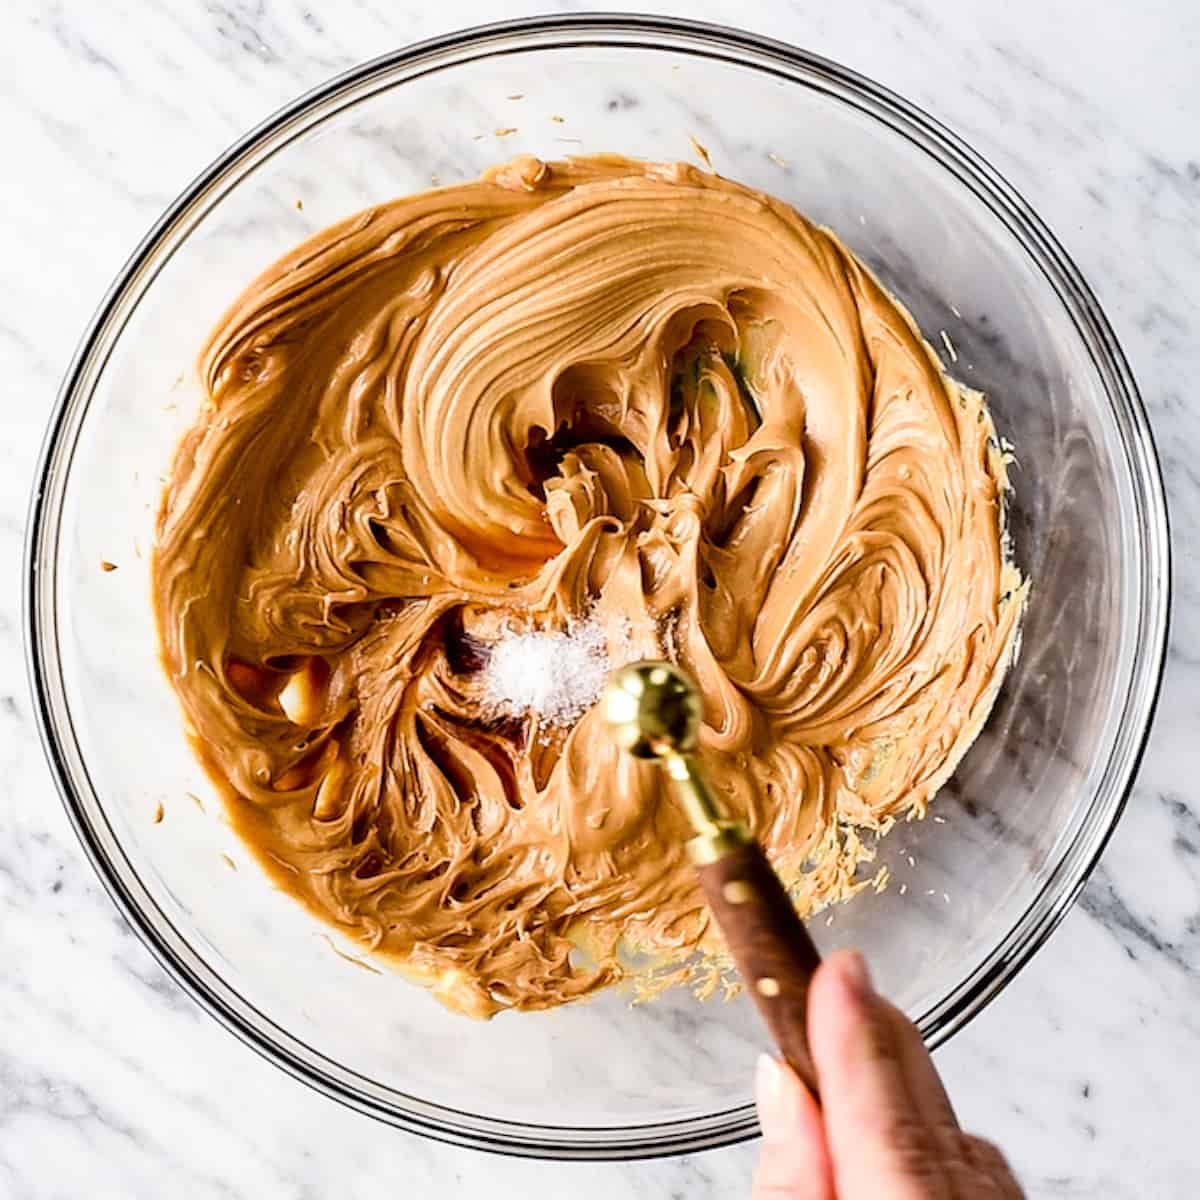
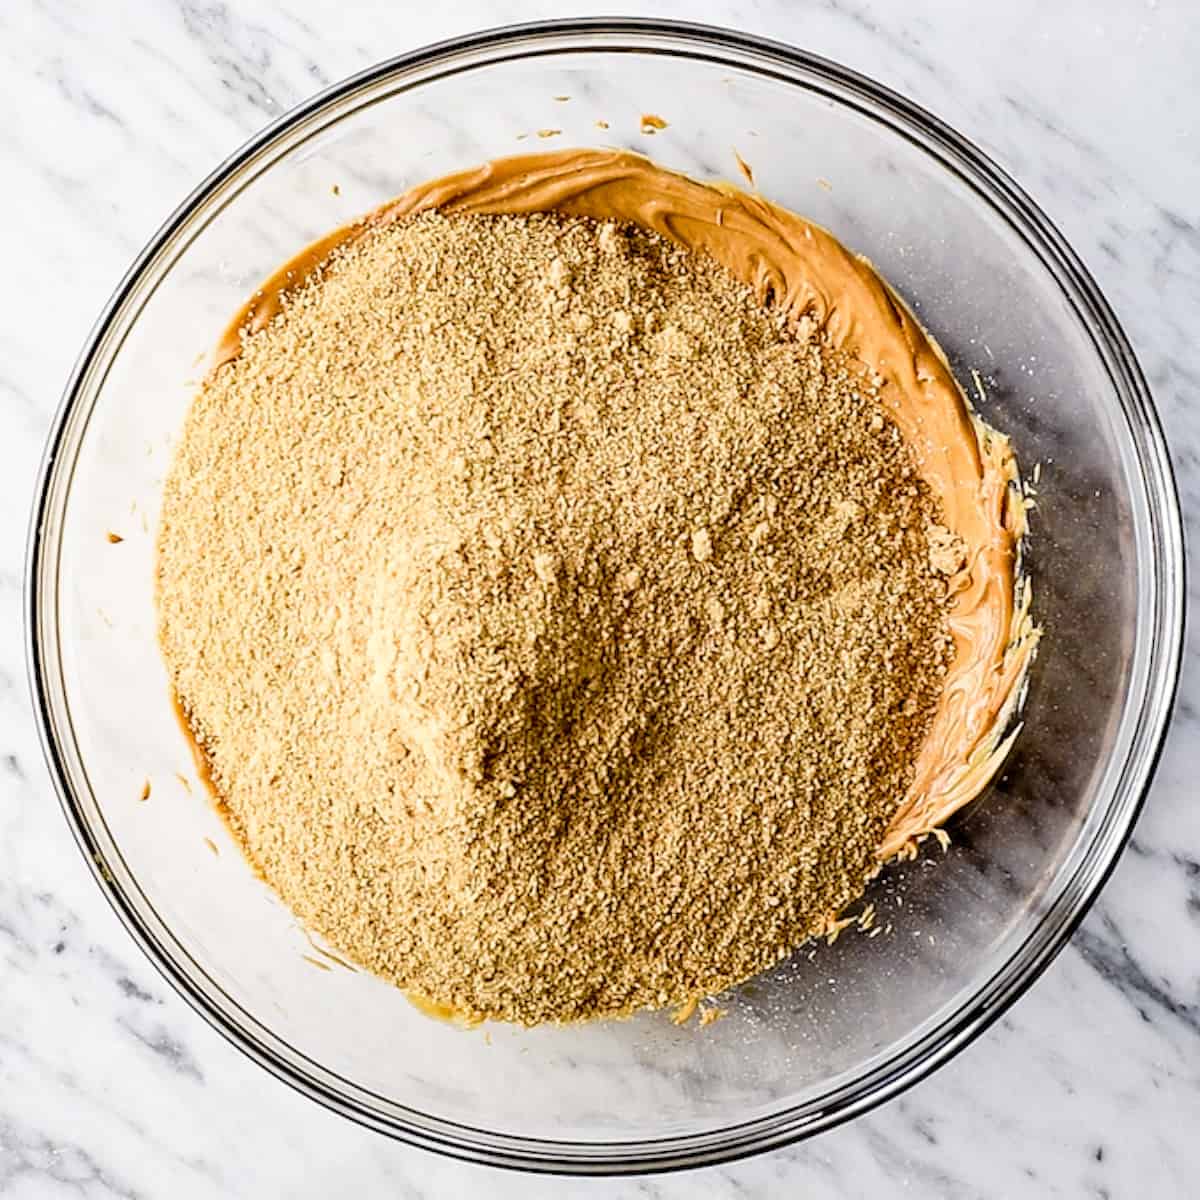
To make the peanut butter bar layer, start with creamy peanut butter and softened butter. Using a mixer, cream the butter and peanut butter together until smooth. Next, add the vanilla and sea salt. Beat again with your mixer, starting on low speed and increasing to medium-high until the ingredients are just combined. Next add the powdered sugar. If you want a refined-sugar free option, make your own homemade powdered sugar by following this recipe. Next, add the graham cracker crumbs.
How to Make Graham Cracker Crumbs
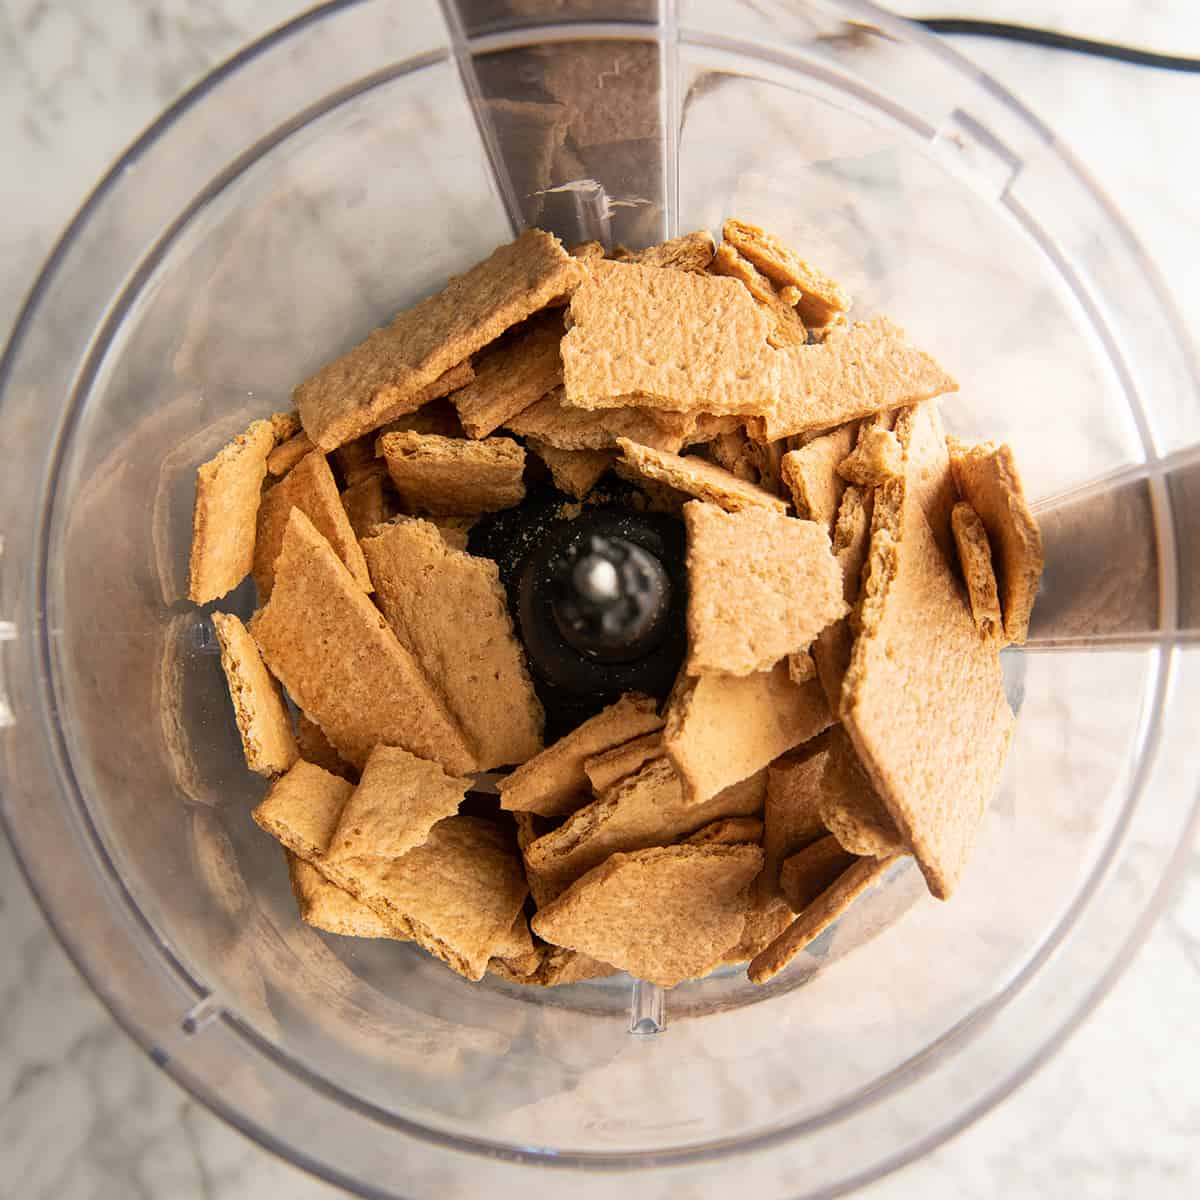
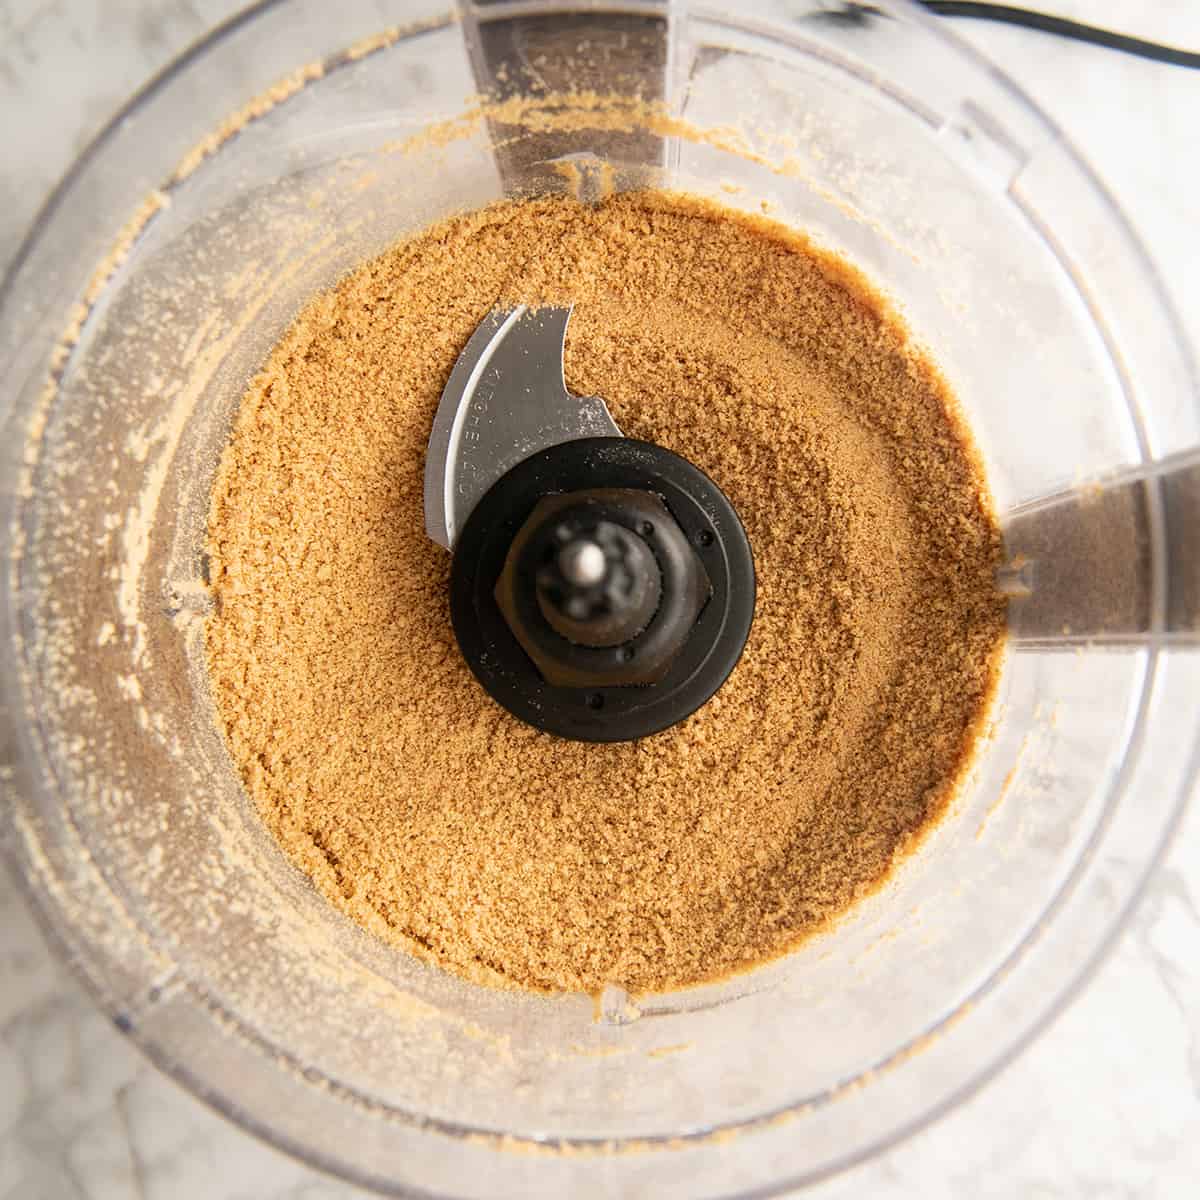
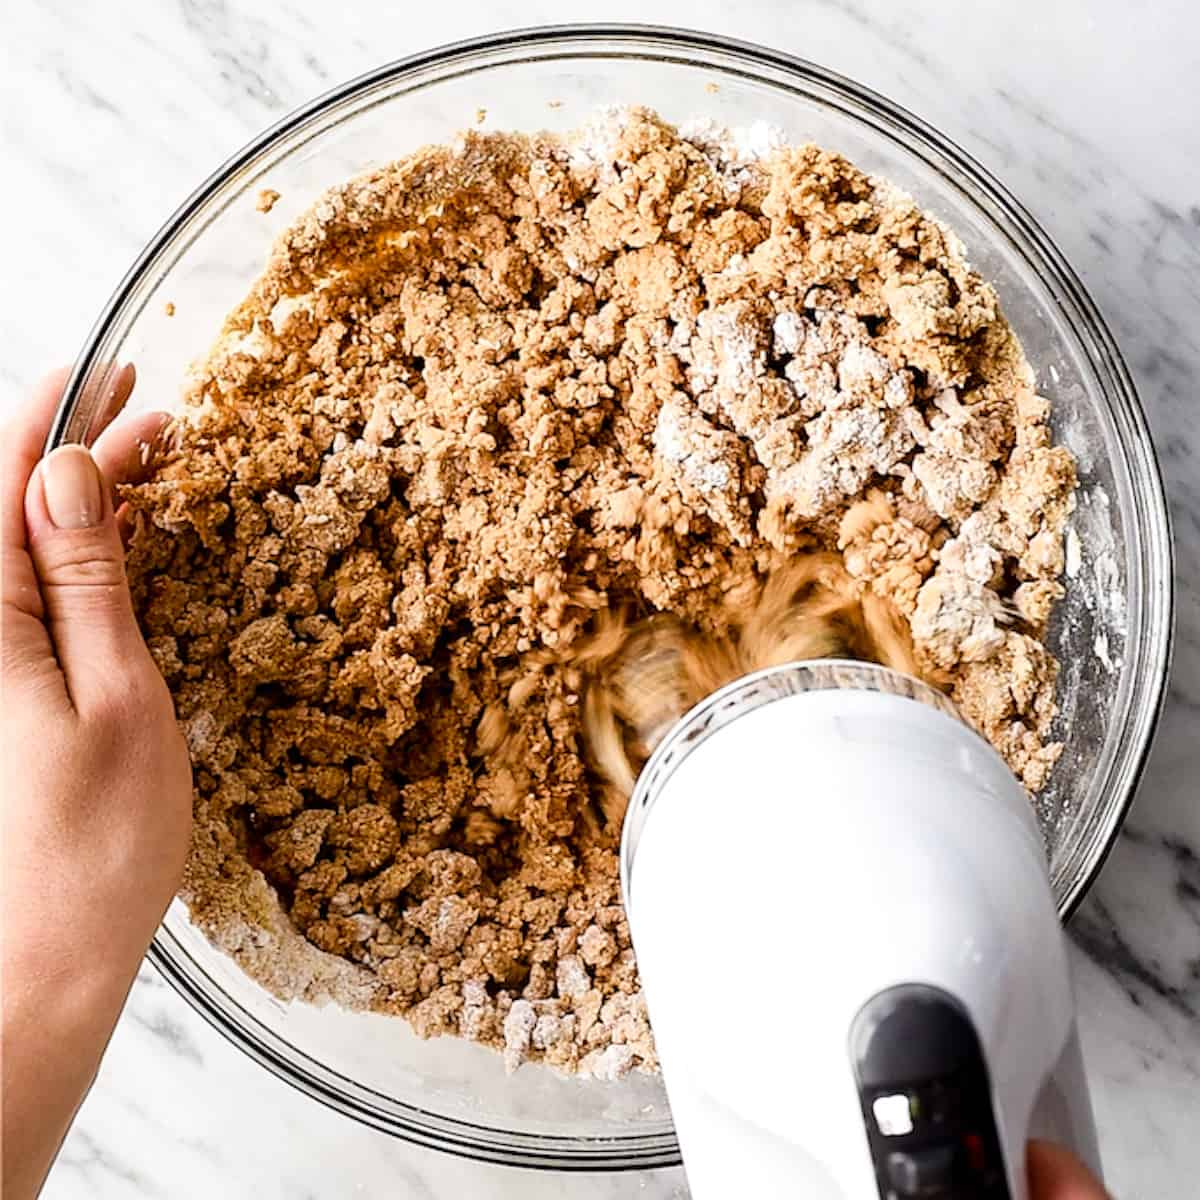
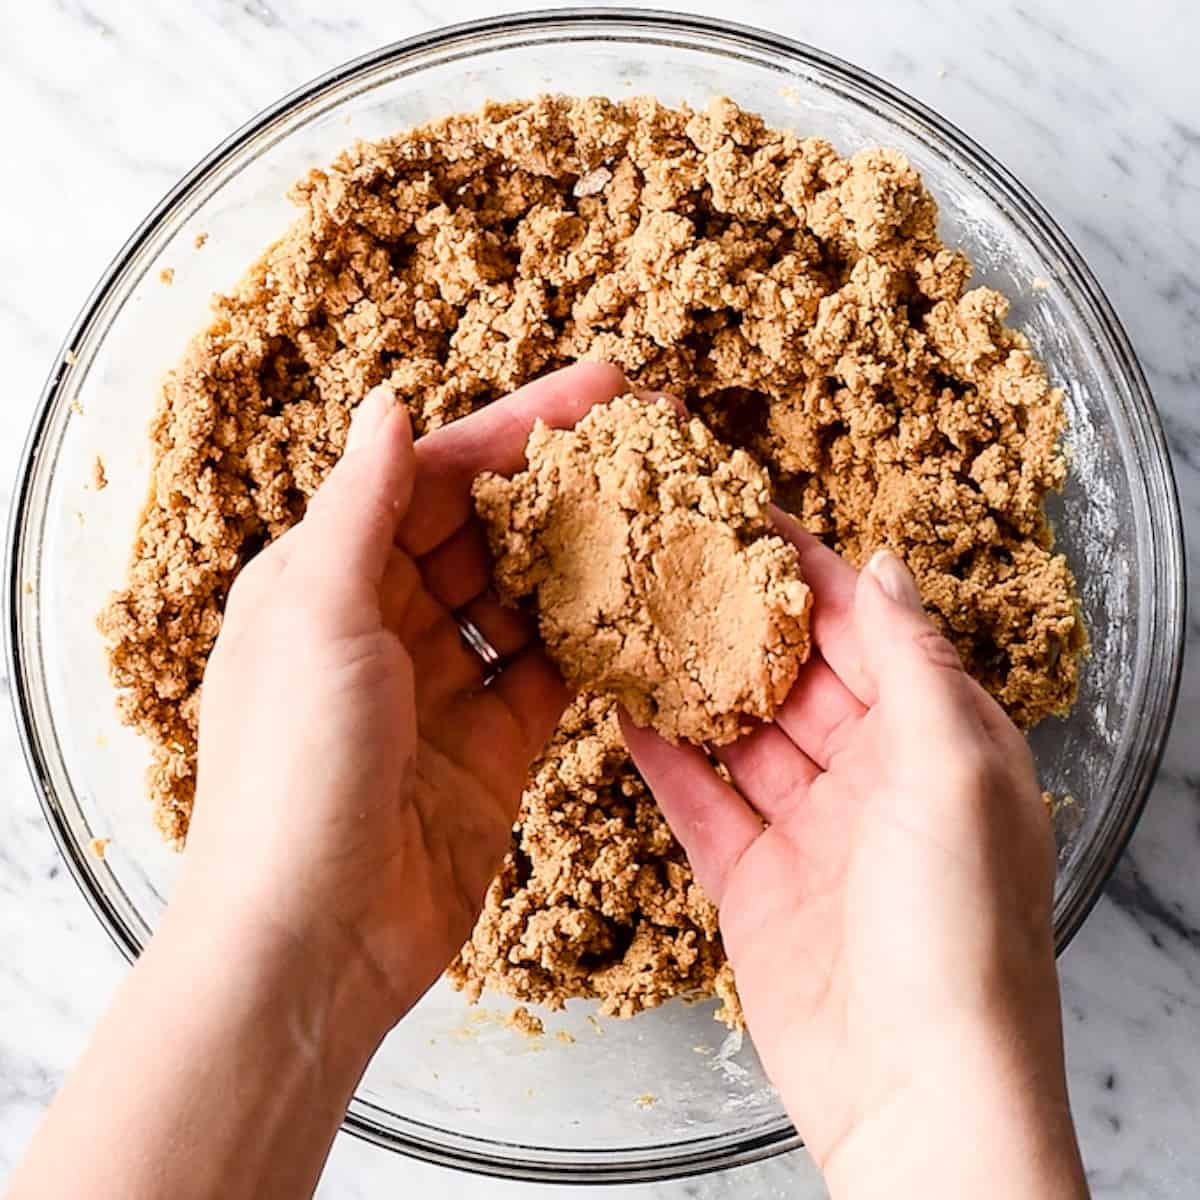
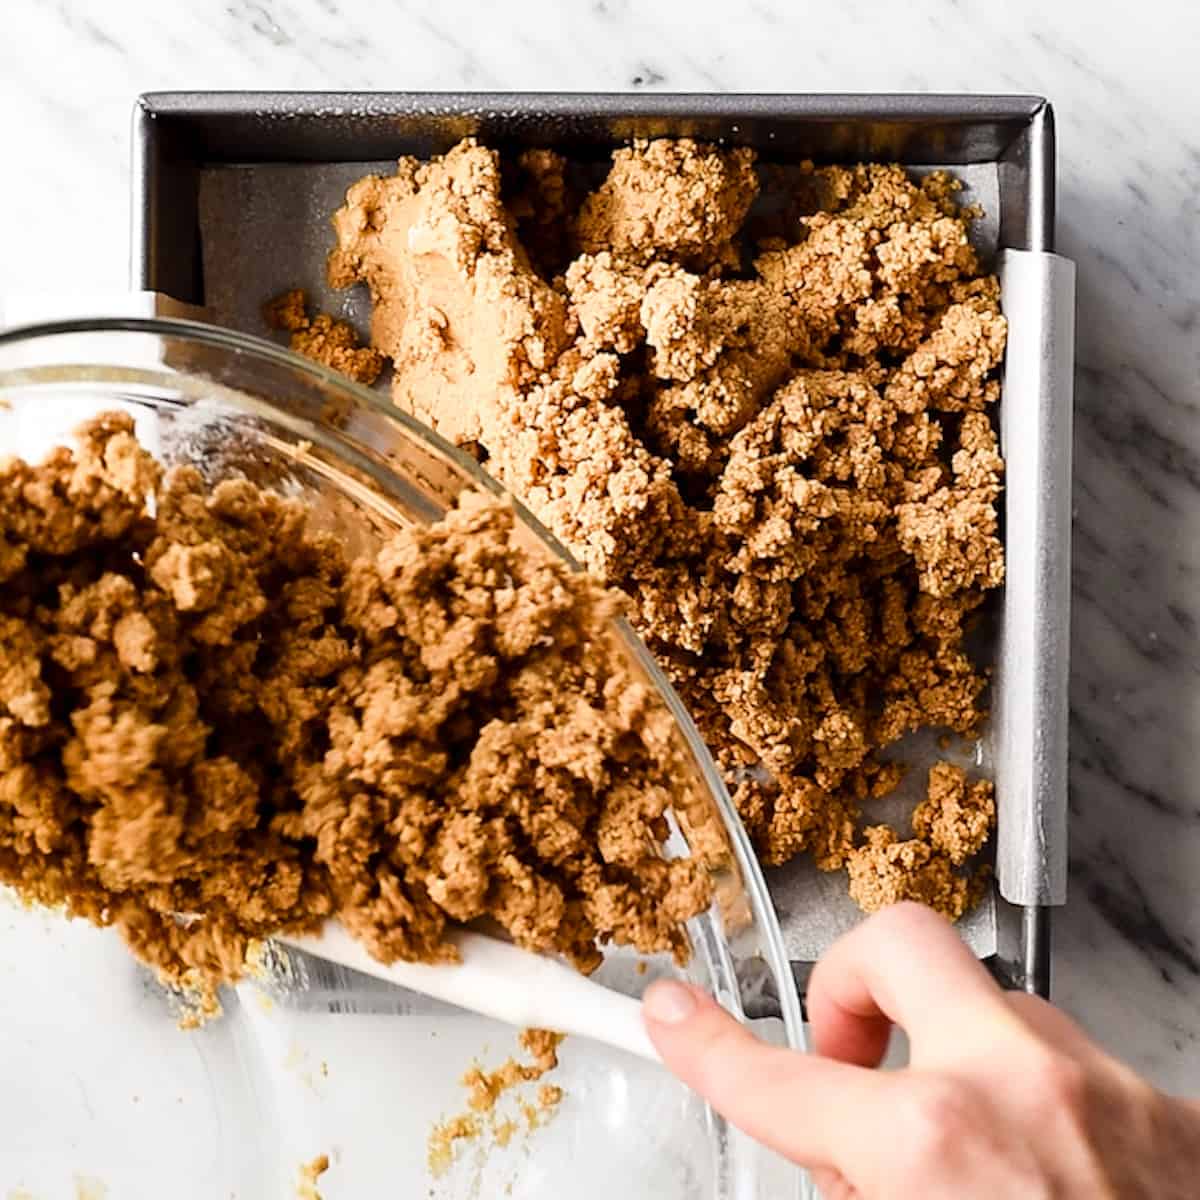
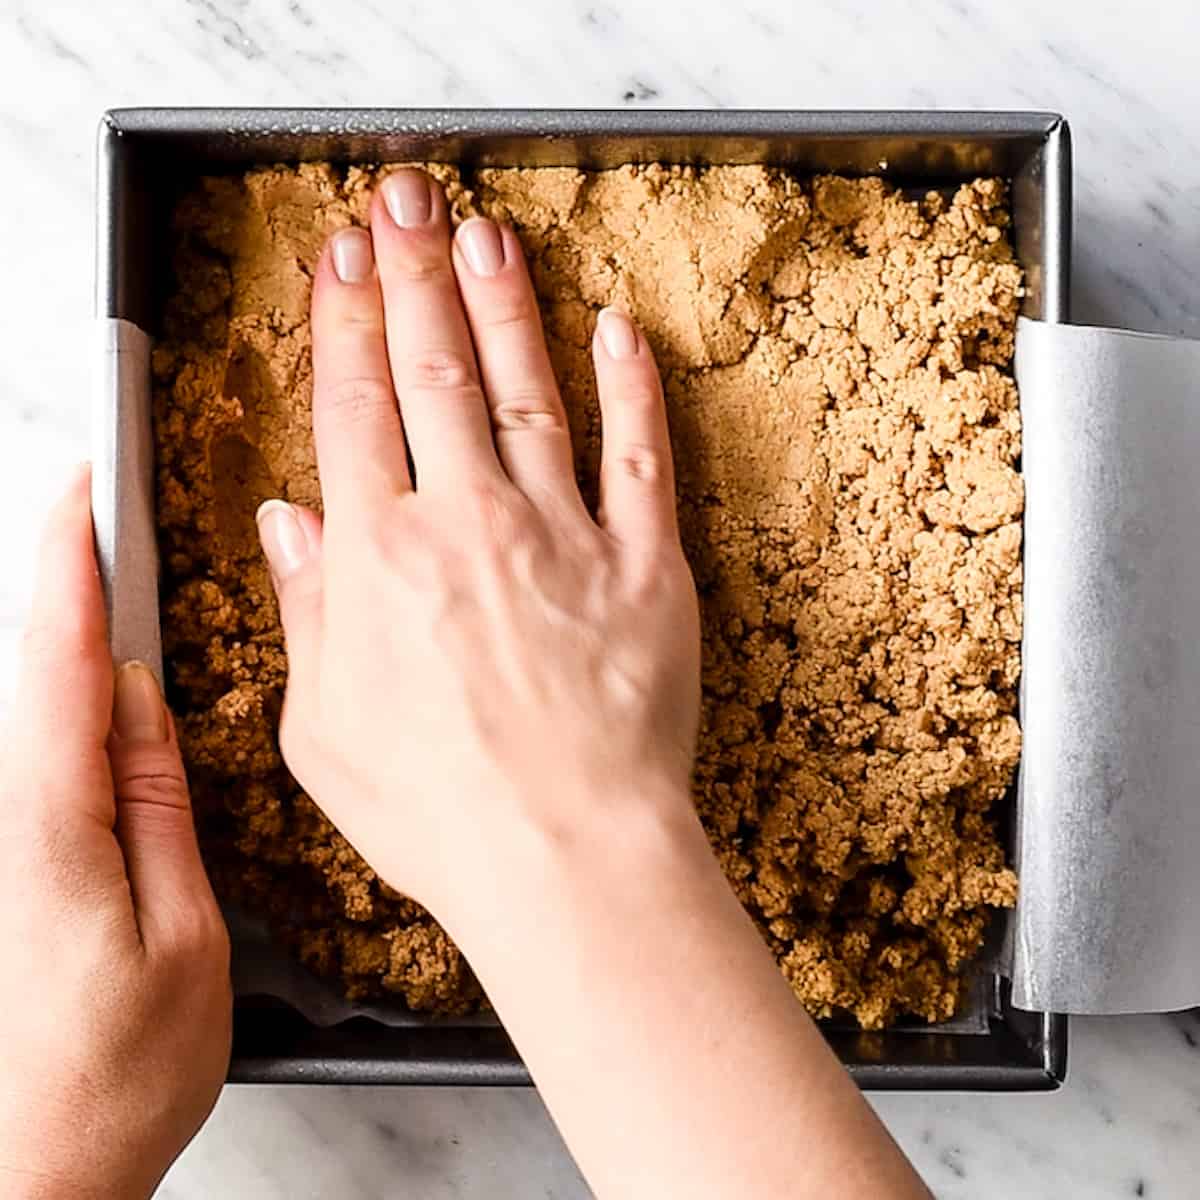
To make your own graham cracker crumbs, place the desired number of graham crackers (this recipe uses 10) in the container of your food processor fitted with an “S” blade. Then, process until the graham crackers reach a fine, flour-like consistency. This recipe calls for 1 cup of graham cracker crumbs, which equals about 8 full graham crackers. A full graham cracker is one “sheet” with four crackers scored into it. Once you’ve added the dry ingredients, beat the mixture again starting on the lowest speed possible. Once the mixture isn’t powdery, increase the speed and beat until the ingredients are combined. The peanut butter bar mixture will look crumbly, but will stick together when squeezed or pressed, as pictured below. NOTE: If the peanut butter mixture is too wet, add up to ¼ cup more graham cracker crumbs and/or powdered sugar until it reaches the correct consistency. This happens if you use natural peanut butter. Press the peanut butter bar layer into a prepared pan. To line the pan with parchment paper, trace the bottom of the pan onto the parchment paper, adding “handles” to opposite sides (like this =▢=). Once the mixture is in the pan, press it down with your hands or a greased spatula. Make sure there aren’t any holes/cracks in the peanut butter layer so that the chocolate topping doesn’t leak through Set the pan aside while you move on to the next step, but keep the bars at room temperature.
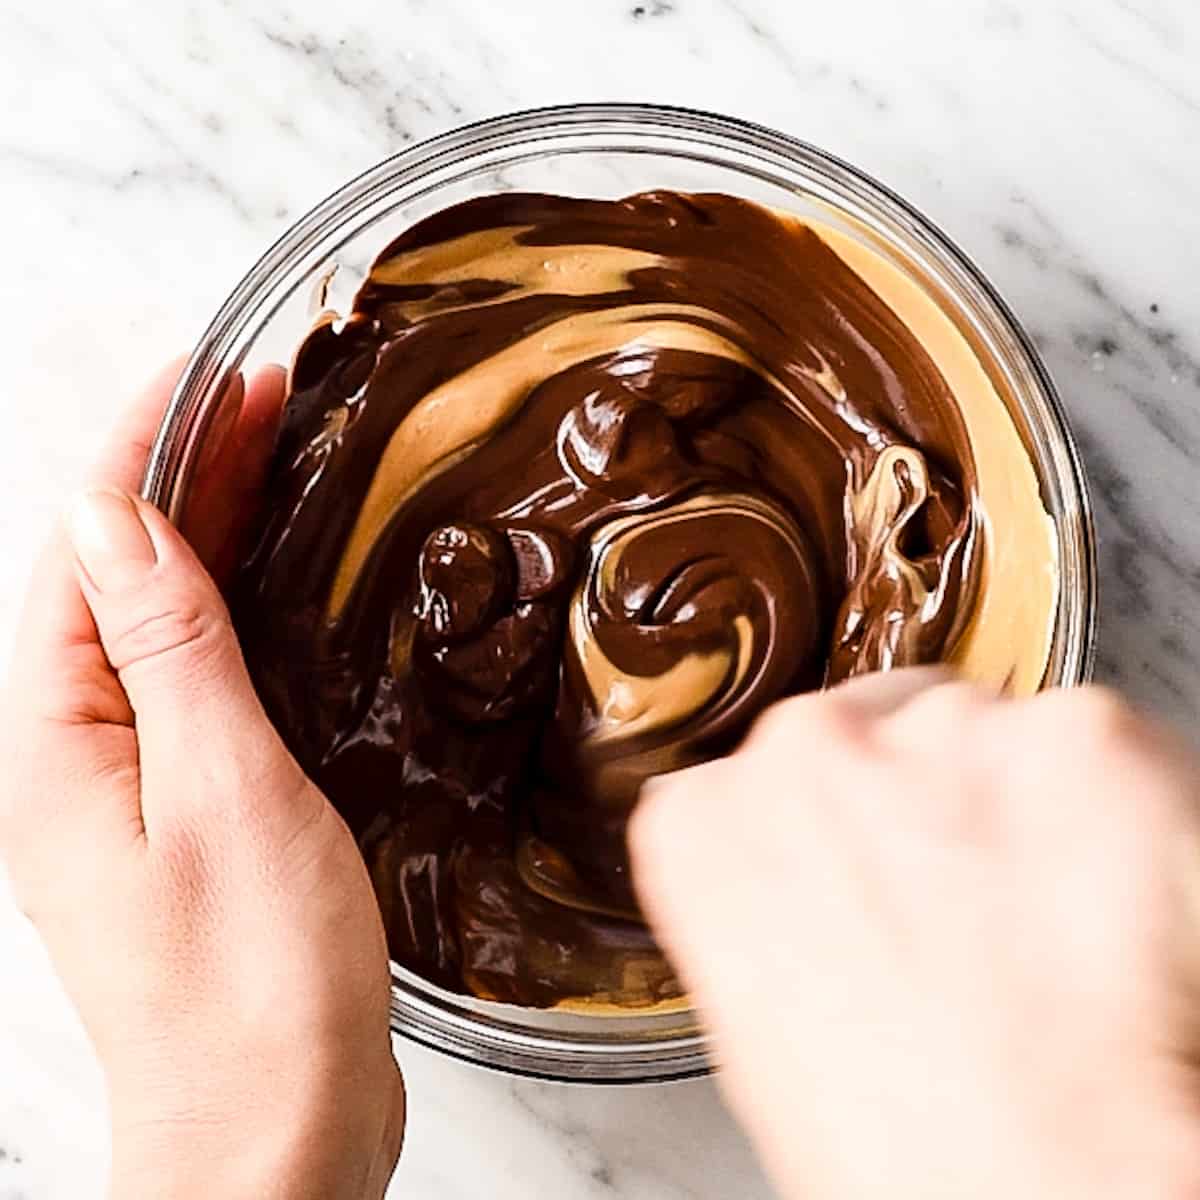
Make the Chocolate Topping
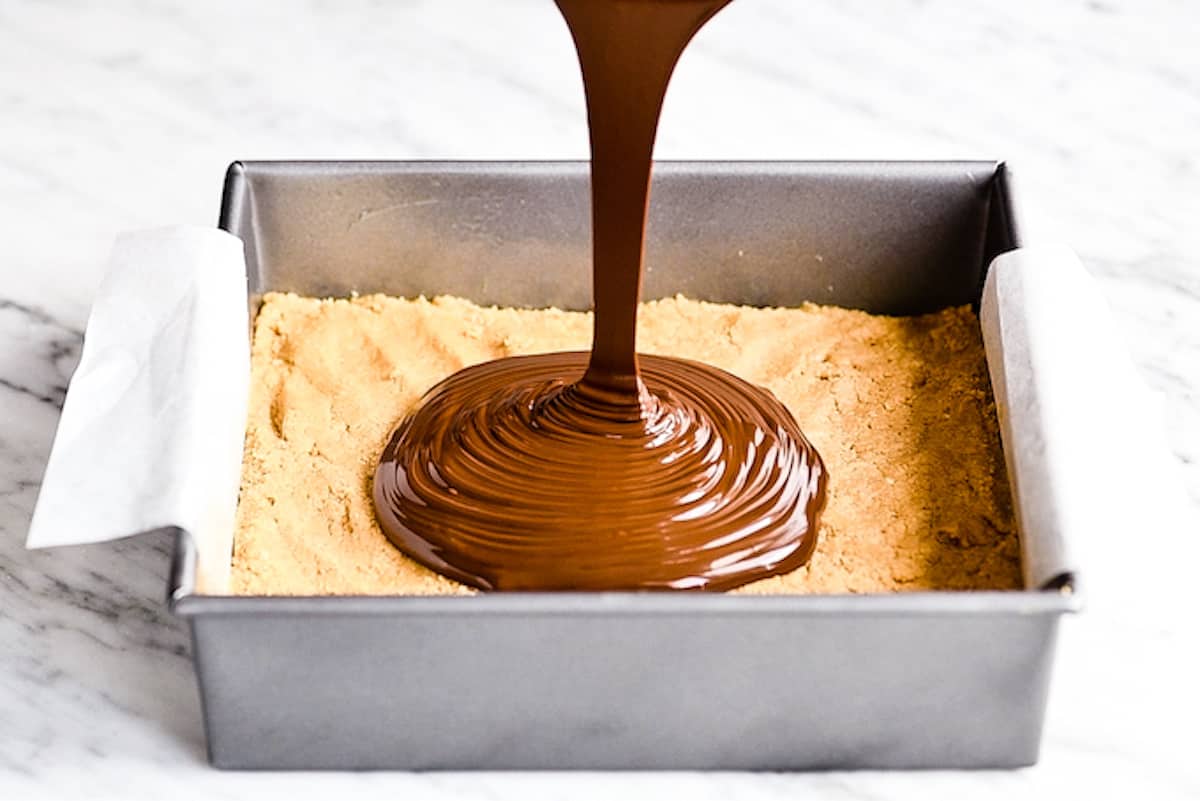
The next step in making this No-Bake Chocolate Peanut Butter Bars recipe is to make the chocolate peanut butter topping. Melt the chocolate and peanut butter together either in the microwave, or on the stovetop over low heat, until smooth and glossy. Next, pour the melted chocolate and peanut butter mixture on top of the peanut butter bar base. Smooth the topping with a spatula. Then, chill the chocolate peanut butter bars in the refrigerator until the chocolate is set. Expedite the chilling process by putting the chocolate peanut butter bars in the freezer. Note: If you do decide to speed up the hardening process, be sure to cut the cookies into bars before the chocolate completely hardens and becomes brittle.
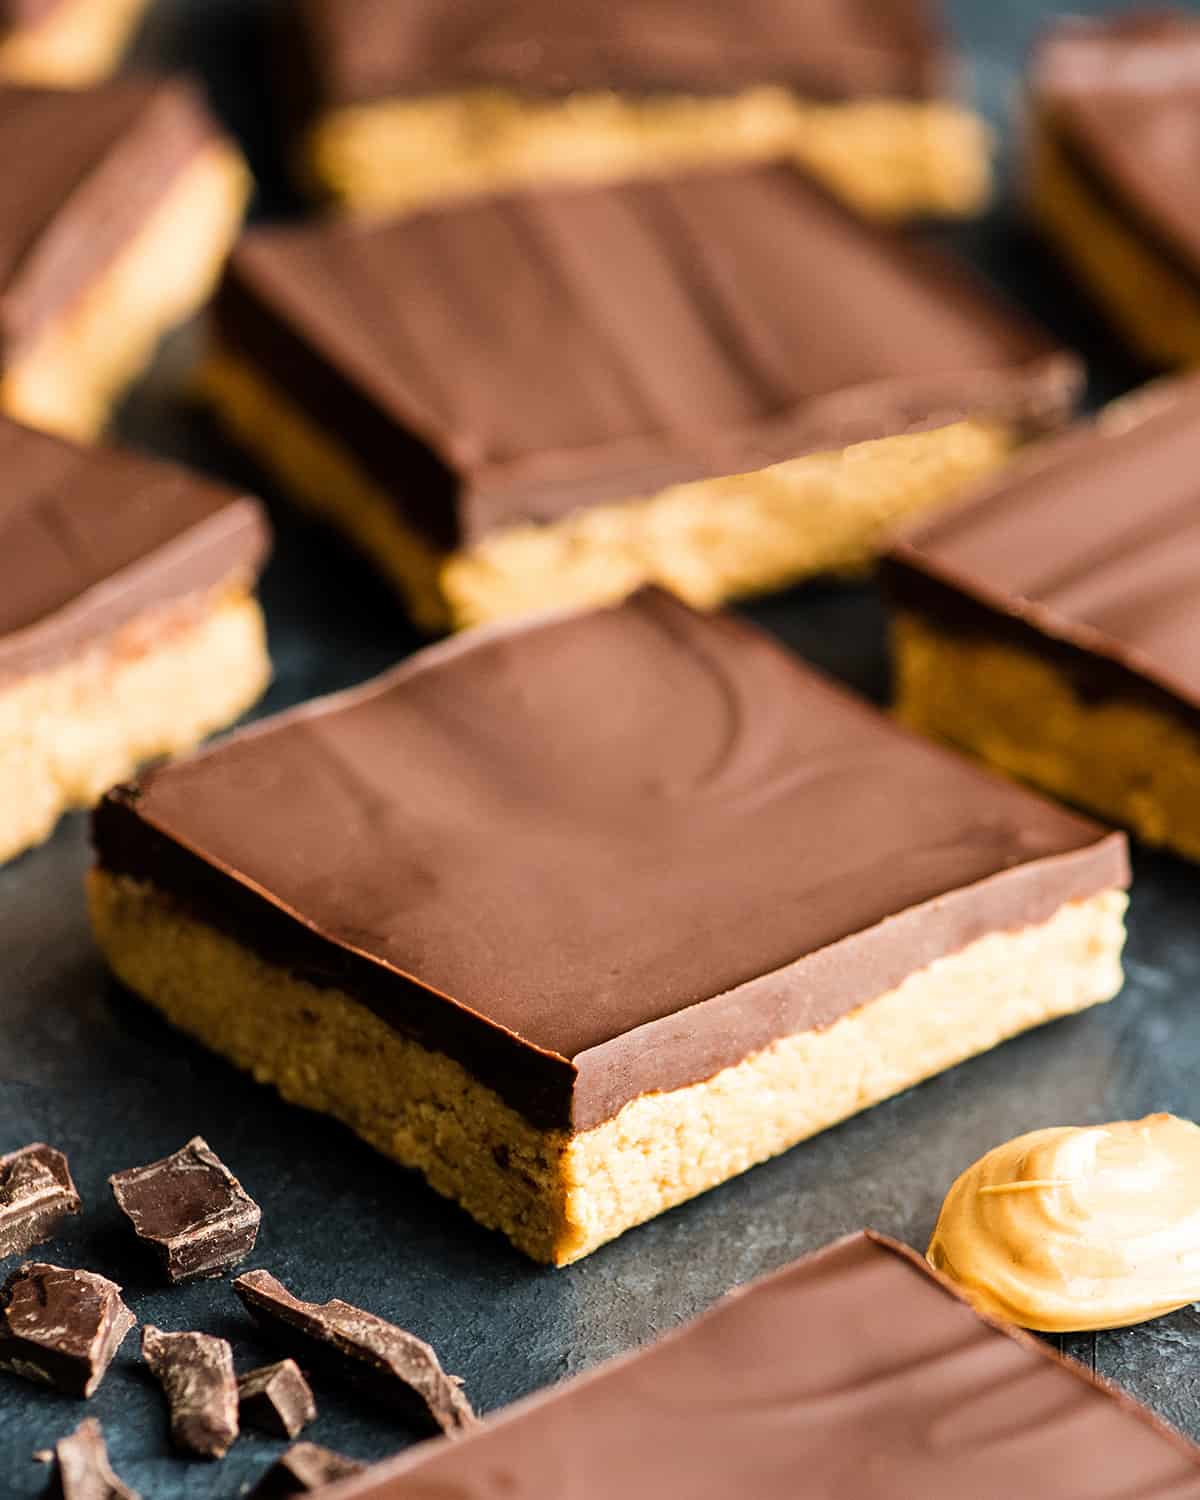
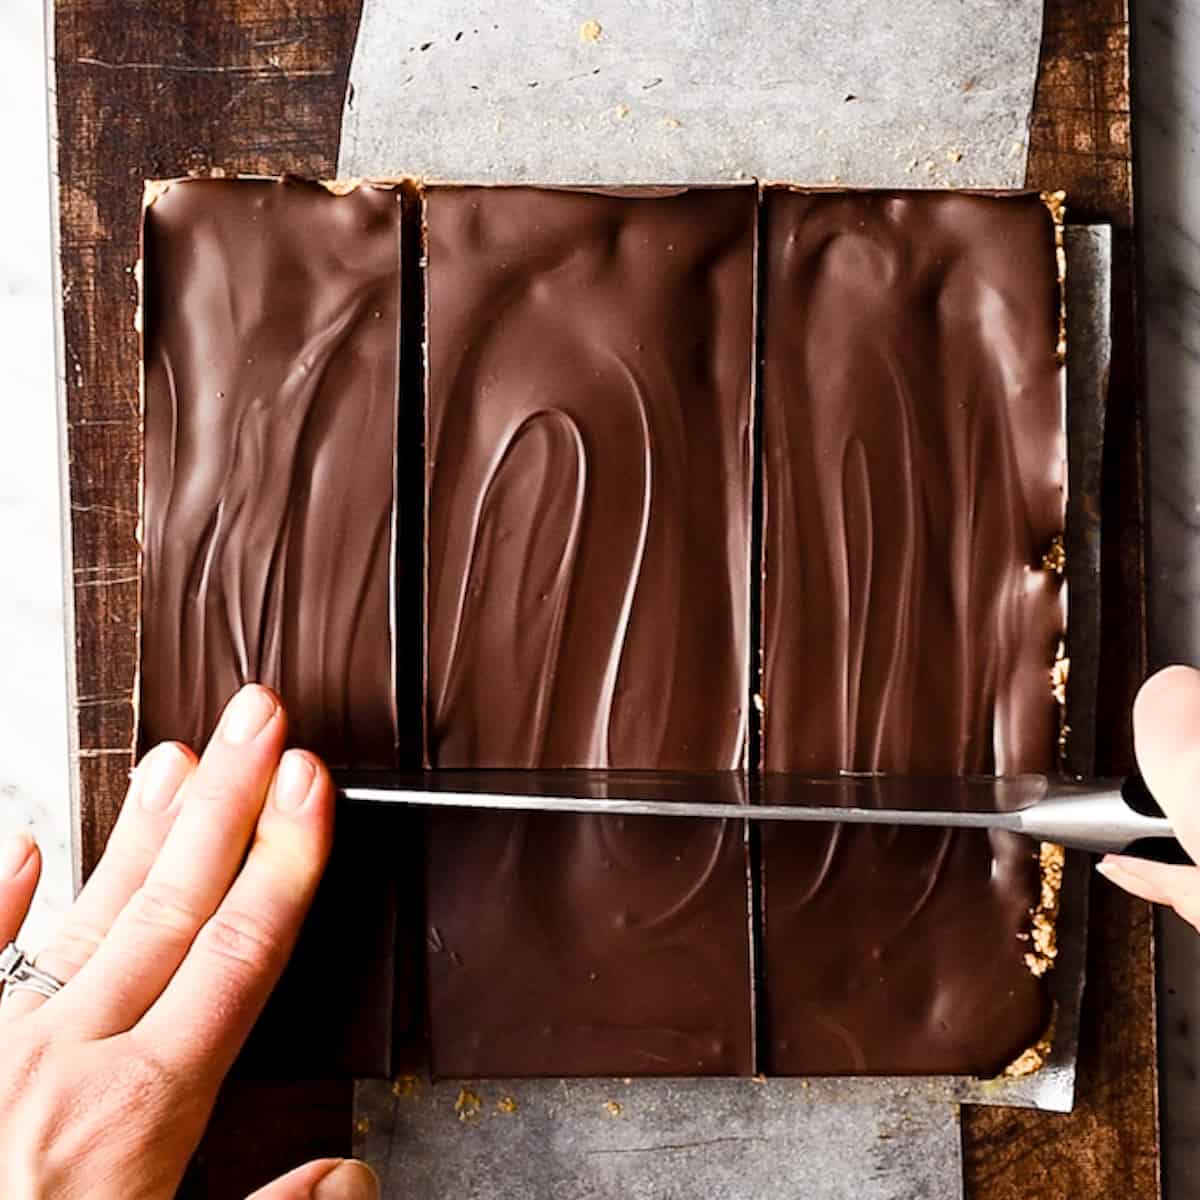
Cut & Serve
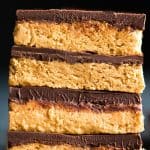
Use a sharp knife to cut these No-Bake Chocolate Peanut Butter Bars into 9 or 16 squares, depending on how large you want them. For the sake of these photos I cut them into 9 bars, but when I make them for a crowd I always cut them into 16 squares! To ensure a clean and even cut, dip the knife in boiling hot water and wipe it clean with a paper towel between every cut!
Store/Freeze
Store the bars in an airtight container in the refrigerator for up to 1 week or in the freezer for up to two months. Thaw gradually in the refrigerator – do not microwave. If you make and love our recipes, it would mean so much to me if you would leave a comment and rating! And don’t forget to follow along with us on Instagram, Pinterest, Facebook, and Youtube – be sure to tag @joyfoodsunshine and use the hashtag #joyfoodsunshine so we can see your creations!
![]()