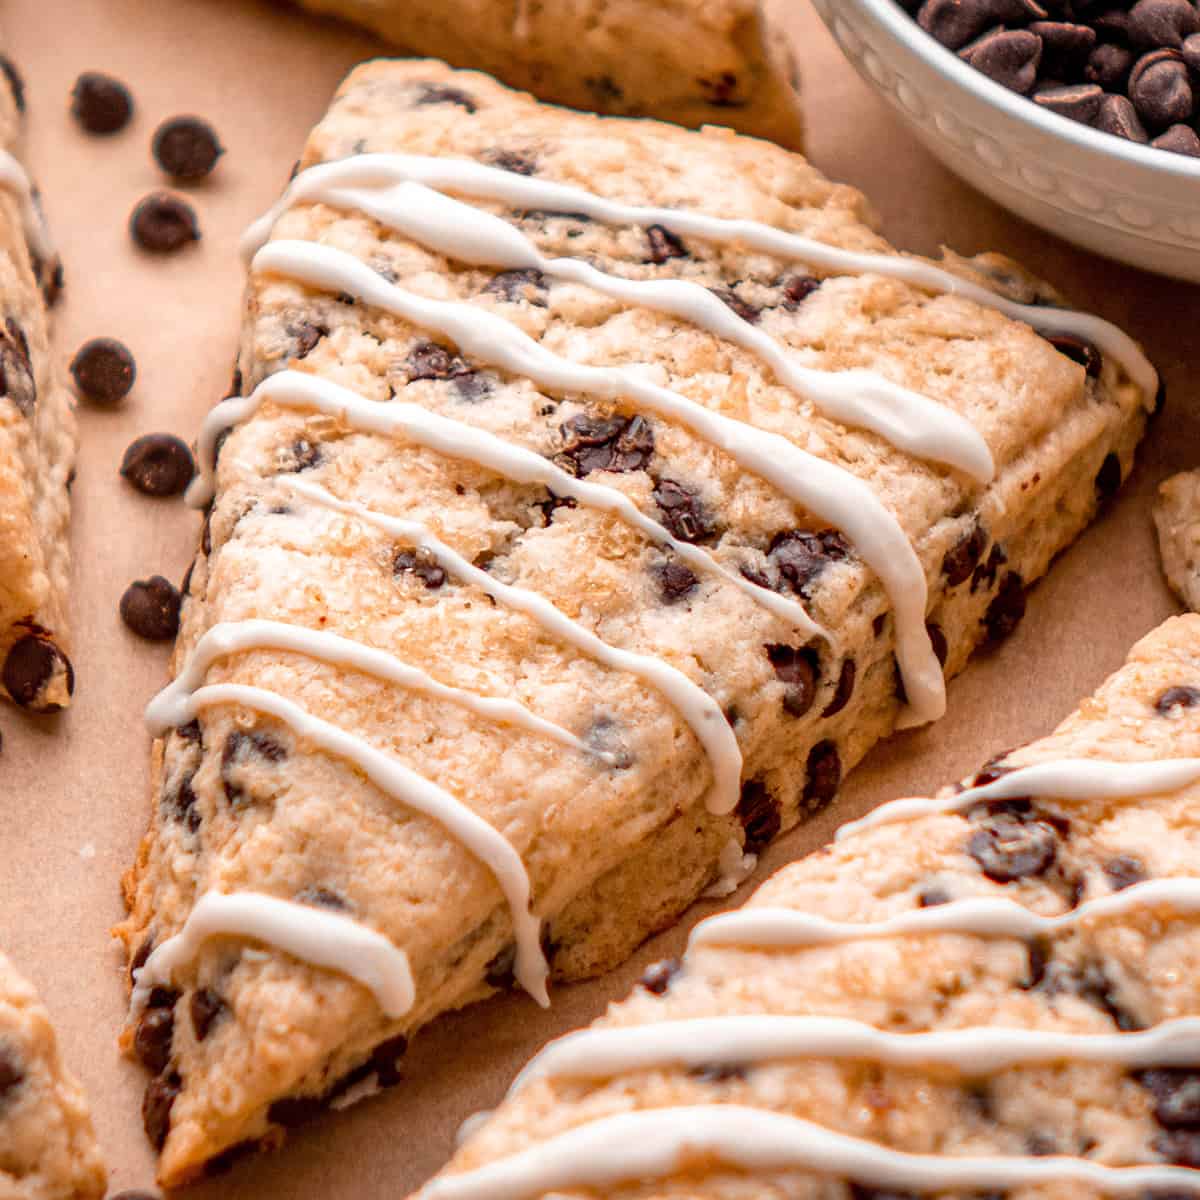
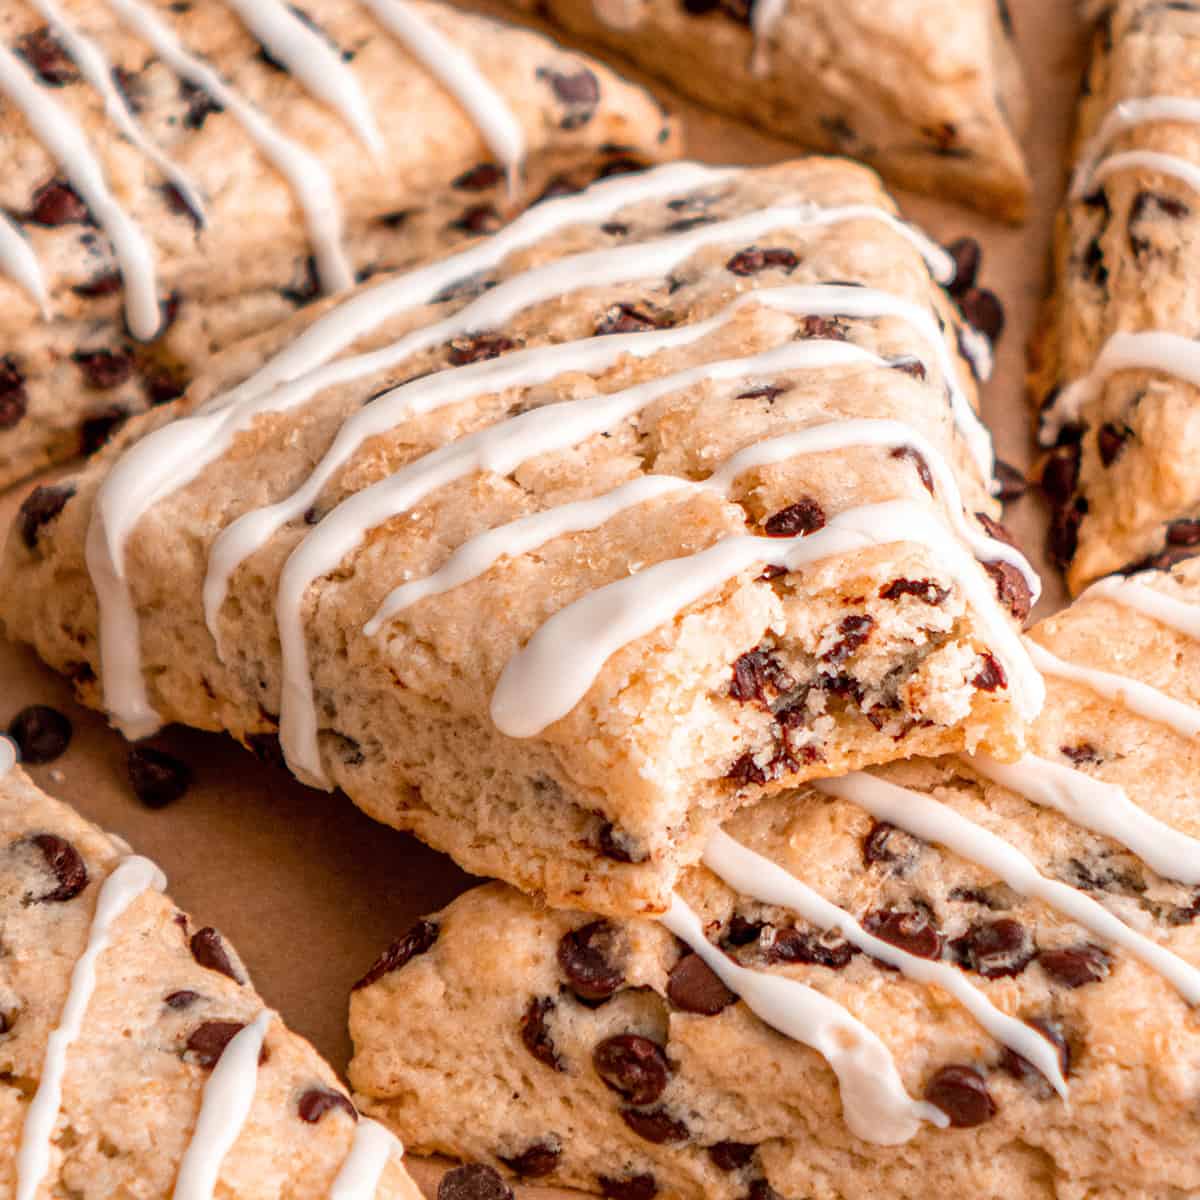
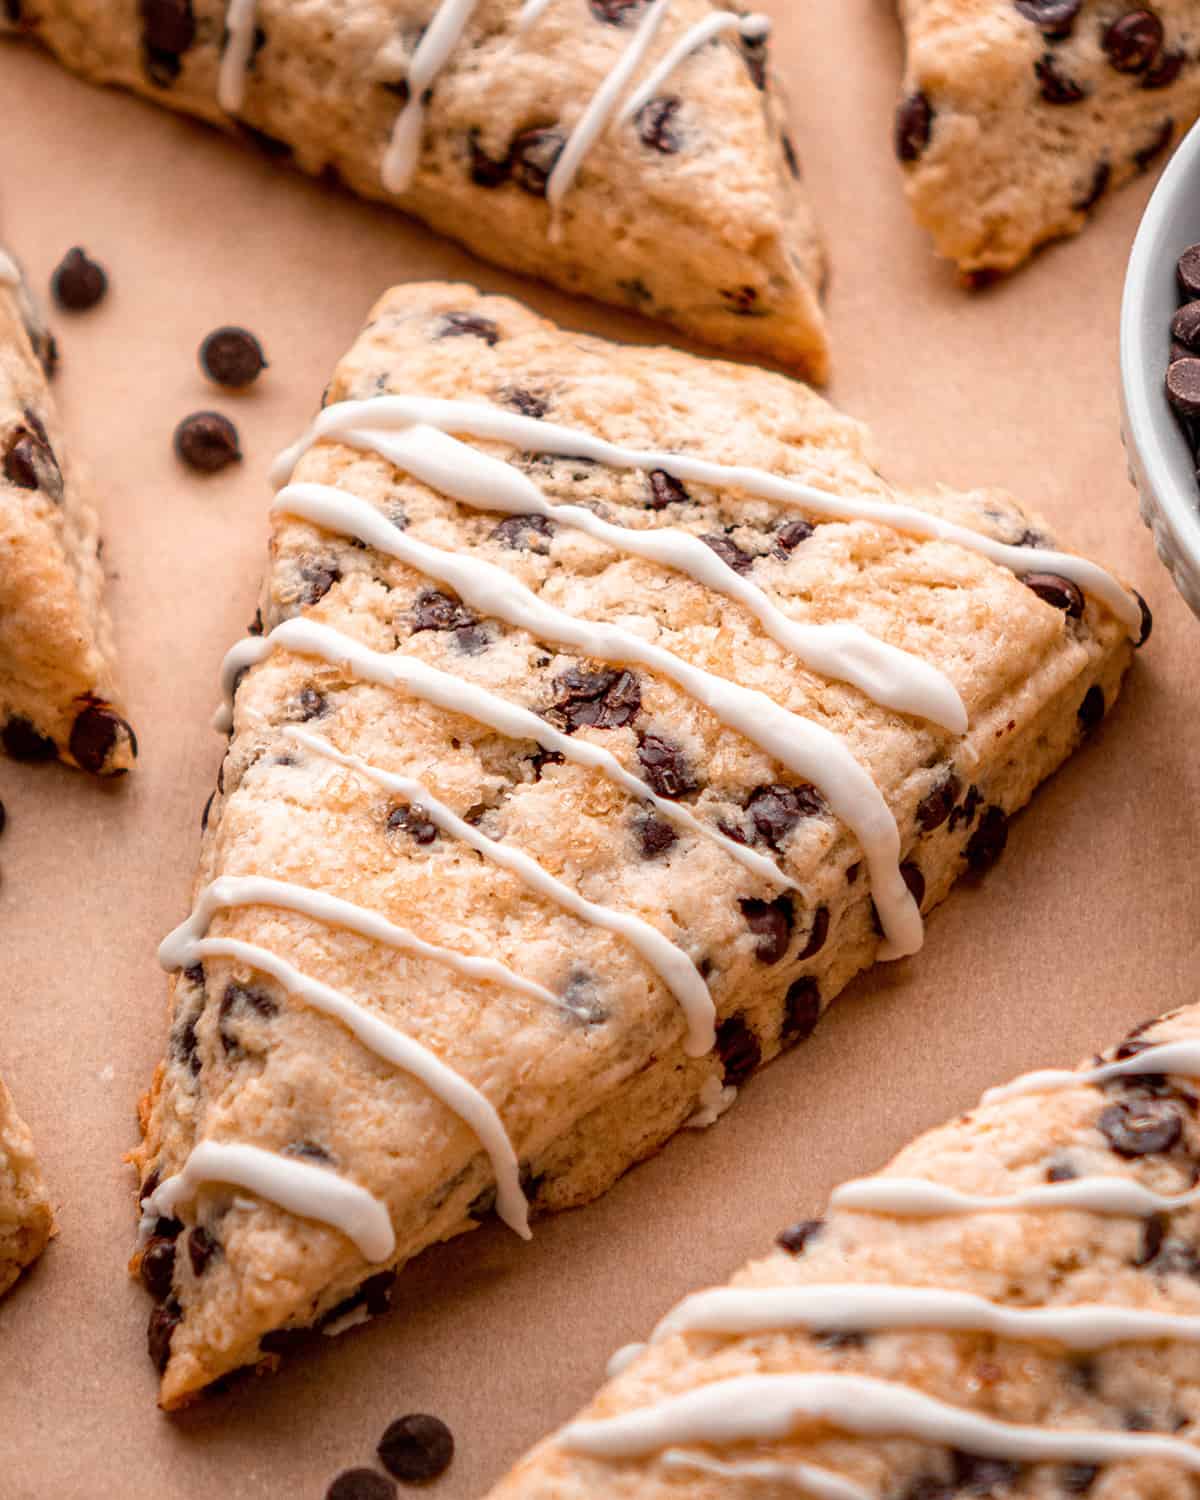
Posted Mar 26, 2023, Updated May 05, 2024 My family loves scones so much that I’ve created many flavors (like pumpkin scones blueberry scones and cinnamon scones), but these chocolate chip scones might be their favorite yet! They are easy to make and are such a treat for a special occasion breakfast! Served warm with homemade hot chocolate, your entire family will love this chocolate chip scones recipe.
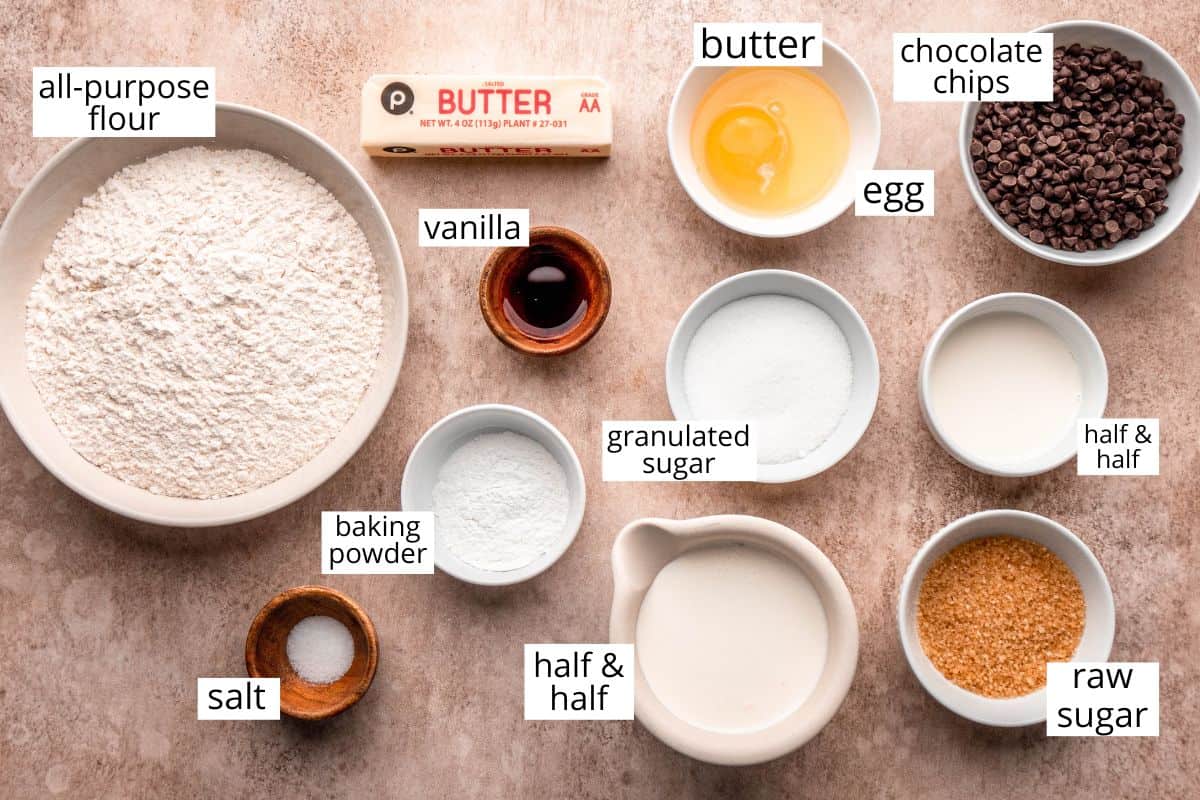
Chocolate Chip Scones Recipe: Ingredients and substitutions
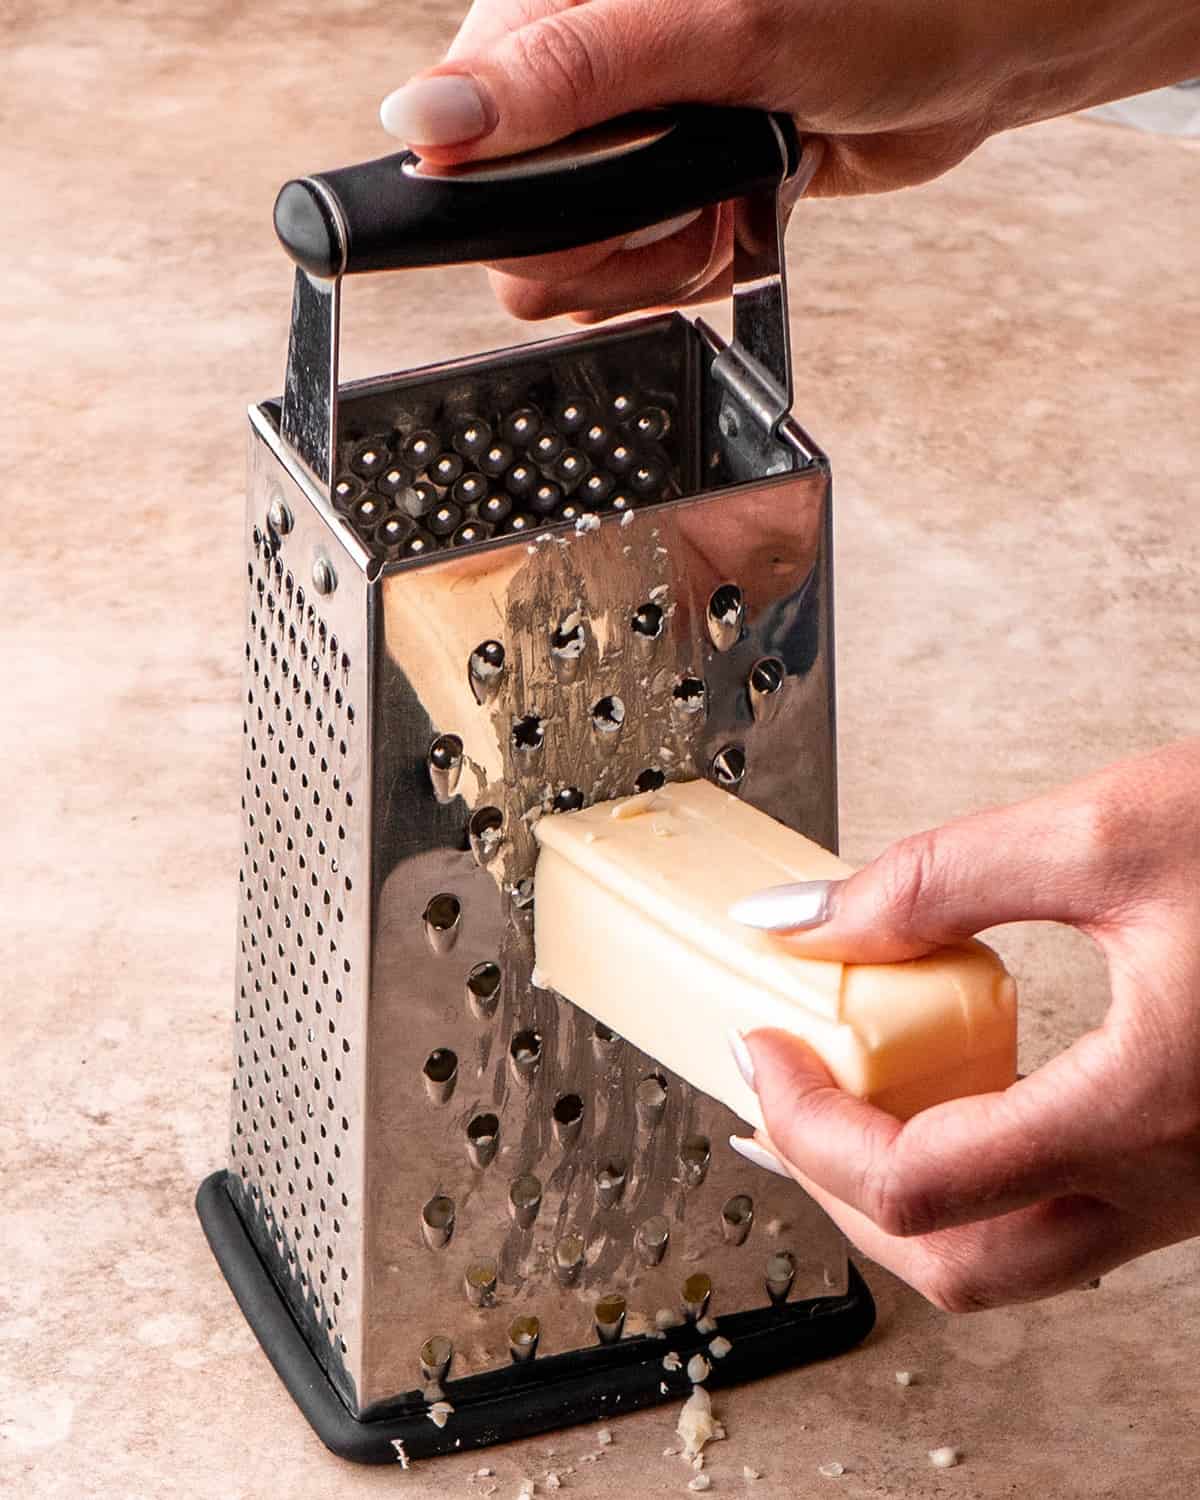
All-purpose flour. I have only tried this recipe with all-purpose flour, if you’re looking for gluten-free scones, I suggest using a 1:1 all-purpose gluten-free baking flour Granulated sugar. I bake with organic cane sugar, but white granulated sugar works well. Salted Butter. Both salted and unsalted butter work well in this scone recipe. TIP: we use frozen butter to make these scones – so be sure to put a stick in the freezer! Half and Half. Heavy cream and whole milk are both acceptable substitutes for half and half. Vanilla extract. For different flavors, substitute ½ tsp vanilla extract for different extracts (almond, orange, lemon etc.) Raw Turbinado sugar. I use organic raw turbinado sugar to sprinkle on top of the scones. Chocolate chips: We prefer mini chocolate chips, all varieties work well.
How to Make Chocolate Chip Scones
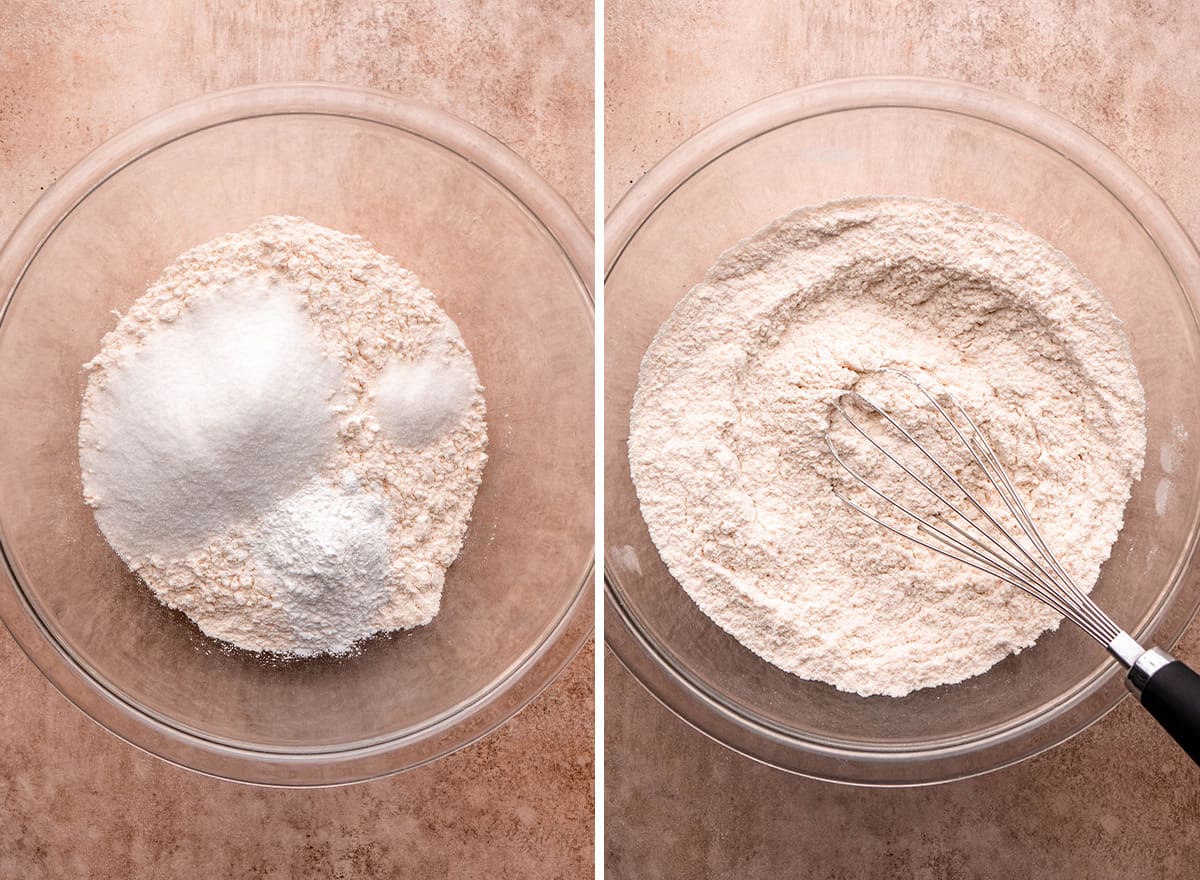
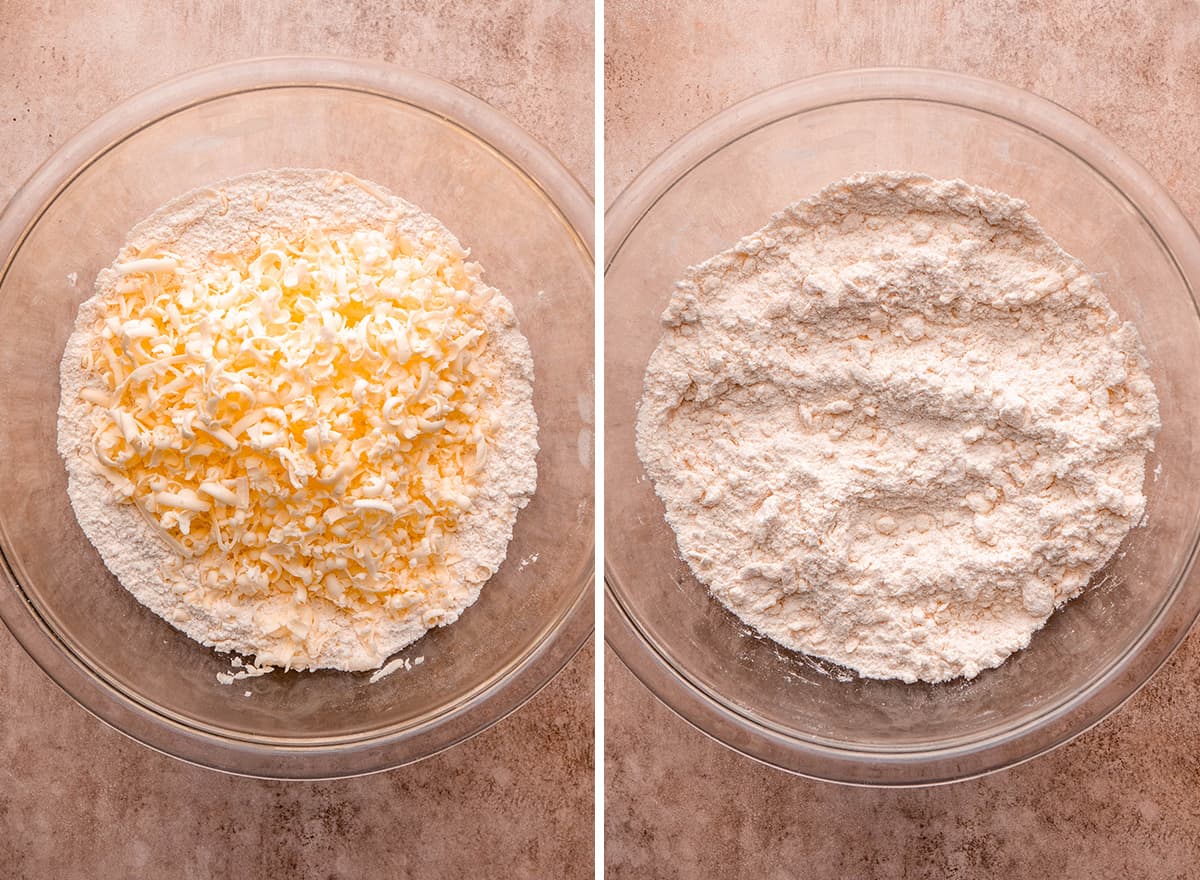
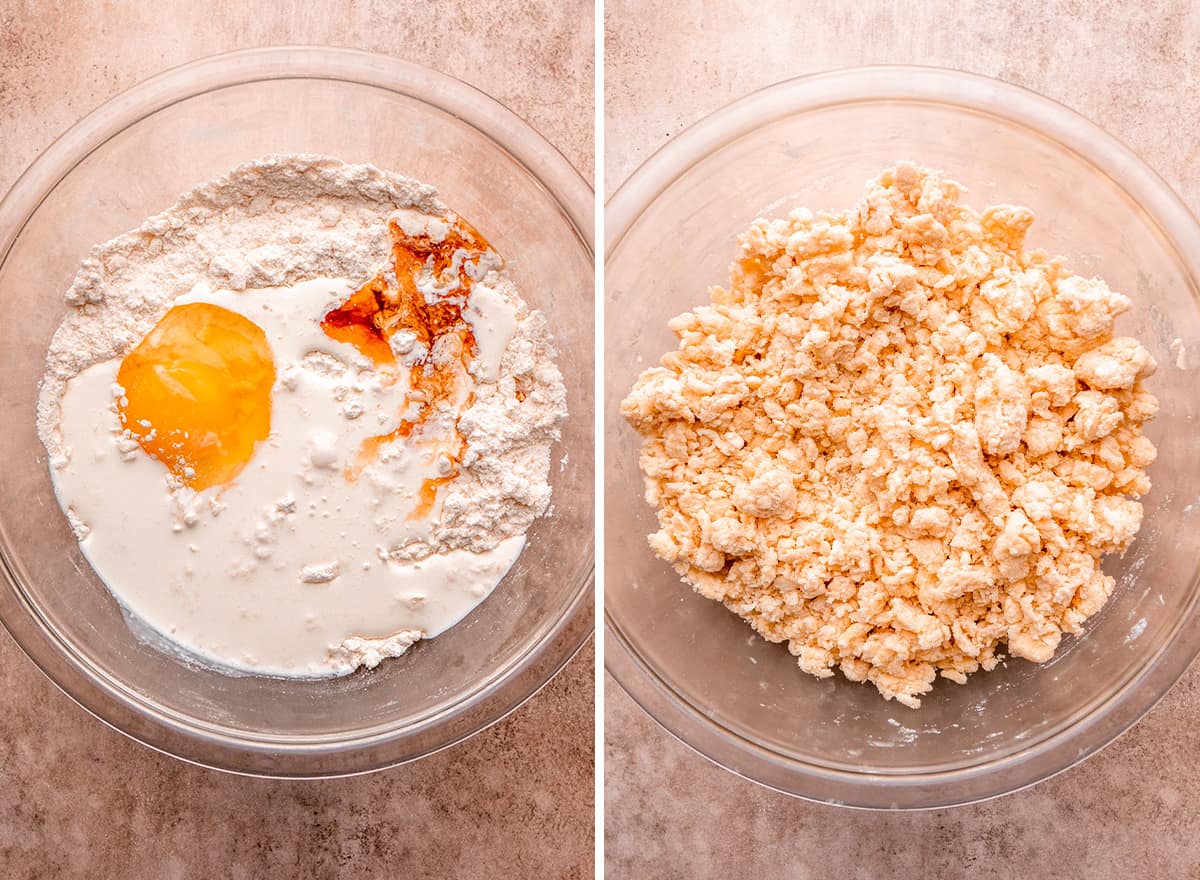
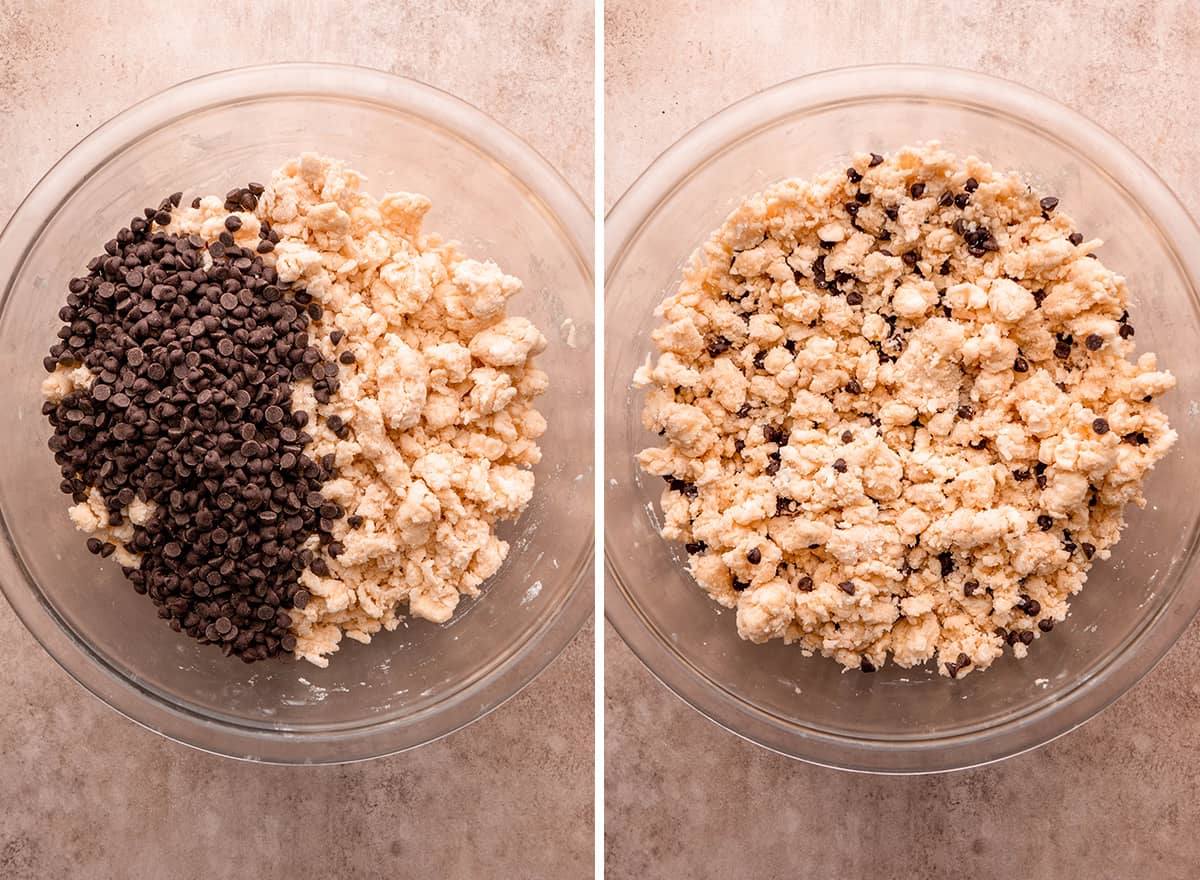
This chocolate chip scones recipe is easy to make! Follow along with our step-by-step instructions and don’t forget to watch the video. Begin by combining the dry ingredients in a large bowl. You will be mixing everything in this bowl so make sure it has the capacity to hold all the ingredients. Next, grate the frozen butter. Then, add the grated butter to the dry mixture and stir to combine. This is the trick that I find makes these scones light, fluffy and irresistible! You can cut the cold butter in with a fork or pastry cutter, if you prefer. Then, add the wet ingredients and stir to combine. At this point, the dough will look crumbly initially but will clump together when squeezed between your fingers and should easily form a circle. Next, add the chocolate chips and stir until they are evenly distributed throughout the dough.
Form the Scones
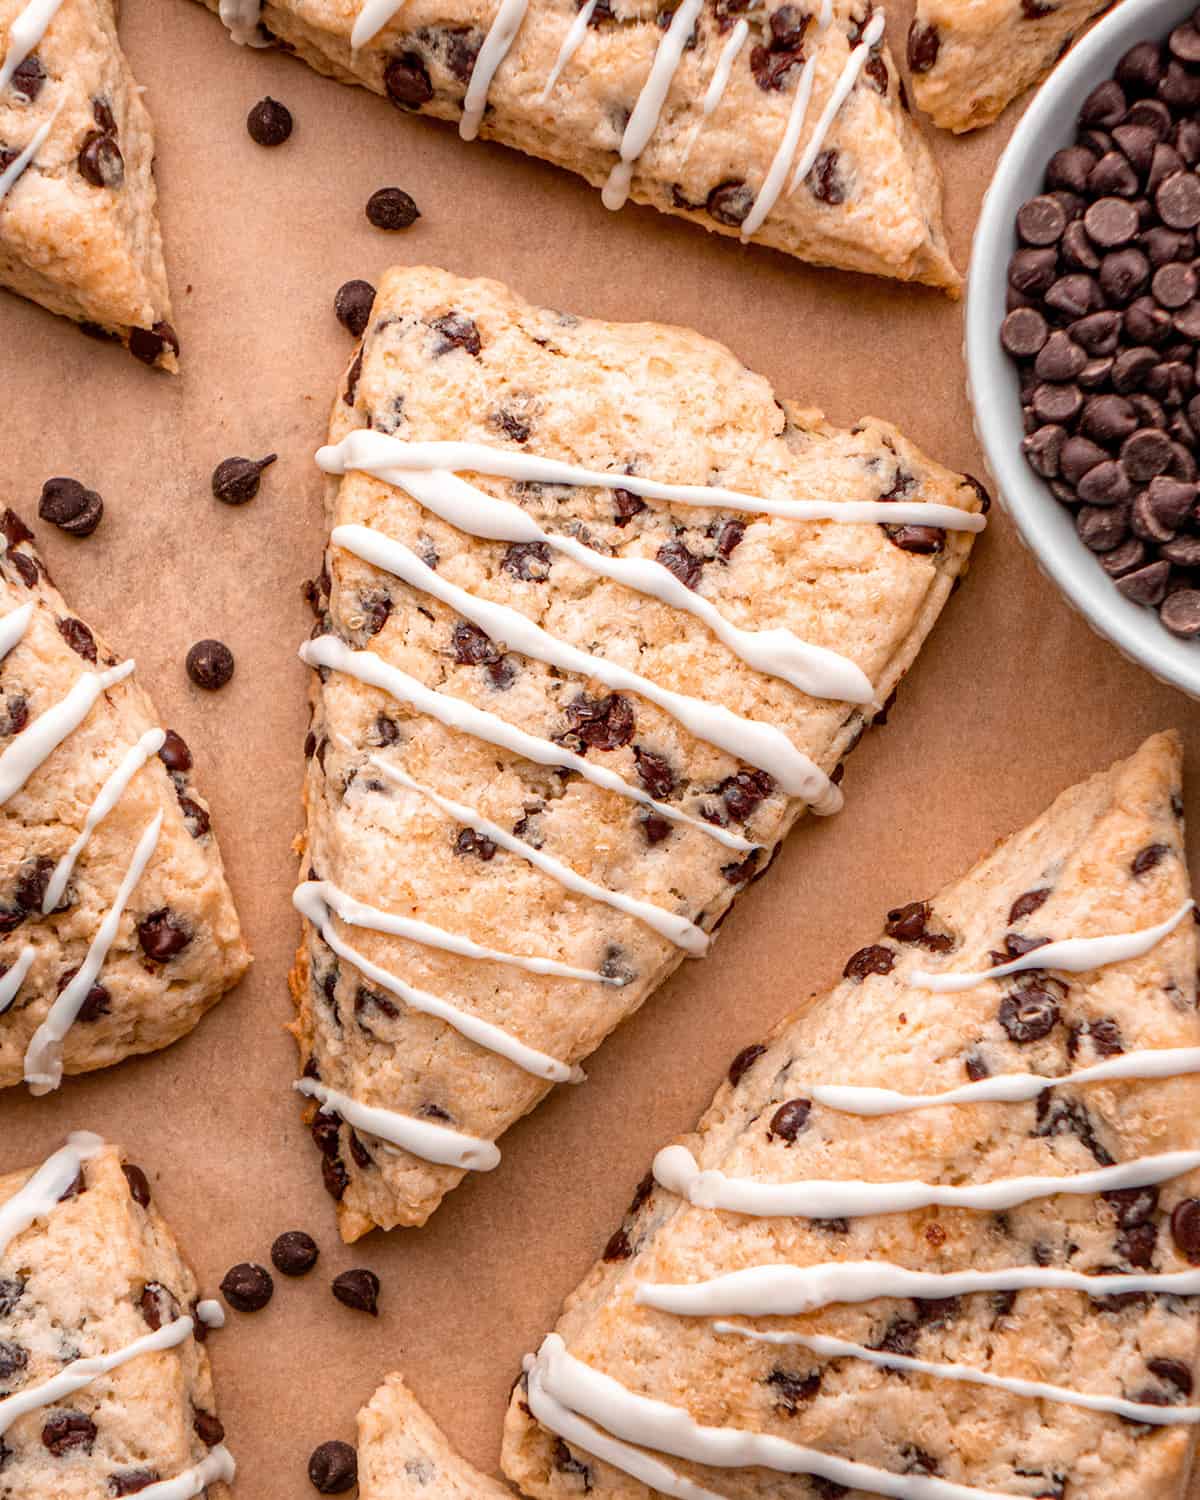
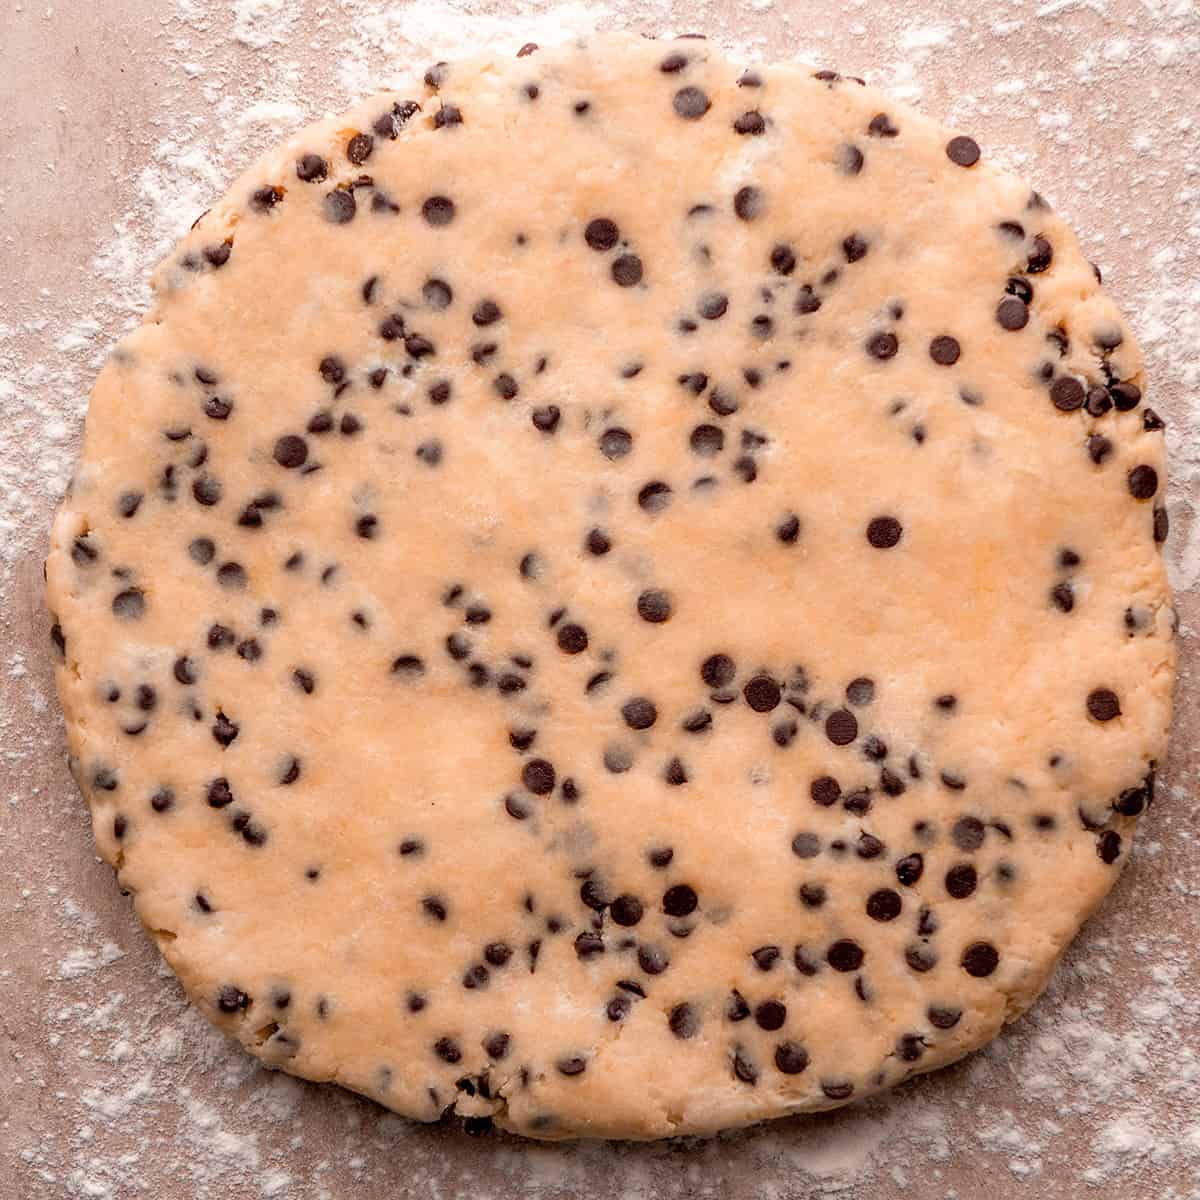
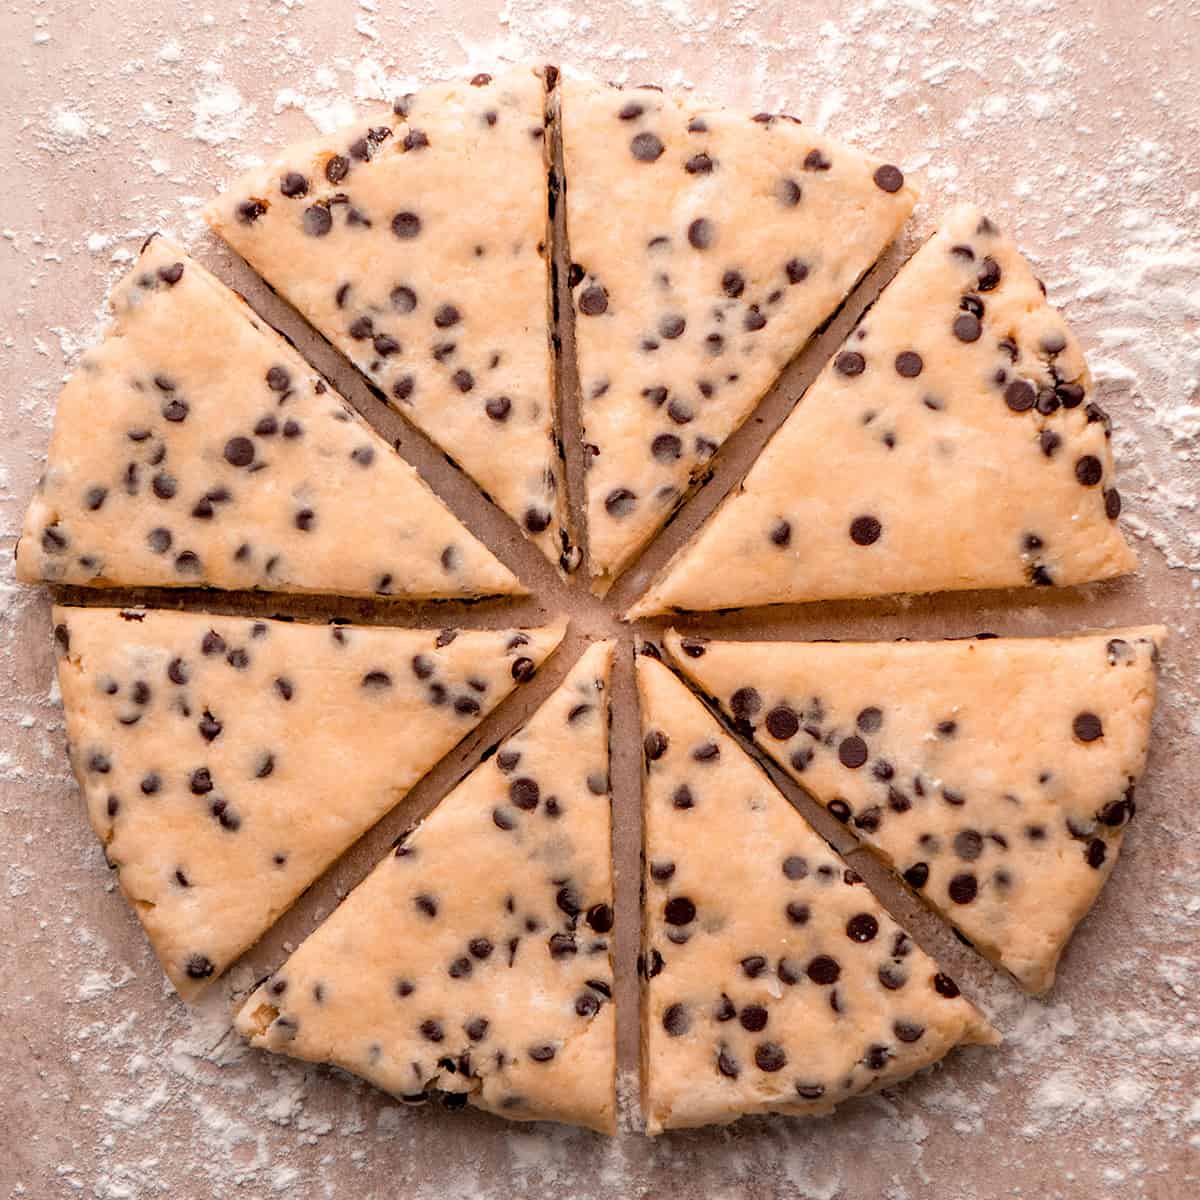
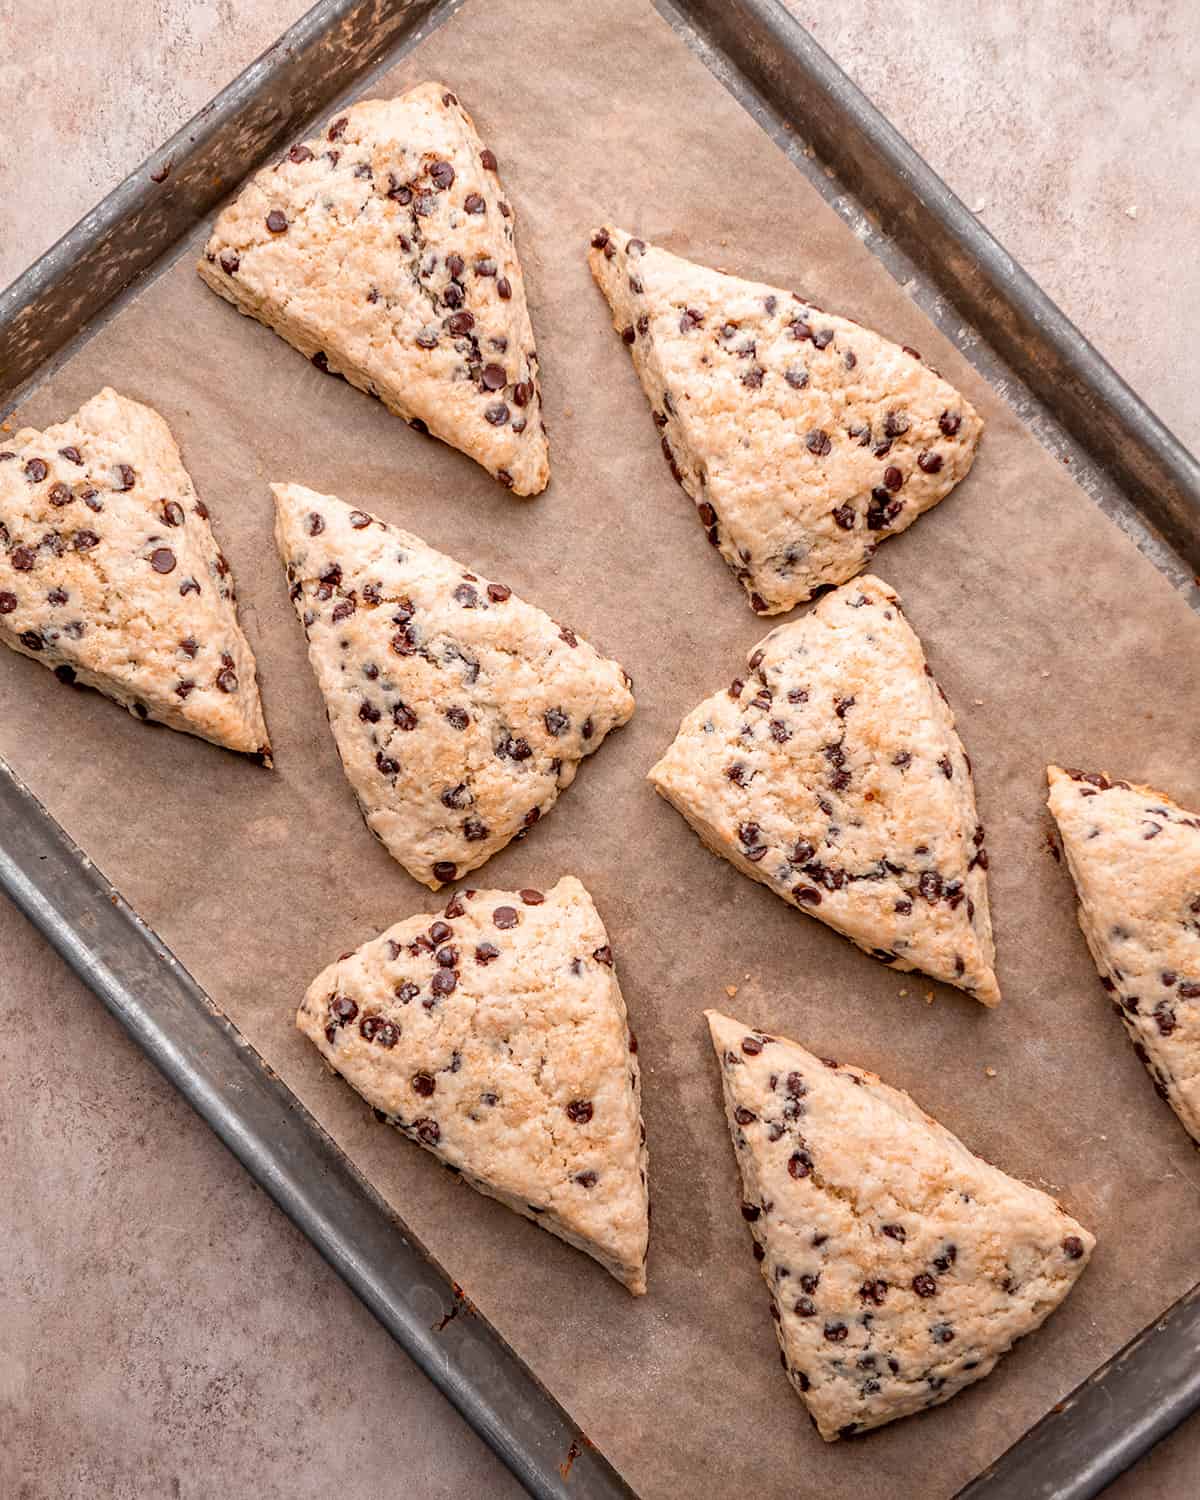
Once the mixture resembles the photo above, turn the dough out onto a well-floured surface (or pastry slab) and form into a round circle about 8-9” in diameter. Cut the dough into 8 equal pieces. Start by cutting the circle in half from top to bottom. Then cut it in half from side to side. Then cut the remaining pieces in half diagonally. (see video).
Pepare in Advance
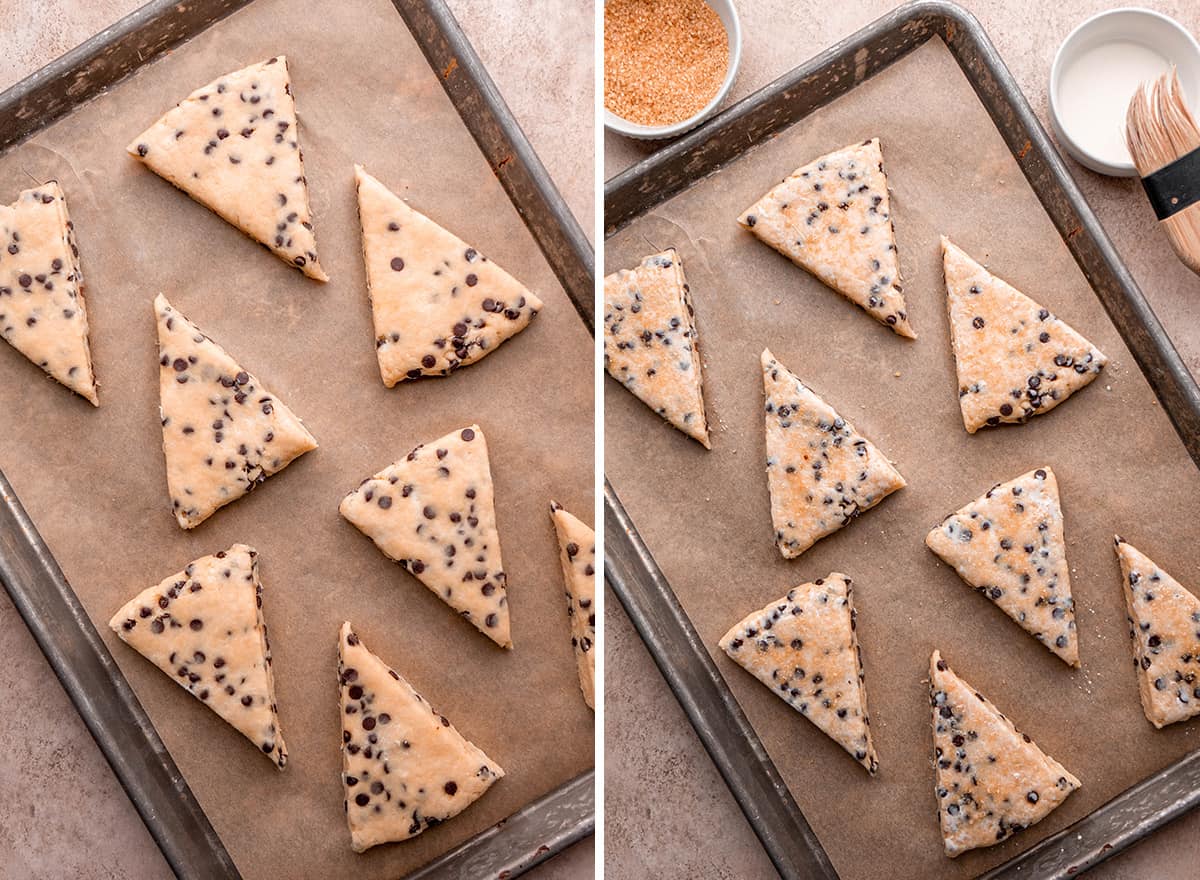
If making ahead: tightly wrap the circle of dough in plastic wrap and put it in an airtight container (or plastic bag) and chill in the refrigerator overnight. When you’re ready to bake them in the morning, simply continue following the recipe. Then, carefully separate the chocolate chip scones and evenly space them on the prepared baking sheet. Lightly brush the top of the dough with half and half, sprinkle with raw sugar and gently press it into the top of the scones. This is optional, but recommended.
Bake and Cool
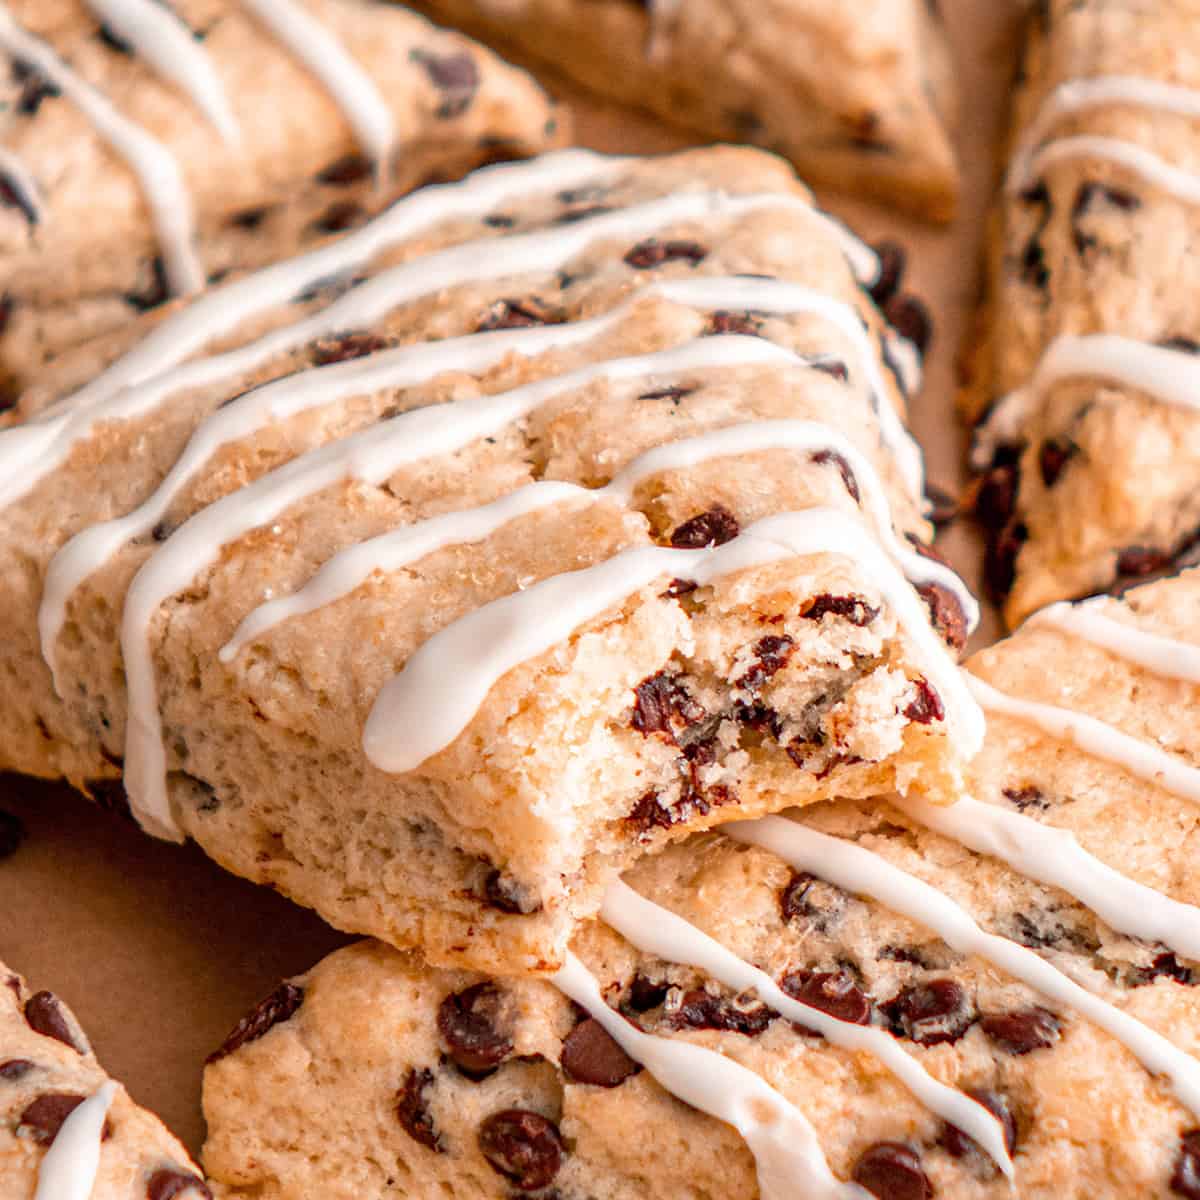
Finally, bake the chocolate chip scones in the preheated oven for 14 to 17 minutes, or until they just look set and are barely starting to brown. Remove from the oven and transfer the scones to a baking sheet to cool, or serve warm (which I highly recommend).
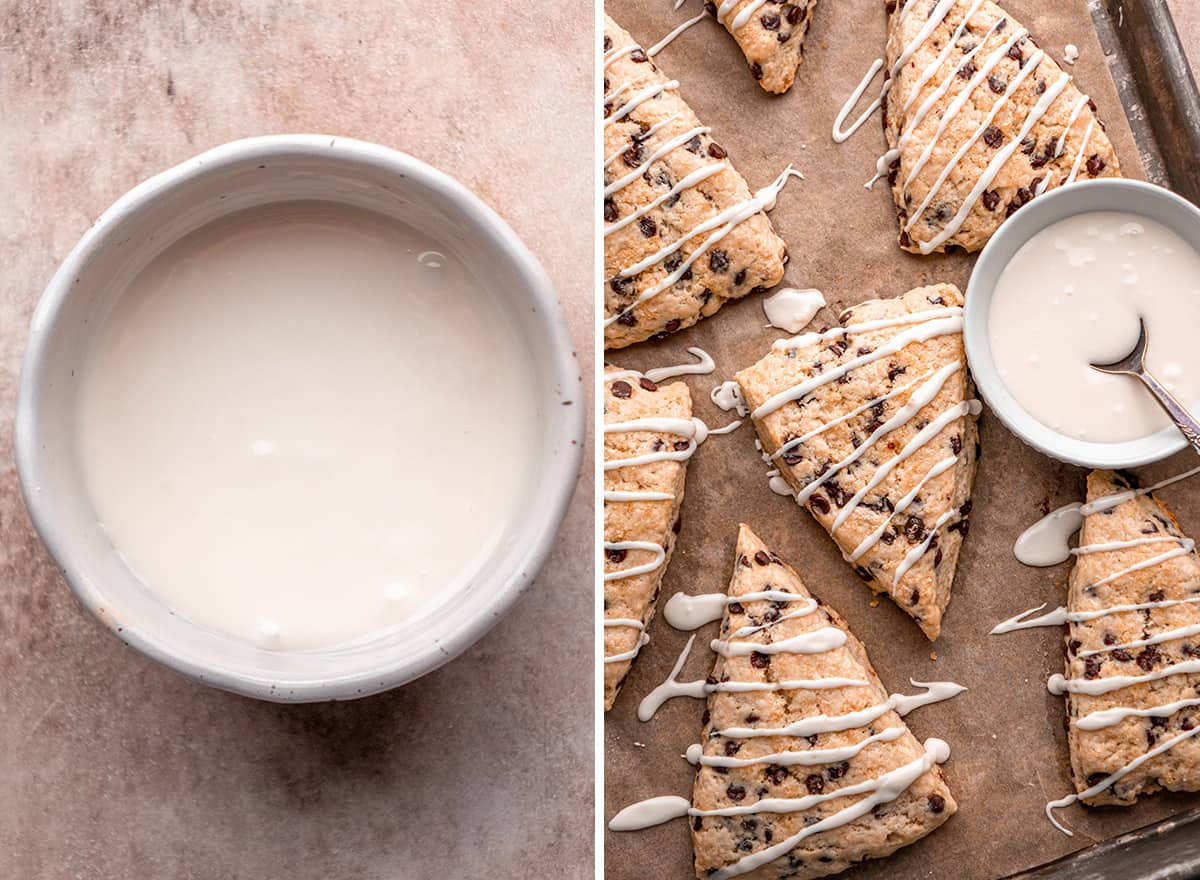
Make the Vanilla Glaze (Optional):
If you’d like, you can make the glaze according to the recipe and drizzle it over the cooled chocolate chip scones. Let them sit at room temperature until the glaze has hardened (about 30-60 minutes).
Serve
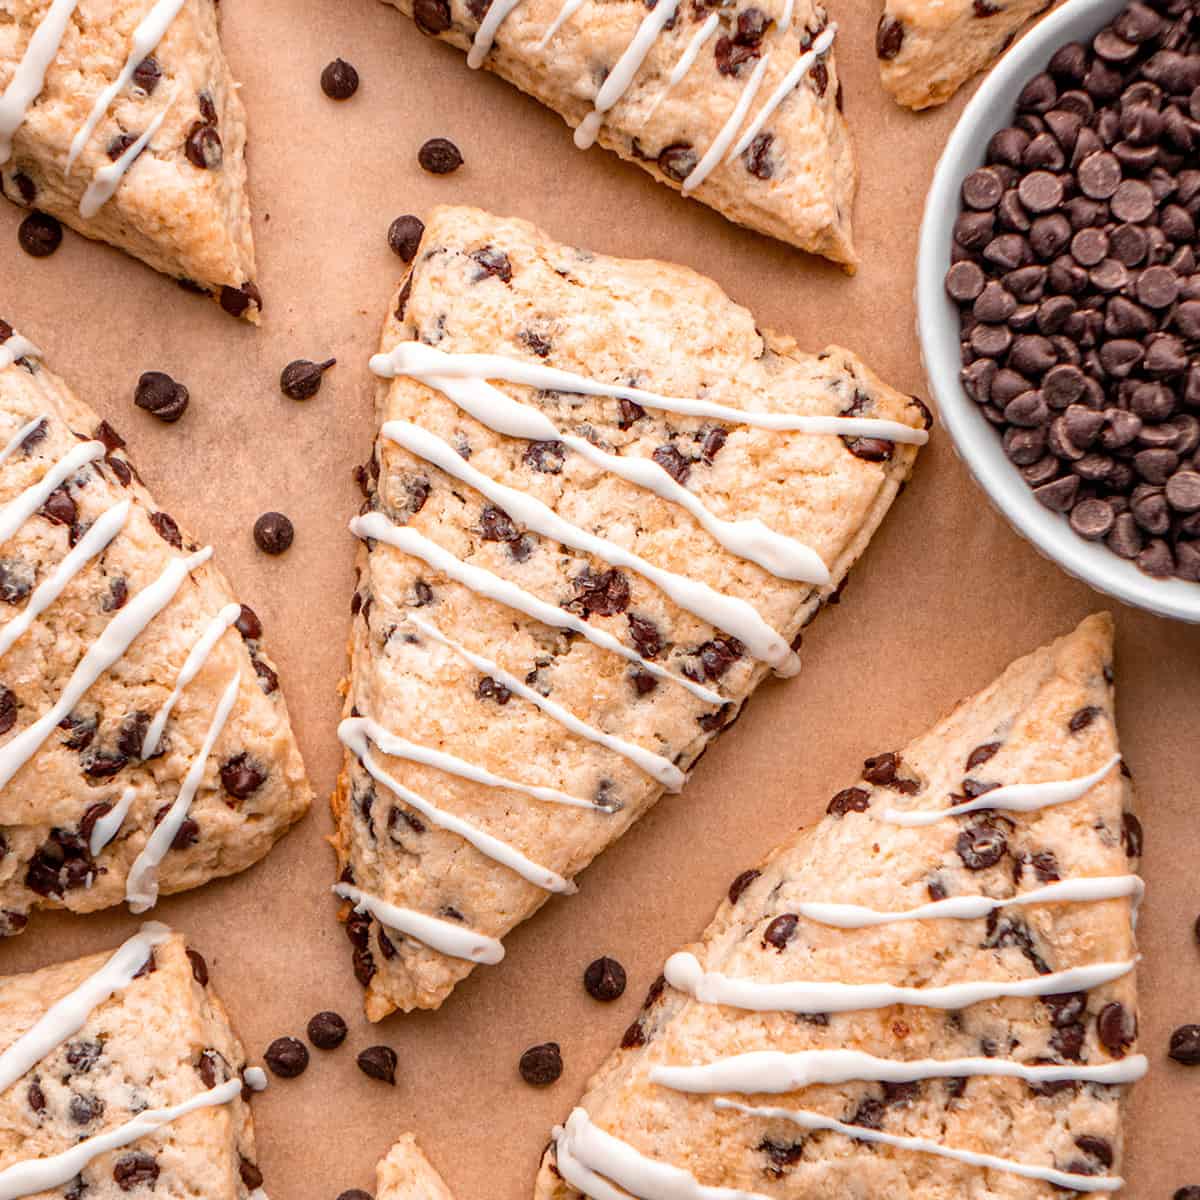
I suggest serving the scones at room temperature or slightly warm (my preference). Serve them with a dollop of cinnamon butter for an extra special touch. I enjoy serving them as a special brunch along with some of our favorite breakfast recipes like this delicious quiche, cinnamon rolls and fruit salad.
Store/Freeze
Store in an airtight container at room temperature for up to 3 days or in the freezer for up to 2 months. If you make and love our recipes, it would mean so much to me if you would leave a comment and rating! And don’t forget to follow along with us on Instagram, Pinterest, Facebook, and Youtube – be sure to tag @joyfoodsunshine and use the hashtag #joyfoodsunshine so we can see your creations!
![]()