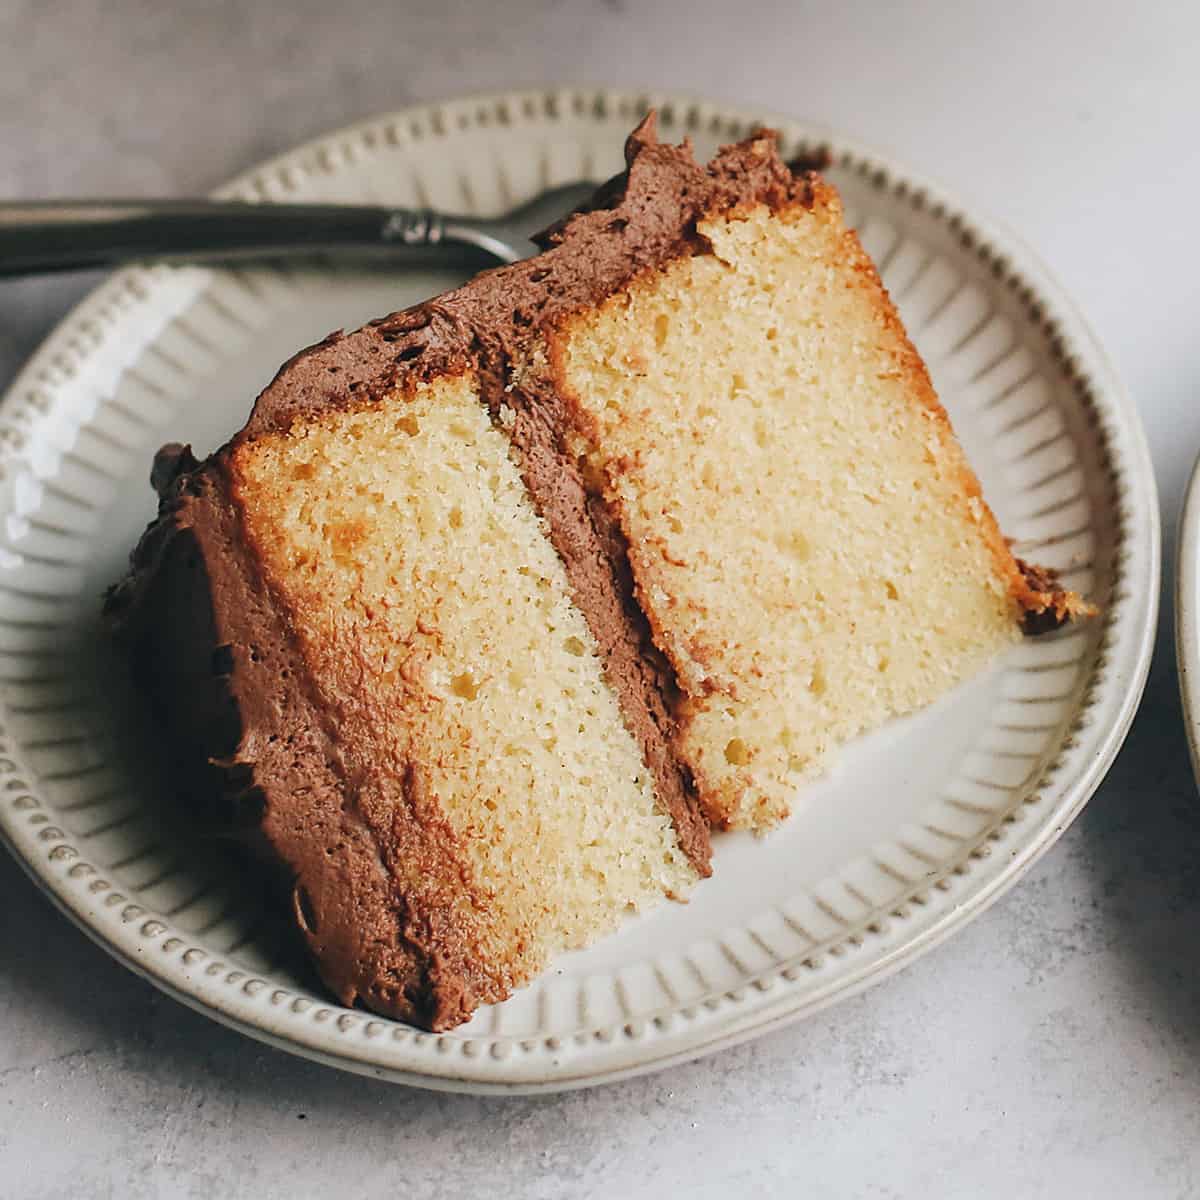
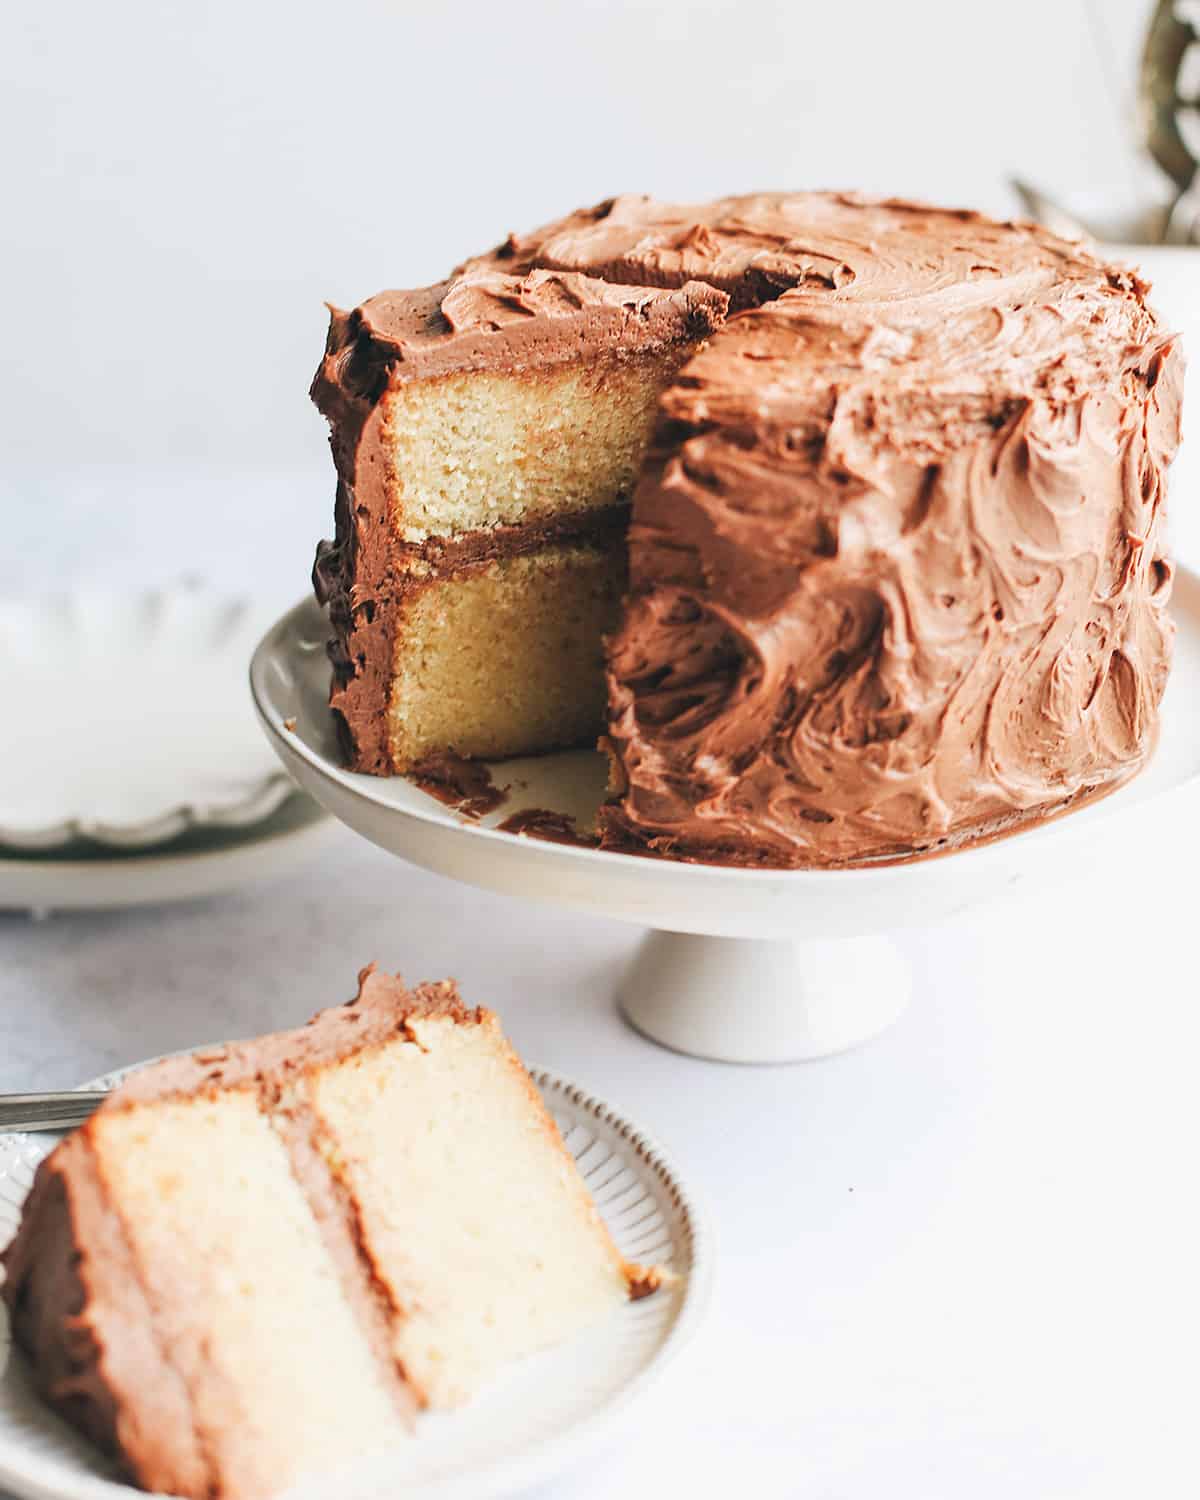
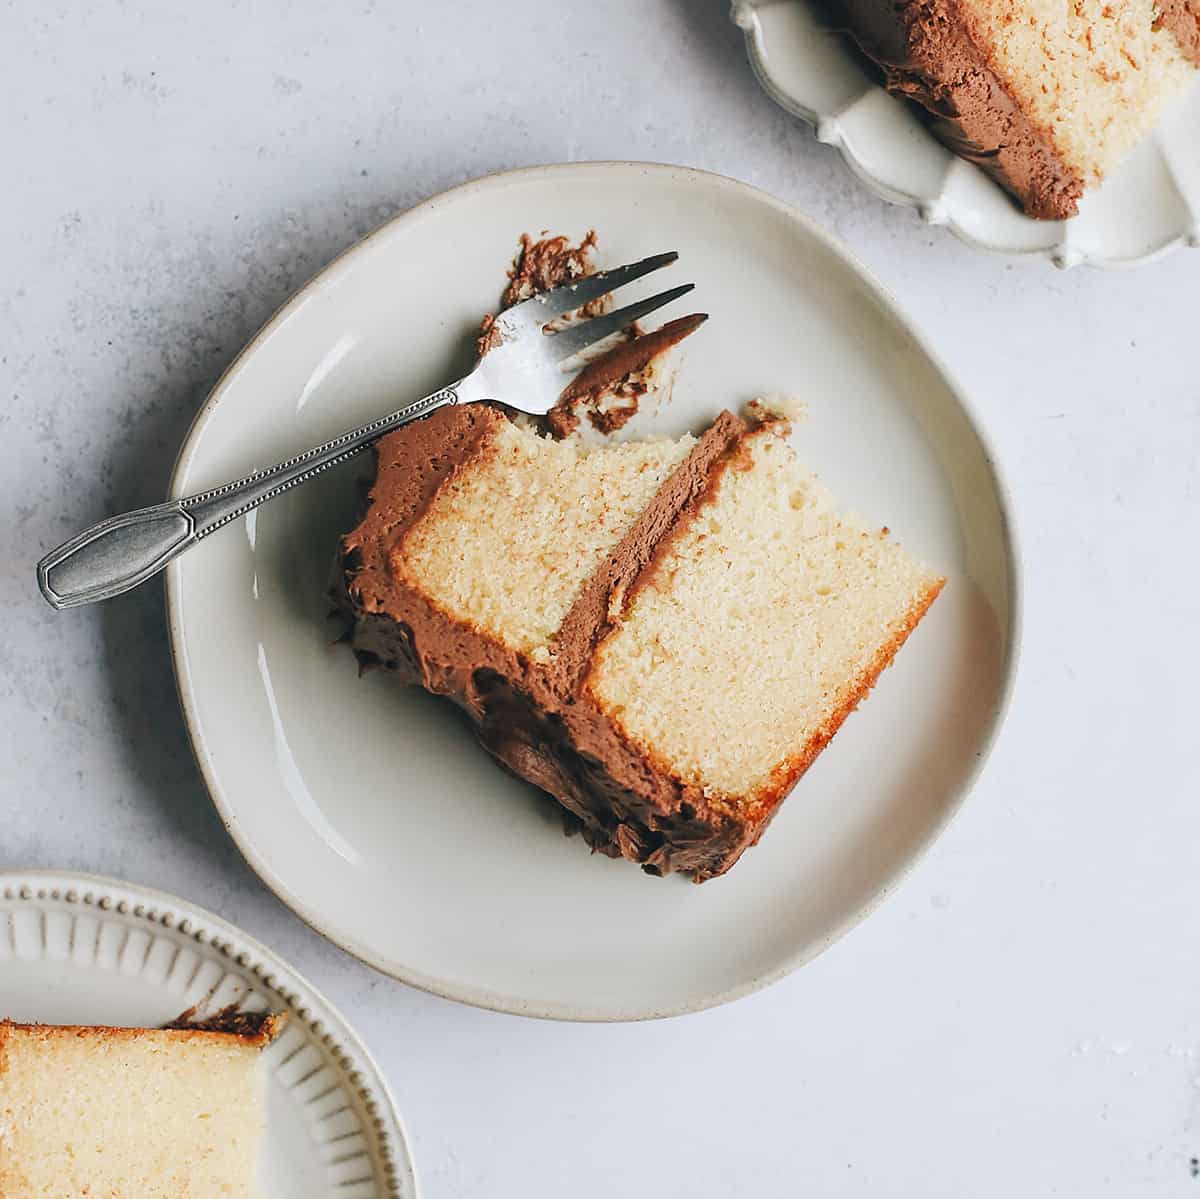
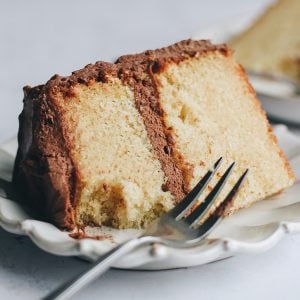
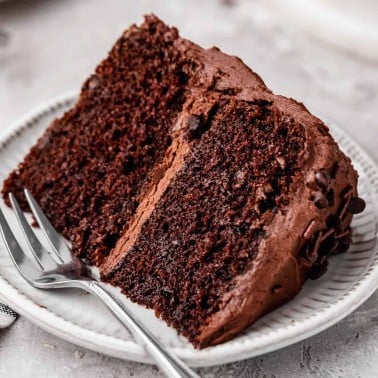
Posted Aug 04, 2021, Updated Aug 24, 2024 We have a large family, so we celebrate a lot of birthdays every year. I used to use box cake mixes, but I just didn’t love the idea of using a highly processed ingredients for all of our (many) birthday celebrations. So, I created this irresistible yellow cake recipe. This yellow cake recipe is made completely from scratch with simple ingredients (just like my chocolate cake recipe) . It’s dense and moist with a perfect crumb. It’s seriously so delicious that even if you usually “only eat the frosting and leave the cake behind,” you won’t do that with this yellow cake – you’ll eat the entire slice! Frosted with our favorite chocolate buttercream recipe or homemade vanilla frosting, it’s the ultimate birthday cake. Ditch boxed mixes and make this homemade yellow cake instead.
Yellow Cake Recipe: Ingredients & Substitutions
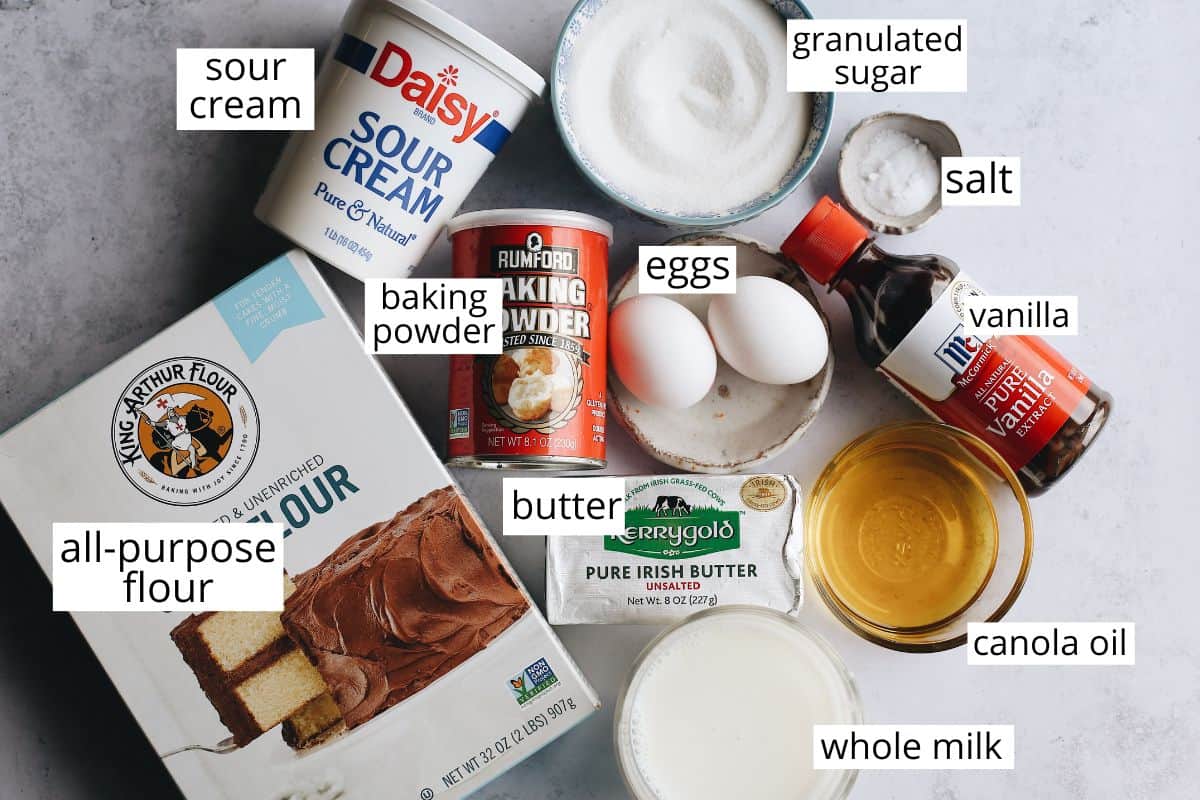
Let’s discuss the ingredients in this recipe, as well as possible substitutions.
All-purpose flour. Cake flour or bread flour can be used in place of all-purpose flour. Salted butter. Unsalted butter can be used in place of salted, if desired. Granulated sugar. There isn’t a substitute for the sugar. I suggest regular white sugar or organic cane sugar for the best results. Canola oil. Oil keeps this yellow cake very moist. You can substitute equal amounts of melted butter or another neutral oil if desired, however canola oil will yield the best results. Sour cream. Full-fat, plain Greek yogurt can be used in place of sour cream. I recommend using full-fat ingredients. Whole milk. Again, full-fat whole milk is the best choice. You can substitute 2% milk but nothing with a lower fat content. Vanilla extract. You can switch up the extract and use almond, orange, etc. if you prefer a flavored yellow cake.
How to Make Yellow Cake From Scratch
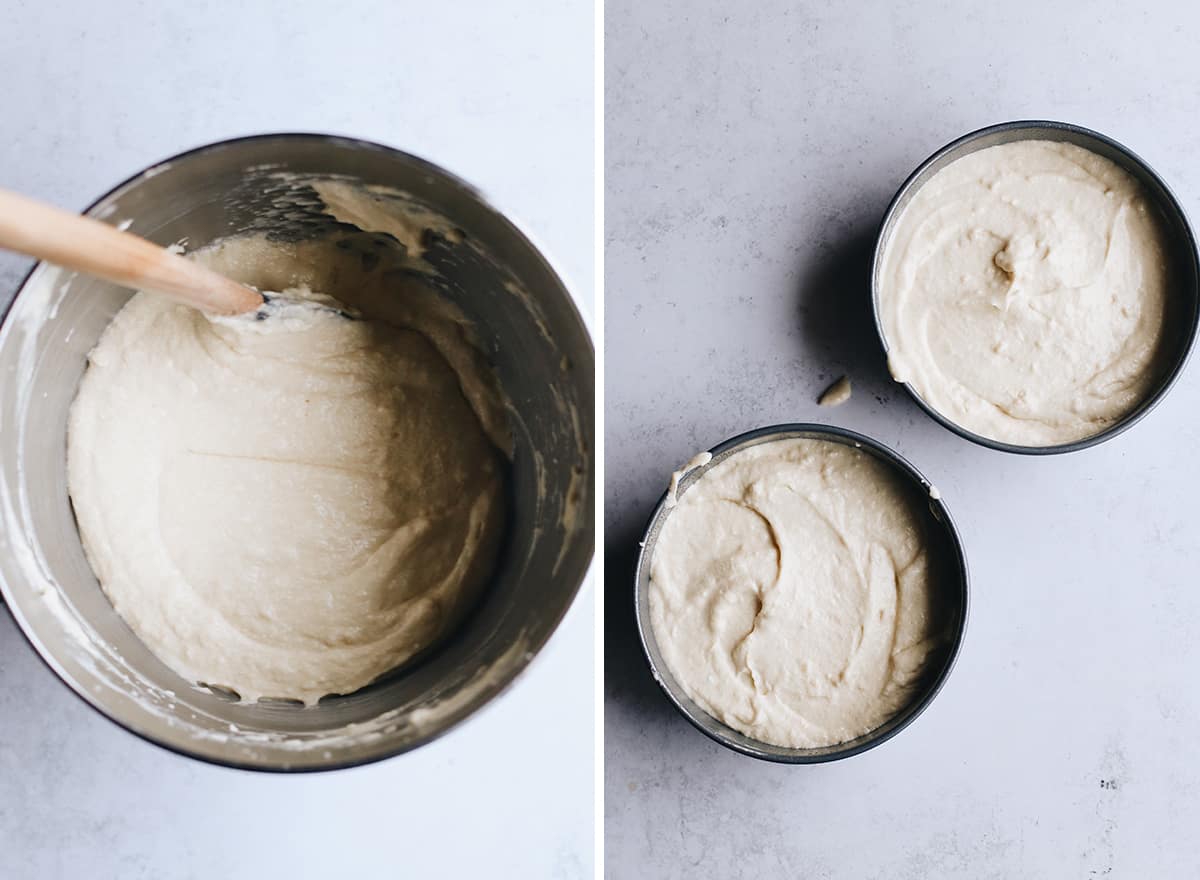
This yellow cake recipe makes two, 6″ round cakes. You can double the recipe to make two, 9″ round cakes, if desired. We’ll walk through how to make yellow cake step-by-step, and don’t forget to watch the video.
Prepare the Cake Pans
Line two 6” round cake pans with parchment paper and grease well. Set aside. I like to line them by tracing the bottom of the cake pans onto parchment paper and then drawing “handles” out of opposite sides (see below). This makes it very easy to lift the cake out after baking.
Make the Cake Batter
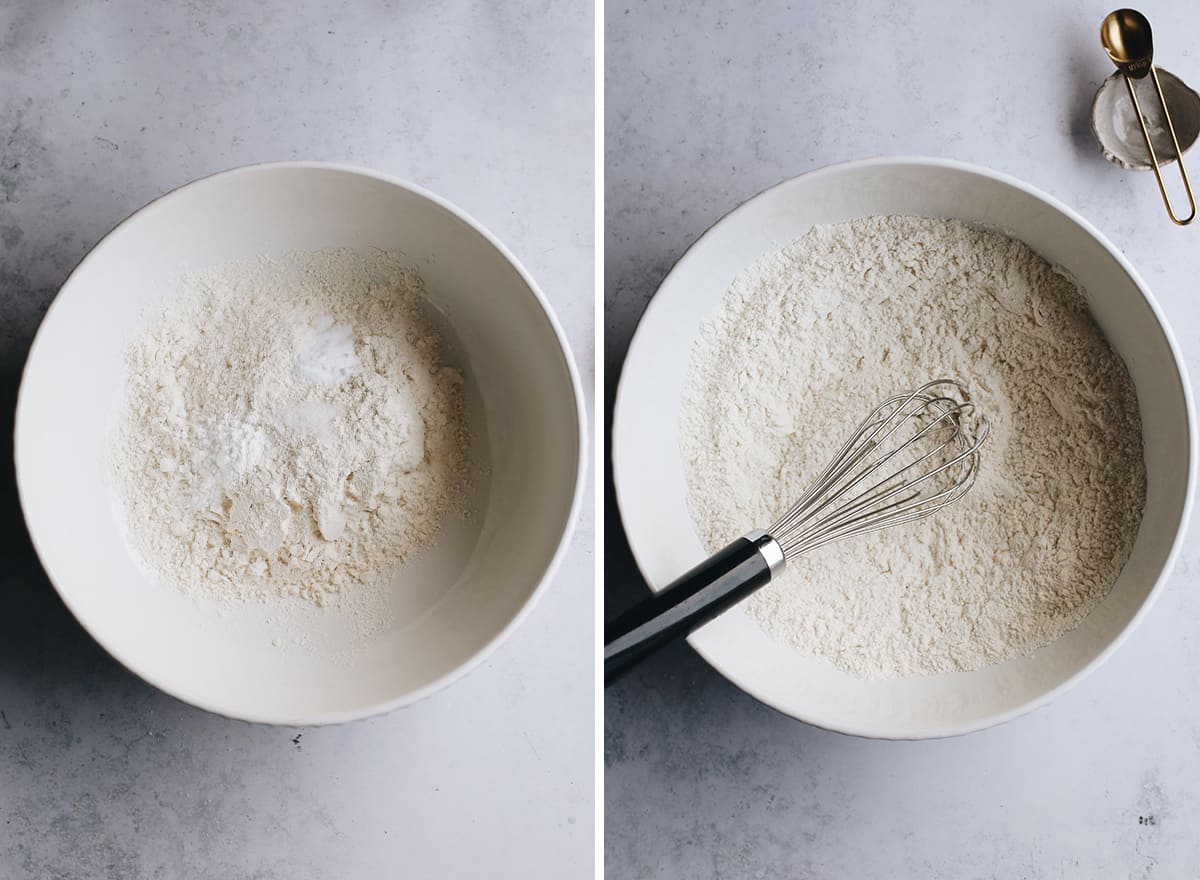
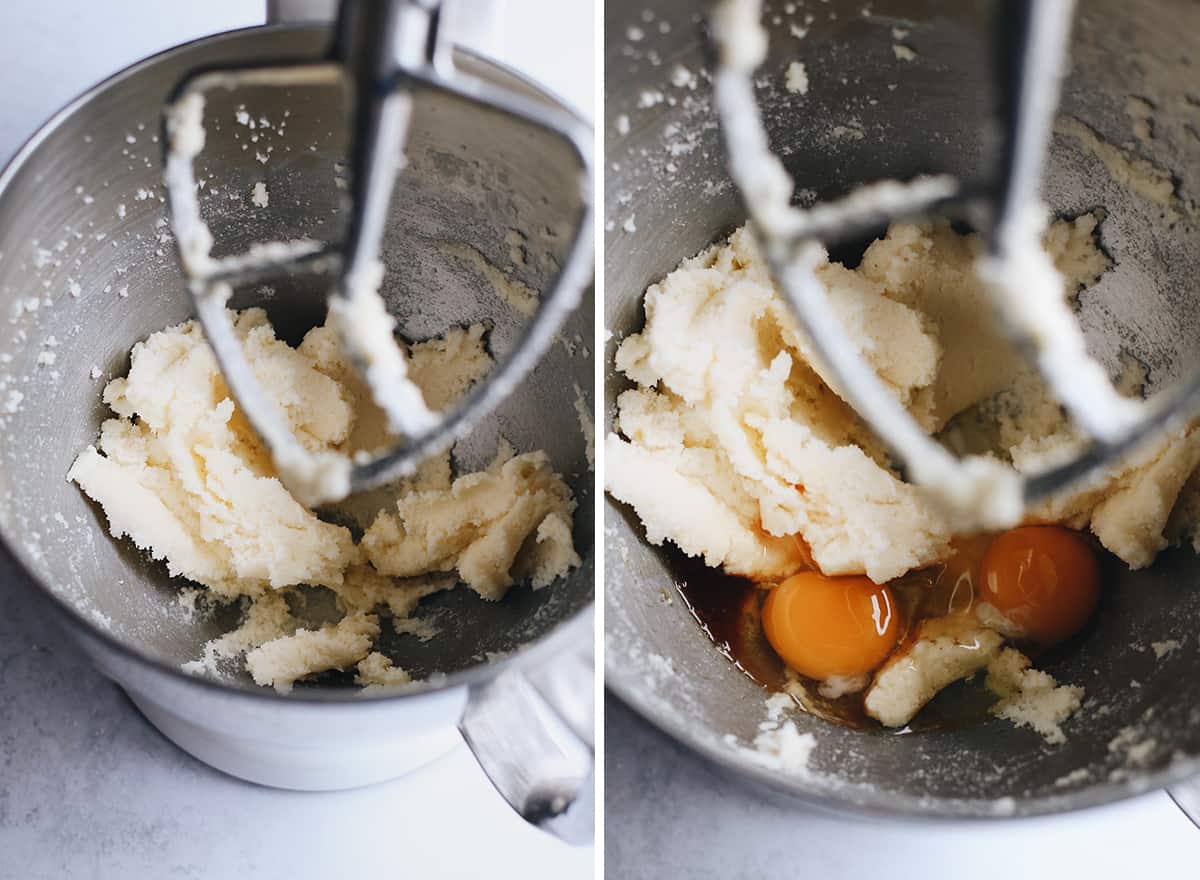
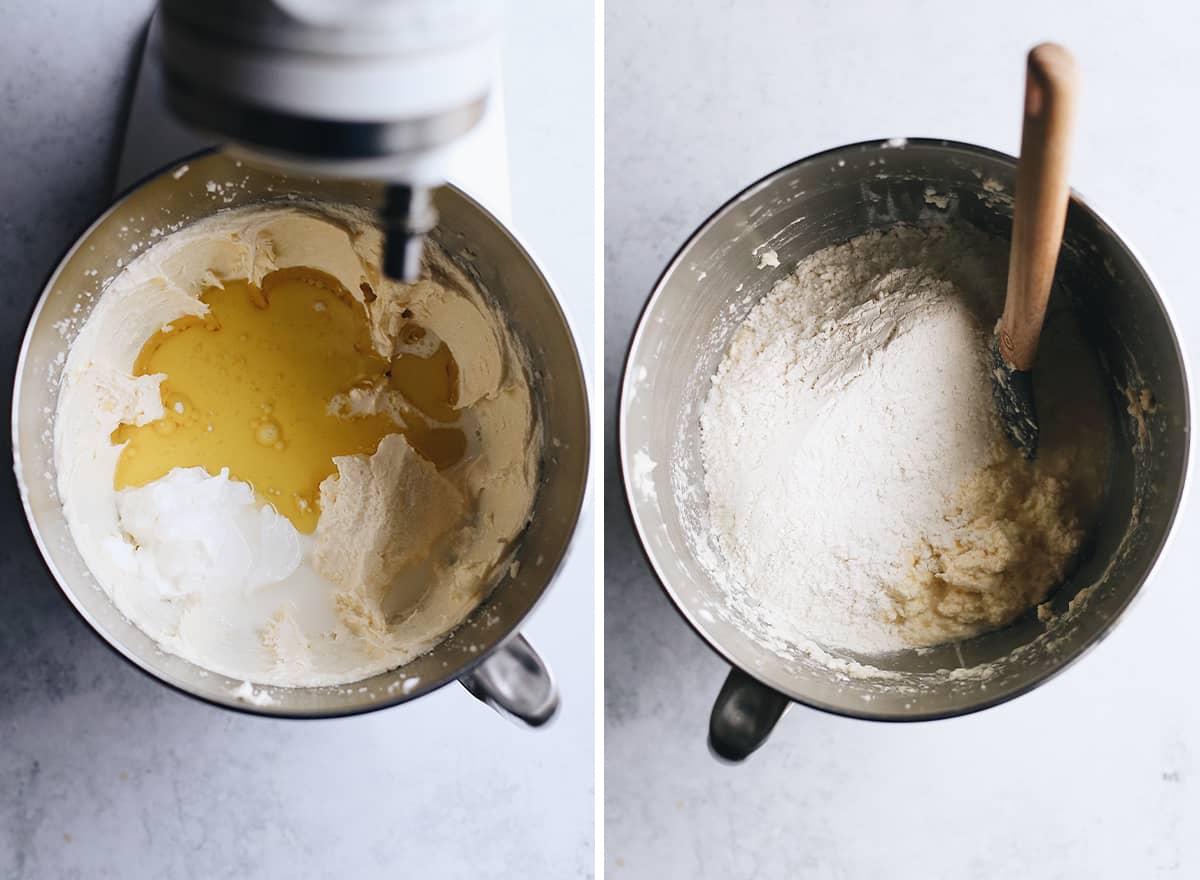
In a medium bowl, combine flour, baking soda, baking powder, and sea salt. Set the mixture aside to use later. This step is important to ensure the ingredients are evenly distributed and that there are no lumps. Next, combine the wet ingredients. In the bowl of a standing mixer, or in a large bowl with a hand-held mixer, beat butter and sugar until light and fluffy (1-2 minutes). Add eggs and vanilla and beat until fluffy (60 seconds). Next, add the sour cream, milk and canola oil and beat until combined. Once the wet mixture is smooth, add the dry ingredient mixture and beat until just combined. Do not over-mix.
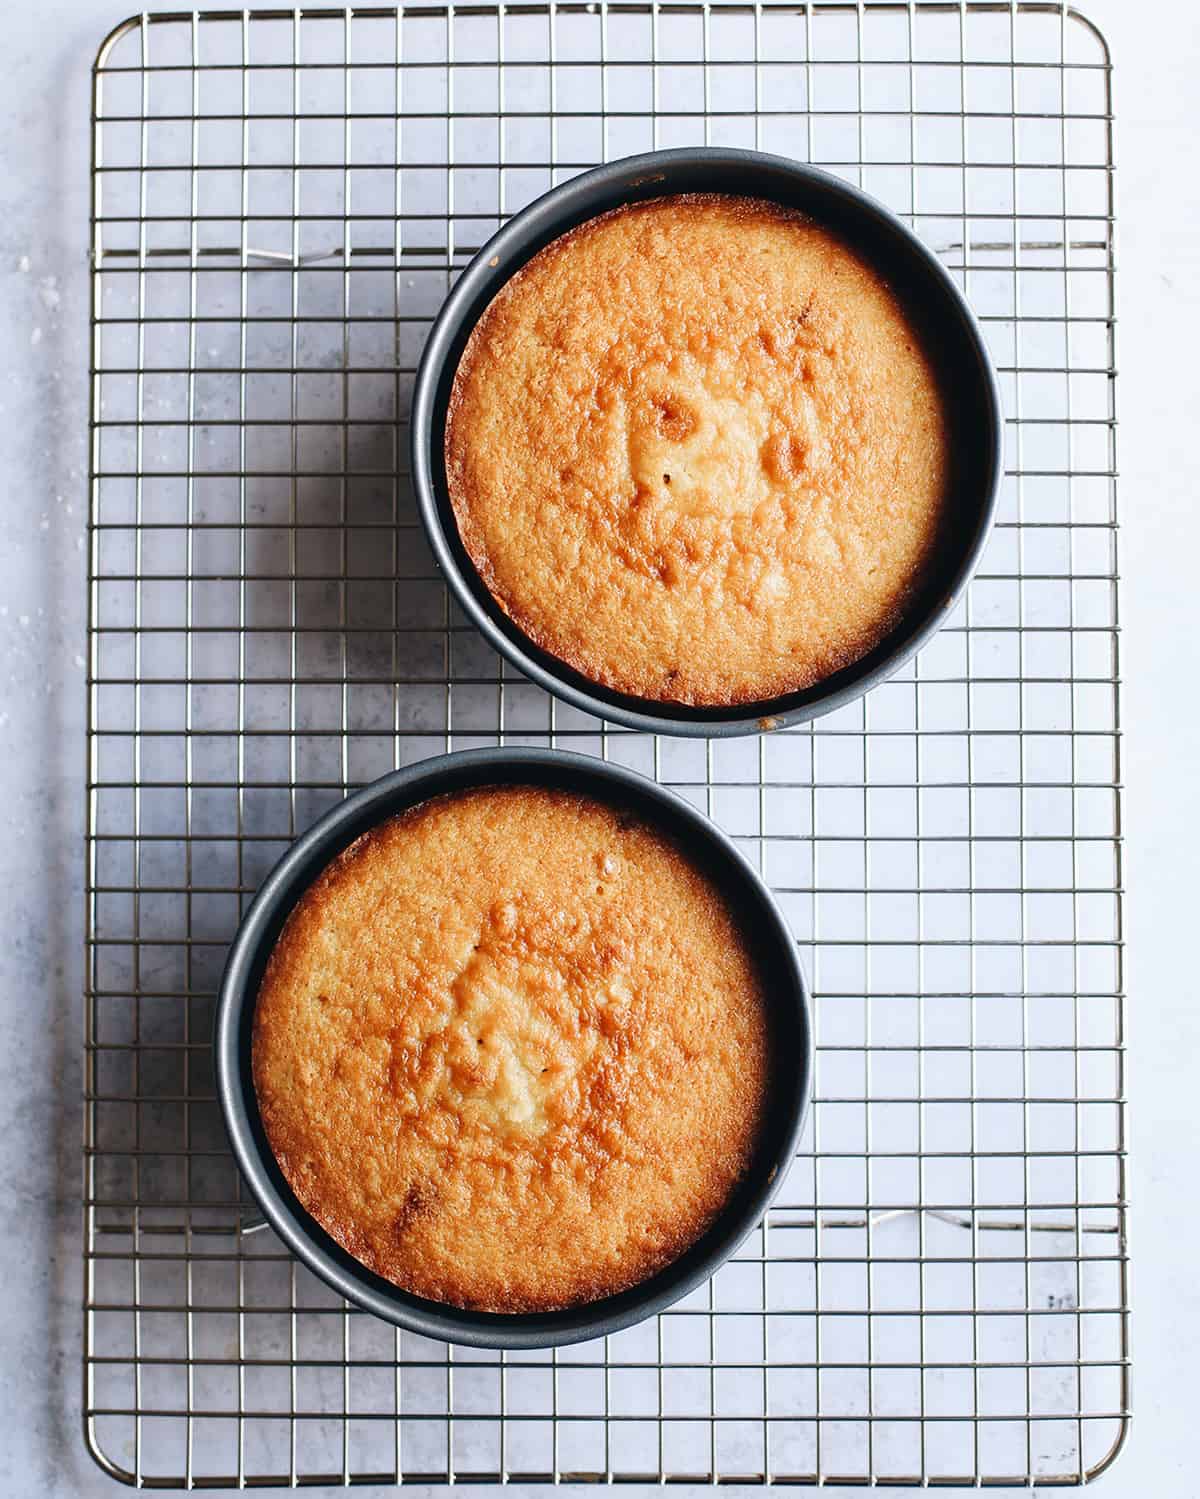
Bake & Cool
Divide the batter evenly into the two prepared cake pans. Bake in the preheated oven for 30-35 minutes, or until top is set and a toothpick inserted in the center of the cakes comes out clean or with a few crumbs. Place cake pans on a wire cooling rack to cool to room temperature (takes about 30 minutes). Once cool, lift cakes out of the pans and remove parchment paper. Let cool completely on the wire cooling rack.
Freeze
I often bake this homemade yellow cake recipe a few days before I need to frost it and store it in the freezer. Simply wrap each cake layer tightly with plastic wrap, put them in a ziplock bags and store in the freezer. Even if you plan on frosting this yellow cake the same day you bake it, I still recommend freezing it before frosting. Frosting a a cake when it’s frozen prevents crumbs from getting into the frosting.
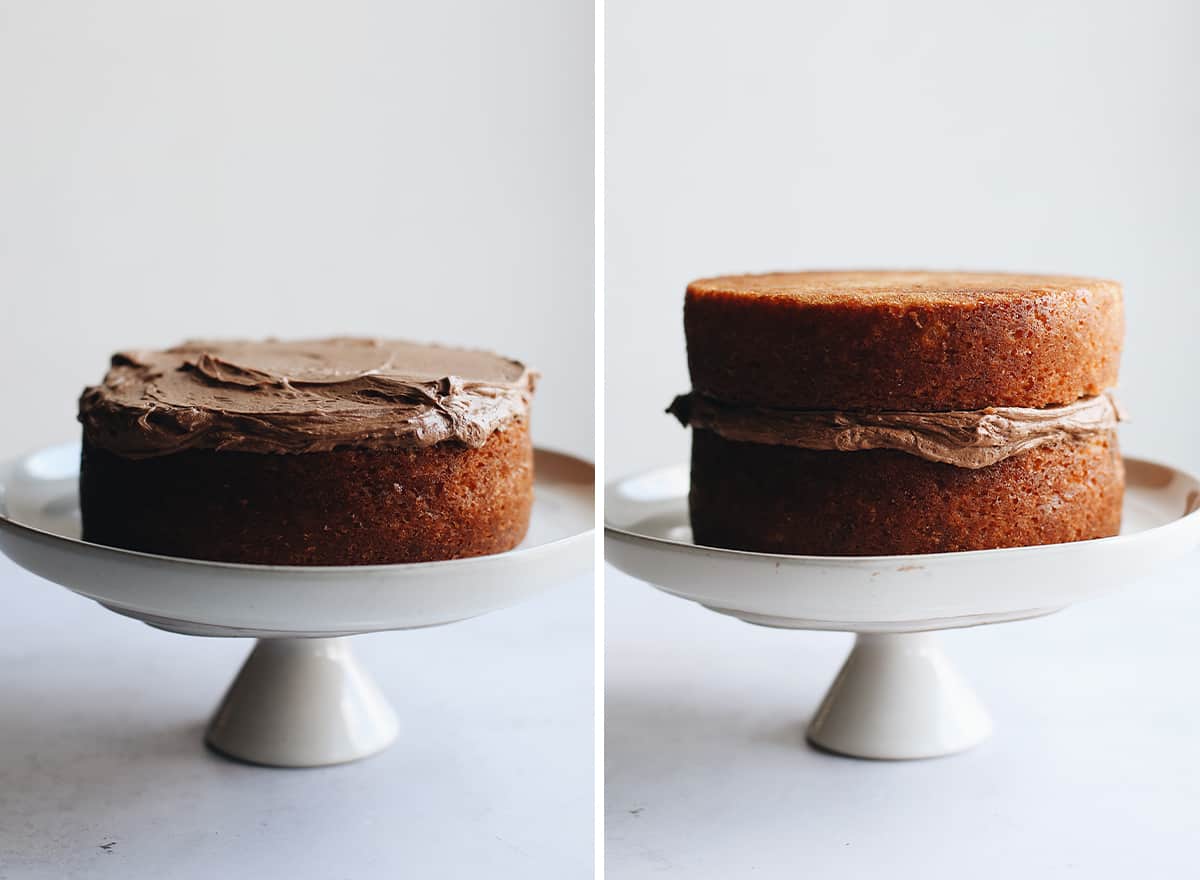
Frost
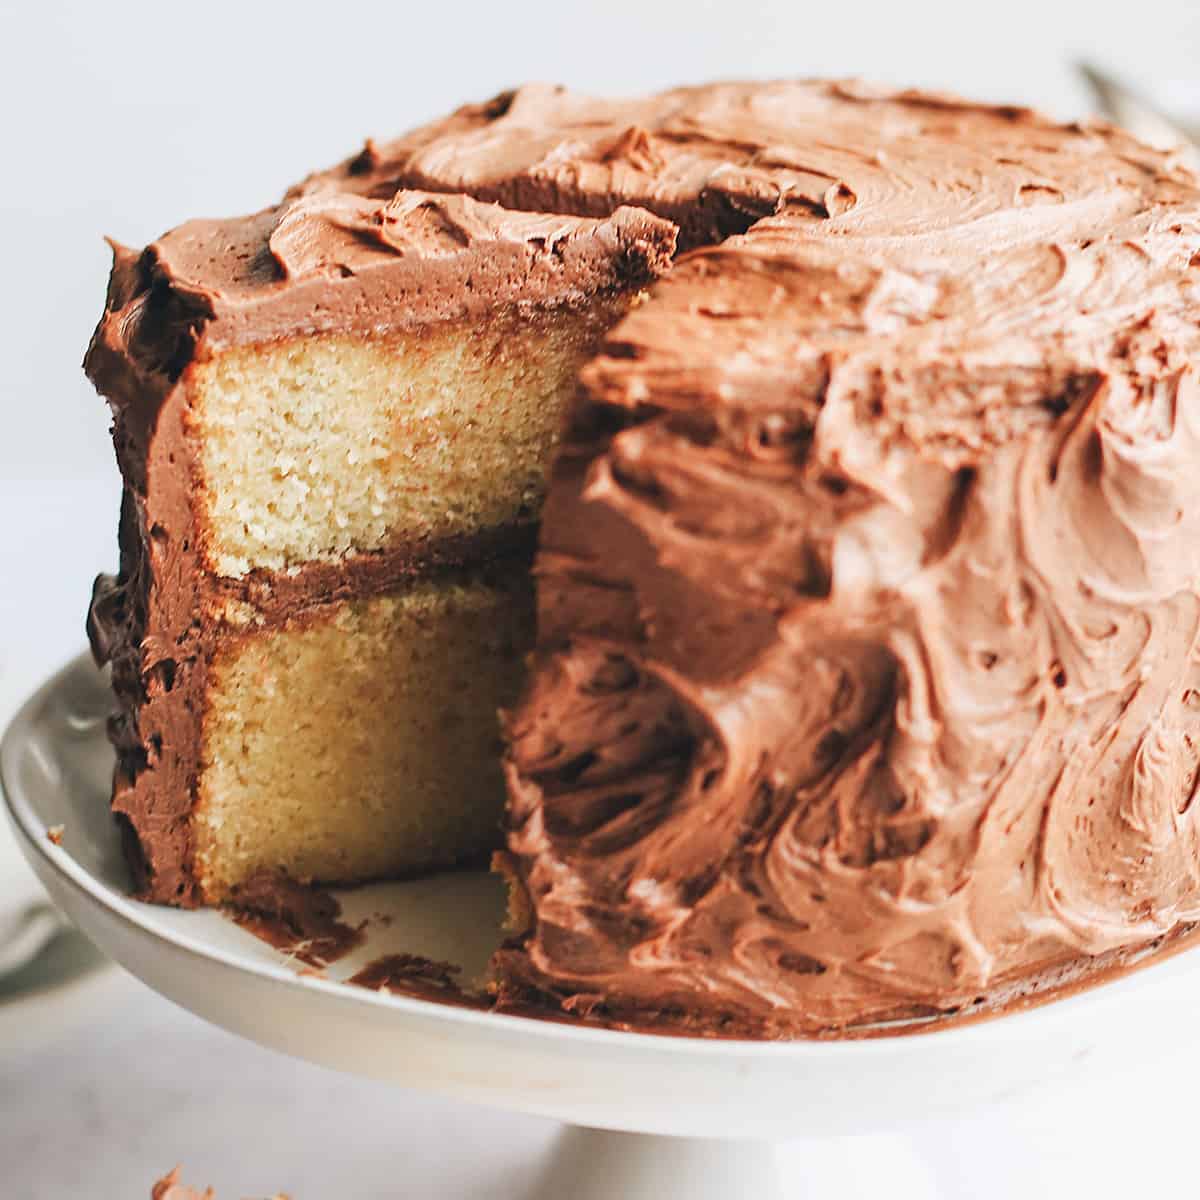
Once the cakes are completely cooled, frost or decorate them any way you wish. I use this chocolate frosting, vanilla buttercream frosting or this vanilla frosting to make our yellow birthday cakes. Don’t forget to do a crumb coat first – a thin base layer of frosting to keep crumbs from getting into your final design.
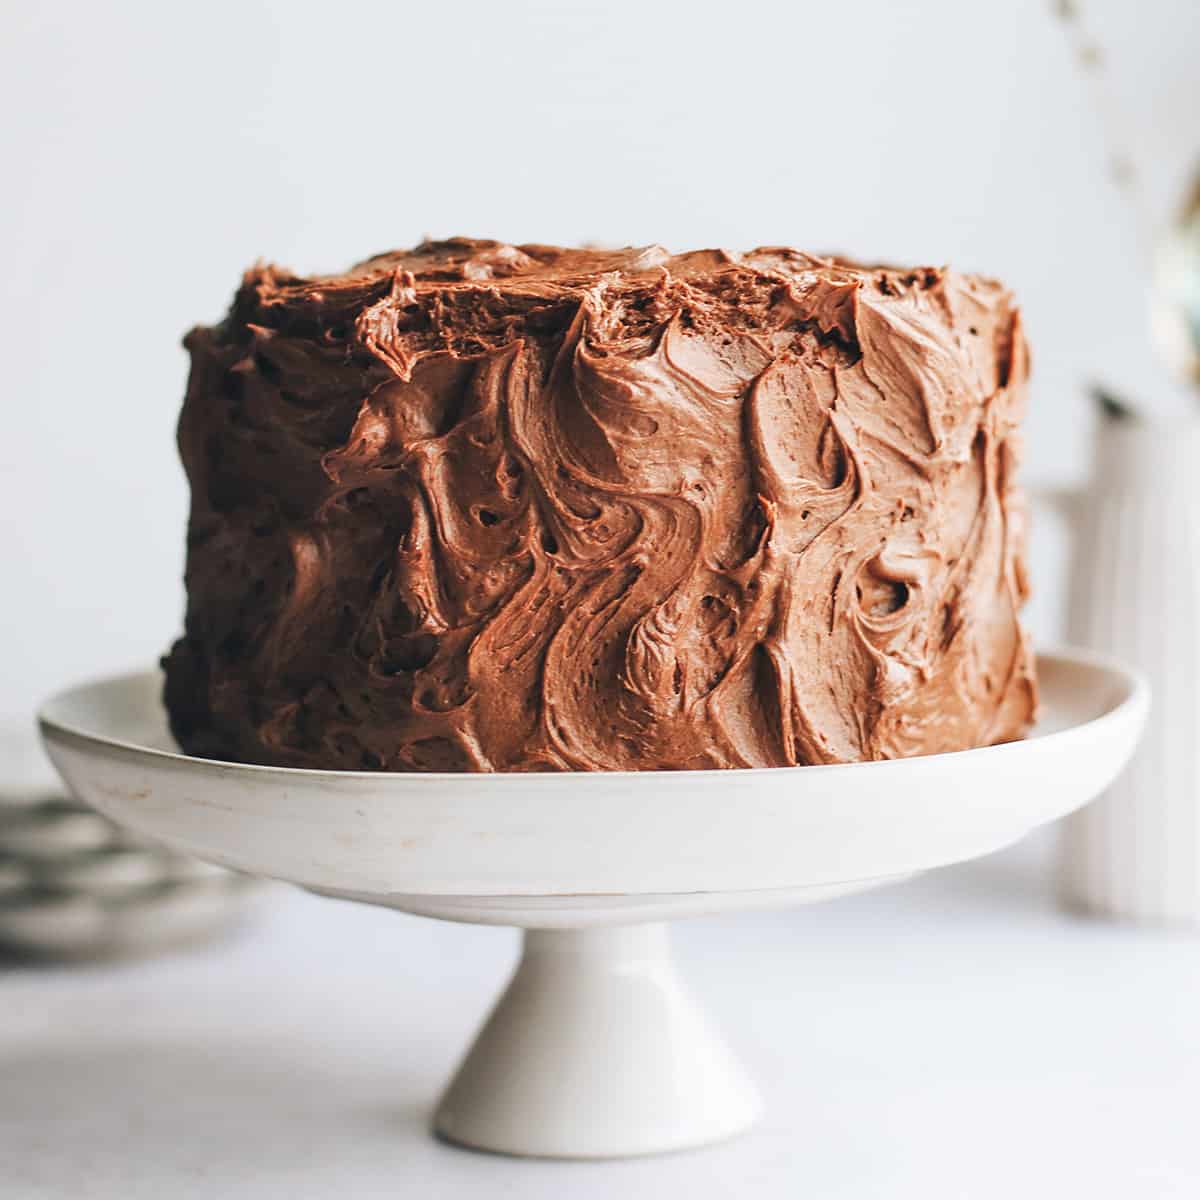
Chill
If you decorate the cake with a design (like rosettes, etc.) I recommend chilling it in the refrigerator until the frosting hardens and the design sets.
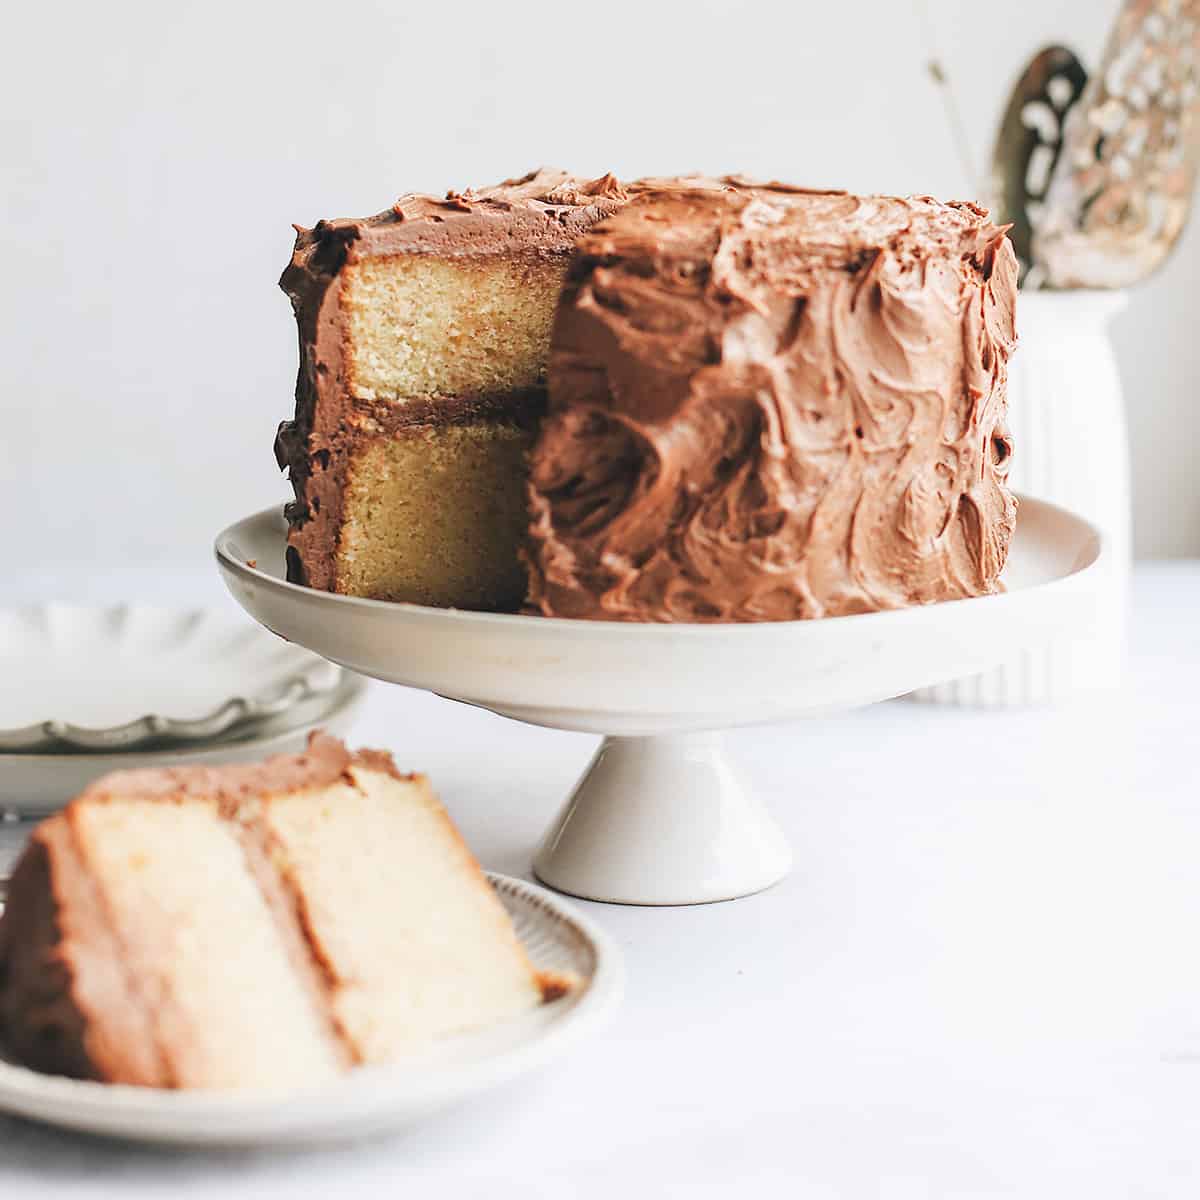
Serve
If you decorated the yellow cake and chilled it in the refrigerator, remove it from the fridge 1-2 hours before serving so it can come to room temperature. This is another reason why I typically bake cakes in advance. I frost it the day before someone’s birthday so it has time to chill/set and then come to room temperature to eat. We like eating cake with a side of ice cream, like this homemade vanilla ice cream or homemade chocolate ice cream. A dollop of homemade whipped cream also tastes amazing.
Store/Freeze
Store leftover cake in an airtight container in the refrigerator for up to 5 days. Or, freeze individual slices by flash-freezing them on a baking sheet. Then, wrap the frozen cake slices in plastic wrap and store in an airtight container for up to 1 month. Thaw slowly in the refrigerator overnight or at room temperature. If you make and love our recipes, it would mean so much to me if you would leave a comment and rating! And don’t forget to follow along with us on Instagram, Pinterest, Facebook, and Youtube – be sure to tag @joyfoodsunshine and use the hashtag #joyfoodsunshine so we can see your creations!
![]()