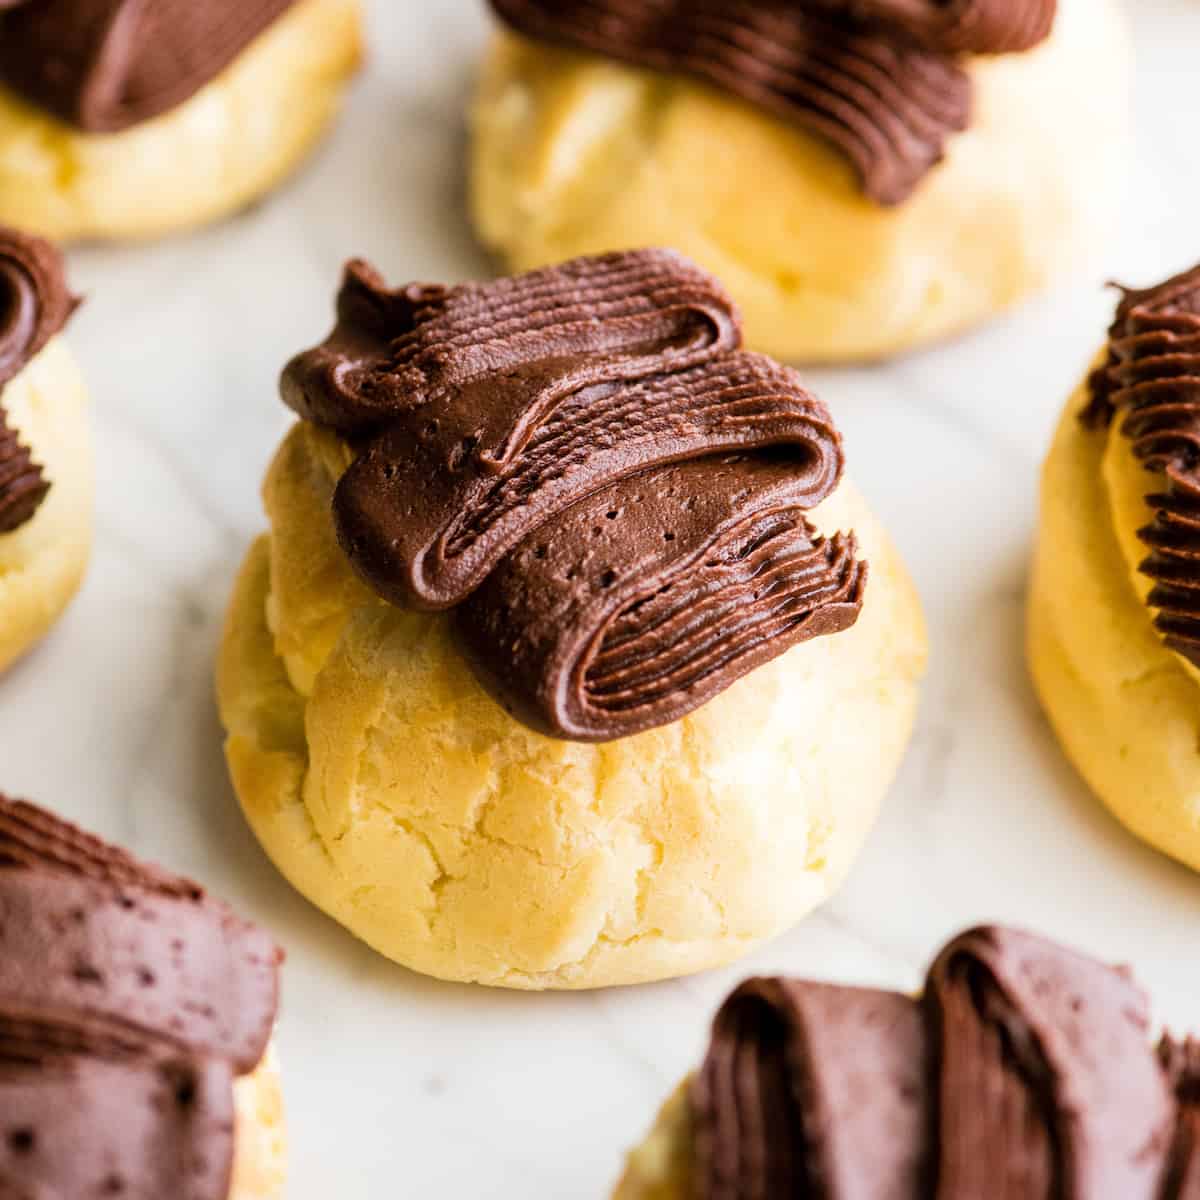
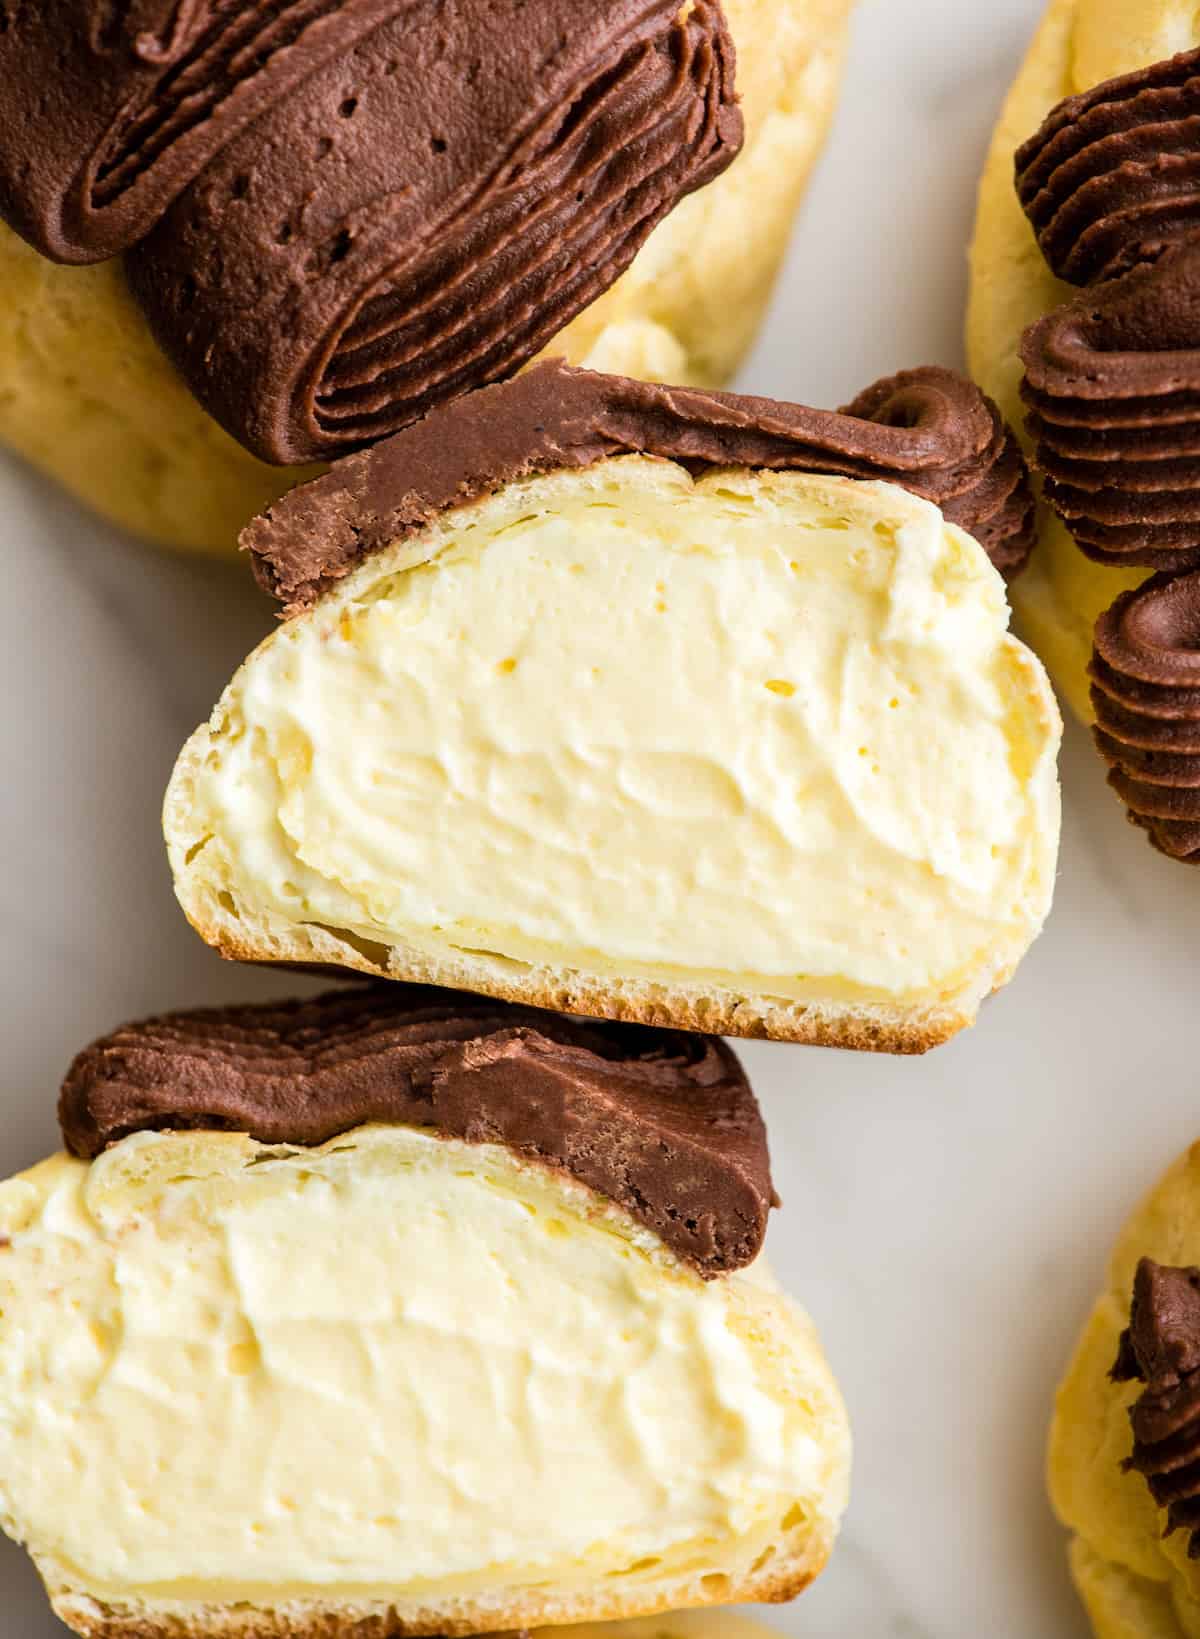
Posted Sep 19, 2019, Updated May 07, 2024 This Best Eclairs Recipe is my husband’s favorite dessert of all time. His mom has been making these homemade Eclairs for over 45 years and when Ritch and I got married, she taught me how to make them too. These Eclairs are good, like knock-your-socks-off delicious. But they’re not necessarily an “easy” recipe. This eclairs recipe is really three recipes: one for the Choux pastry, one for the chocolate frosting and one for the eclair filling. We have the process down to a science, and I will be sharing it with you step-by-step. I happily spend half a day making this eclairs recipe, or this tiramisu cake, for Ritch because they bring him so much joy (just like these brownies are my love language)! We always work as a team, which makes the process faster and more fun! Plus, I love that this recipe is passed on from his mom. I always remind my kids that these are “Mema’s Eclairs” so that we always think of her when we make them, and will for the rest of our lives!
Homemade Eclairs Recipe: Ingredients
There are three components to this Eclairs Recipe, and I’ll show you the ingredients I use for each of them!
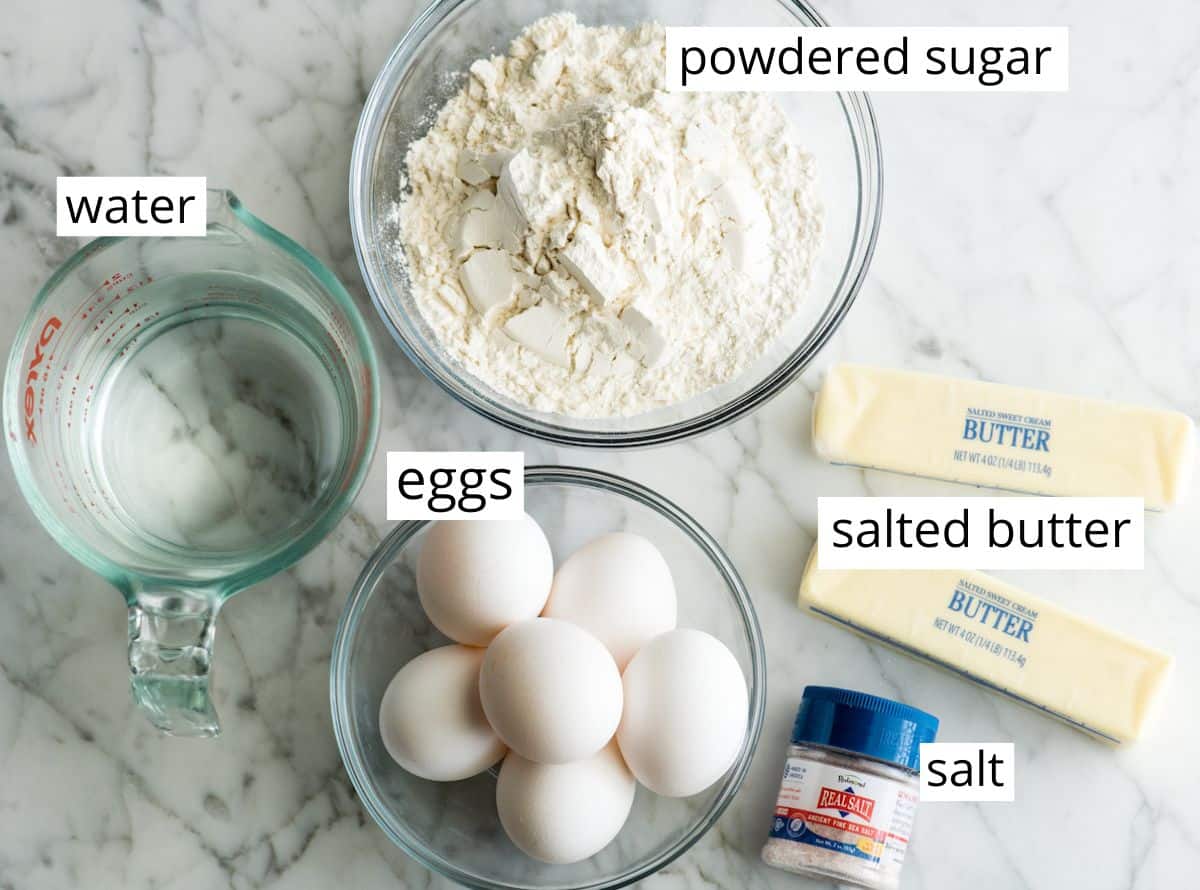
Choux Pastry
The choux pastry only has 4 ingredients, water, butter, eggs and salt! I do not recommend making any substitutions. The only change that can be made in using unsalted butter instead of salted butter! (Note: you only need ¾ cup butter for the recipe, although 1 cup is pictured below)!
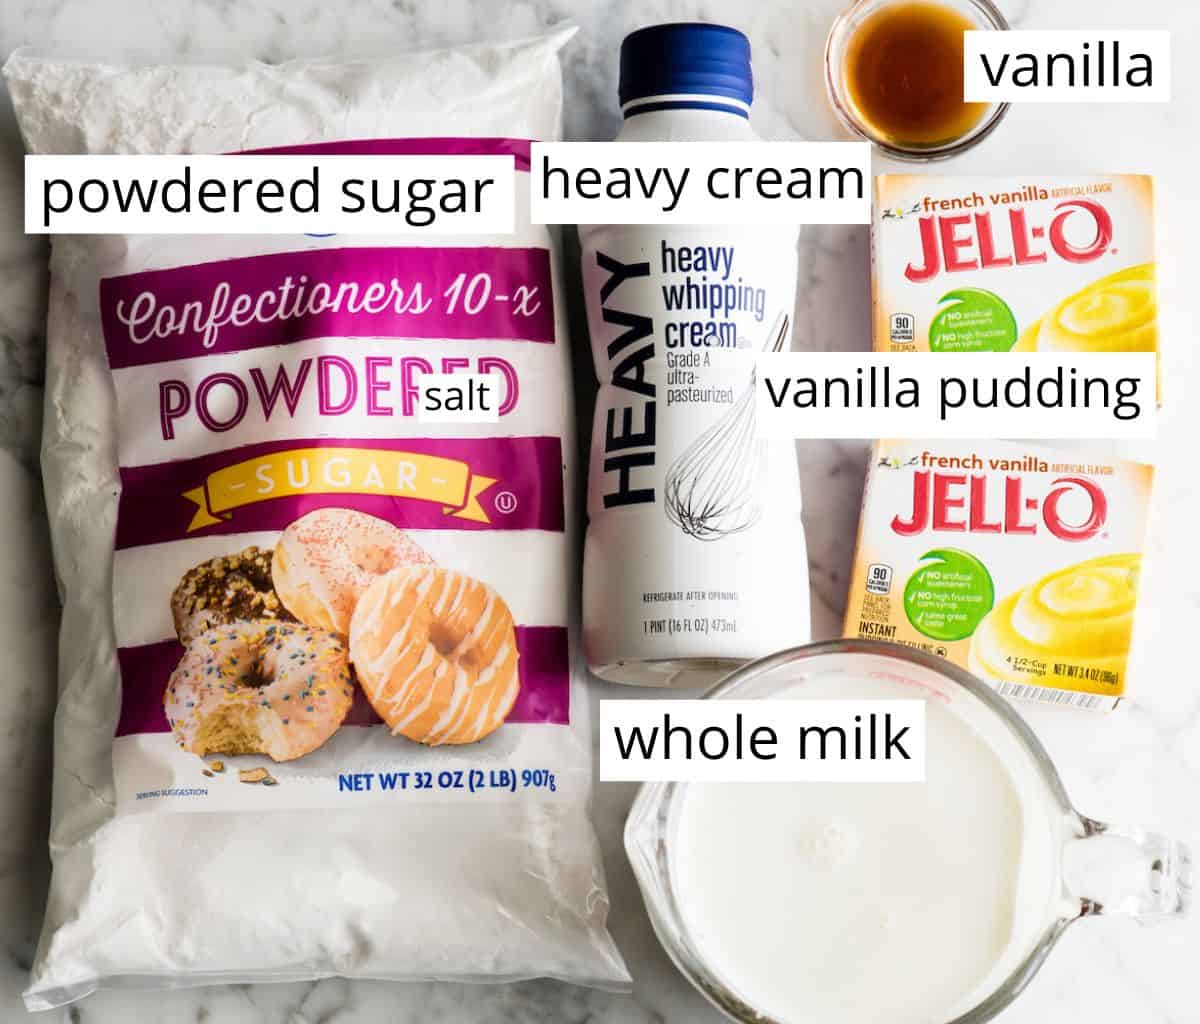
Eclair Filling
I do not deviate from these very specific ingredients because when I do, my husband notices (for example, I once tried to save $0.90 by buying generic pudding mix – and he tasted the difference). However, you can try to make your own vanilla pudding instead of using the packaged pudding if you prefer.
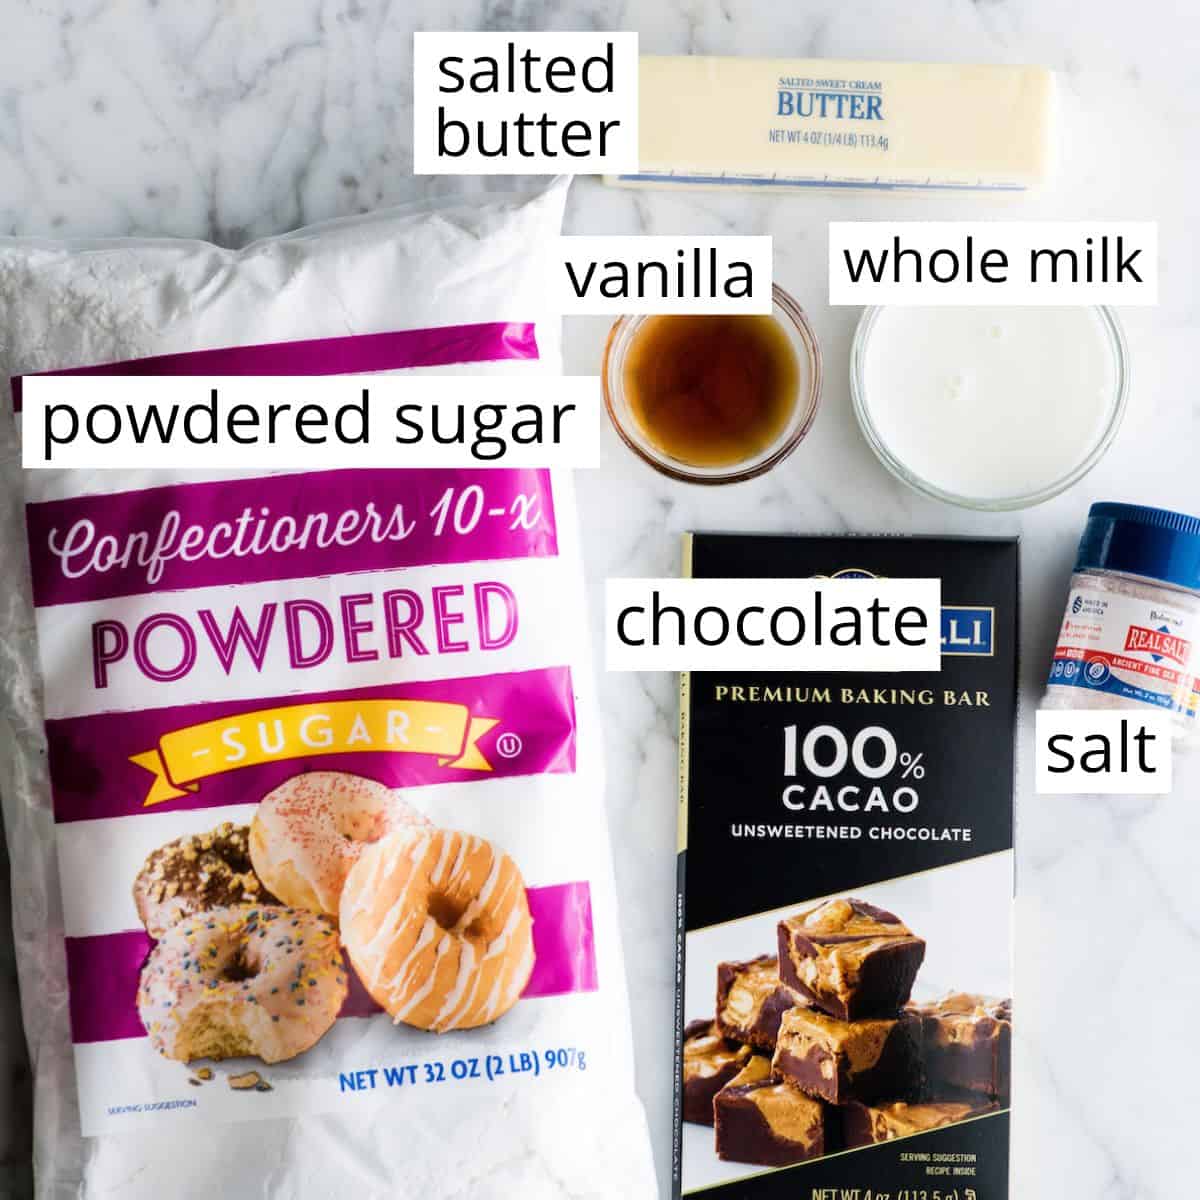
Chocolate Frosting
This recipe calls for a frosting that uses melted chocolate. If you’d prefer an easier, cocoa-based frosting you can use this Chocolate Buttercream Frosting instead. It’s just as delicious!
Chocolate: I love Ghirardelli baking chocolate. This frosting is a little dark but still sweet! If you like a sweeter chocolate frosting, use semi-sweet or milk chocolate. Milk: I use whole milk in this chocolate frosting, but you can use 2%, half and half or cream if you’d like. Butter. Unsalted butter can be used in place of salted butter.
How to Make Homemade Eclairs Recipe
There are three separate components that make these homemade eclairs: Since each part requires the use of a standing mixer, I have the process of making of these mini eclairs down to a science! Don’t forget to watch the video.
Make the Eclair Filling
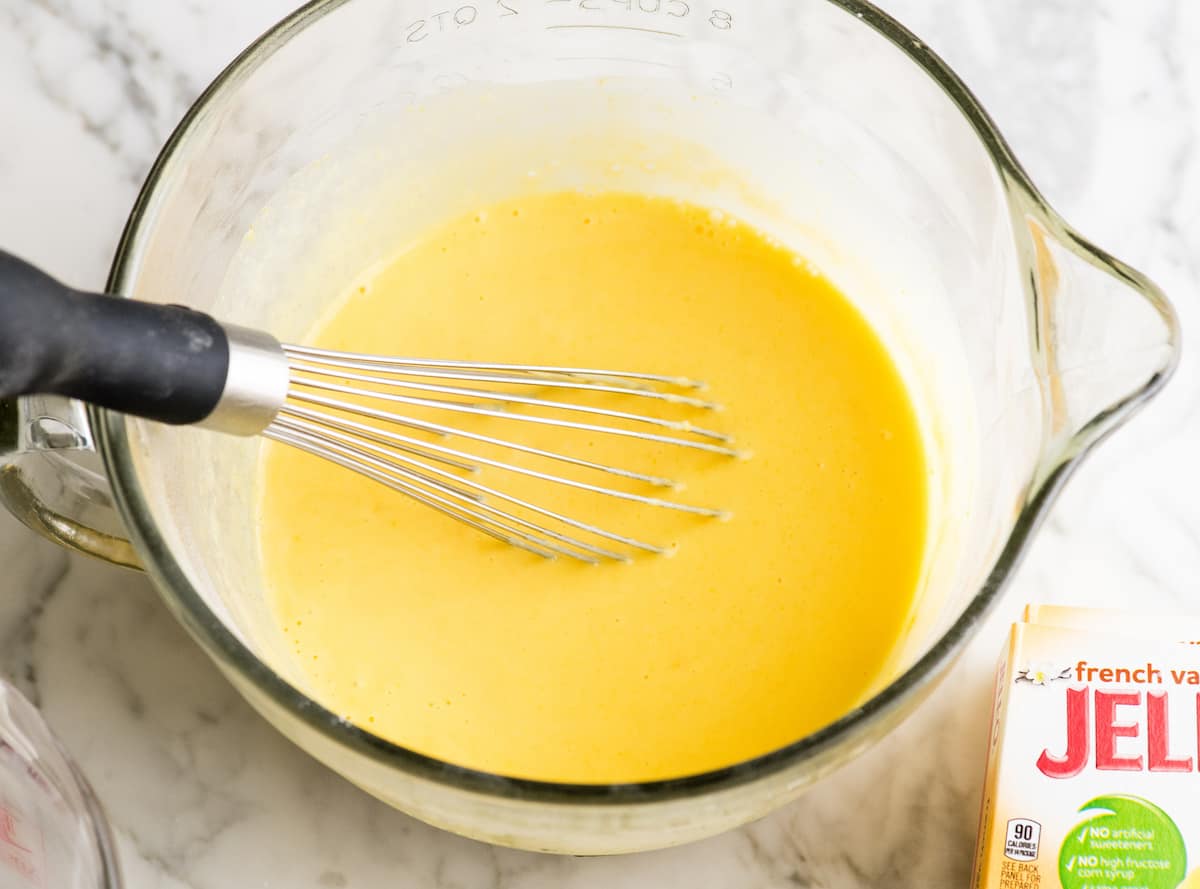
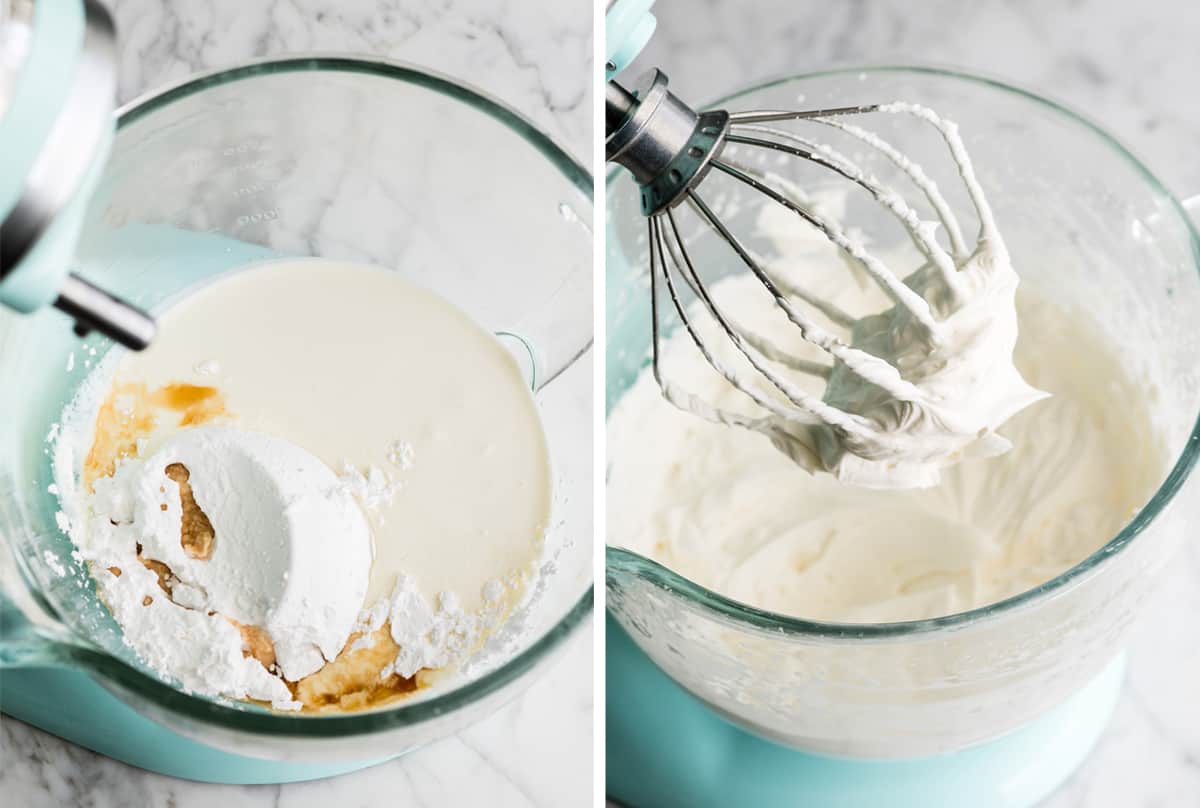
This eclairs recipe begins with making the pastry filling. Since involves chilling and whipping, it’s important to start with the filling first. Begin by whisking together the milk and pudding mix, then letting it thicken in the fridge for 5 minutes while you whip the whipping cream. Using a whisk ensures there are no lumps in the pudding. Next, add all the ingredients for the whipping cream into the bowl of a standing mixer and whip for about 60 seconds on high until stiff peaks form.
A helpful tip: when you whip the whipping cream in your standing mixer, start by placing the mixing bowl in the refrigerator. A cold bowl aids in the whipping process immensely!
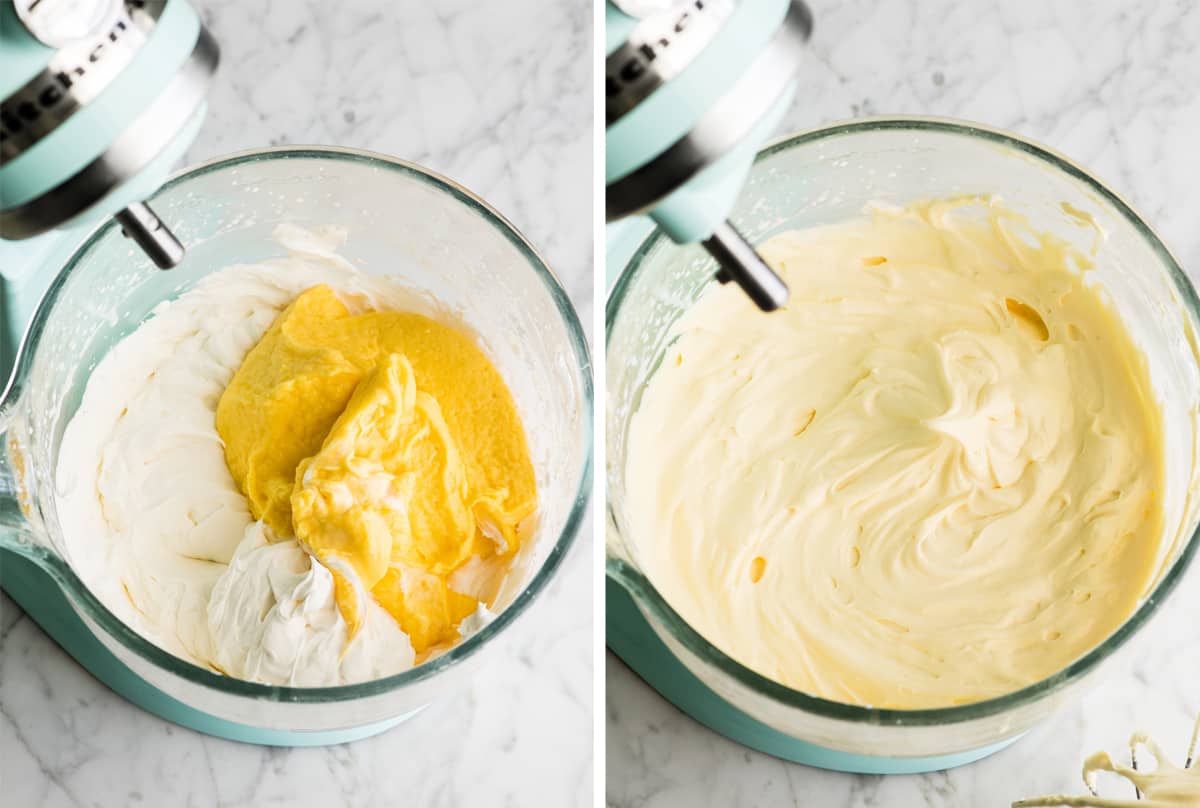
After the pudding is set up and the cream is whipped, gently fold them together or stir on low speed in the mixer. Once they’re thoroughly combined, transfer the filling to a bowl (because we need to use the bowl of the mixer again), cover it and place it in the fridge while you make the rest of the eclairs recipe – the puffs and frosting.
Make the Choux Pastry
Once the eclair filling is chilling in the fridge, it’s time to make the pastry shells (or puffs as we call them)! This Choux pastry is pretty straightforward, but can be a little finicky!
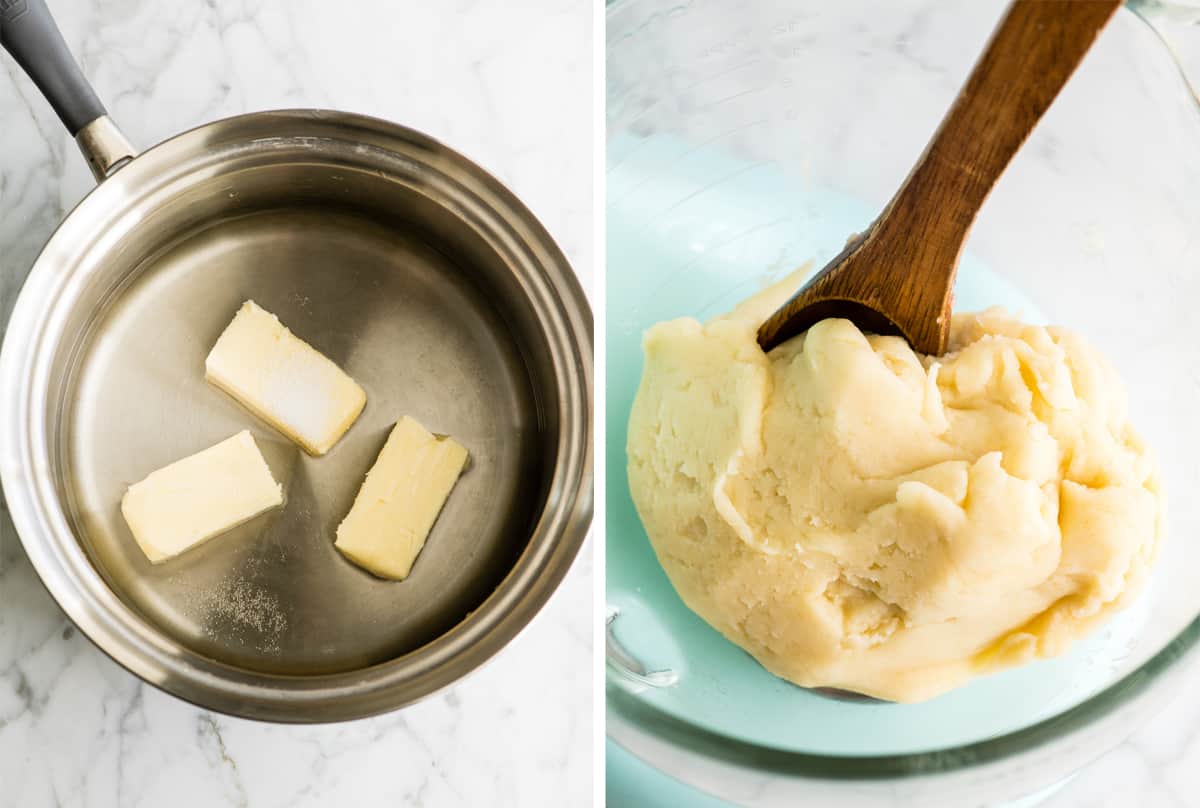
Make the panade
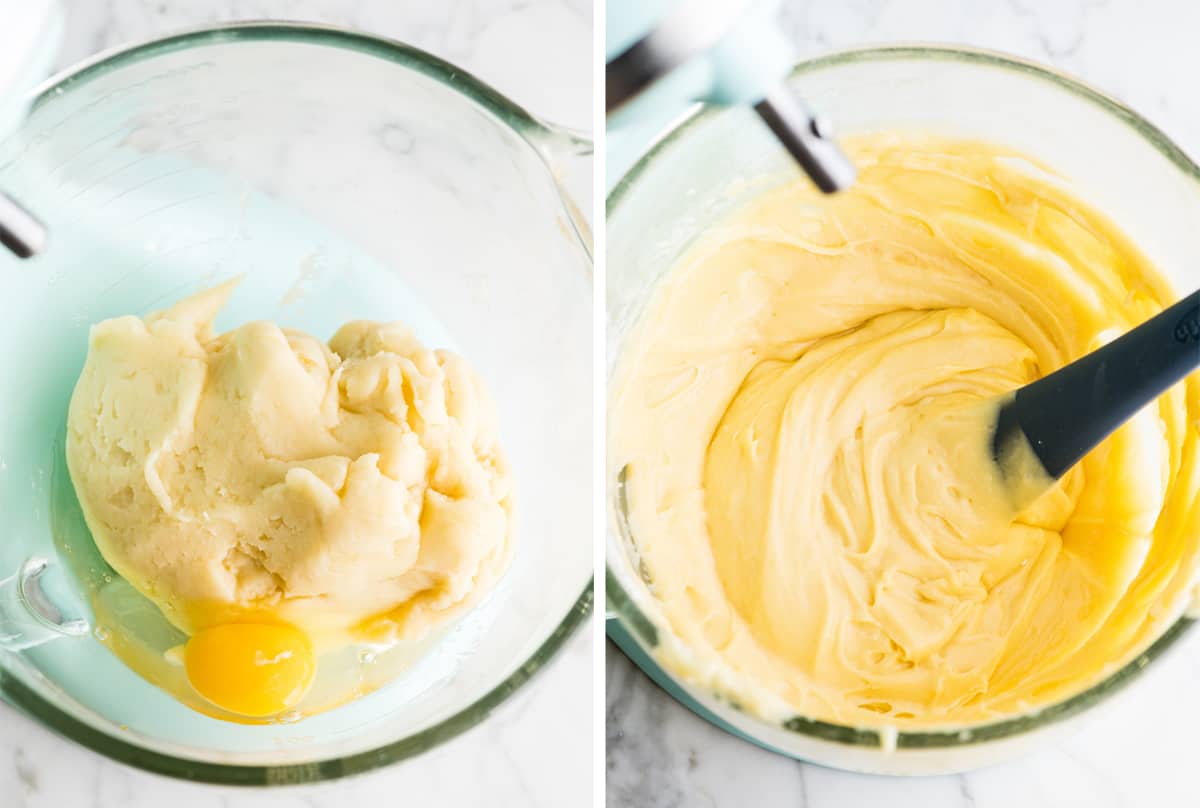
The first step in making Choux pastry is making a panade, which is just a starchy thickener. To do this, start by melting butter, salt and water together. Then add flour all at once and whip it with a wooden spoon until it forms a ball. Cool the panade Transfer it from the hot pan to the bowl of your standing mixer to cool. The panade needs to cool before the eggs are added so they don’t cook when they hit the hot dough! Once the dough is cooled, beat the eggs in one at a time. Then prepare to bake the pastry shells.
Bake
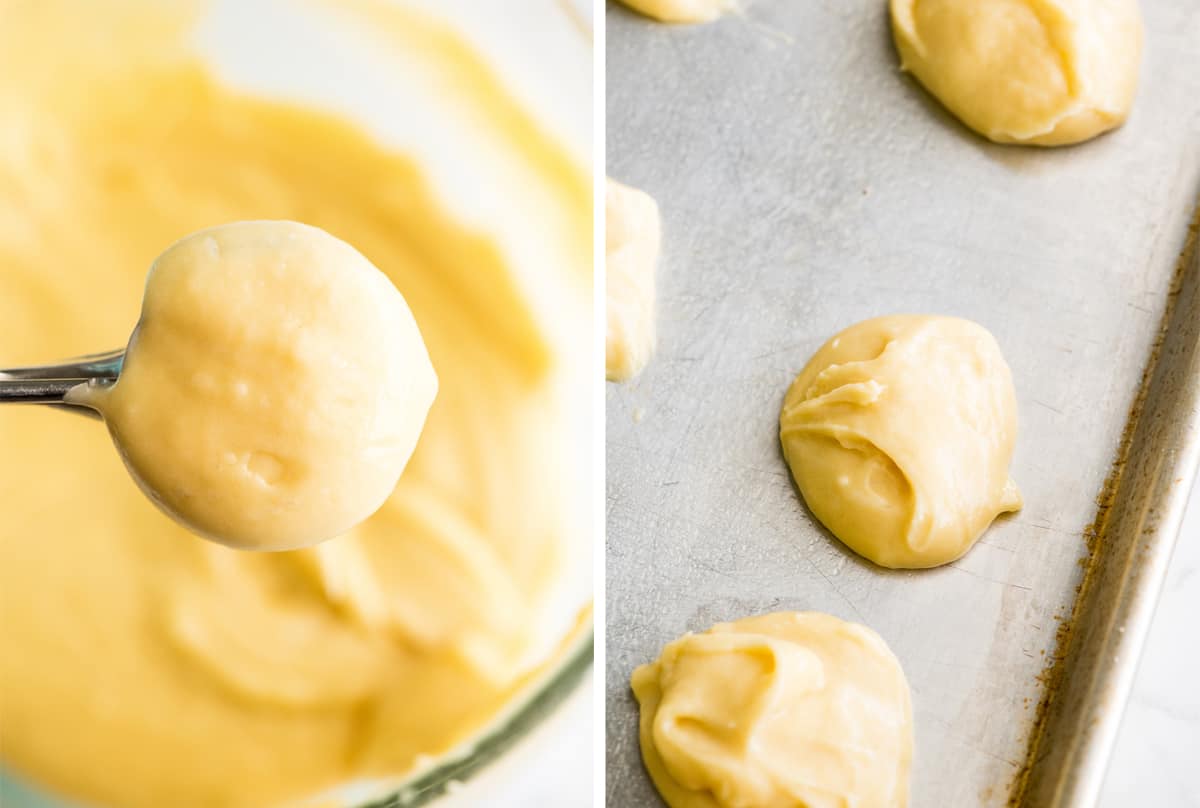
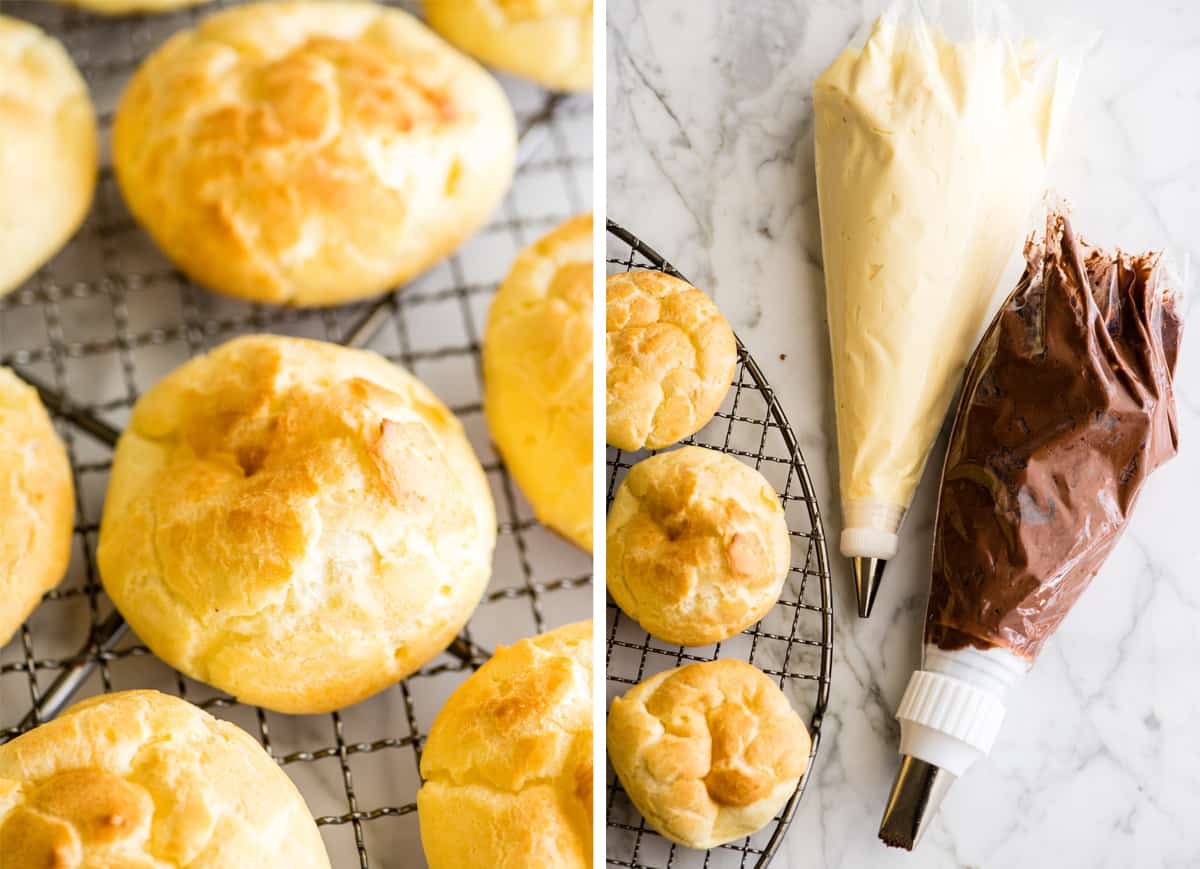
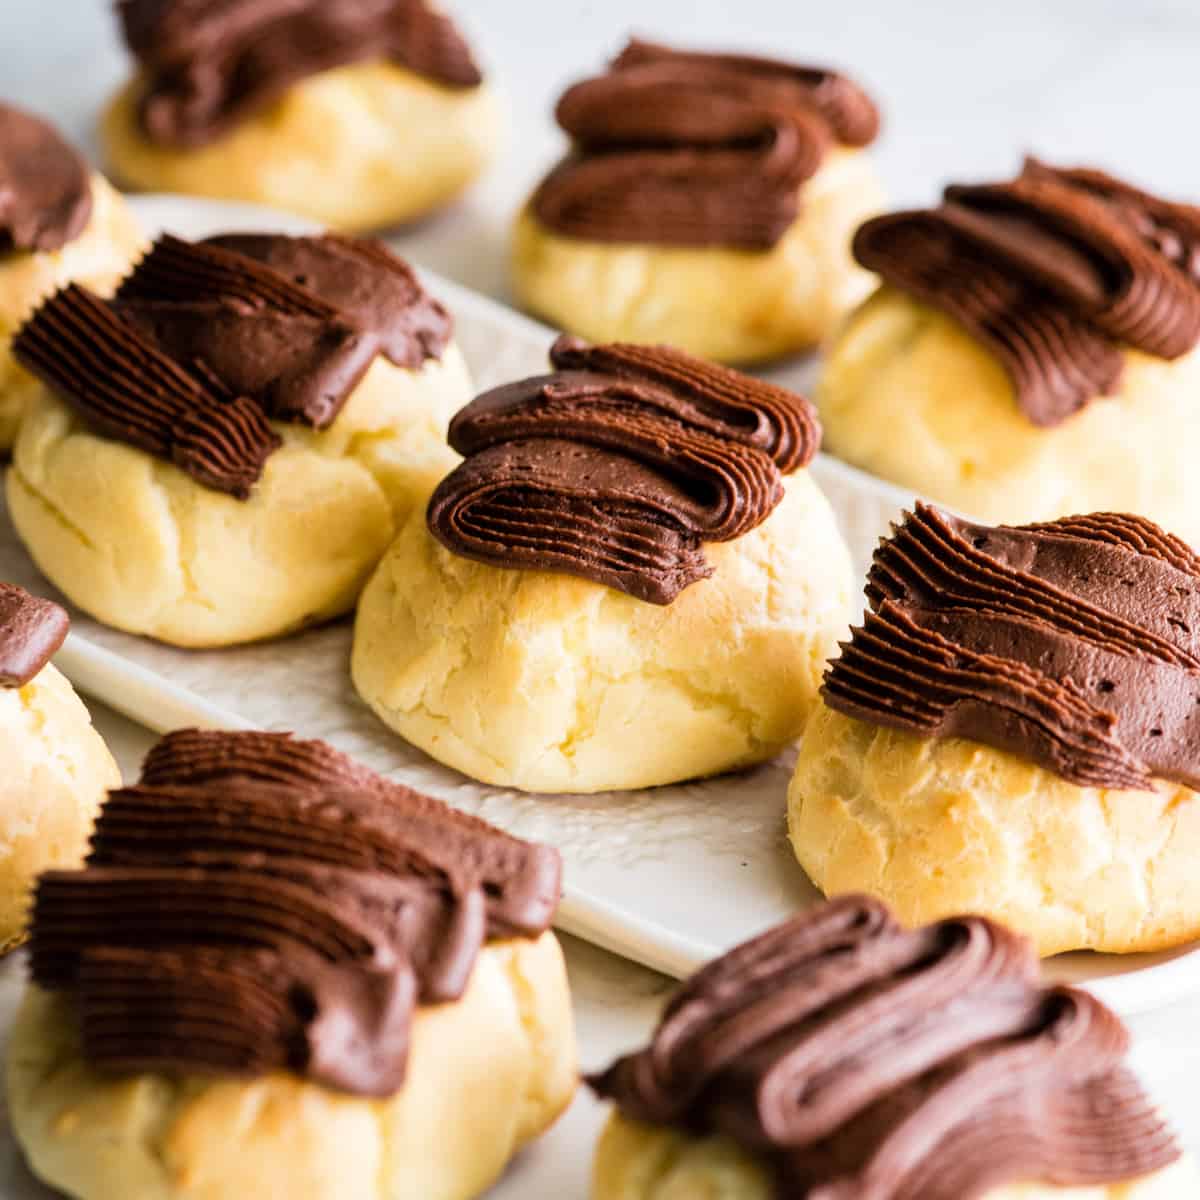
You get to choose what shape you’d like to make the eclairs. Sometimes we pipe the filling into mini, oblong eclair shapes using a pastry bag and a wilton 1M decorating tip. I find it easiest to use a small (1.5 Tablespoon) cookie scoop to dollop a small amount of dough onto the greased baking sheet to make round eclairs! It’s really up to you! Bake the pastry shells until they are golden brown but not too dark (about 20-25 minutes). The yield in this recipe really depends on the size you make the shells. We get between 30 and 50. When we make larger (about 2 Tablespoons per shell) round eclairs we get about 30, when we make smaller mini eclairs (about 1 Tablespoon per pastry puff) we get about 50-60. After they are finished baking, remove them to a wire rack to cool. The shells need to be completely cool before filling/frosting. However they are fairly thin and cool pretty quickly.
Make the Chocolate Frosting
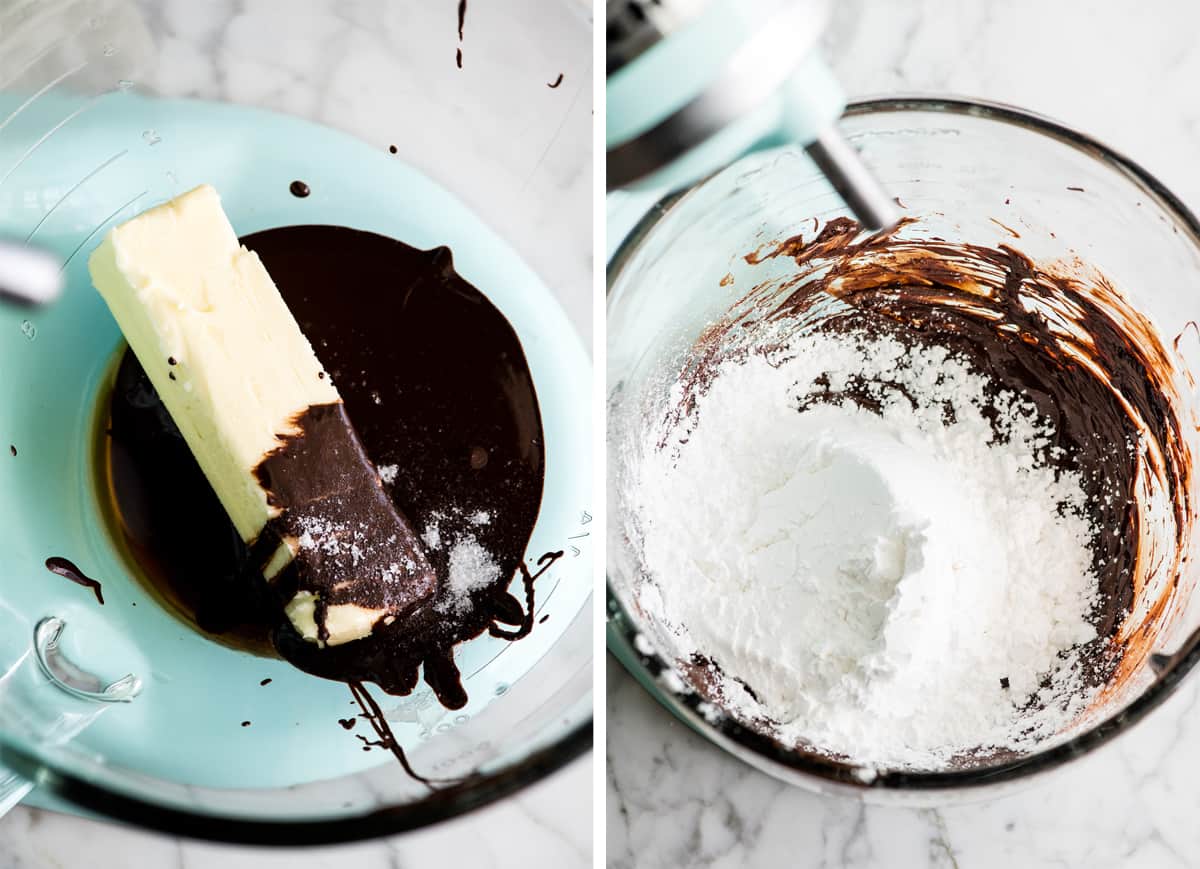
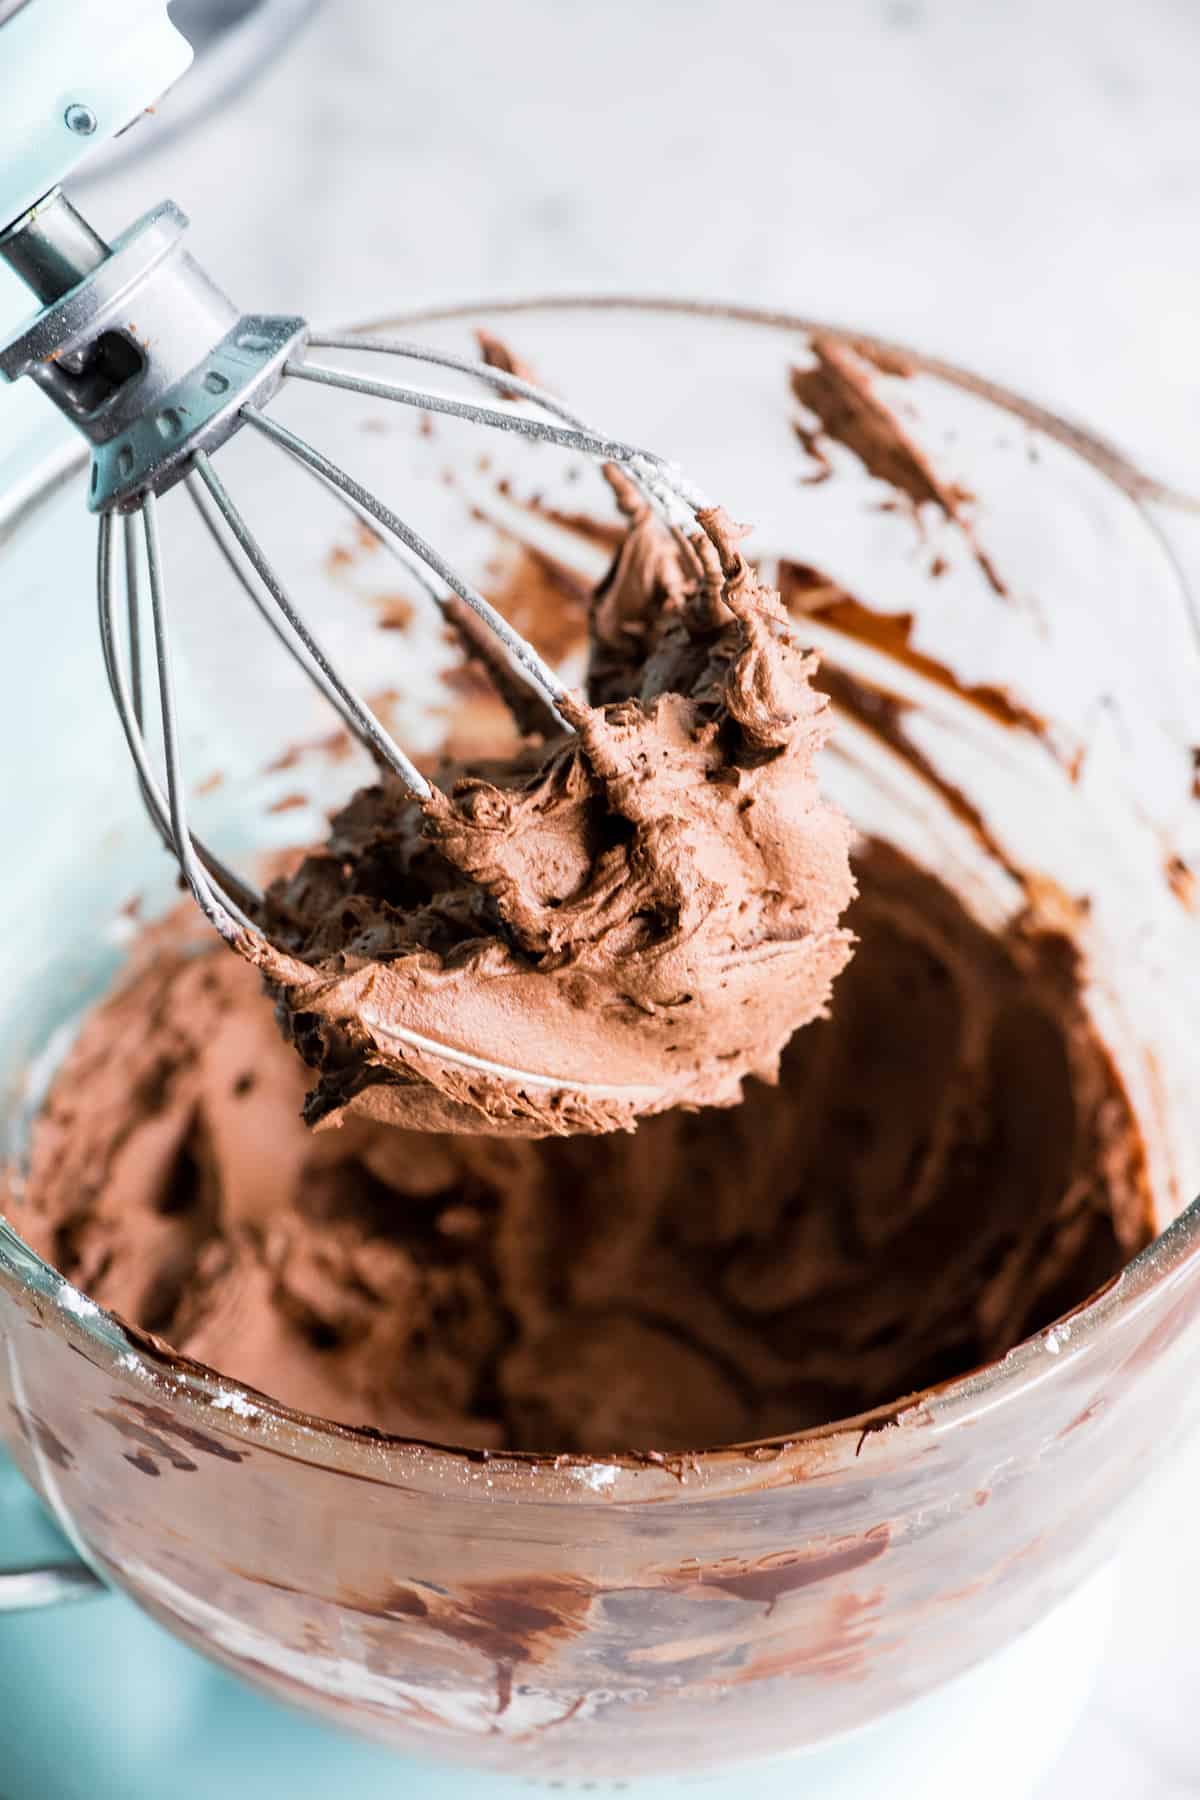
While your shells are baking, make the frosting. It’s a basic chocolate buttercream frosting that is a little on the dark side (insert Star Wars jokes here). Start by beating softened butter, melted chocolate and sea salt together until smooth. Next, add powdered sugar and milk and beat until the frosting is light and spreadable. Add more milk if necessary to make the eclair frosting spreadable, but I have found that 3 Tablespoons is exactly the right amount every single time. The more you whip the frosting, the lighter in color it will become.
Assemble the Eclairs
To assemble the homemade eclairs, begin by piping the filling into the shells using a small round tip. Using a tip is very helpful to ensure the homemade eclairs will be fully filled without making a mess. Press the decorators bag full of filling into one side of the cooled pastry shell, then gently push the filling out until you see it start to ooze out a little bit.
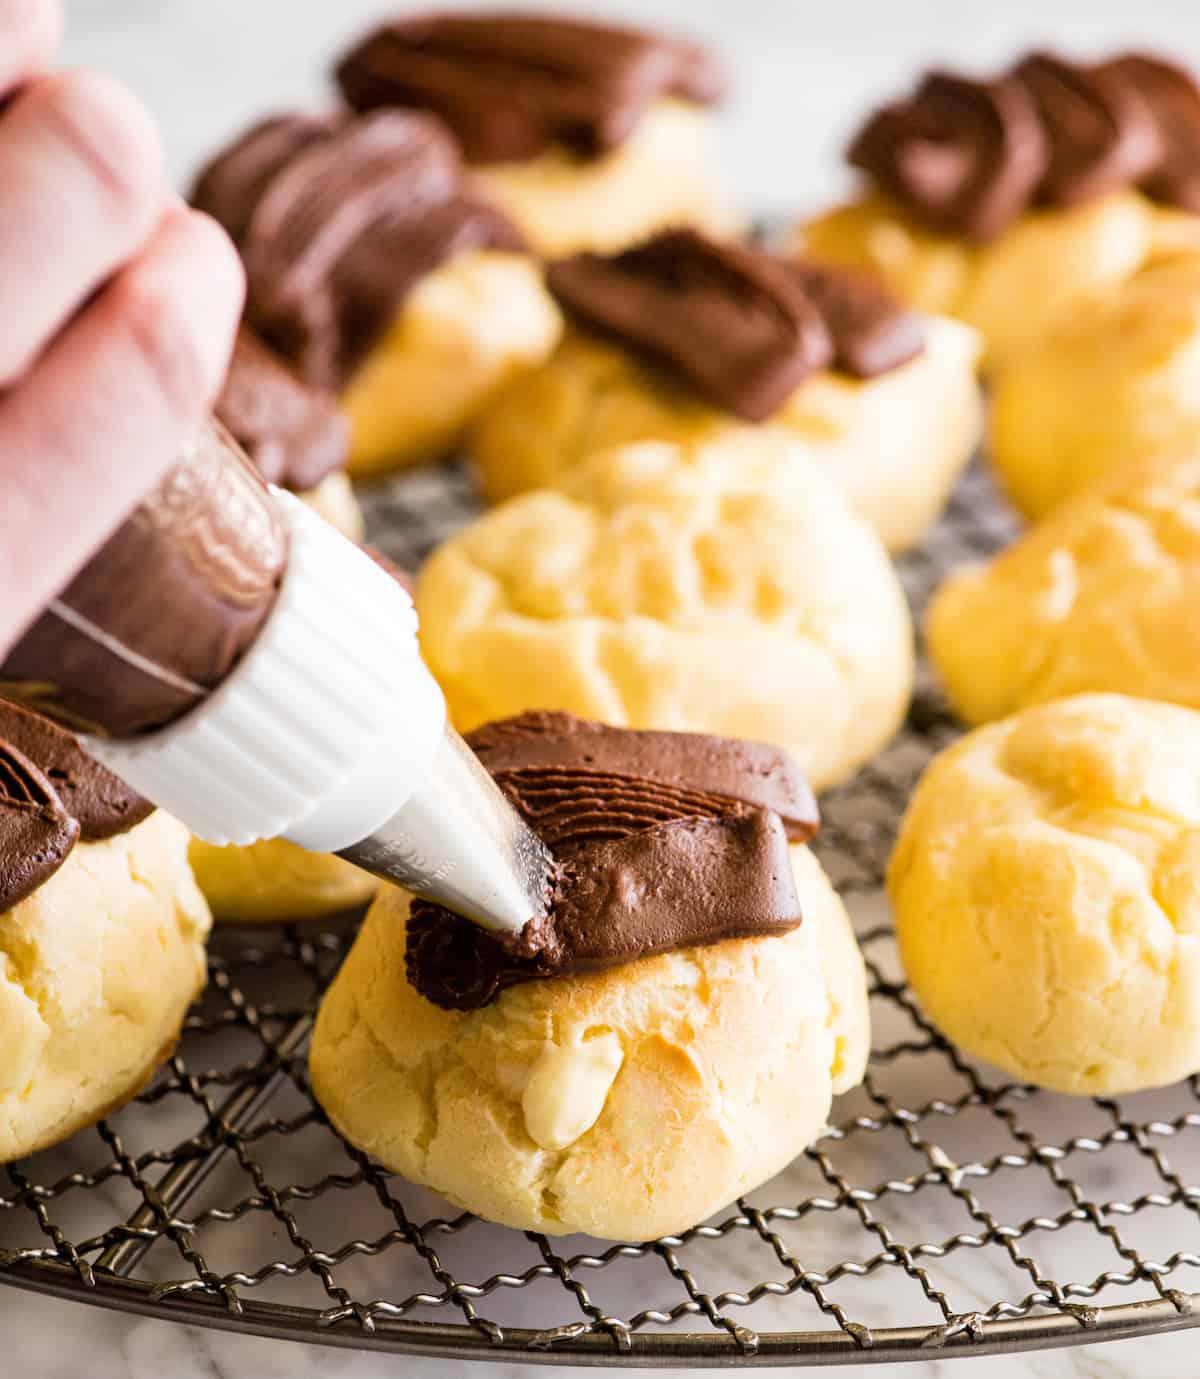
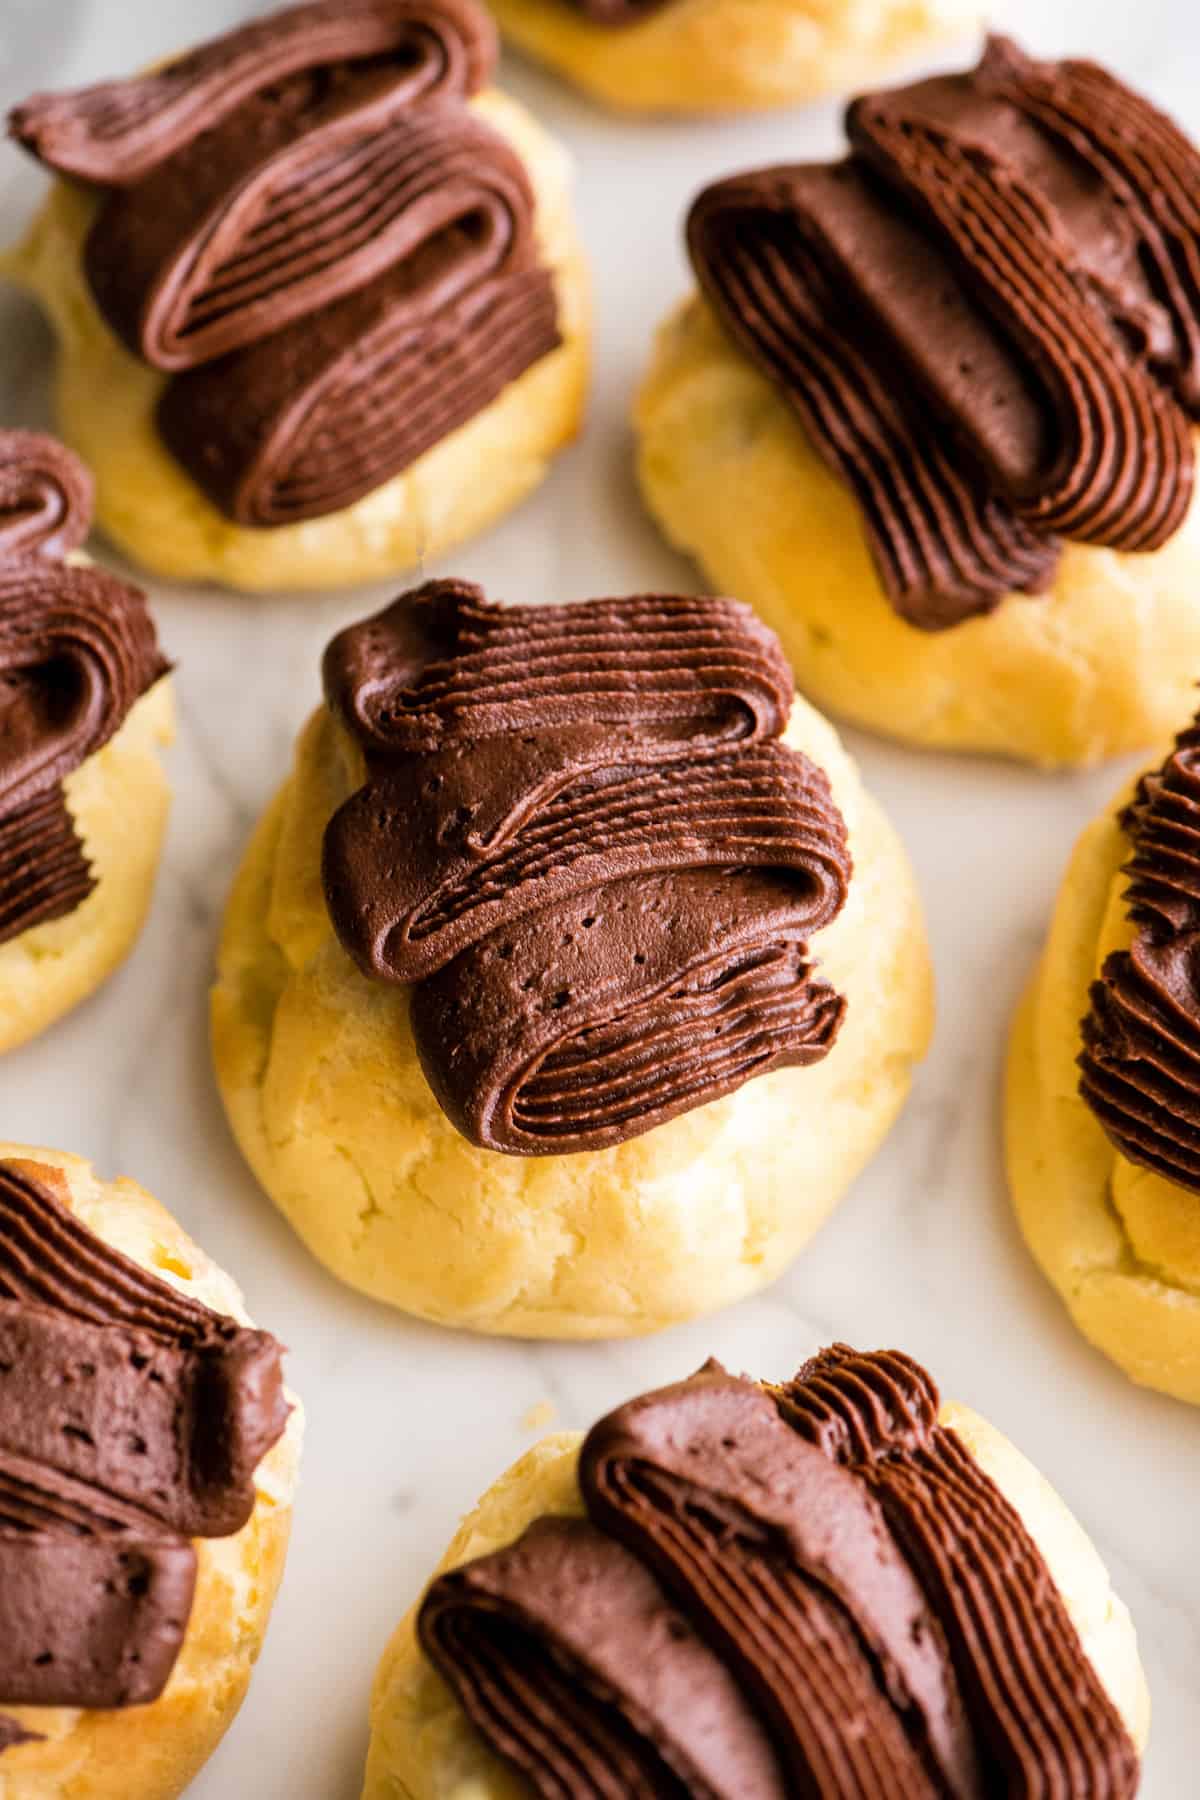
Frost the Homemade Eclairs
Use your favorite decorators tip to frost the filled eclairs. For these photos I used the Wilton 2B tip (basket weave tip). I also like using the Wilton 1M decorators tip. You can frost them however you’d like. I don’t recommend spreading the frosting onto the eclairs with a knife because the filled pastry shells are delicate. If you apply too much pressure you run the risk of crushing the eclair.
Chill
Place the finished eclairs in a single layer on a baking tray or in a container and store them in the refrigerator for at least 3 hours (until the frosting hardens). Then serve cold after chilling.
Store/Freeze
Once the homemade eclairs are chilled and the frosting is hardened, store them in an airtight container in the refrigerator for up to 5 days, or in the freezer for up to 2 months.
Recipe Tools
Having the right tools aids in the process of making these eclairs immensely! These are the tools I use to make them, as well as many other baked goods! I especially use these things to decorate cakes using our favorite homemade frosting recipe (another 45-year-old Mema recipe).
Standing Mixer. A standing or handheld mixer will make this recipe much easier than if you were to make it by hand. Decorator’s bag. I use both reusable and disposable decorators bags. I have a hard time keeping the reusable ones clean, so I prefer disposable ones! Decorator’s tips. These are the tips we use in making this best eclair recipe: Wilton 2B tip. This is a basket weave tip. It’s SO EASY to frost this eclair recipe with it! Just move the piping bag in a zig zag motion! Wilton 1M decorators tip. I use this tip for EVERYTHING. Including making my favorite rose cake. Seriously, this is an absolute must-have if you enjoy baking and cake-making. Plus it’s only $4! Wilton Small Round Tip. This is used for filling the eclairs easily! Couplers Standard Coupler. Large Coupler. Baking sheets Batter bowl with lid. I use this for storing the filling while making the puffs and frosting!
If you make and love our recipes, it would mean so much to me if you would leave a comment and rating! And don’t forget to follow along with us on Instagram, Pinterest, Facebook, and Youtube – be sure to tag @joyfoodsunshine and use the hashtag #joyfoodsunshine so we can see your creations!
![]()