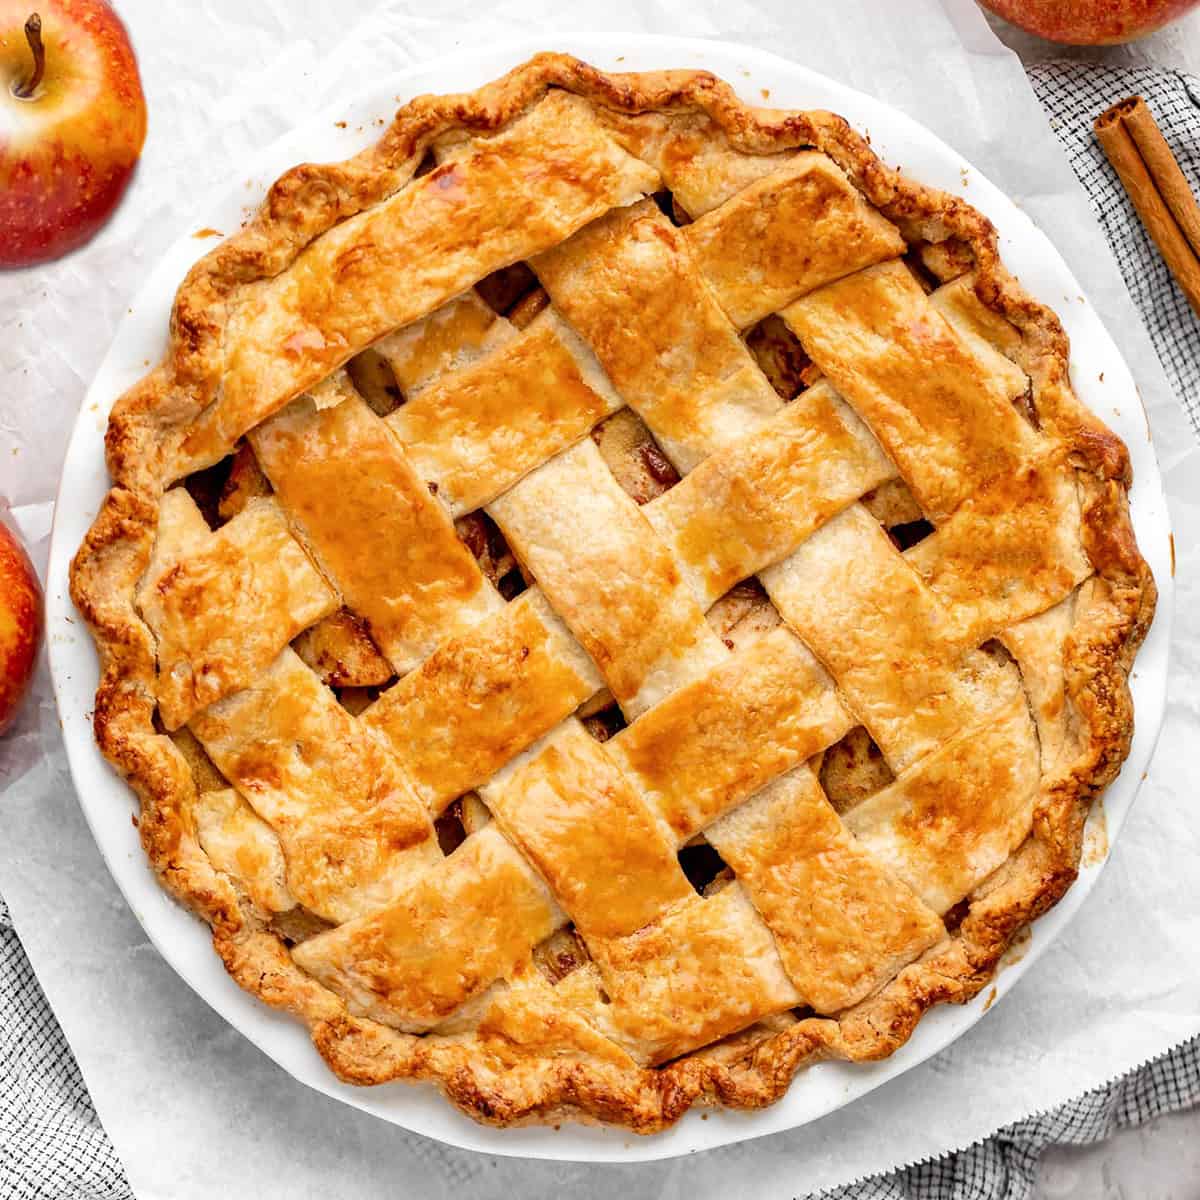
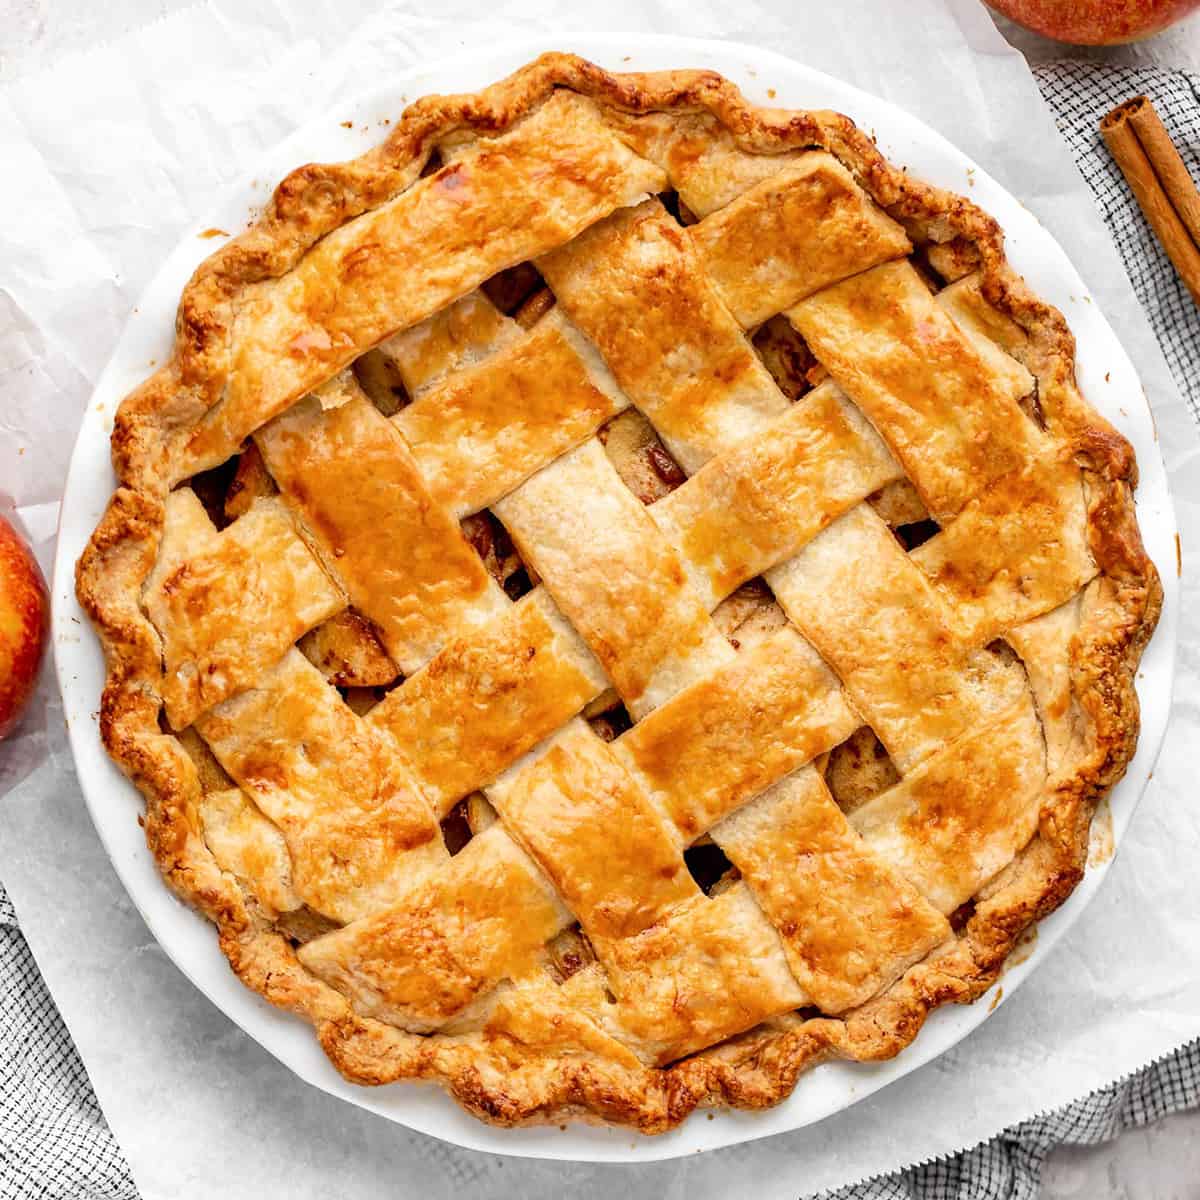
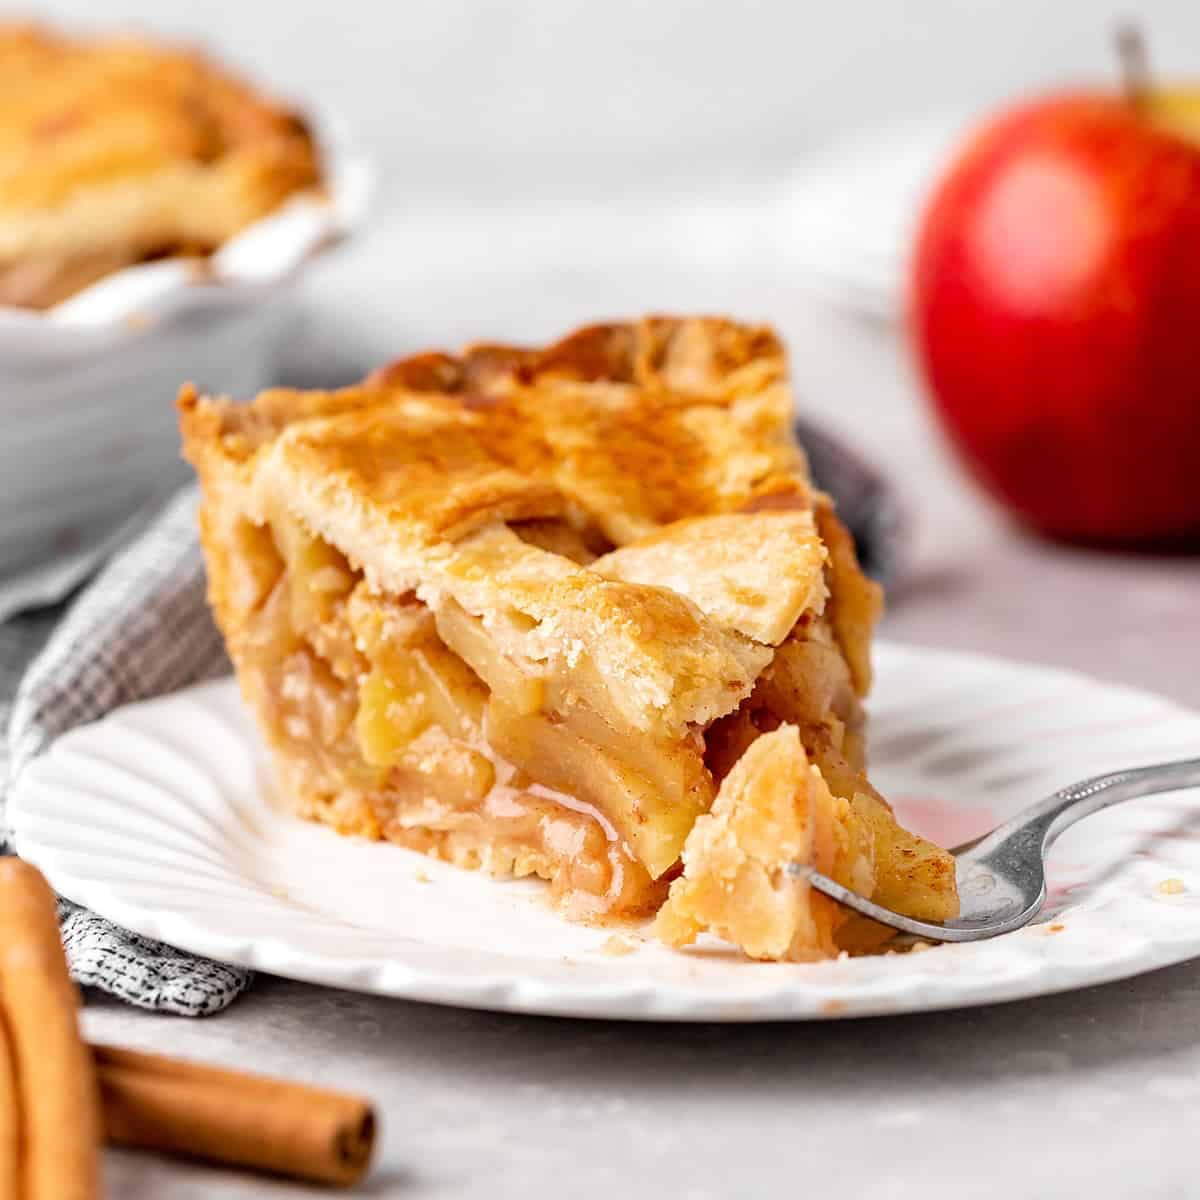
Posted Aug 30, 2023, Updated Sep 30, 2024 I’m not sure there’s a more iconic dessert than a slice of warm apple pie served with vanilla ice cream! And this is truly the best homemade apple pie recipe ever! An a perfectly sweet apple filling with rich fall spices sits between two layers of buttery homemade pie crust for pure dessert nirvana (also try apple crumb pie and apple cobbler)! Homemade apple pie easy to make with simple ingredients and tastes better than any bakery or restaurant. It is a must-make dessert during apple season, or any time of the year.
Apple Pie Recipe: Ingredients & Substitutions
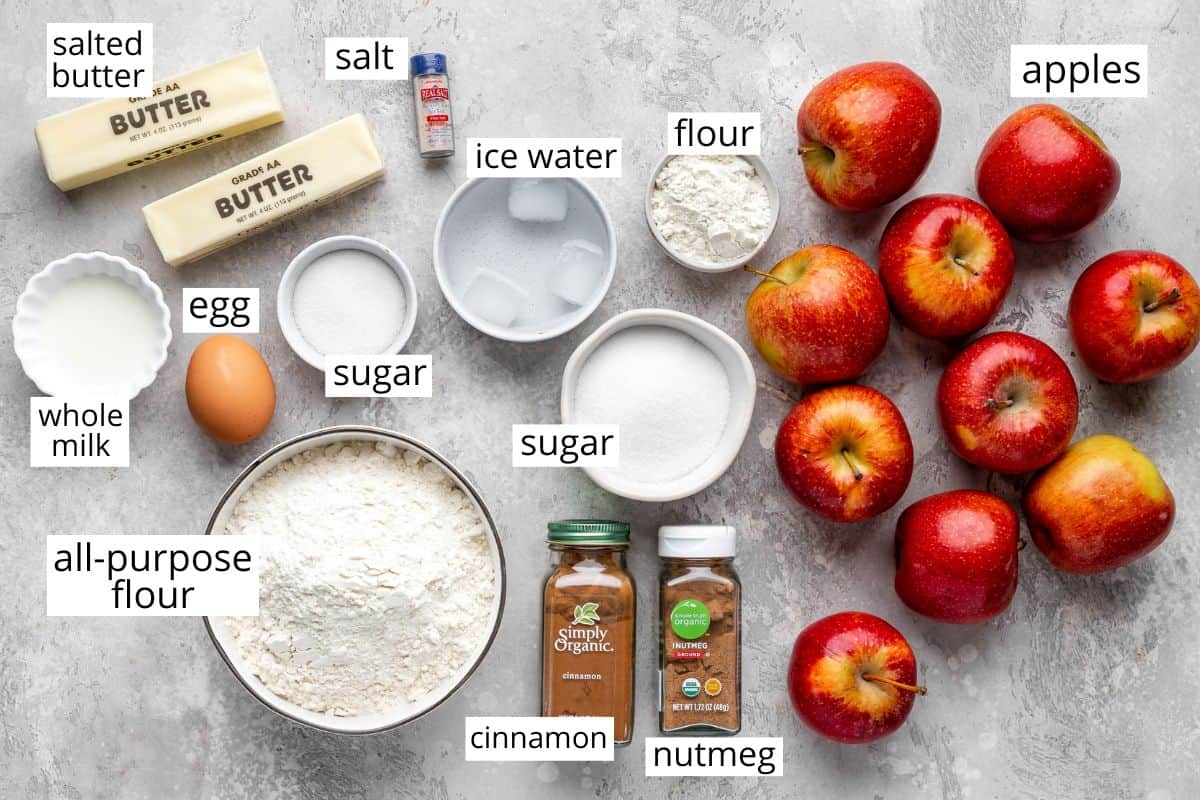
Here are some notes about the ingredients in this apple pie recipe, as well as possible substitutions.
Apple Pie Crust
You can use a store-bought crust if you prefer, or here are some notes on substitutions. Check out this butter pie crust recipe for more tips and tricks on making homemade crust. Or, try these apple pie bars and skip the crust all together!
All-purpose flour. Pastry flour works well in place of all-purpose flour. For a gluten-free option, use a 1:1 all-purpose gluten-free flour. Salted butter: Unsalted butter and vegan butter (like Earth balance, which is what was used to make this dairy-free pumpkin pie), are good substitutions. Sea Salt. I always recommend baking with pure sea salt. If you have iodized table salt, you may need to decrease the amount of salt. Egg Wash (eggs & milk). this is optional. Heavy cream or half and half can also be used in place of milk. Or you can omit the egg and just use milk.
Apple Pie Filling Ingredients:
Apples. Choose your favorite apple variety, I prefer a sweet/tart variety like pink ladies. Sugar. You can substitute up to half of the granulated sugar with brown sugar. All-purpose flour. Cornstarch or an all-purpose gluten-free flour blend both work well. Nutmeg. This is optional but recommended for a richer flavor.
How to make Apple Pie From Scratch
Making this Apple Pie Recipe from scratch is very simple and so rewarding (just like these other from scratch pies: Pumpkin pie and French silk pie). Let’s walk through the process together, and don’t forget ot watch the video.
Make the Pie Crust
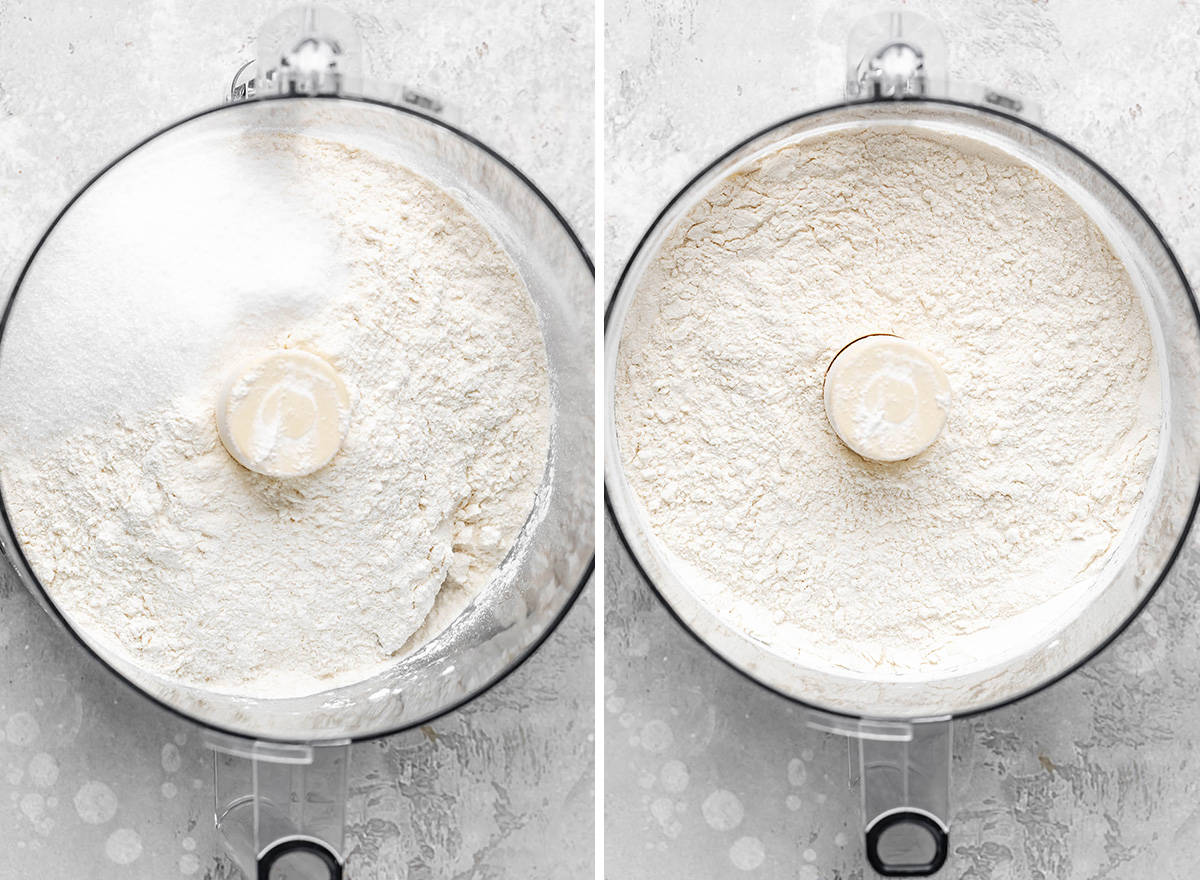
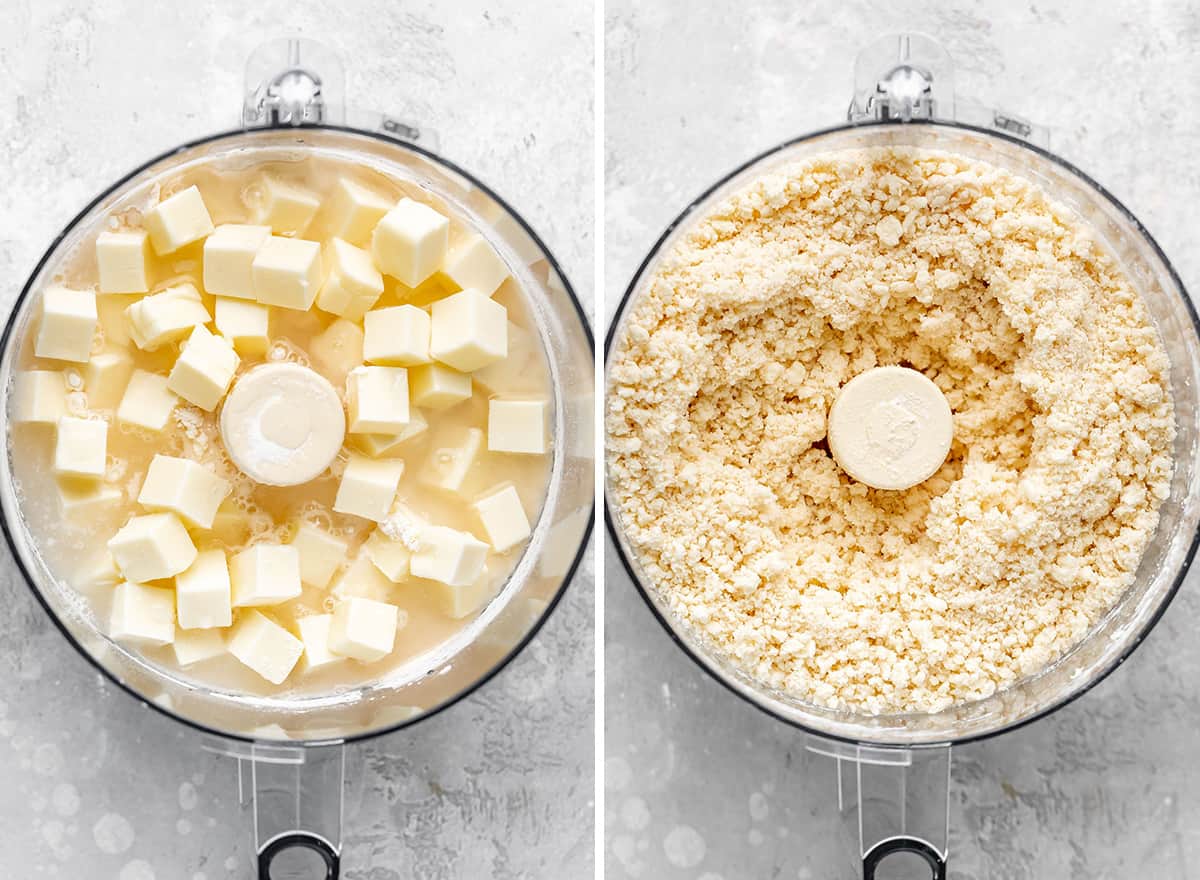
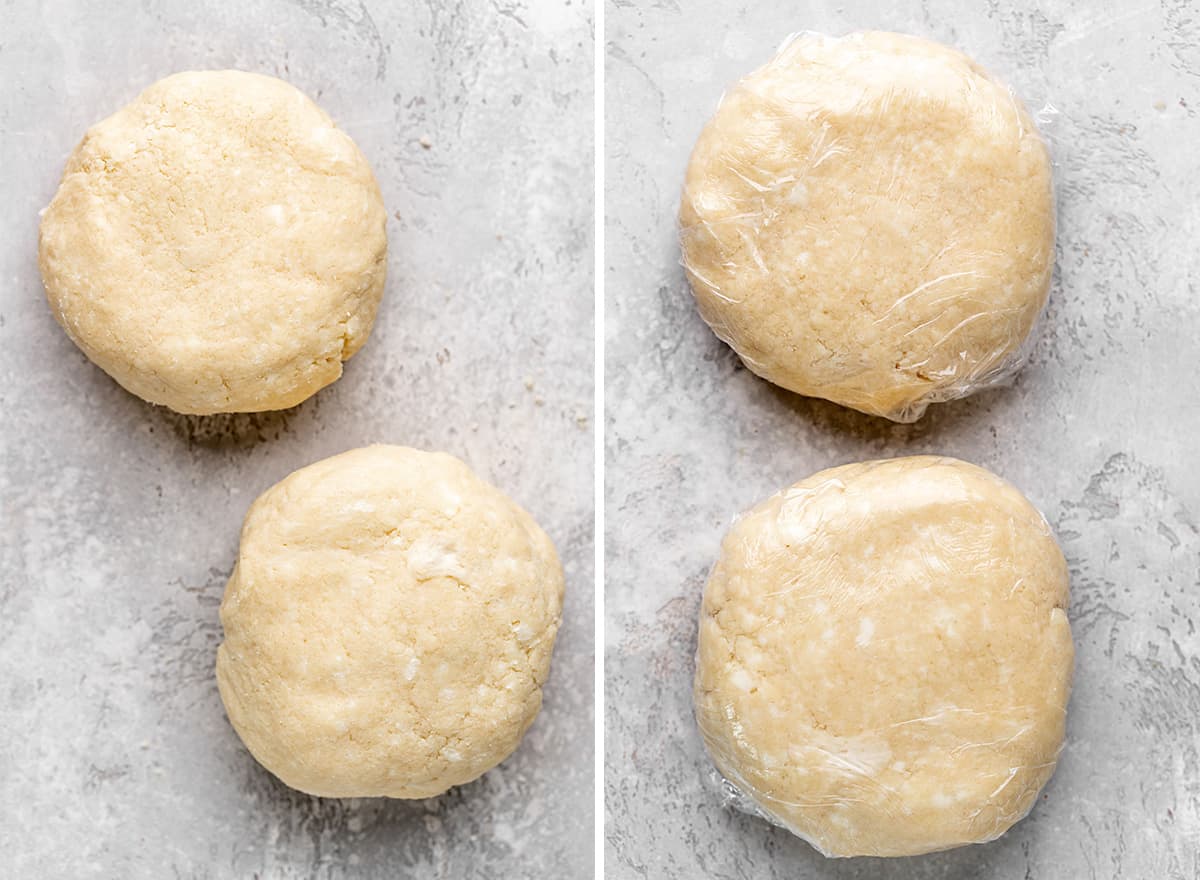
I have a full tutorial on making an all-butter pie crust, so if you need some more guidance I highly recommend starting there. I use a food processor to make pie crust, you can also make it by hand using a fork or pastry cutter. Begin by combining the dry ingredients. Then add the butter and ice cold water to the container and process for 15-30 seconds. Until the mixture looks like coarse sand (pictured below), and sticks together when it’s squeezed. It will easily form into a ball. Form the dough into two, equal-sized discs. Wrap them tightly in plastic wrap and refrigerate for at least 1 hour, or overnight. If you are chilling the dough overnight or for a long period of time (more than 2 hours), I recommend putting the wrapped discs in a plastic bag or airtight container to ensure that they don’t dry out.
Make the Apple Pie Filling
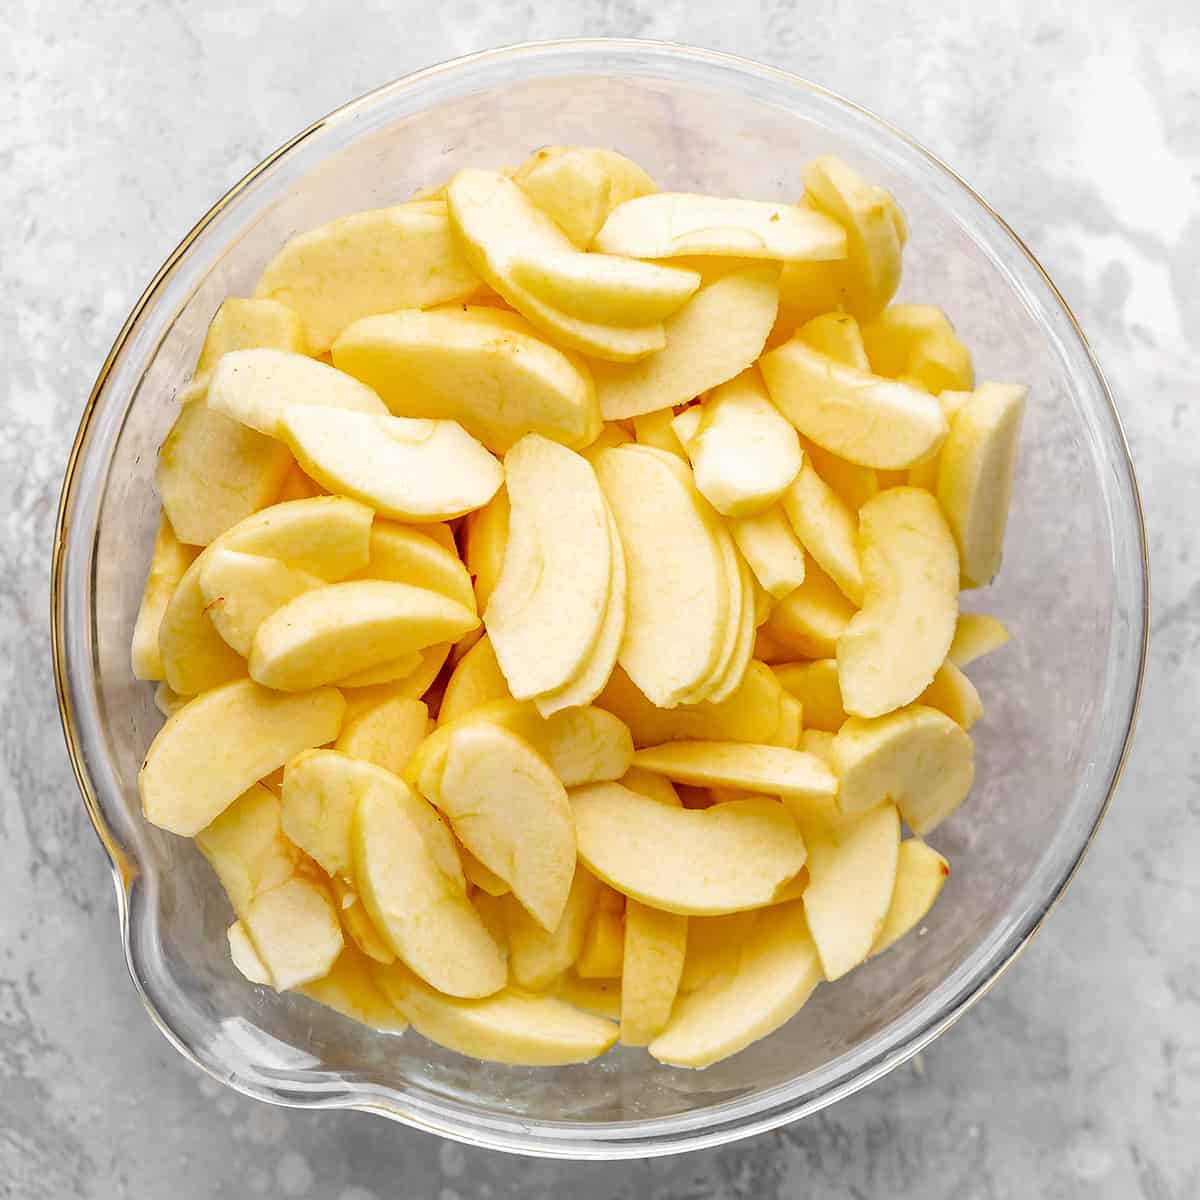
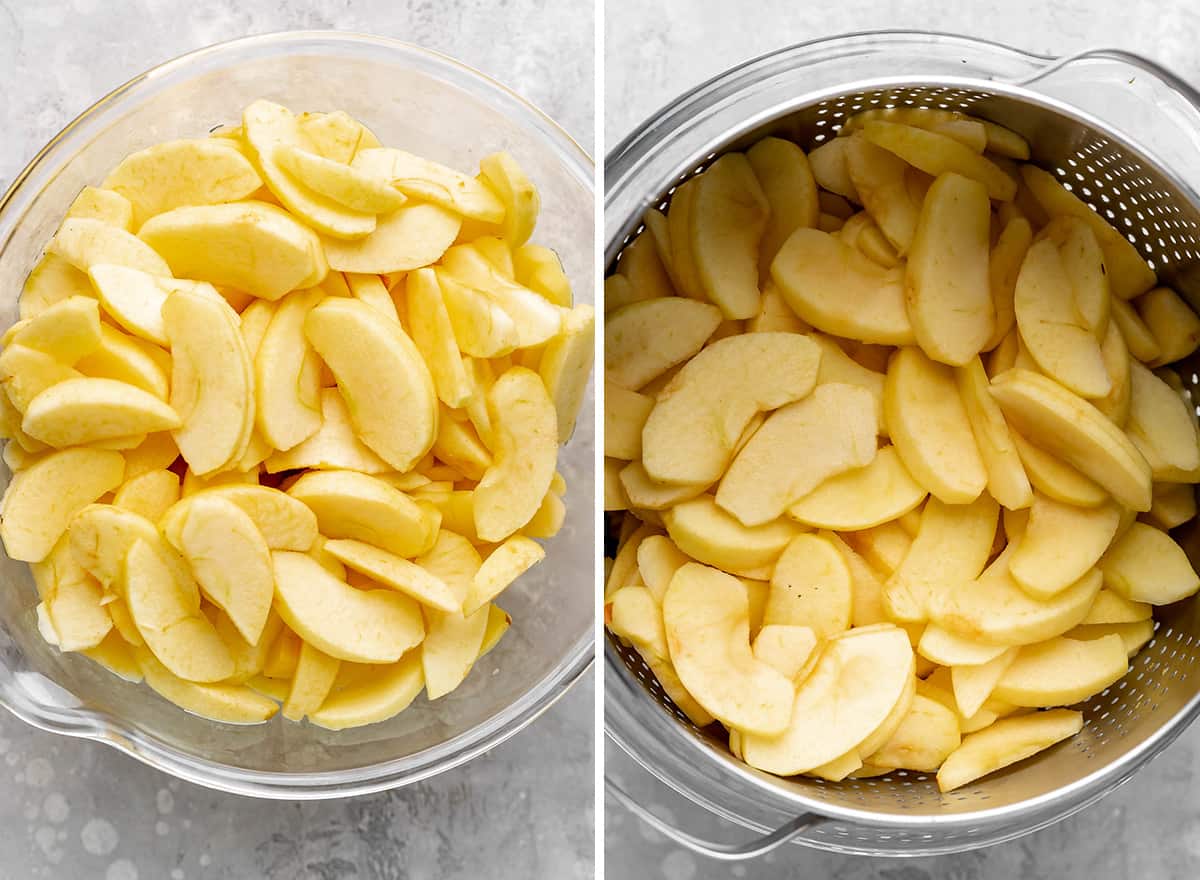
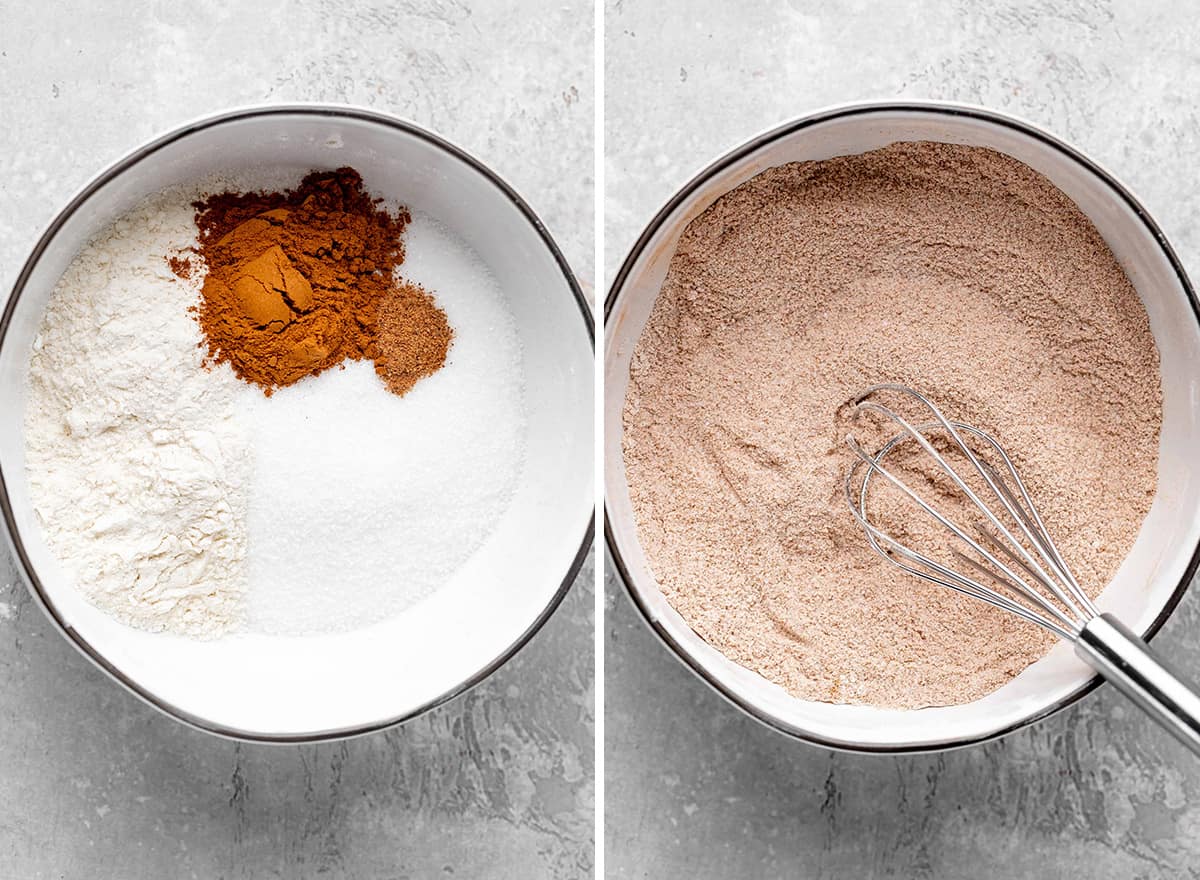
Once the dough has chilled, make the apple pie filling. Start by peeling, coring and finely slicing the apples. I recommend using 10 cups of apples, which is roughly 3.5 lbs, 1500 g, or 7-8 medium/large apples. Put the sliced apples in a microwave-safe bowl and microwave for 6 minutes. You can cook them on the stovetop, if desired. Cook until the apples are slightly soft but still firm. Transfer the partially cooked apples to a colander and let them drain and cool. I recommend letting the apples cool while you roll out the crusts, so they have plenty of time to release as much water as possible. While the apples are cooling, mix the dry ingredients for the filling together in a small bowl. Then, transfer the drained apples into a bowl and stir in the dry ingredients until evenly distributed. Set aside while you assemble the apple pie.
Assemble the Apple Pie
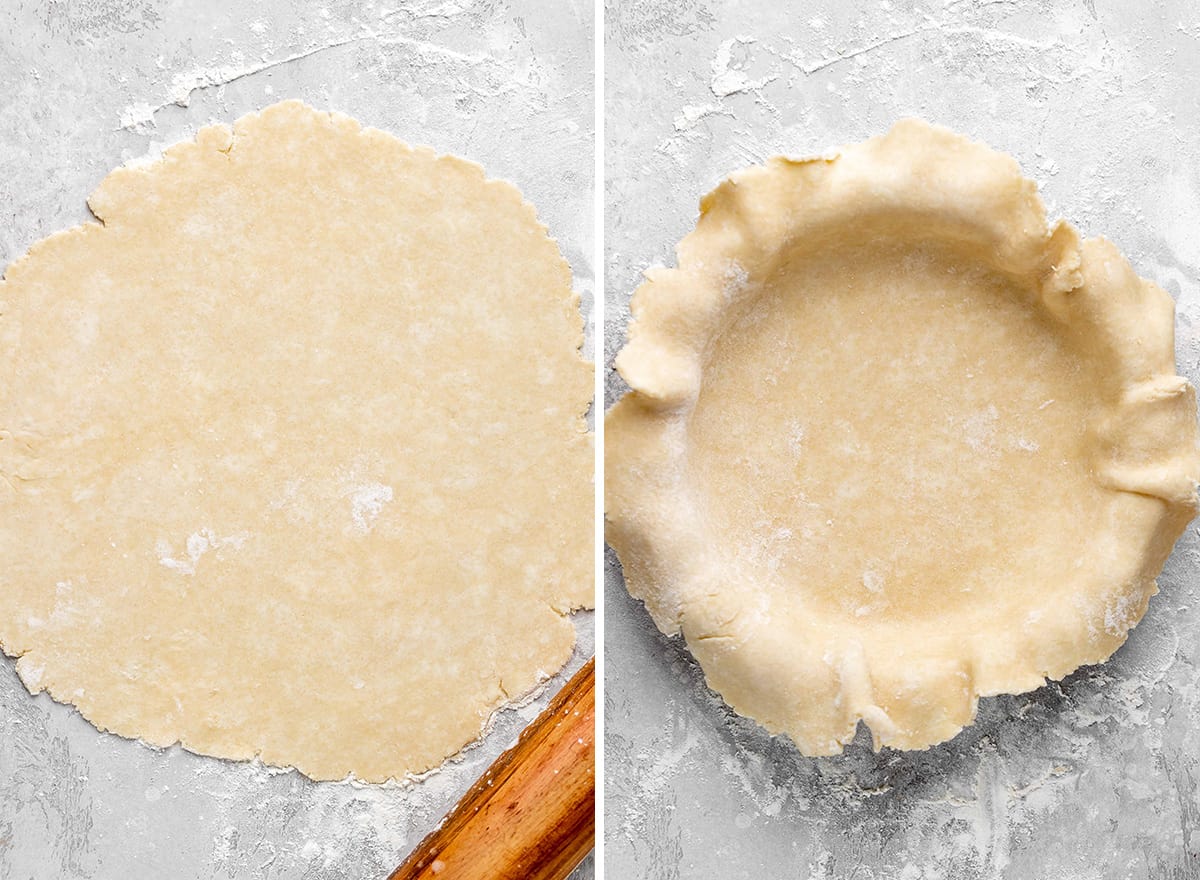
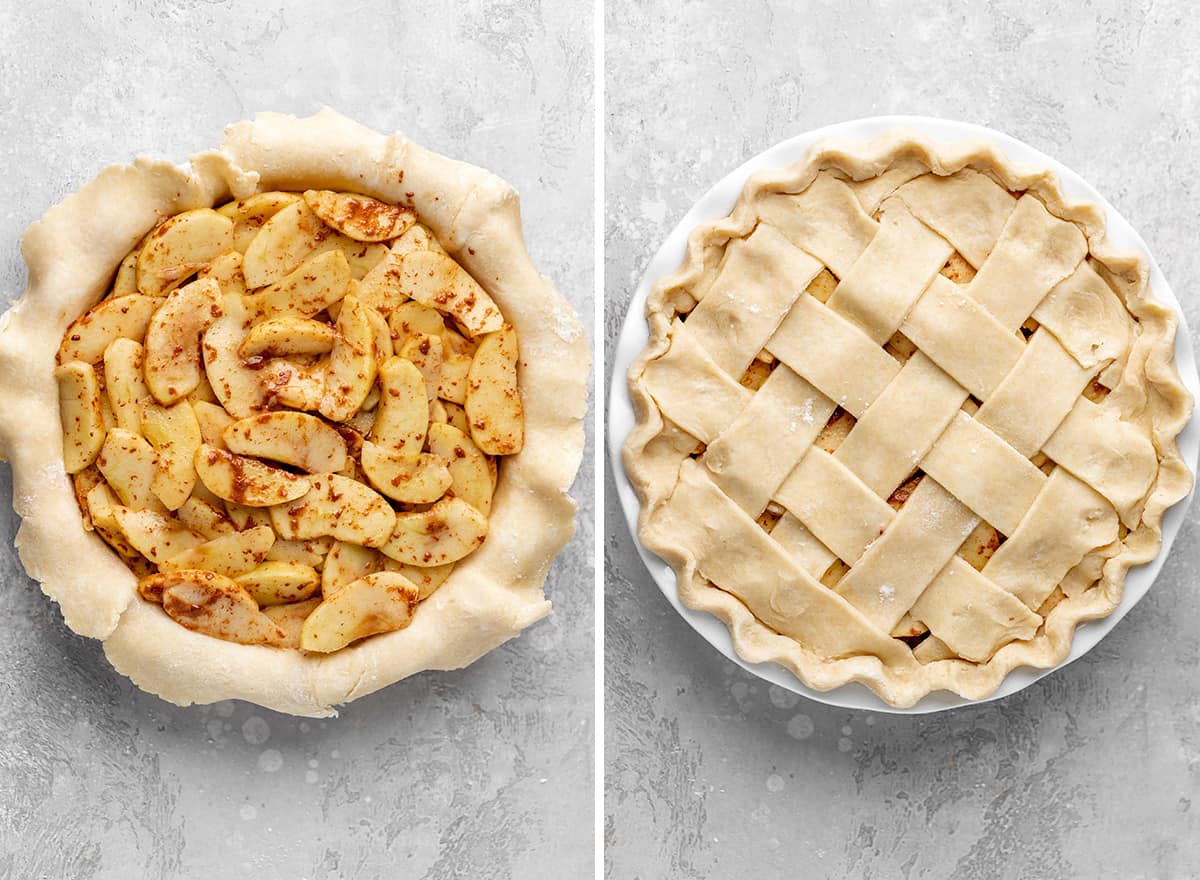
Once the filling is ready and the crusts have chilled, preheat the oven and form the pie crusts (top and bottom). Remove the dough from the fridge, place it on a well-floured surface and let it sit at room temperature for about 5 minutes so it’s soft enough to roll. Roll out one disc and place it into the bottom of the pie dish/ Then add the apple pie filling to the bottom pie crust. Next, place the second crust on top of the apple filling. Make any design you’d like, lattice, shapes, etc. Or you can put the solid crust on top and cut vents into it to ensure steam can escape during baking.
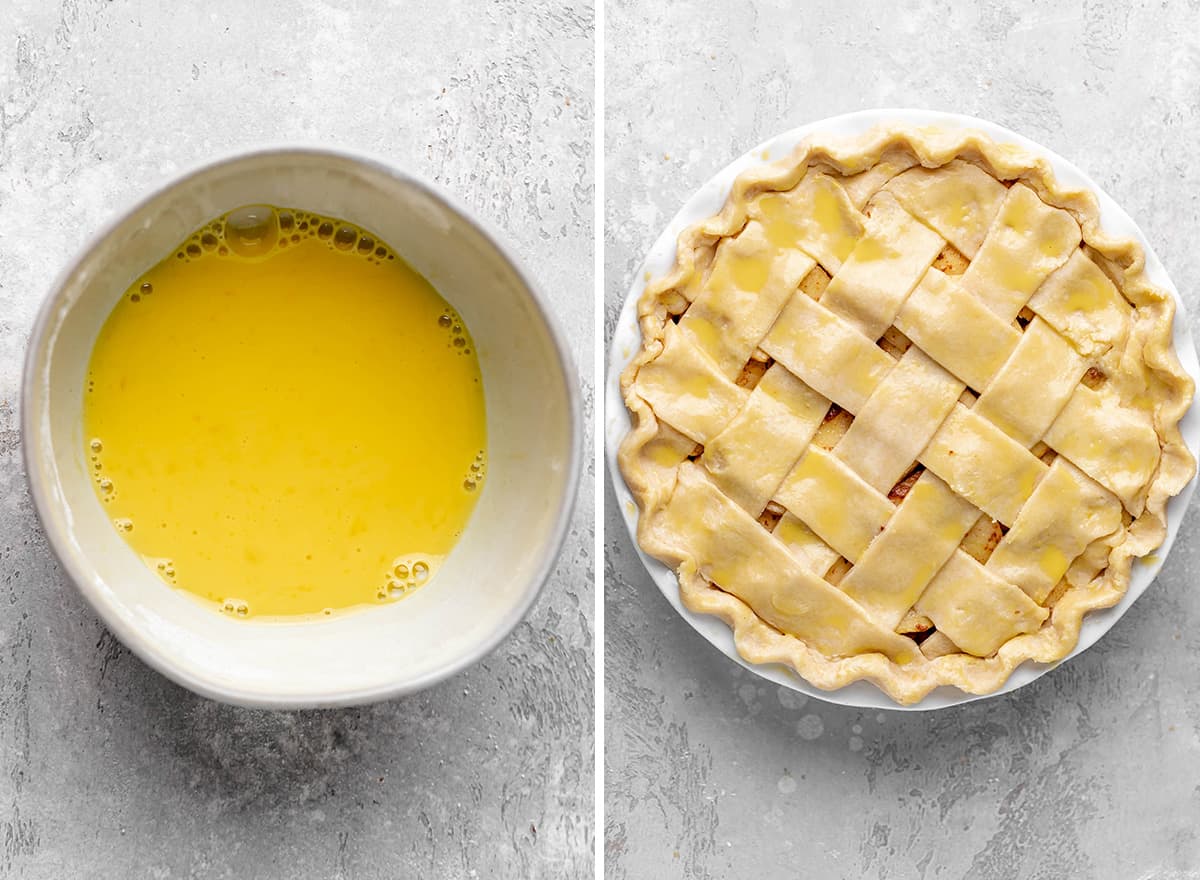
Optional Egg Wash
I’ve made this apple pie recipe many times, with and without the wash. Here are some benefits of using an egg wash on pie crust:
Golden-brown color Sugar adheres to it if you’d like to add a sprinkle to the outside. Makes a heartier crust.
Bake
This apple pie recipe the pie is baked for 60-70 minutes at 350 degrees F. If the entire top crust starts browning too quickly, you can cover it loosely (tent it) with foil to prevent further browning until the last 10-15 minutes of baking time. If you don’t have a convection oven, be sure to bake the apple pie on the lower rack in your oven to ensure the bottom crust cooks before the top is too brown.
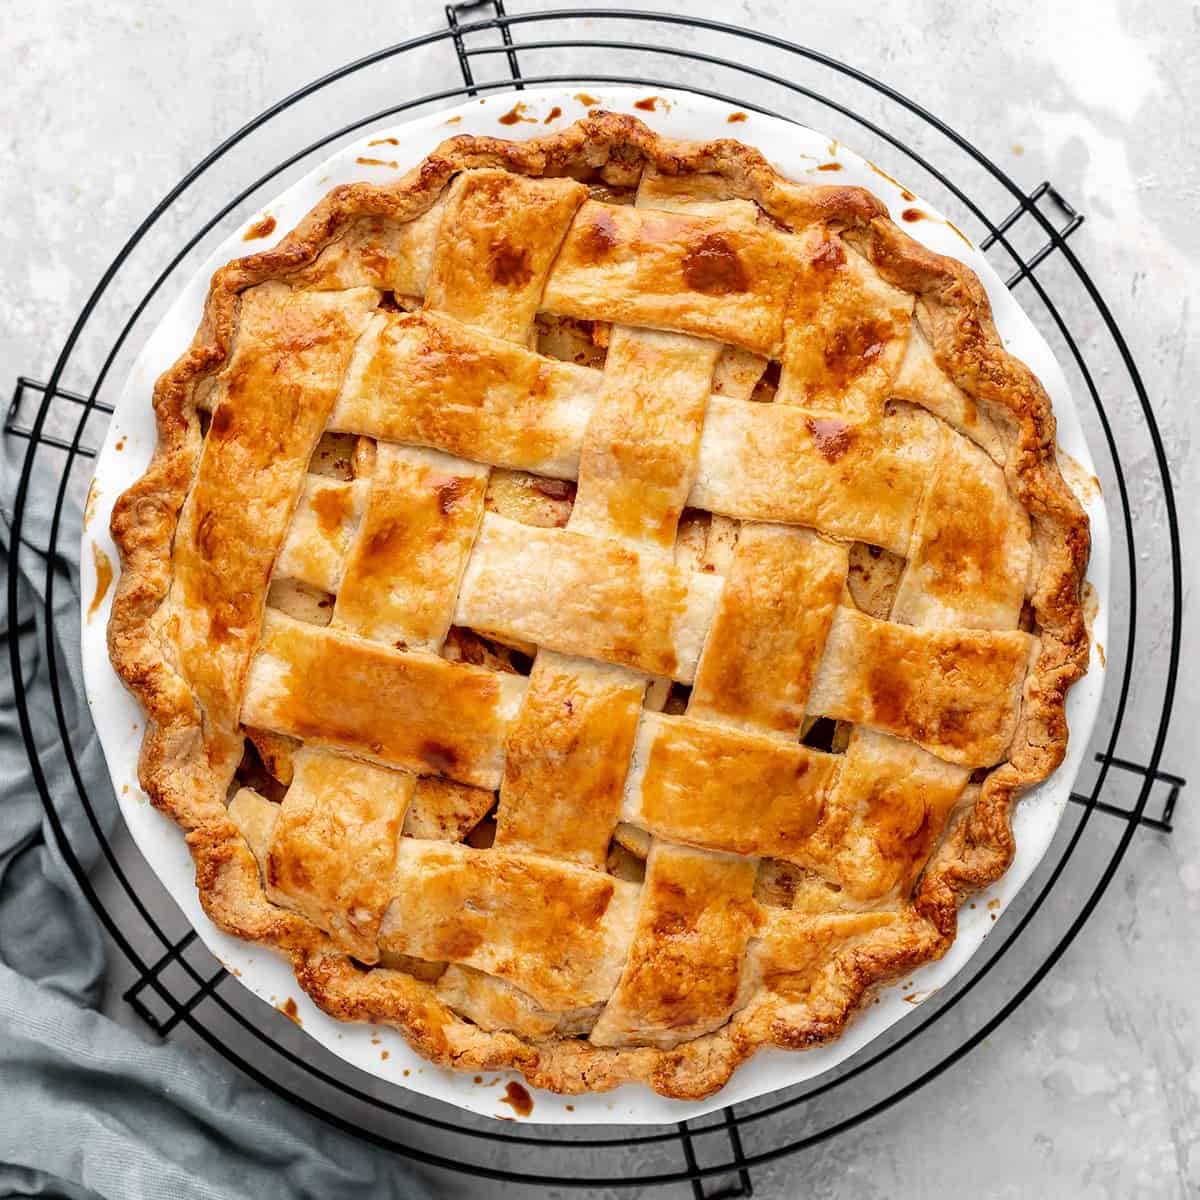
Cool
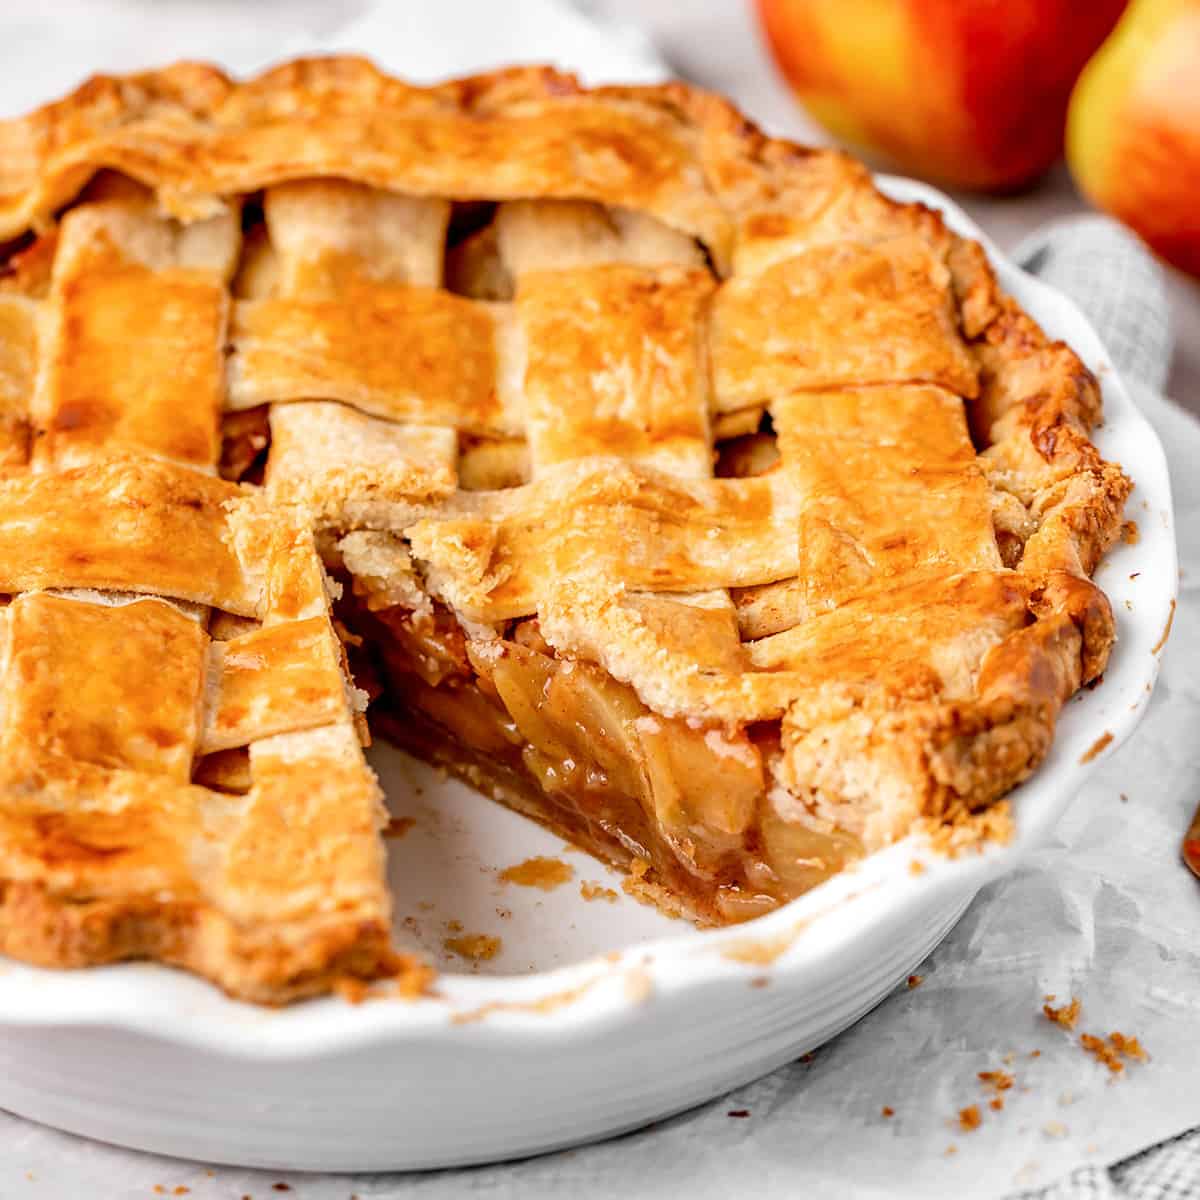
This apple pie is best after it has cooled completely. I recommend letting it cool on a wire rack for at least 3 hours, preferably longer. It’s a great pie to make the day before an event or holiday because it’s even better the second day. The filling thickens as it cools and the crust hardens.
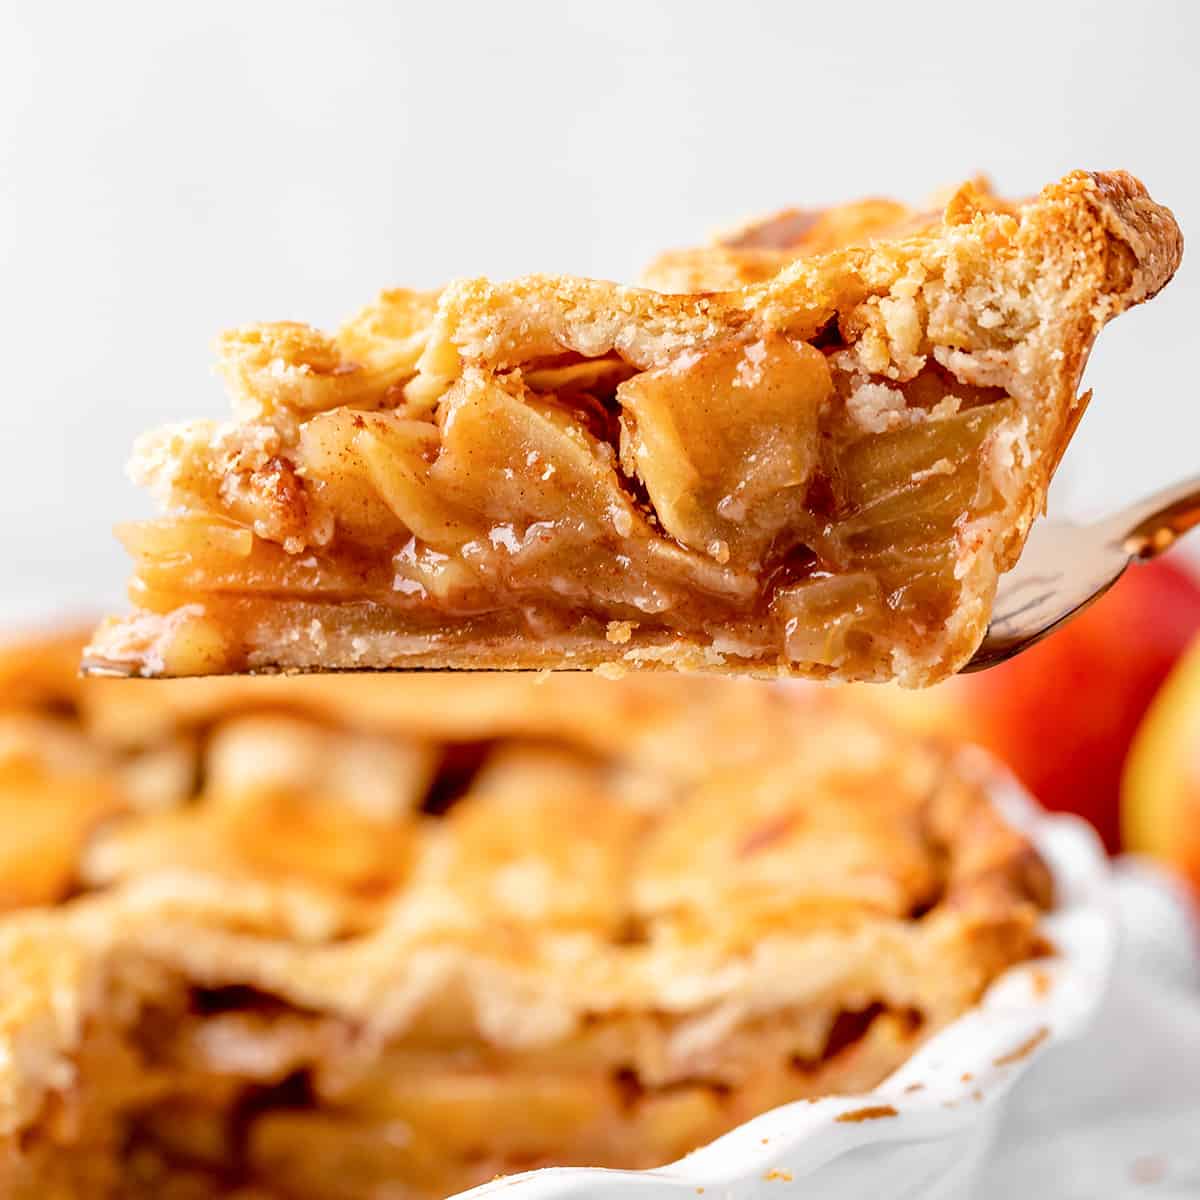
Serve
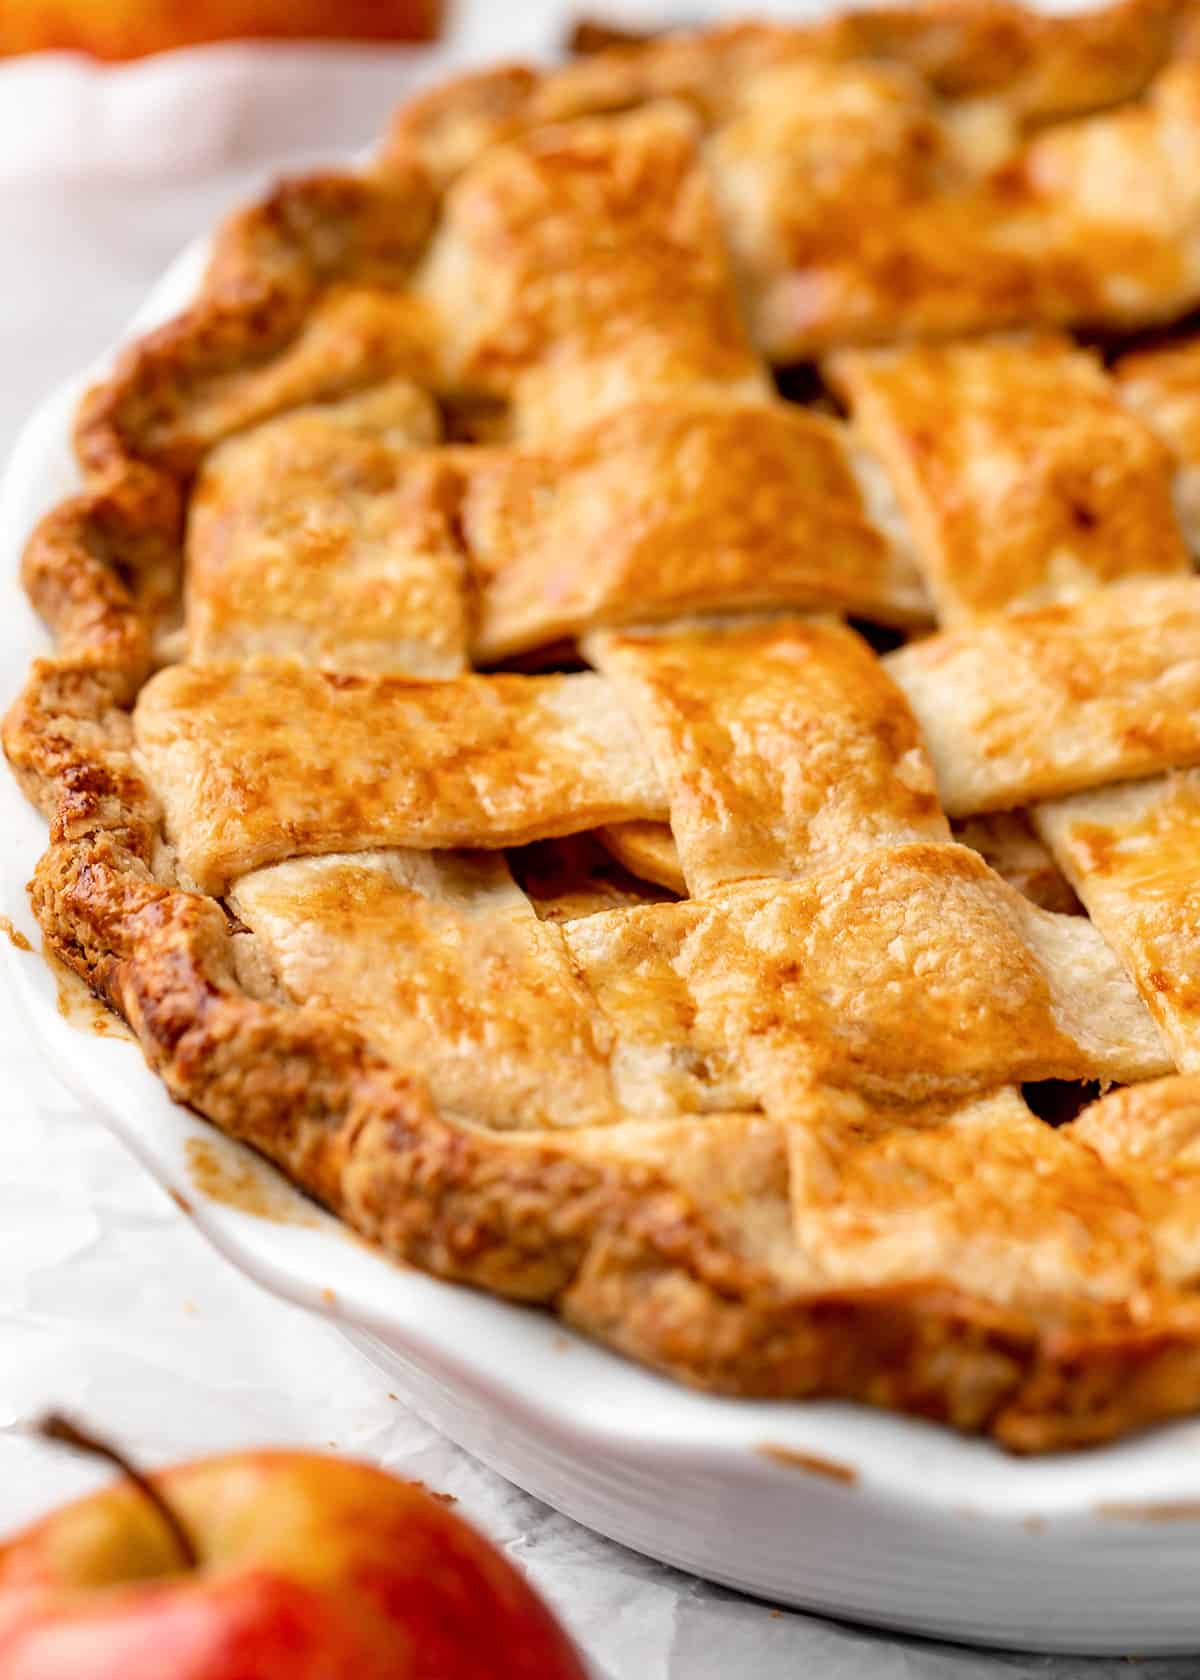
Serve this apple pie with a dollop of fresh homemade whipped cream or a scoop of vanilla ice cream for the perfect fall treat!
Store
Store leftovers in an airtight container at room temperature for up to 3 days or in the refrigerator for up to 1 week.
Freeze
1. Freeze the entire pie. Bake the pie & let it cool to room temperature. Then wrap it tightly with plastic wrap and foil and freeze for up to 2 months. Thaw in the refrigerator overnight before cutting and serving. 2. Freeze individual slices. Put the slices of apple pie on a baking sheet and put them in the freezer to flash-freeze. Then, once they’re frozen, wrap them in plastic wrap and store in an airtight container for up to 2 months. Thaw in the refrigerator for about 6 hours. If you make and love our recipes, it would mean so much to me if you would leave a comment and rating! And don’t forget to follow along with us on Instagram, Pinterest, Facebook, and Youtube – be sure to tag @joyfoodsunshine and use the hashtag #joyfoodsunshine so we can see your creations!
![]()